You know those slimy pumpkin seeds you usually toss when carving jack-o’-lanterns? Stop right there! Those little guys are about to become your new favorite crunchy snack. I’ve been obsessed with roasted pumpkin seeds since I was a kid – my grandma would let me « help » by stirring the seeds in big metal bowls, and the smell of them toasting in the oven still takes me right back to her cozy kitchen. This pumpkin seeds recipe is ridiculously simple (just 3 ingredients!), packed with protein and fiber, and turns what most people throw away into something seriously delicious. Trust me, once you try them warm from the oven with just a sprinkle of salt, you’ll never waste another seed again.
Why You’ll Love This Pumpkin Seeds Recipe
Oh my gosh, where do I even start? These roasted pumpkin seeds are my go-to snack for so many reasons:
- Crazy quick – From bowl to baking sheet in under 5 minutes, and they’re ready to munch in half an hour. Perfect when snack attacks hit!
- Super healthy – Packed with protein and magnesium, they’ll keep you full way longer than chips or candy.
- Totally customizable – I make a big batch and split it into different flavors – my kids go nuts for the cinnamon sugar version!
- Perfect for any occasion – Movie nights, lunchboxes, even fancy charcuterie boards (don’t tell anyone how easy they are).
Seriously, once you try these, you’ll be saving every pumpkin seed you come across. I keep a bag in my purse for emergencies!
Ingredients for Roasted Pumpkin Seeds
Okay, let’s gather our simple but mighty ingredients! You’ll need:
- 1 cup pumpkin seeds – Fresh from your pumpkin (give them a good rinse to remove all that stringy pulp) and patted completely dry. I use paper towels and let them air dry for about an hour – trust me, dry seeds crisp up so much better!
- 1 tablespoon olive oil – Just enough to coat them lightly. I sometimes use melted coconut oil when I’m feeling fancy – it adds a lovely subtle sweetness.
- 1/2 teaspoon salt – My grandma always used sea salt, and I’ve stuck with that tradition. But honestly? Any salt you’ve got works here. Just taste as you go – you can always add more after roasting!
That’s it! Three simple ingredients for the most addictive snack. I told you this pumpkin seeds recipe was easy!
How to Make This Pumpkin Seeds Recipe
Alright, let’s get roasting! This pumpkin seeds recipe is so simple, you’ll wonder why you haven’t been making them all along. Here’s how I do it – just like my grandma taught me, with a few of my own little tricks thrown in.
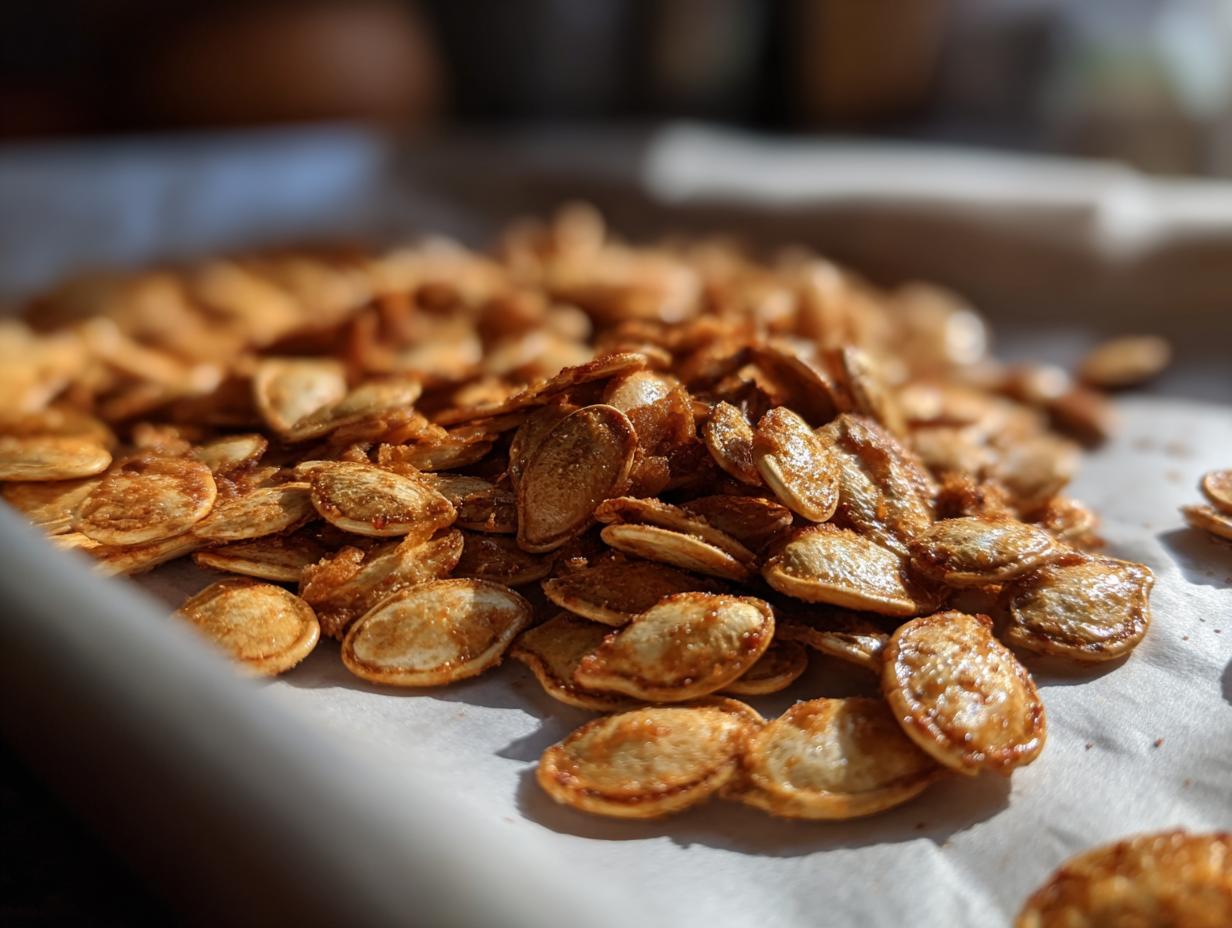
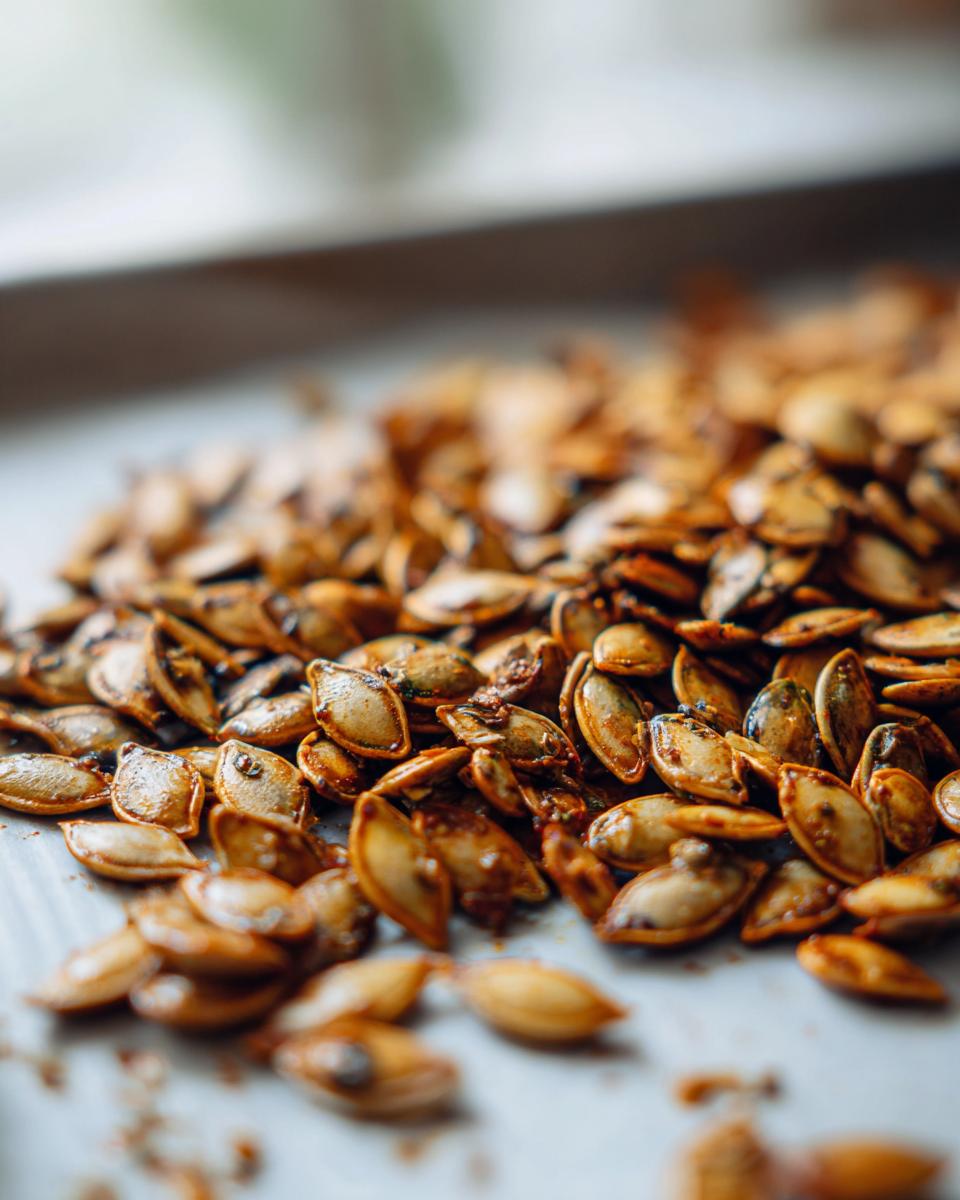
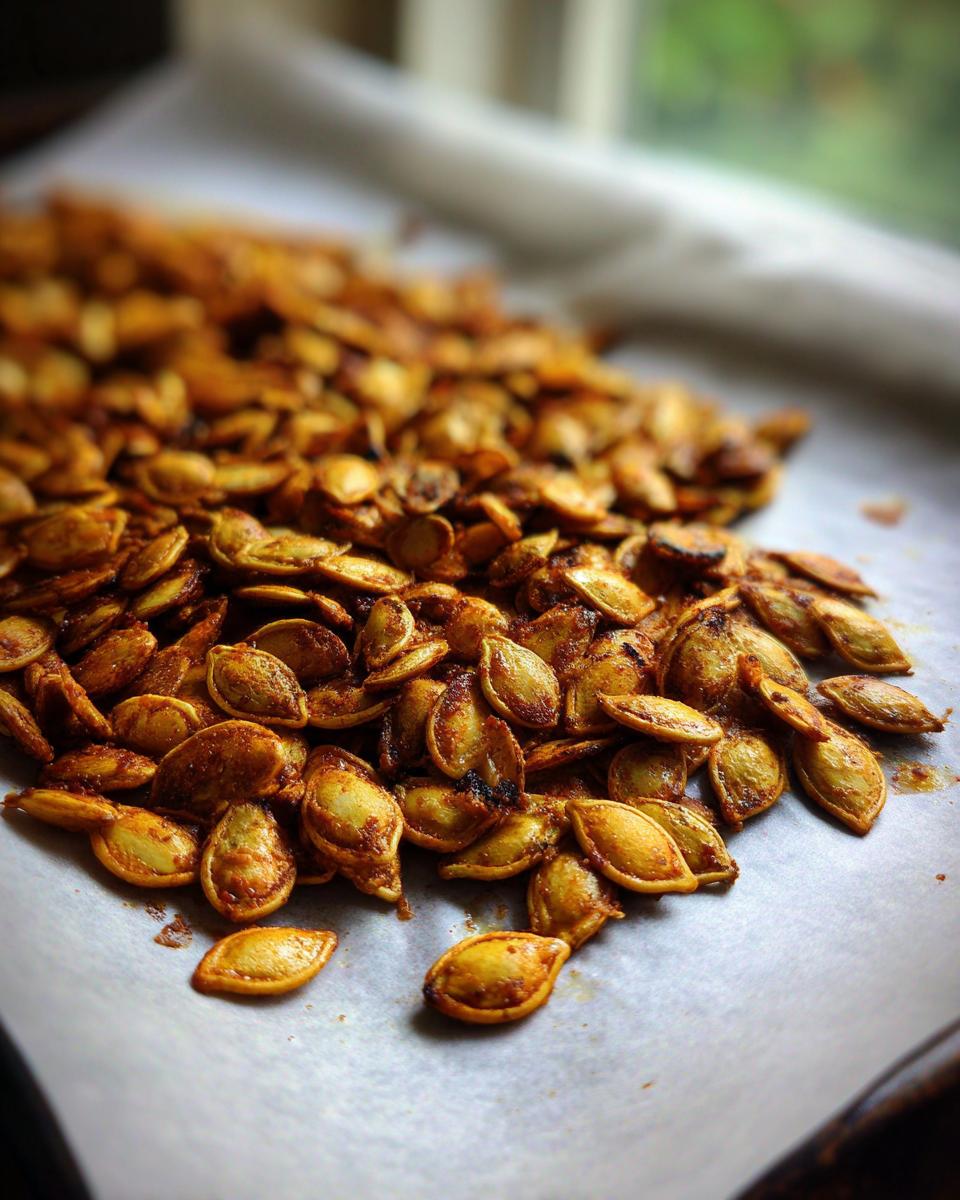
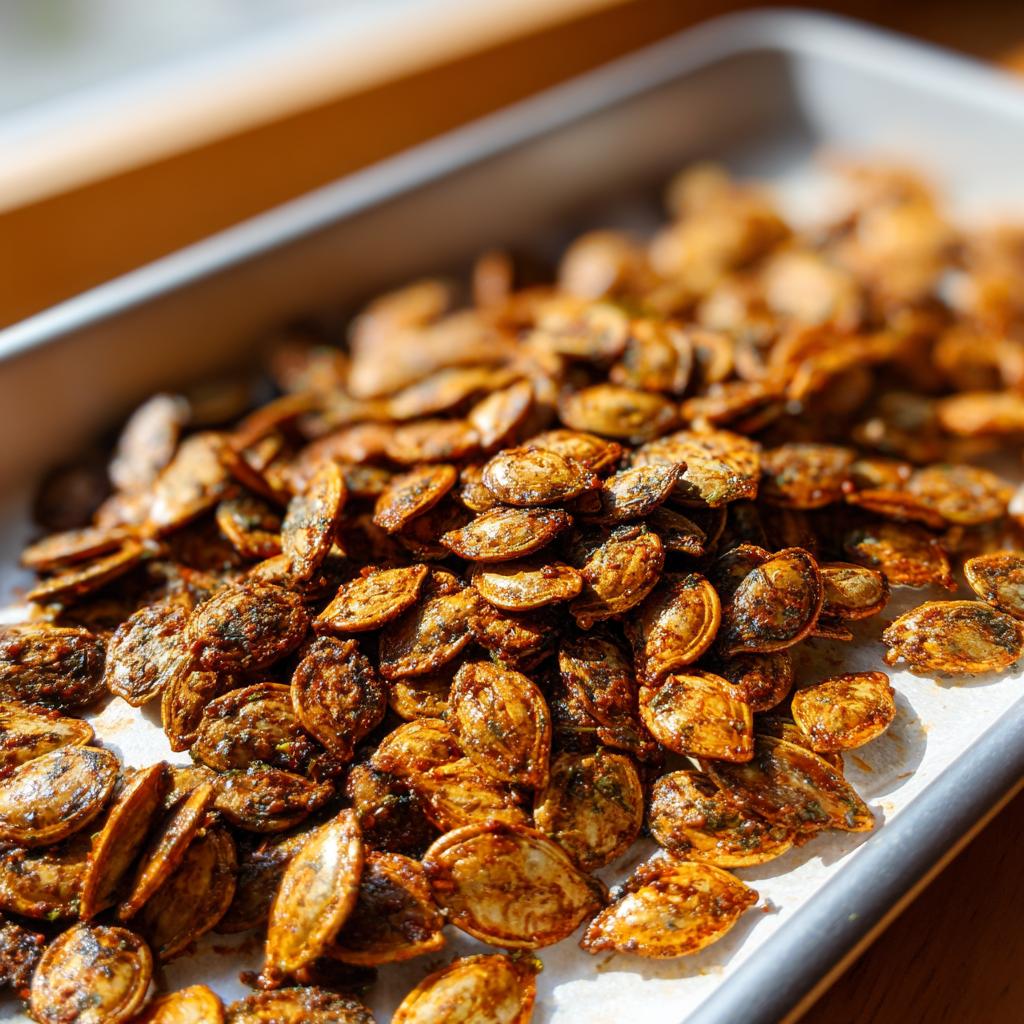
First things first – preheat your oven to 300°F (150°C). I know some recipes say higher, but trust me, low and slow is the way to go for perfectly crisp seeds without burning them. While that’s heating up, grab a mixing bowl and toss in your cleaned, dried pumpkin seeds. Drizzle with olive oil – I like to use my hands to really massage it in so every single seed gets coated. Then sprinkle with salt and give it another good mix. The seeds should look shiny but not swimming in oil.
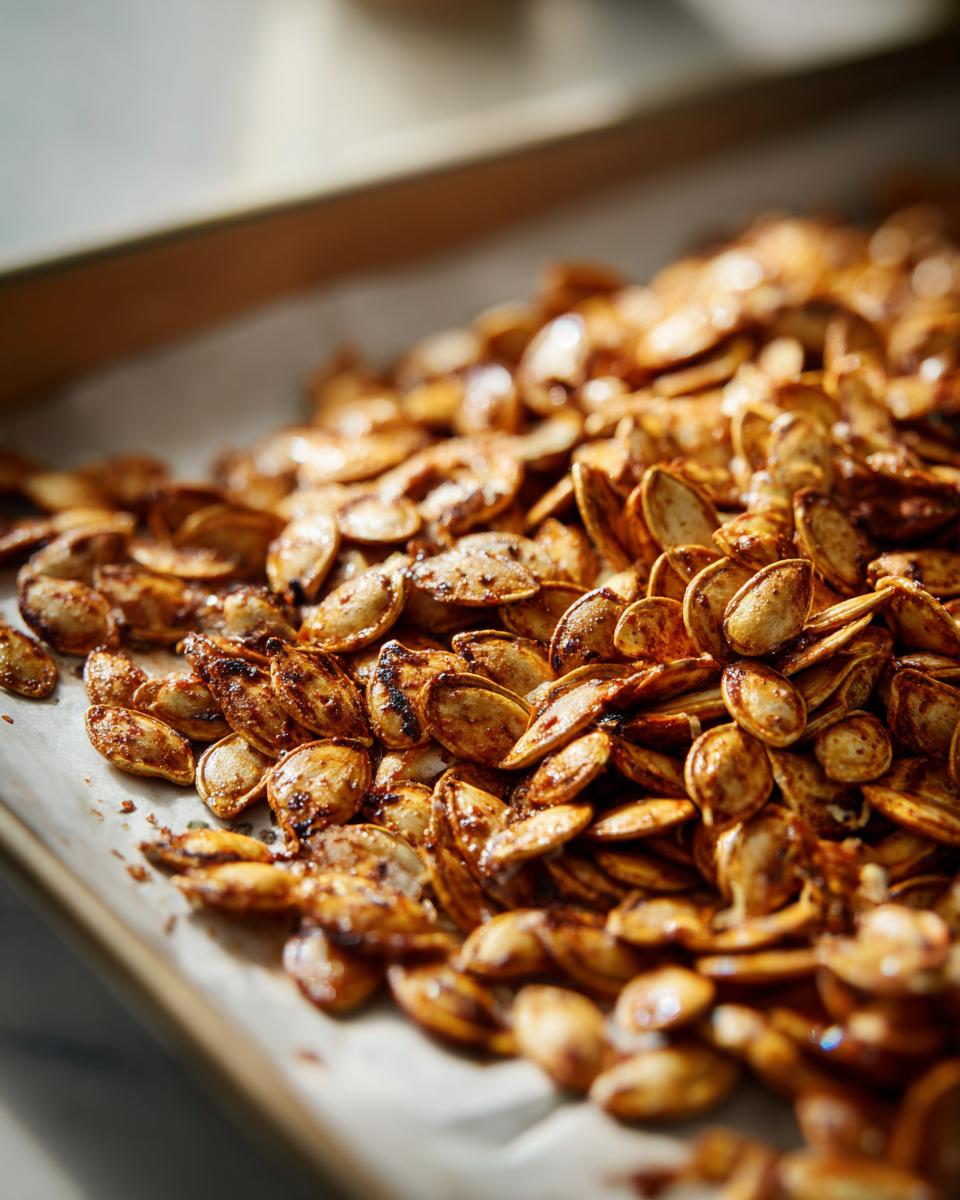
Now, spread them out in a single layer on your baking sheet. This part’s important – don’t crowd them! I made that mistake once and ended up with some burnt and some soggy seeds. Not cute. Pop them in the oven and set your timer for 20 minutes, but here’s my secret – I stir them every 5 minutes or so with a wooden spoon. This helps them roast evenly and prevents any hot spots from burning your precious seeds. You’ll know they’re done when they turn a beautiful golden brown and make that satisfying « clink » sound when you stir them.
Tips for Perfectly Roasted Pumpkin Seeds
After years of making this pumpkin seeds recipe (and a few failed batches!), here are my can’t-miss tips:
- Dry those seeds thoroughly – I can’t stress this enough. Wet seeds steam instead of roast, and nobody wants soggy pumpkin seeds. Pat them dry and let them air dry for at least an hour.
- Season as you go – Start with less salt than you think you need. You can always add more after roasting when you taste them.
- Watch the color, not just the clock – Ovens vary, so look for that perfect golden hue rather than relying solely on the timer. They’ll keep crisping up a bit as they cool too!
See? I told you this was easy! Now go enjoy your crunchy, salty masterpiece.
Variations for Your Pumpkin Seeds Recipe
Oh, the fun part! Once you’ve mastered the basic pumpkin seeds recipe, it’s time to play with flavors. My family goes crazy for these variations – we call it « seed bar night » where everyone gets to customize their own batch. Here are our absolute favorites:
- Spicy Kick – Toss with cayenne and smoked paprika before roasting. My husband adds a pinch of brown sugar too – sweet heat perfection!
- Cinnamon Sugar – Mix 1 tsp cinnamon with 1 tbsp sugar (I use coconut sugar) right after baking while seeds are still warm. The kids beg for this one!
- Savory Garlic – Add garlic powder and a sprinkle of Parmesan after roasting. So good you’ll forget they’re healthy!
Pro tip: Make a big batch of plain seeds, then divide and flavor after roasting. That way everyone gets their favorite!
How to Store Roasted Pumpkin Seeds
Okay, let’s talk storage – because I know you’re going to make a big batch of these addictive little seeds (trust me, they disappear fast in my house!). The key is an airtight container – I use mason jars because they look cute on my counter, but any sealed container works. They’ll stay crispy and delicious for about a week at room temperature. After that, they might lose some crunch (still tasty though – I’ve been known to snack on week-old seeds while making the next batch!). Pro tip: If they do get a bit soft, just pop them back in the oven at 300°F for 5 minutes to revive that perfect crunch!
Nutritional Information for Pumpkin Seeds Recipe
Now, I’m no nutritionist, but I can tell you these little roasted pumpkin seeds pack a serious nutritional punch! They’re loaded with protein, healthy fats, and all sorts of good-for-you minerals. Just remember – the exact numbers can vary depending on your pumpkin size and how much salt or oil you use. My grandma always said, « If it comes from the earth, it’s good for you, » and I’ve stuck by that wisdom when enjoying this pumpkin seeds recipe!
Frequently Asked Questions About Pumpkin Seeds Recipe
I get so many questions about this pumpkin seeds recipe – here are the ones that pop up most often in my kitchen (and my DMs!):
Can I use raw pumpkin seeds from the store?
Absolutely! While I love using fresh seeds from carving pumpkins, store-bought raw pumpkin seeds work just as well. Just skip the cleaning step and go straight to drying and roasting. They might roast a bit faster though, so keep an eye on them!
How long do roasted pumpkin seeds last?
In my house? About 24 hours before they’re devoured! But seriously, stored properly in an airtight container, they’ll stay crispy and delicious for about a week at room temperature. If they start to lose their crunch, just pop them back in the oven for a quick refresh.
Can I freeze roasted pumpkin seeds?
You bet! I always make huge batches in the fall and freeze some for later. Just let them cool completely, then store in freezer bags for up to 3 months. No need to thaw – they’re perfect straight from the freezer for a cold, crunchy snack!
Do I have to remove the shells?
Nope! The shells are totally edible and packed with fiber. My kids actually prefer them with shells on – more crunch! But if you’re not a fan of the texture, you can find hulled pumpkin seeds (often called pepitas) at most stores.
Why are my seeds chewy instead of crispy?
Oh honey, I’ve been there! Usually it means they weren’t dry enough before roasting or the oven temp was too low. Next time, pat them dry really well and let them air dry for an hour or two. And don’t be shy with that oven – 300°F is the sweet spot for perfect crunch!
Roasted Pumpkin Seeds
Ingrédients
Equipment
Method
- Preheat the oven to 300°F (150°C).
- In a bowl, mix the pumpkin seeds with olive oil and salt.
- Spread the seeds evenly on a baking sheet.
- Bake for 20 minutes, stirring occasionally, until golden brown.