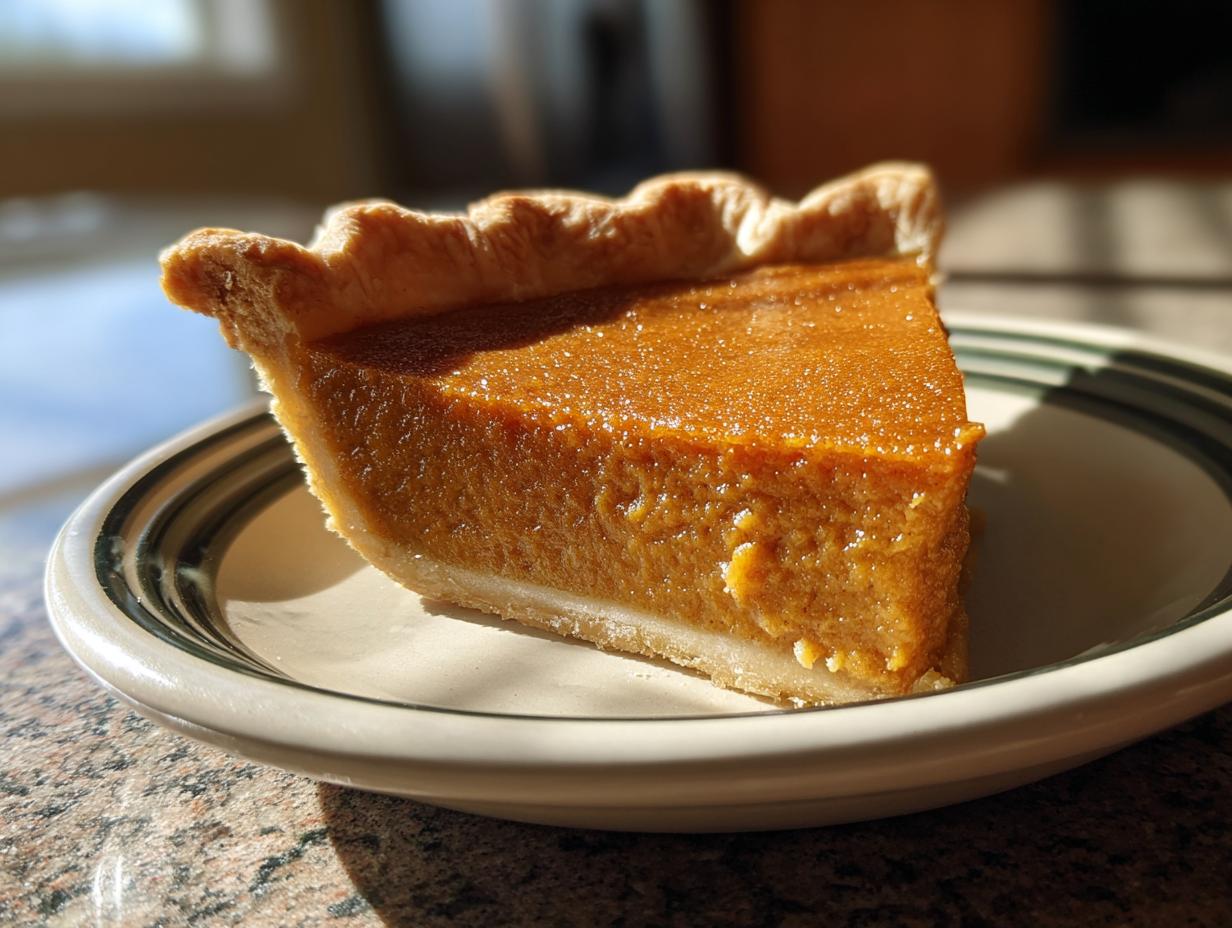
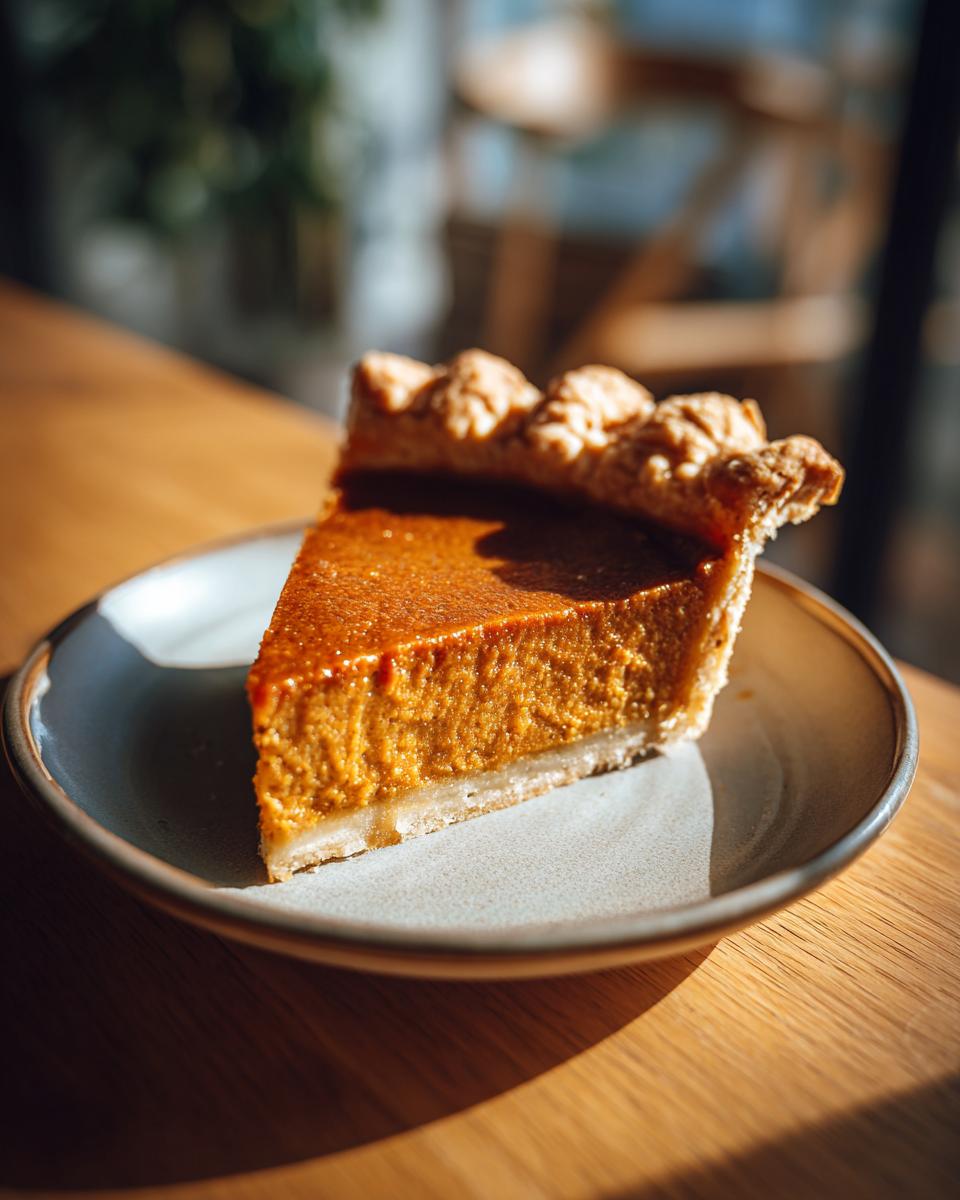
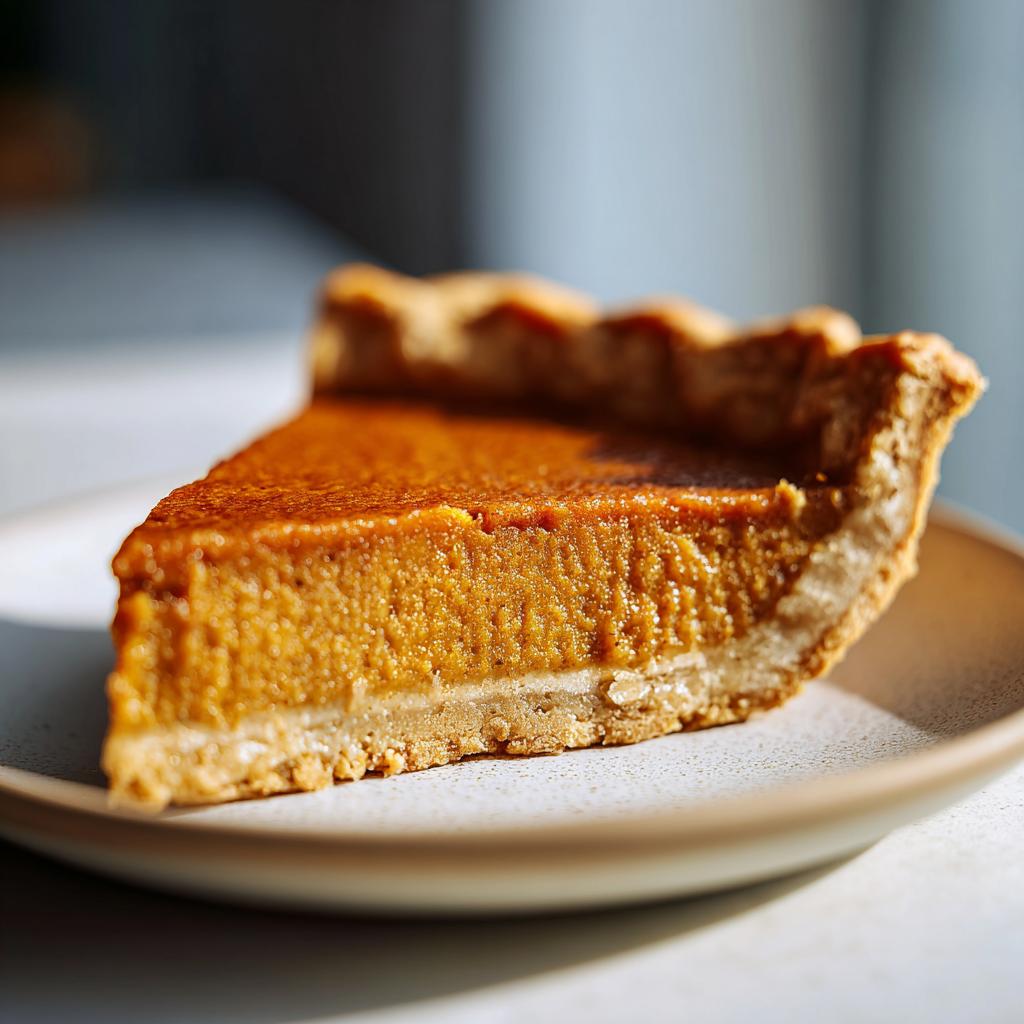
There’s nothing that says « Thanksgiving dessert » quite like a slice of homemade pumpkin pie. That first forkful of creamy, spiced filling nestled in a flaky crust takes me right back to my grandma’s kitchen – where the scent of cinnamon and nutmeg would fill the air as we rolled out dough together. I can still hear her saying, « The secret’s in the spices, honey, » as she’d let me sprinkle just a little extra ginger into the mix. This isn’t just any pie – it’s the taste of generations gathered around the table, of sticky fingers stealing whipped cream, and of that perfect moment when the filling sets just right. Every Thanksgiving, I make this exact recipe, and every year, it disappears faster than the turkey!
Why You’ll Love This Thanksgiving Dessert
Oh, where do I even start? This pumpkin pie is everything you want in a Thanksgiving dessert – and then some! Here’s why it’ll become your new go-to:
- Creamy dreamy filling – That velvety smooth texture that makes every bite melt in your mouth? That’s what happens when you get the perfect ratio of pumpkin to evaporated milk.
- Flaky, buttery crust – None of that store-bought cardboard nonsense! We’re talking real butter, hand-mixed until it’s just crumbly enough to shatter beautifully with each forkful.
- Spiced just right – Not too much cinnamon, not too little ginger – this blend makes the flavors sing without overpowering the pumpkin.
- Foolproof to make – Even if you’re usually all thumbs in the kitchen, this recipe walks you through each step so simply.
- The ultimate crowd-pleaser – I’ve served this to picky kids and foodie uncles alike, and every last crumb disappears!
Trust me, once you taste this pie, you’ll understand why it’s been my family’s Thanksgiving showstopper for three generations running.
Ingredients for the Perfect Thanksgiving Dessert
Gathering the right ingredients is half the battle when making this pumpkin pie – and I promise, every single one plays a starring role! I’ve learned through years of Thanksgiving disasters (we don’t talk about The Great Crust Collapse of 2012) that quality matters. Here’s exactly what you’ll need to create pie magic:
For the Crust
Don’t even think about skipping the chilling step – that’s what gives us those perfect flaky layers! You’ll need:
- 1 1/4 cups all-purpose flour – Spoon it in, don’t scoop, or you’ll pack too much!
- 1/2 teaspoon salt – Just enough to enhance all the flavors
- 1/2 cup unsalted butter – Chilled and cubed (I pop mine in the freezer for 15 minutes first)
- 4 tablespoons ice water – Seriously, the colder the better – I keep mine in the freezer until the last second
For the Filling
This is where the Thanksgiving magic happens! The spices are everything – measure carefully:
- 1 can (15 oz) pumpkin puree – Not pumpkin pie mix! That’s already sweetened
- 3/4 cup granulated sugar – The perfect amount of sweetness without overpowering
- 1 teaspoon ground cinnamon – The warm hug of Thanksgiving
- 1/2 teaspoon ground ginger – For that little zing in every bite
- 1/4 teaspoon ground cloves – Just enough to make the flavors pop
- 1/2 teaspoon salt – Balances all that sweetness
- 2 large eggs – Room temperature blends smoother
- 1 can (12 oz) evaporated milk – The secret to that creamy texture we love
Equipment You’ll Need for This Thanksgiving Dessert
Listen, I know Thanksgiving can get chaotic with all the pots and pans flying around, but for this pumpkin pie, you really only need a few trusty tools. Here’s what I always grab from my kitchen:
- 9-inch pie dish – My grandma’s old ceramic one is my prized possession, but glass works great too
- Mixing bowl – Big enough to really get in there with your hands for the crust
- Whisk – For getting that filling silky smooth (no lumps allowed!)
- Rolling pin – Or in a pinch, a wine bottle works in a Thanksgiving emergency
- Measuring cups/spoons – Baking is science, people – measure carefully!
That’s it! No fancy gadgets needed – just good old-fashioned tools that let the ingredients shine.
How to Make This Thanksgiving Dessert
Alright, let’s get to the fun part – turning all those beautiful ingredients into the star of your Thanksgiving dessert table! I’ll walk you through each step just like my grandma taught me, with all her little tricks that make this pumpkin pie foolproof. Grab your apron and let’s make some memories (and one seriously delicious pie)!
Preparing the Crust
First things first – that flaky, buttery crust that’ll have everyone raving! Here’s how we do it: Start by whisking together your flour and salt in a big bowl. Now, here’s my favorite part – take your chilled butter cubes and work them into the flour with your fingers until it looks like coarse crumbs. Don’t overdo it – you want to see little butter flecks! Drizzle in the ice water one tablespoon at a time, mixing gently with a fork just until the dough comes together. Form it into a disk, wrap it in plastic, and pop it in the fridge for at least 30 minutes. Trust me, this chilling step makes all the difference for a crust that holds its shape!
Making the Filling
While the crust chills, let’s whip up that dreamy pumpkin filling. In a large bowl, whisk together the pumpkin puree and sugar until they’re best friends. Now, here’s where the magic happens – add in all those warm spices (cinnamon, ginger, cloves) and salt, whisking until your kitchen smells like Thanksgiving. Crack in the eggs one at a time, mixing well after each. Finally, slowly pour in the evaporated milk while whisking constantly – this gives us that signature silky texture. Taste it? That’s the flavor of holiday memories right there!
Baking and Cooling
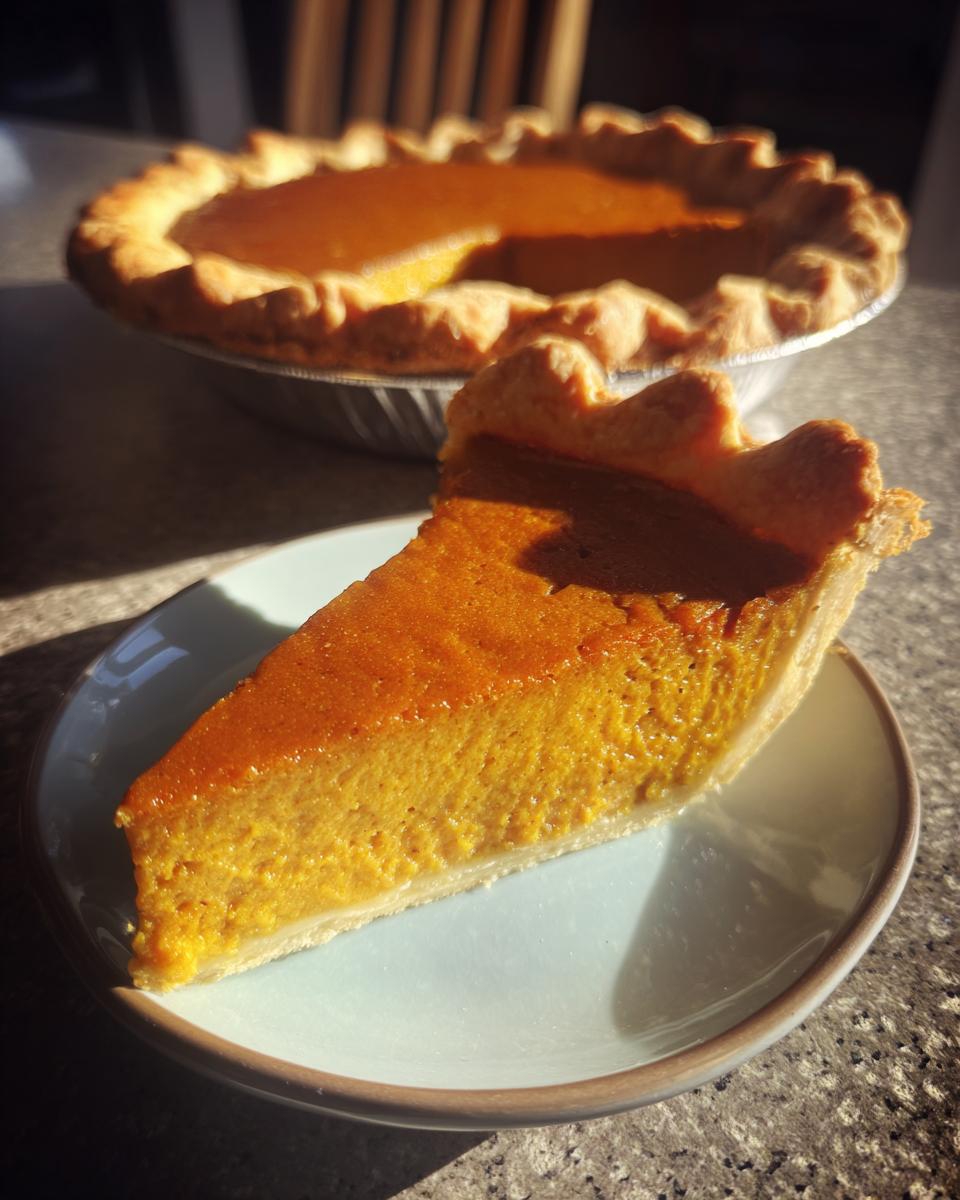
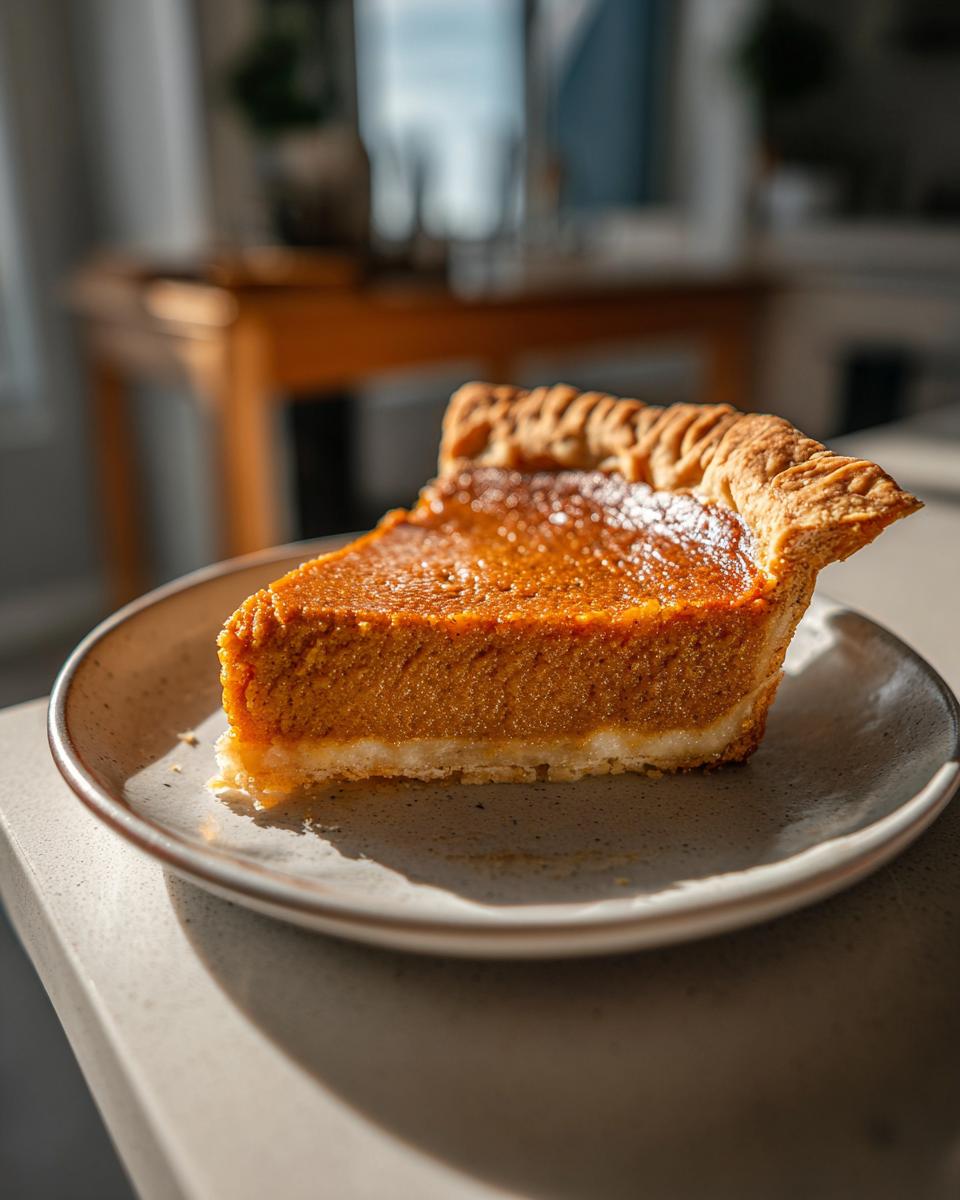
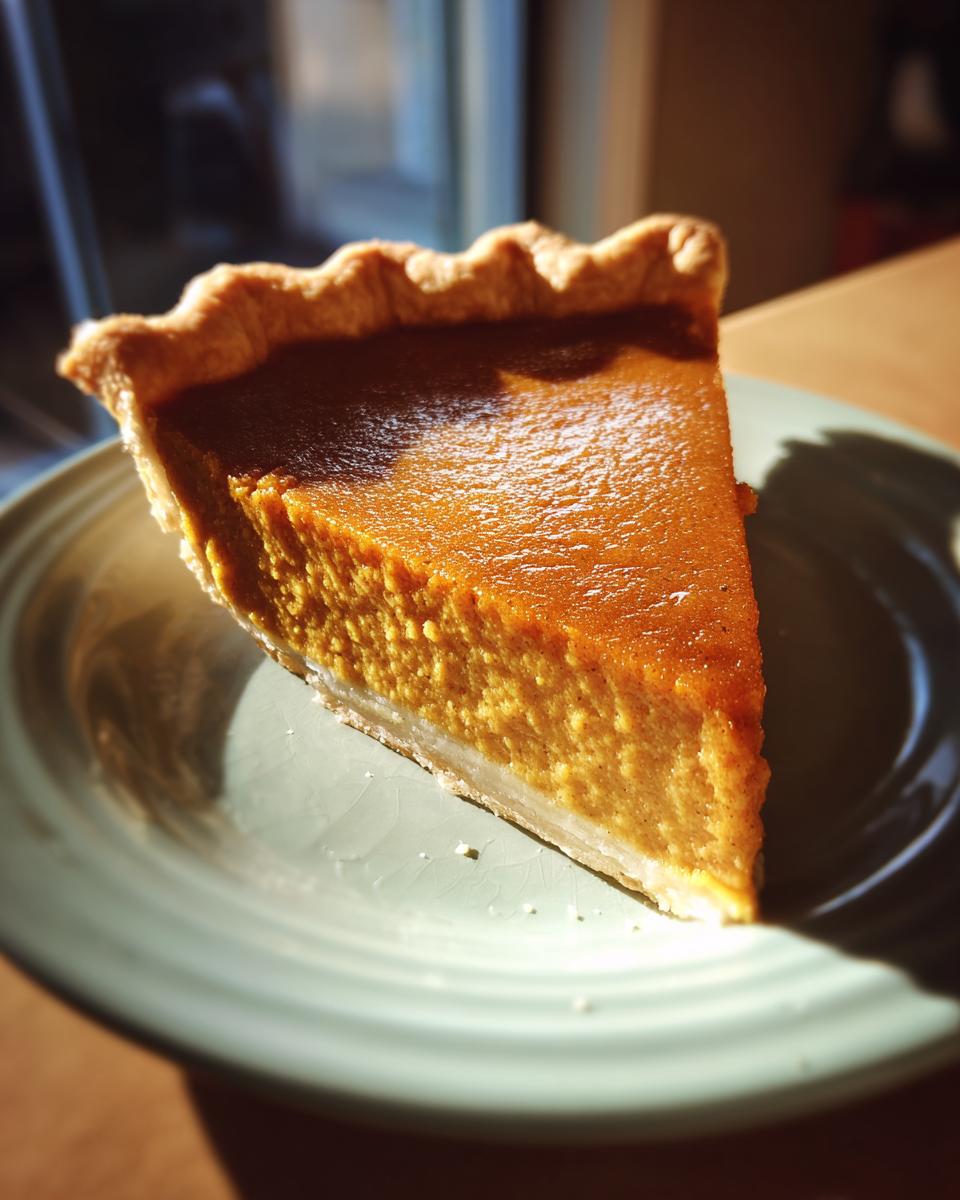
Roll out your chilled dough and fit it into your pie dish, crimping the edges pretty. Pour in that gorgeous filling – it should come right to the top. Here’s my grandma’s trick: bake at 425°F for 15 minutes to set the crust, then reduce to 350°F for 35-40 minutes until the edges are set but the center still jiggles slightly. Let it cool completely on a rack – I know it’s hard to wait, but this helps the filling set perfectly! Then, and this is crucial, refrigerate for at least 2 hours before slicing. The wait makes every bite worth it!
Tips for the Best Thanksgiving Dessert
After making this pumpkin pie every Thanksgiving for the past decade (and eating way too many test slices), I’ve picked up some foolproof tricks that’ll take your pie from good to « Can I get your recipe? » amazing. First – fresh spices make all the difference! That cinnamon sitting in your cabinet since last Christmas? Toss it. Freshly opened spices give that vibrant flavor we crave. And here’s my secret weapon – a pinch of black pepper in the filling. Sounds crazy, but it makes the spices pop! Don’t overmix the filling – a few small lumps are better than a tough pie. For perfect doneness, the center should jiggle like Jell-O when you nudge the pan – it’ll set as it cools. Oh, and always – I mean always – let it chill completely before slicing. I know it’s hard to resist, but that patience gives you those picture-perfect slices. One last thing? Bake your pie on the bottom rack to prevent that dreaded soggy bottom crust. You’re welcome!
Serving and Storing Your Thanksgiving Dessert
Oh honey, let’s talk about the best part – eating this glorious pumpkin pie! I always serve mine with a generous dollop of freshly whipped cream – the kind you whip yourself with just a touch of vanilla and powdered sugar. It melts into those warm spices so beautifully! Now, if by some miracle you have leftovers (doesn’t happen often in my house), just cover the pie tightly with plastic wrap or foil. It’ll keep happily in the fridge for 3-4 days. Pro tip: The flavors actually deepen overnight, so day-two pie might just be even better!
Nutritional Information
Now, I’m no nutritionist, but here’s the scoop on what’s in each glorious slice of this pumpkin pie (based on my best calculations!). Keep in mind these numbers can vary depending on your exact ingredients – that fancy organic butter or different brand of evaporated milk might tweak things a bit. But honestly? When it’s Thanksgiving dessert time, we’re all about enjoying every delicious bite!
Frequently Asked Questions
Can I use fresh pumpkin instead of canned?
Oh, I love this question! While you absolutely can use fresh pumpkin (and trust me, I’ve tried it every which way), canned puree gives you that perfect consistent texture every time. Fresh pumpkin tends to be more watery, so if you go that route, you’ll need to roast and strain it really well. My grandma always said, « Honey, Libby’s never let me down on Thanksgiving! »
How do I prevent a soggy bottom crust?
Nothing worse than a sad, soggy crust, right? Here’s my foolproof trick – blind bake the crust for about 10 minutes before adding the filling. Just line it with parchment, fill with pie weights or dried beans, and bake at 375°F until lightly golden. That extra step creates a barrier that keeps things crisp. Also – always bake on the bottom rack!
Can I make this pie ahead of time?
Absolutely! In fact, I always make mine the day before. The flavors meld beautifully overnight in the fridge. Just be sure to let it cool completely before covering. If you want to go really early, you can freeze the baked pie for up to a month – thaw overnight in the fridge before serving.
Why does my filling crack?
Oh honey, we’ve all been there! Cracks happen when the pie cools too quickly. The key is letting it cool gradually – first on the counter for about an hour, then in the fridge. Also, don’t overbake it! That little jiggle in the center when you pull it out? That’s exactly what you want – it’ll set as it cools.
Pumpkin Pie
Ingrédients
Equipment
Method
- Preheat the oven to 425°F (220°C).
- In a large bowl, mix flour and salt for the crust. Cut in butter until the mixture resembles coarse crumbs. Gradually add ice water, stirring until the dough comes together.
- Roll out the dough on a floured surface and transfer it to a 9-inch pie dish. Trim and crimp the edges.
- In another bowl, whisk together pumpkin puree, sugar, cinnamon, ginger, cloves, and salt. Beat in eggs, then stir in evaporated milk until smooth.
- Pour the filling into the crust. Bake for 15 minutes, then reduce the oven temperature to 350°F (175°C) and bake for 35-40 minutes until the filling is set.
- Let the pie cool completely on a wire rack, then refrigerate for at least 2 hours before serving.