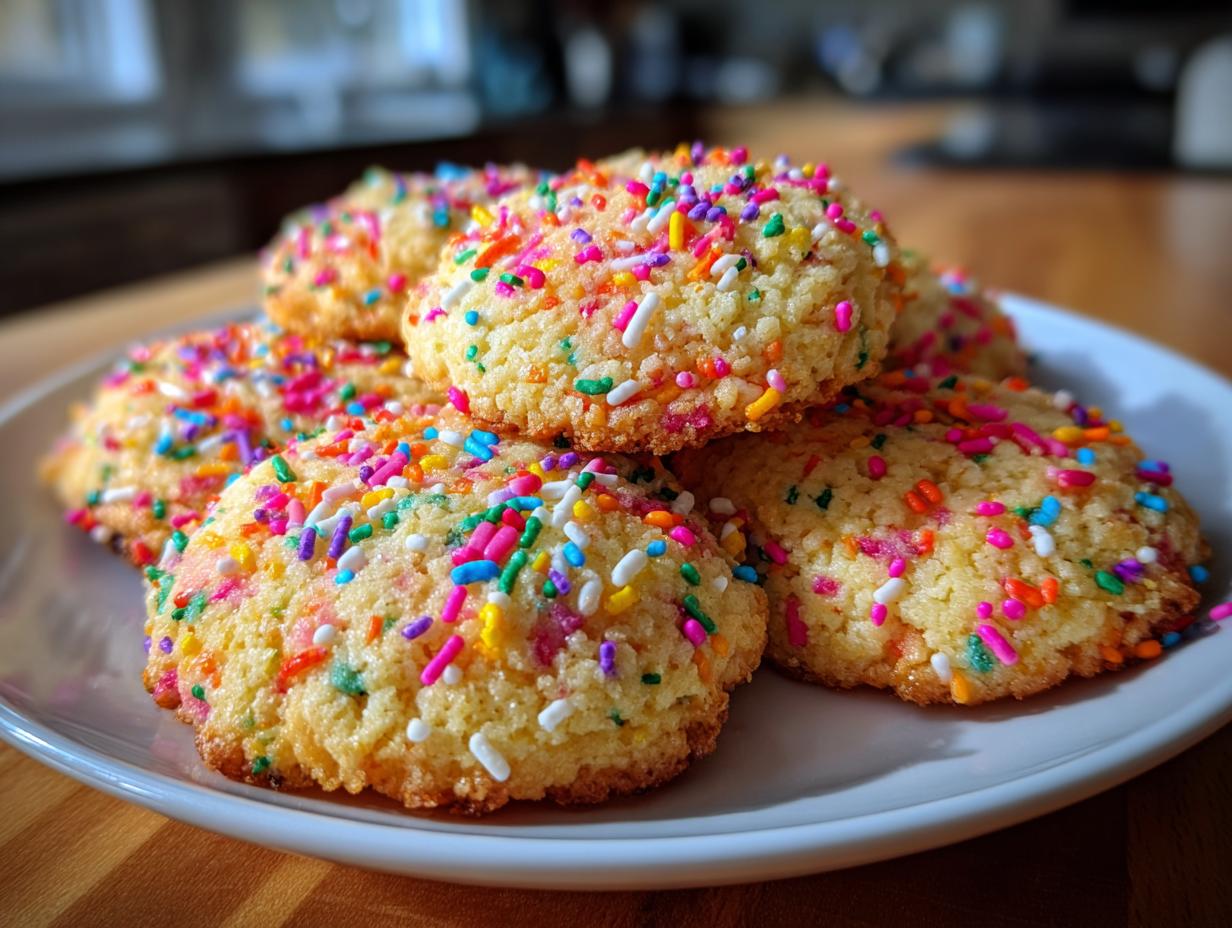
You know what I love more than baking desserts? Baking desserts with kids! There’s something magical about watching their little faces light up when they mix ingredients or sprinkle toppings. I’ll never forget the first time my niece helped me bake cookies—flour everywhere, sprinkles flying, and the biggest proud grin when we pulled them out of the oven. That’s exactly why I’m sharing these foolproof kid friendly dessert recipes—they’re simple enough for little hands but tasty enough to make everyone happy. Trust me, if my messy crew can make these, yours absolutely can too!
Why You’ll Love These Kid Friendly Dessert Recipes
Oh boy, where do I start? These recipes are a total game-changer for busy parents and excited little bakers alike. Here’s why they’re my go-to when the kids beg to help in the kitchen:
- Quick prep time – Seriously, we’re talking 15 minutes from start to oven (perfect for those “I’m bored” afternoons)
- Minimal ingredients – Just pantry basics like flour, sugar, and butter means no frantic grocery runs
- Endless decorating fun – Let the kids go wild with sprinkles, colored sugars, or even mini chocolate chips
- Actually delicious – No cardboard-flavored “kid food” here, these cookies disappear as fast as we make them
The best part? Watching your little ones beam with pride when they pull their creations out of the oven. My nephew still talks about “his” cookies weeks later!
Ingredients for Kid Friendly Dessert Recipes
Okay, let me walk you through exactly what you’ll need for these super simple cookies. I’ve broken everything down so even first-time little bakers can help measure and pour. Pro tip: set all your ingredients out on the counter before you start – it makes the process smoother when tiny hands want to help!
For the Cookies
- 1 cup all-purpose flour – The trusty base of our cookies
- 1/2 cup sugar – Just enough sweetness without going overboard
- 1/2 cup butter, softened – Leave it out for about 30 minutes before baking (this is crucial!)
- 1 egg – Room temperature works best for easy mixing
For the Topping
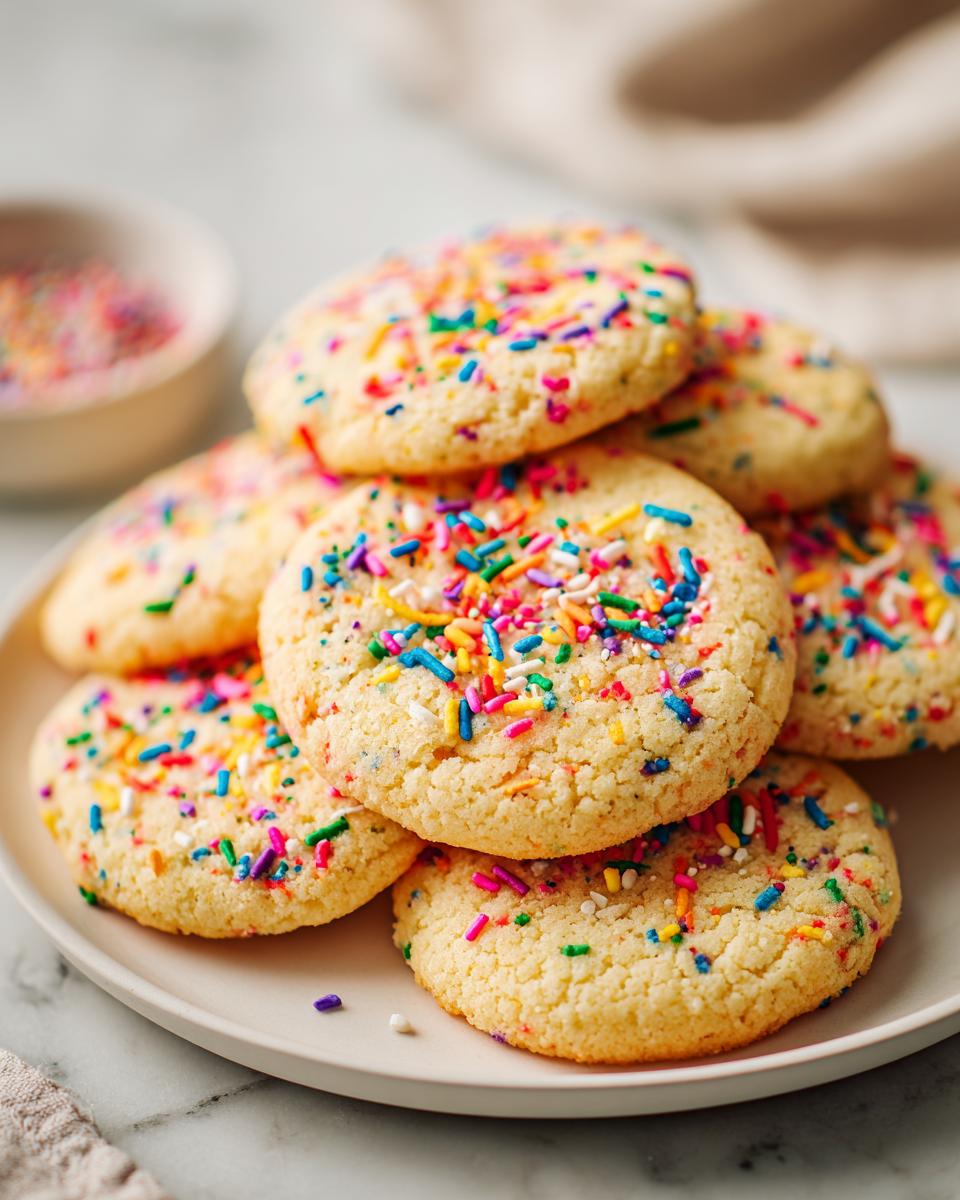
- 1/4 cup sprinkles – Let the kids pick their favorite colors! We love rainbow jimmies in our house
See? Nothing fancy or complicated here. These are ingredients you probably already have in your pantry. The softened butter is really the only prep work needed – though I won’t judge if you sneak a spoonful of sprinkles while you’re waiting!
Equipment Needed for Kid Friendly Dessert Recipes
Let me tell you about the tools that make baking with kids a breeze! You don’t need fancy gadgets – just a few basics from your kitchen. The must-haves are a sturdy mixing bowl (I prefer stainless steel – it won’t break when little hands get excited) and a trusty baking sheet. If you’re worried about tiny fingers near hot pans, silicone baking mats are amazing – they make cleanup easier too!
Here’s my secret weapon: I keep a small wooden spoon just for kid baking projects. It’s easier for small hands to grip than big metal spoons. And don’t forget measuring cups – plastic ones won’t break if they get dropped (which, let’s be real, they will!). That’s really all you need to get started on these fun kid friendly dessert recipes.
How to Make Kid Friendly Dessert Recipes
Alright, let’s get baking! I’ll walk you through each step so clearly that even your littlest helper can join in. These cookies come together so fast – we’re talking just 25 minutes from start to finish. The best part? Kids can help with almost every step (except the hot oven part, obviously!).
Step 1: Preheat and Mix
First things first – turn that oven to 350°F (175°C). This is a grown-up job since we’re dealing with heat. While it’s warming up, let the kids dump all the dry ingredients into the bowl – flour first, then sugar. Show them how to mix gently (flour clouds are fun, but maybe do this step over the sink!). Now add the softened butter and egg – this is where little hands can really get in there and squish everything together. Just remind them to wash those sticky fingers before moving on!
Step 2: Shape and Decorate
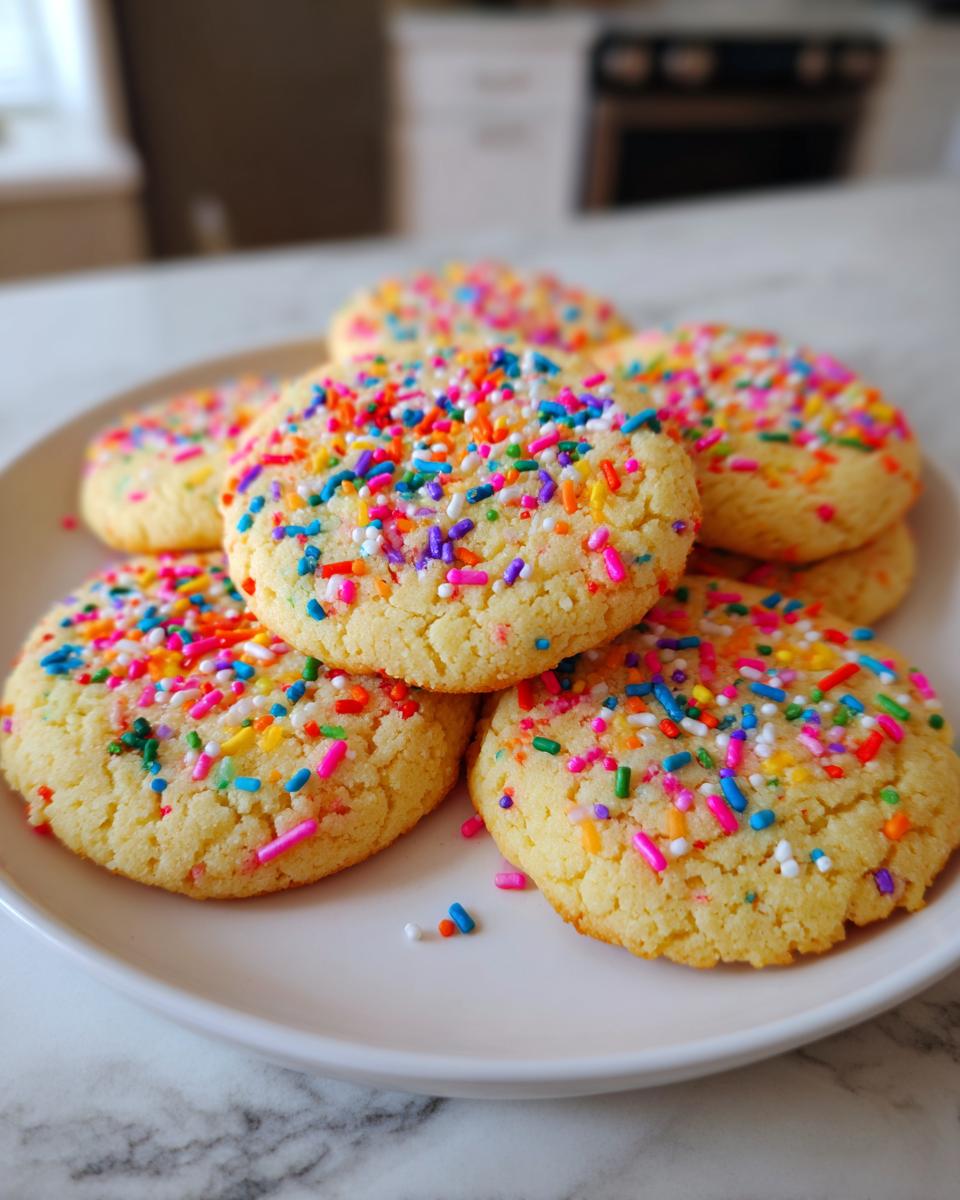
Here comes the really fun part! Help your kiddo roll the dough into little balls – about the size of a ping pong ball works perfectly. Place them on the baking sheet with some space between them. Now unleash the sprinkles! Let them press decorations onto each cookie however they want. Pro tip: put sprinkles in small bowls so they’re easier for little fingers to grab. There’s no wrong way to decorate – my nephew once made « sprinkle mountains » that were oddly delicious!
Step 3: Bake and Cool
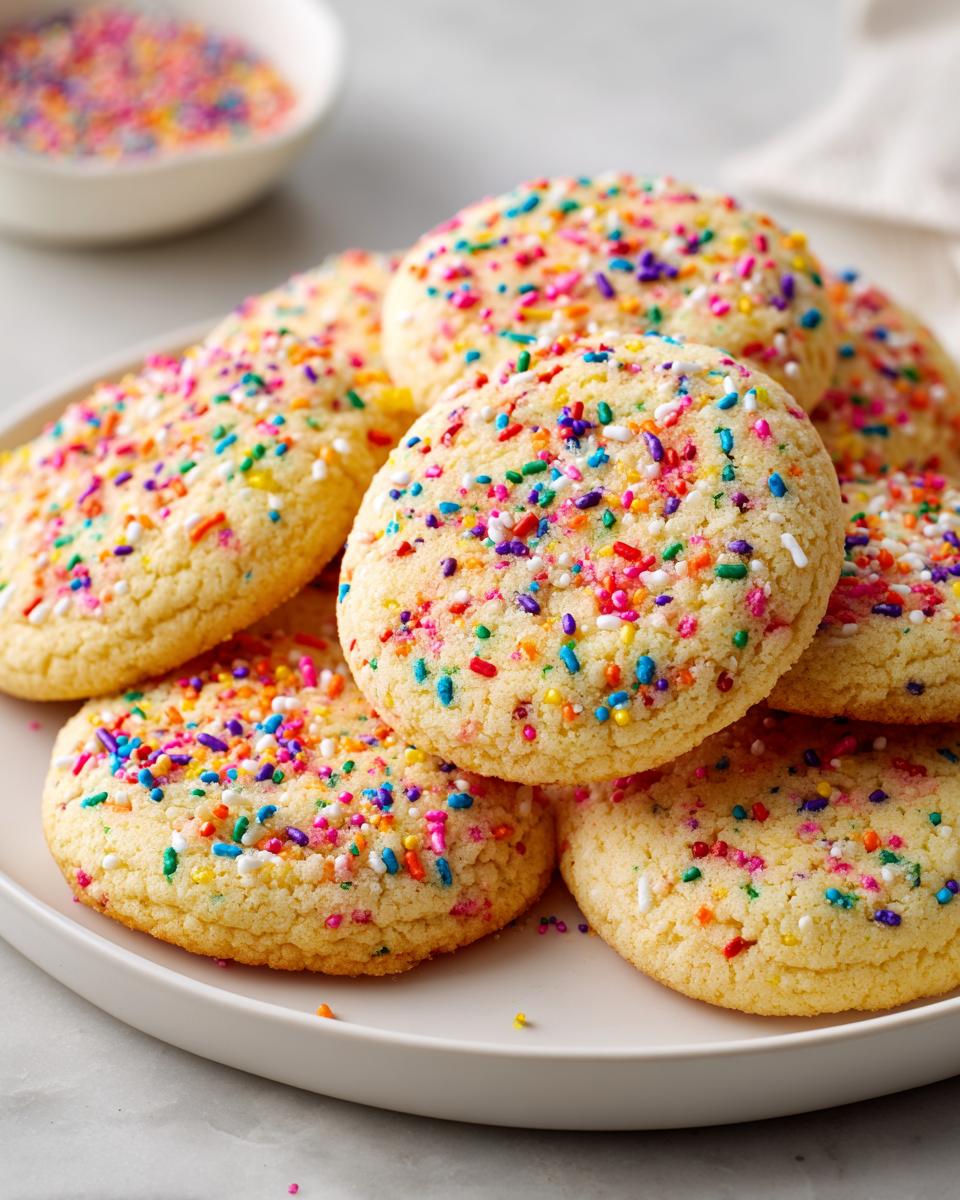
Grown-up alert! Pop those beauties in the oven for exactly 10 minutes – set a timer so you don’t forget. They’re done when the edges just start turning golden. This is the hardest part – waiting for them to cool! We usually distract the kids with cleanup (okay, who am I kidding – with a little taste test of leftover sprinkles). Once cooled, the cookies will be perfectly crisp on the outside and chewy inside. Just try to save some for later – these disappear fast!
Tips for Perfect Kid Friendly Dessert Recipes
After making these cookies with kids more times than I can count (and cleaning up more flour explosions than I’d care to admit), I’ve picked up some foolproof tricks to make your baking adventure smoother. First off – if your dough feels sticky after mixing, pop it in the fridge for 15 minutes. This makes it SO much easier for little hands to roll into balls without turning into a gooey mess.
Parchment paper is your best friend here – it prevents sticking AND makes cleanup a breeze. I keep a roll just for kid baking projects. And here’s my favorite tip: turn cleanup into part of the fun! Give kids their own damp cloth to « help » wipe the counter (they’ll feel so grown up), and let them lick the mixing spoon as a reward. Trust me, these small tricks make baking with kids way more enjoyable for everyone!
Variations for Kid Friendly Dessert Recipes
Oh, the possibilities! One of my favorite things about these cookies is how easily you can mix them up. When my niece declared she was « over sprinkles » last week (kids, right?), we swapped them for mini chocolate chips – instant hit! Here are some of our favorite twists:
- Chocolate chip cookies – Just swap sprinkles for chocolate chips (we like mini ones for little hands)
- Gluten-free version – Use your favorite 1:1 gluten-free flour blend – works like a charm!
- Rainbow cookies – Divide dough into bowls and mix in food coloring before baking
- Oatmeal raisin twist – Add 1/2 cup oats and 1/4 cup raisins to the dough
The best part? Letting the kids pick the variation – they feel so proud when their « special recipe » turns out delicious!
Nutritional Information
Okay, let’s be real – we’re not exactly counting calories when we’re elbow-deep in sprinkles with the kids! But for those curious parents (I see you checking labels when they’re not looking), here’s the scoop on these cookies. Keep in mind these are rough estimates – your actual numbers might vary depending on how generous those little hands are with the sprinkles!
Each serving (about 2 cookies) has around 150 calories, with 10g sugar – not bad for a sweet treat! They’ve got 2g protein and 7g fat (thanks to that delicious butter). The best part? They’re small enough that you don’t have to feel guilty letting the kids have seconds. Just maybe brush those teeth extra well afterwards!
Frequently Asked Questions
Can I freeze these cookies?
Absolutely! These cookies freeze like a dream. Just pop them in an airtight container with parchment between layers. They’ll keep for up to 2 months – not that they’ve ever lasted that long in my freezer! When the kids have a sudden craving, we just pull out a couple and let them thaw at room temperature. Warm them for 10 seconds in the microwave if you want that fresh-baked taste.
What age is this recipe suitable for?
I’ve made these with kids as young as 2 (with lots of supervision, of course!). Little ones can help with pouring ingredients and pressing on sprinkles, while older kids can handle rolling the dough balls. The sweet spot is ages 4-8 – they’re coordinated enough to really participate but still young enough to get that magical « I made this! » sparkle in their eyes.
My dough turned out too sticky – what do I do?
Don’t panic! This happens to me all the time, especially when eager little helpers go heavy on the butter. Just chill the dough in the fridge for 15-20 minutes – it makes it way easier to handle. If you’re really in a pinch, you can add a tablespoon more flour, but go easy! Too much flour makes the cookies dry.
Can we make these without eggs?
You sure can! We’ve successfully used a flax egg (1 tbsp ground flax + 3 tbsp water) when baking for friends with allergies. The texture changes slightly – they’re a bit more dense – but kids don’t seem to notice the difference when there are sprinkles involved!
How long do these cookies stay fresh?
They’re best eaten within 2 days (stored in an airtight container at room temp), but let’s be honest – they rarely last that long! If by some miracle you have leftovers, they make amazing ice cream sandwiches the next day. Just sandwich a scoop between two cookies – trust me, the kids will think you’re a genius!
Share Your Kid Friendly Dessert Recipes Experience
I’d love to see what your little bakers create! Drop a comment below with photos of their cookie masterpieces – sprinkles, chocolate chips, or whatever wild creations they dreamed up. Did they come up with a fun new variation? Did flour end up everywhere like it does in my kitchen? Share your stories and tips – I read every single one while nibbling on leftover cookies!
Kid Friendly Dessert Recipes
Ingrédients
Equipment
Method
- Preheat the oven to 350°F (175°C).
- Mix the flour, sugar, butter, and egg in a bowl until smooth.
- Roll the dough into small balls and place them on a baking sheet.
- Press sprinkles onto the top of each cookie.
- Bake for 10 minutes or until lightly golden.