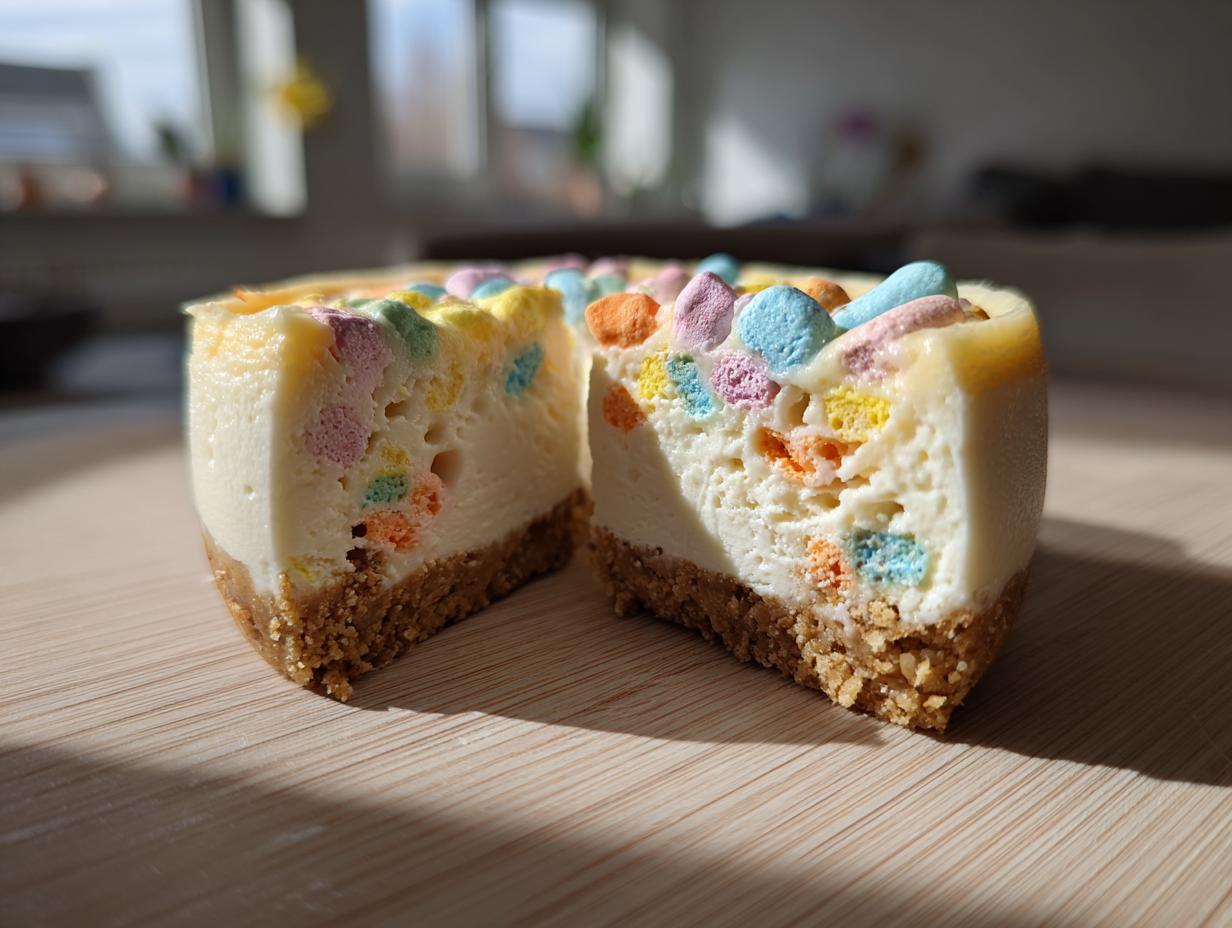
Oh, I am SO excited to share this recipe with you – we’re making Mini Egg Cheesecakes! Seriously, these little beauties are my absolute go-to, especially around Easter time. It all started a few years ago when I was looking for something super festive but not too fussy, you know? I stumbled upon the idea of mini egg cheesecakes and just fell in love. They’re like a little bite of sunshine, with that classic creamy cheesecake filling and the satisfying crunch of Mini Eggs. Plus, the fact that they’re no-bake just makes them even more irresistible, especially when you’re juggling a million other things. This recipe quickly became a family favorite for a reason!
Why You’ll Love This Mini Egg Cheesecake
Honestly, these little cheesecakes are just brilliant. Here’s why you’ll be making them again and again:
- Super Easy & No-Bake: Seriously, no oven needed! Perfect for when you want a showstopper without the stress.
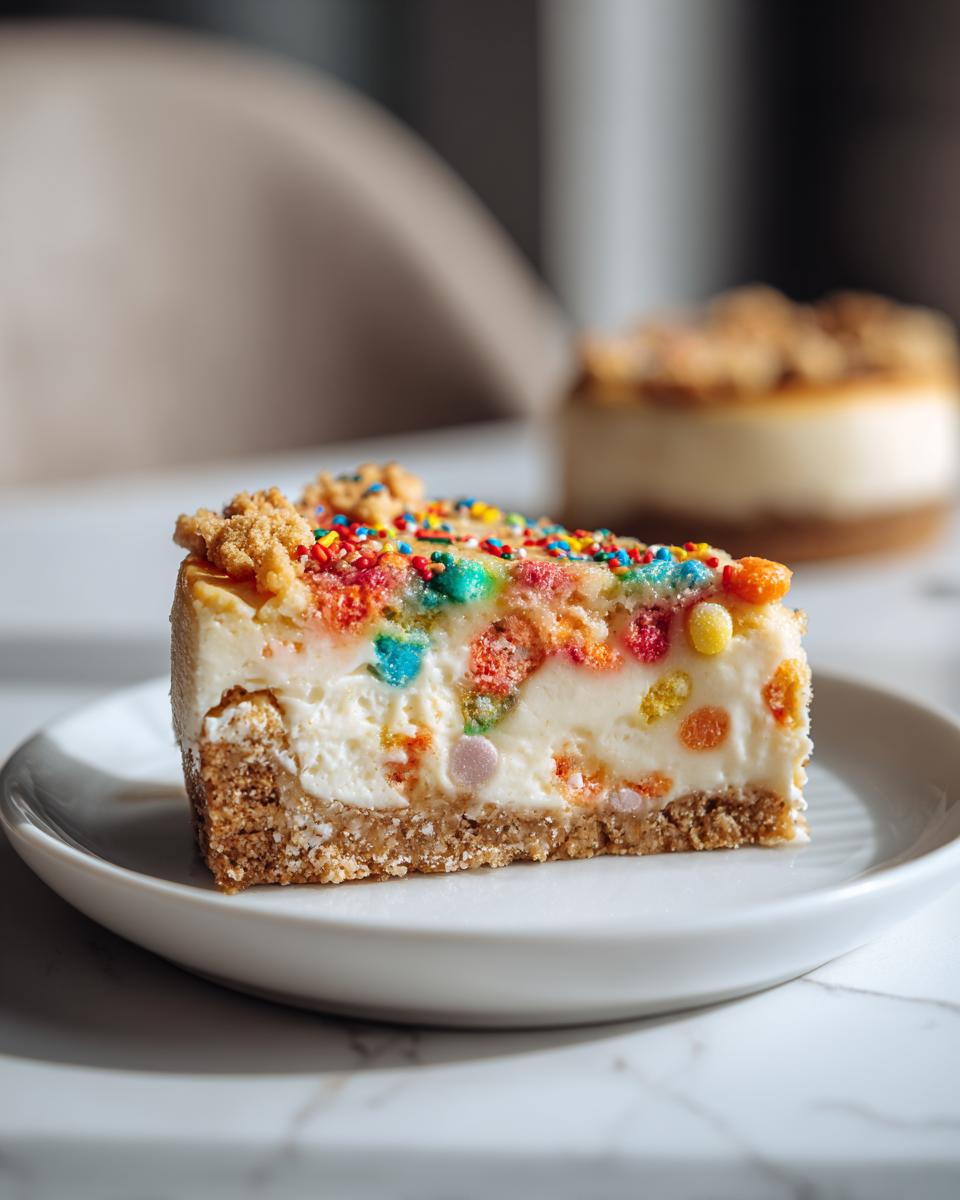
- Festive Fun: They scream Easter and springtime, making them ideal for any celebration.
- Great Flavor Combo: That creamy, dreamy cheesecake filling with the crunchy, chocolatey Mini Eggs is just *chef’s kiss*.
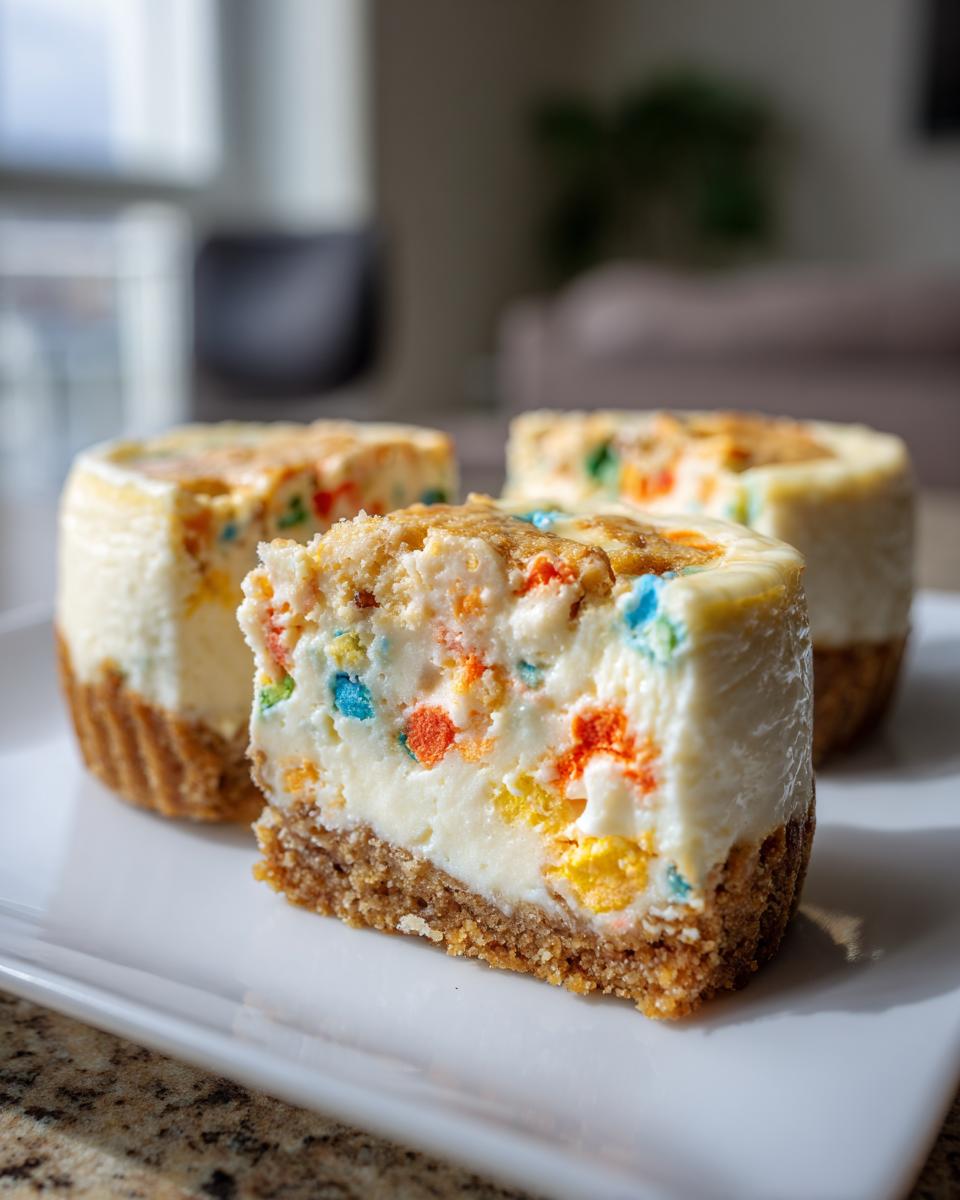
- Just the Right Size: Individual portions mean everyone gets their own perfect little treat.
- Quick to Prepare: You can whip these up in no time, and the chilling is hands-off.
- Crowd-Pleaser: Everyone, from kids to grown-ups, absolutely devours these.

Gather Your Ingredients for the Perfect Mini Egg Cheesecake
Alright, let’s get down to business with what you’ll need for these ridiculously good mini egg cheesecakes. Having everything ready makes the whole process so much smoother, trust me!
For the Base
This is our crunchy little foundation, and it’s super simple. You’ll need about 200g of digestive biscuits – we want those fine crumbs, so blitz them up well. Then, grab about 100g of butter and melt it down. Just pulse the crumbs with the melted butter until it all looks like lovely, damp sand.
For the Filling
Now for the star of the show! You’ll want 300g of cream cheese, make sure it’s softened and at room temperature so it whips up nicely and doesn’t have any lumps. Then, pour in 150ml of double cream – this is what makes it extra luxurious. For sweetness, we’re using 75g of icing sugar, and don’t forget that little dash of flavor with 1 tsp of vanilla extract. And the absolute best bit? 100g of Cadbury Mini Eggs, roughly chopped. Chop them just enough so they’re not whole big chunks, but you still get that satisfying crunch and chocolatey hit in every bite.
Equipment Needed for Your Mini Egg Cheesecake
You don’t need a whole fancy setup for these, which is part of why I love them so much! You’ll want a trusty muffin tin – the standard 12-hole kind is perfect as it helps shape our little cheesecakes. It’s also super helpful to have a food processor for getting those biscuits nice and fine for the base, though you can totally cheat and use a bag and a rolling pin if you don’t have one! Finally, an electric mixer (handheld or stand mixer works) is a lifesaver for getting that cheesecake filling perfectly smooth and creamy without all the arm ache. If you’re ever stuck on techniques, I find looking at other great recipes, like this one on BBC Good Food, can give you a good idea too!
Step-by-Step Guide to Making Mini Egg Cheesecake
Alright, let’s get these gorgeous mini egg cheesecakes made! It’s really quite straightforward, and honestly, the most « difficult » part is just waiting for them to chill. We’ll take it step-by-step so you get perfect little desserts every single time. Remember, baking should be fun, so don’t stress if things aren’t absolutely perfect – they’ll taste amazing anyway! If you’re ever unsure about cheesecake basics, a quick peek at resources like RecipeTinEats or King Arthur Baking can be super helpful too!
Preparing the Base for Your Mini Egg Cheesecake
First things first, let’s get those sturdy little bases ready. Grab your muffin tin and pop in 12 paper cases – this just makes them super easy to lift out later. Now, take your crushed digestive biscuits and that lovely melted butter. Give it a really good mix until all the crumbs are coated. Then, spoon roughly equal amounts into each of your paper cases. Use the back of a spoon or even just your fingertips (make sure they’re clean, of course!) to press the mixture down really firmly. You want a nice, compact base so it doesn’t crumble when you take a bite. Pop the tin into the fridge while we sort out the filling.
Creating the Creamy Filling for Mini Egg Cheesecake
Now for the best bit – the filling! Get your softened cream cheese into a bowl. If you’ve got any stubborn lumps, now’s the time to beat it with your electric mixer until it’s super smooth and lovely. Don’t rush this bit; a nice smooth base for the filling makes all the difference. Then, pour in your double cream, the icing sugar, and that gorgeous vanilla extract. Crank up the mixer and beat it all together until it’s thick, creamy, and holds its shape. You’re looking for a consistency that’s practically begging to be spooned into something delicious! Finally, gently fold in those roughly chopped Mini Eggs. Be gentle here so you don’t overmix, we want those little pockets of chocolatey goodness!
Assembling and Chilling Your Mini Egg Cheesecake
Okay, biscuit bases are chilled, filling is ready – time to assemble! Take your muffin tin out of the fridge. Carefully spoon that luscious filling on top of each biscuit base, dividing it as evenly as you can. Smooth the tops off a little if you like, but don’t fuss too much; they look wonderfully rustic as they are. Now, and this is the hardest part, pop the tin back into the fridge. You need to let them chill for at least 2 hours. This is crucial for them to set properly and get that lovely firm cheesecake texture. If you can leave them longer, even better! You might want to loosely cover the tin with cling film to stop them picking up any fridge smells, but make sure it’s not touching the filling.
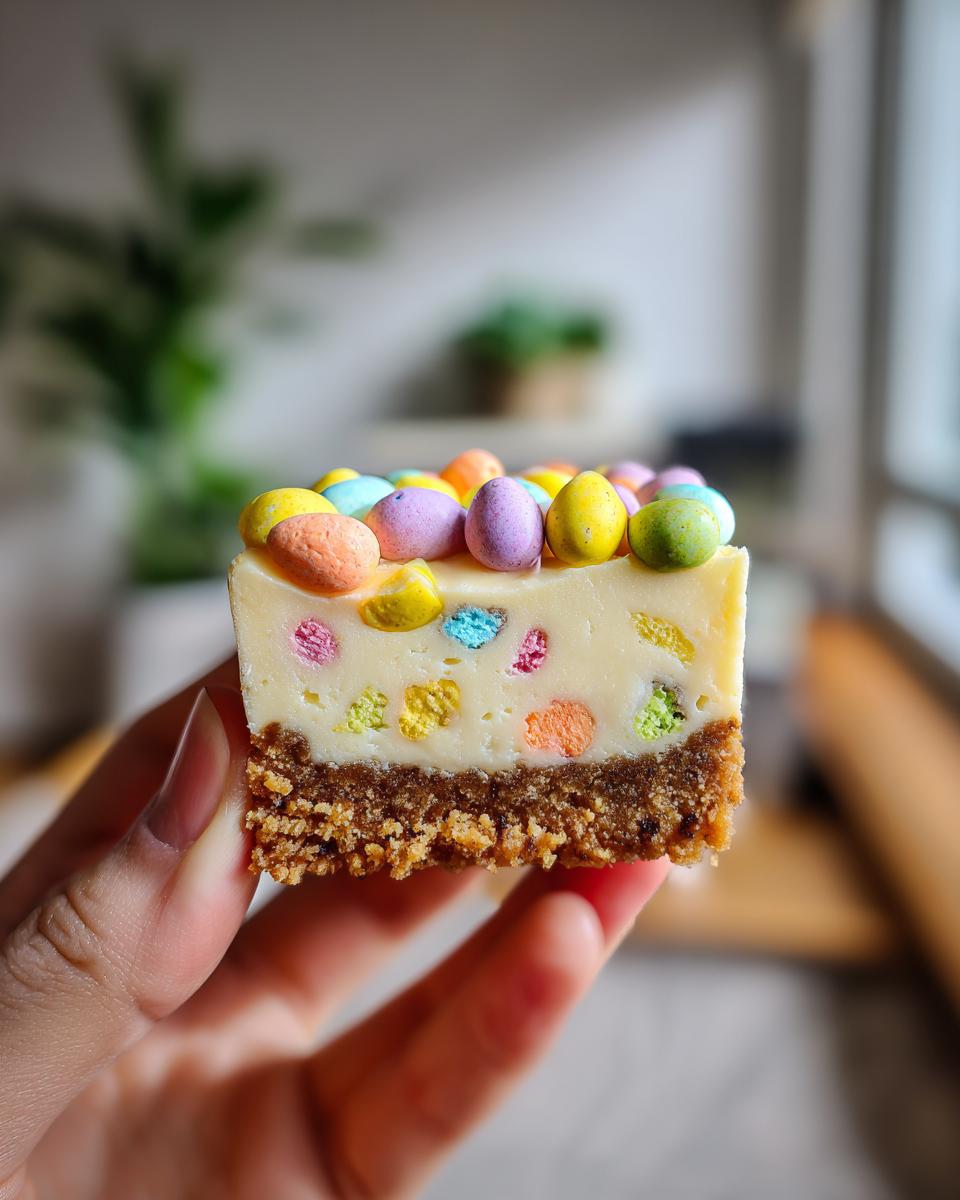
Finishing Touches: Decorating Your Mini Egg Cheesecake
Just before you’re ready to serve, it’s time for the final flourish! Take your perfectly chilled mini egg cheesecakes out of the tin. Grab a few whole Mini Eggs and pop one or two on top of each cheesecake. I like to just press them gently into the top of the filling so they stay put. It looks so pretty and really makes them feel extra special for any occasion!
Tips for the Best Mini Egg Cheesecake
I’ve made these mini egg cheesecakes so many times now, and over the years I’ve picked up a few little tricks that just really make them that extra bit special. Honestly, getting them perfect is totally doable, even if you’re new to cheesecake!
Make Sure Your Cream Cheese is Properly Softened: This is a biggie! If your cream cheese is too cold, you’ll end up with lumps, no matter how much you mix. Let it sit out on the counter for at least an hour, or even two if your kitchen is chilly. It should feel soft and squishy to the touch – that way it’ll blend like a dream.
Don’t Overmix the Filling: Once you’ve added the cream and sugar, beat it just until it’s thick and smooth. Overmixing can knock out the air and make the cheesecake a bit dense, or worse, watery. We want that lovely light and creamy texture!
Chill Time is CRUCIAL: Seriously, don’t be tempted to speed this up! The 2-hour chill time (or even longer if you have the patience) is what allows the cheesecakes to set properly. Trying to serve them too soon will just result in a sloppy mess. Trust me, the wait is SO worth it!
Chop Those Mini Eggs Just Right: I like to give them a rough chop, not finely grind them. We want those little bursts of chocolatey goodness and a bit of crunch. If they’re too small, they just disappear. If they’re too big, they might sink or make it hard to get a clean slice. A good chop is just perfect!
Ingredient Notes and Substitutions for Mini Egg Cheesecake
Now, I know sometimes you might be missing an ingredient or just fancy a little twist, so let’s chat about those all-important bits for our mini egg cheesecakes. It’s amazing how a few small changes can give you a slightly different, but still totally delicious, result!
For the biscuit base, digestive biscuits are my absolute favourite because they have that perfect subtle sweetness and texture. But if you can’t find them, good old Rich Tea biscuits or even some graham crackers would work a treat too. Just remember they might have a slightly different flavour profile, so adjust any extra sweetness accordingly!
And of course, it wouldn’t be a Mini Egg cheesecake without the Mini Eggs, would it? They give that amazing crunch and chocolate hit. If you can’t get Cadbury Mini Eggs, don’t you worry! Any good quality chocolate eggs that you can chop up would be lovely. Maybe some Maltesers or chopped-up Smarties for the kids if they aren’t Mini Egg fans? Just be mindful of how much extra sweetness and flavour they might add.
Storing and Reheating Your Mini Egg Cheesecake
So, you’ve maybe got a couple of these little beauties left over? Lucky you! Storing them is super simple. Just pop them into an airtight container – you can use the muffin tin liner they came in if you like, or just place them carefully into a box. They’ll keep perfectly in the fridge, and honestly, they stay delicious for about 2 to 3 days. Since they’re no-bake, there’s no reheating needed at all; they’re best enjoyed straight from the cool fridge! It just makes life so much easier, doesn’t it?
Frequently Asked Questions about Mini Egg Cheesecake
Can I make these mini egg cheesecakes ahead of time?
Absolutely! These are actually perfect for making ahead. I often make them the day before a party or Easter gathering. That chilling time is non-negotiable for them to set properly, so giving them a good few hours in the fridge, or even overnight, is ideal. It means you’re all ready to go when it’s dessert time!
What if I don’t have any muffin cases? Can I still make mini egg cheesecake?
Oh, don’t you worry if you’re fresh out of muffin cases! You can still make these. You could try greasing your muffin tin *really* well and dusting it with a little extra crushed biscuit, or even use little ramekins. Just make sure you press the base down firmly. If you have mini tart tins, they’d be brilliant too! You might just need to be a bit more careful when you’re taking them out.
Can I use different types of chocolate eggs or biscuits?
Yes, definitely! While Cadbury Mini Eggs are pretty iconic for this recipe, feel free to experiment. Any decent chocolate egg that you can chop up will work wonderfully. Crunchie eggs, or even just a good quality chocolate bar chopped up finely, can be lovely. For the biscuits, digestive biscuits give that classic, slightly oaty flavour, but Rich Tea biscuits or even some plain hobnobs would be delicious too. Just remember that different biscuits might need slightly different amounts of butter to bind them together.
My cheesecake filling seems a bit lumpy, what did I do wrong?
Don’t panic! Lumps usually happen if the cream cheese is too cold. The best way to avoid this is to make sure your cream cheese is properly softened – let it sit out of the fridge for at least an hour or two. Give it a good beat with your electric mixer until it’s really smooth *before* you add anything else to it. If you’ve already mixed it and it’s lumpy, you can try giving it an extra good whisk, or even gently warming the bowl over a bain-marie for a moment while whisking, but be careful not to melt it!
Share Your Mini Egg Cheesecake Creations!
I absolutely LOVE seeing your baking adventures! If you’ve made these delightful mini egg cheesecakes, please do share your photos and let me know how they turned out in the comments below. Maybe rate the recipe if you enjoyed it! Tagging me on social media is always a blast too – I can’t wait to see your creations!

Ingrédients
Equipment
Method
- Line a 12-hole muffin tin with paper cases.
- Make the base: put the biscuits in a food processor and blitz until they form fine crumbs. Add the melted butter and pulse until combined.
- Divide the biscuit mixture evenly between the paper cases and press down firmly to create a base.
- Make the filling: in a bowl, beat the cream cheese with an electric mixer until smooth. Add the double cream, icing sugar, and vanilla extract. Beat until thick and smooth.
- Gently fold in the chopped Mini Eggs.
- Spoon the filling evenly over the biscuit bases in the muffin tin.
- Chill in the refrigerator for at least 2 hours, or until firm.
- Decorate with a few whole Mini Eggs before serving.