Oh, Thanksgiving. The smell of roasting turkey, the sound of family chatter… and the sheer panic of realizing you’ve got to pull off an entire feast while somehow not losing your mind. I’ve been there—standing in my kitchen at 6 AM with flour in my hair, muttering to myself like a deranged squirrel. That’s exactly why I swear by these foolproof make-ahead Thanksgiving desserts. They’re my secret weapon against holiday chaos. Imagine pulling out a stunning dessert from the fridge that you prepped days ago—no last-minute scrambling, no oven disasters. Just pure, stress-free deliciousness that lets you actually enjoy the holiday. Trust me, once you try this, you’ll never go back to day-of baking madness!
Why You’ll Love These Foolproof Make-Ahead Thanksgiving Desserts
Listen, I wouldn’t steer you wrong—these desserts are absolute game-changers for Thanksgiving. Here’s why:
- Stress-free prep: Make them days ahead so you’re not elbows-deep in flour when guests arrive (been there!).
- Time-saving magic: Free up your oven and sanity for turkey emergencies—we’ve all had them.
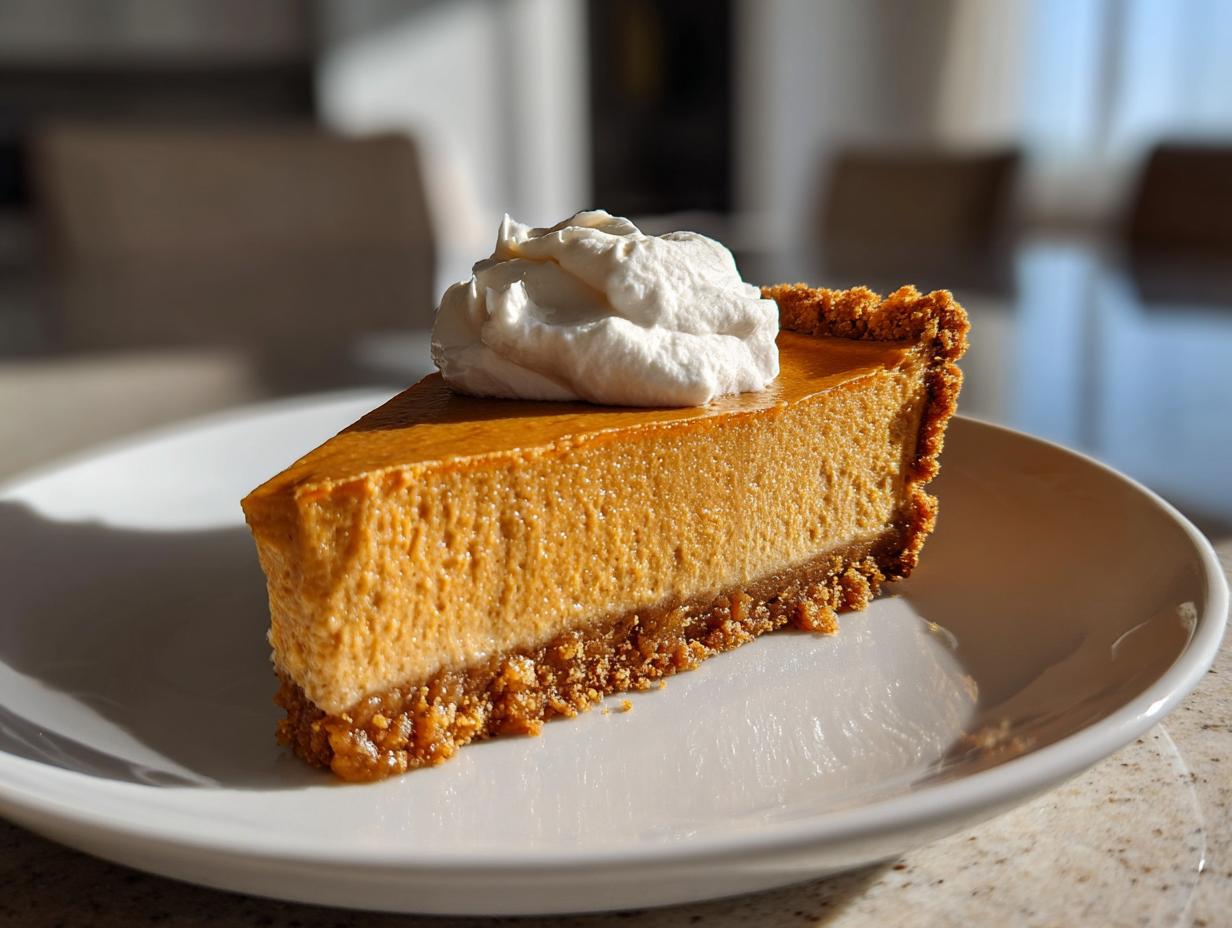
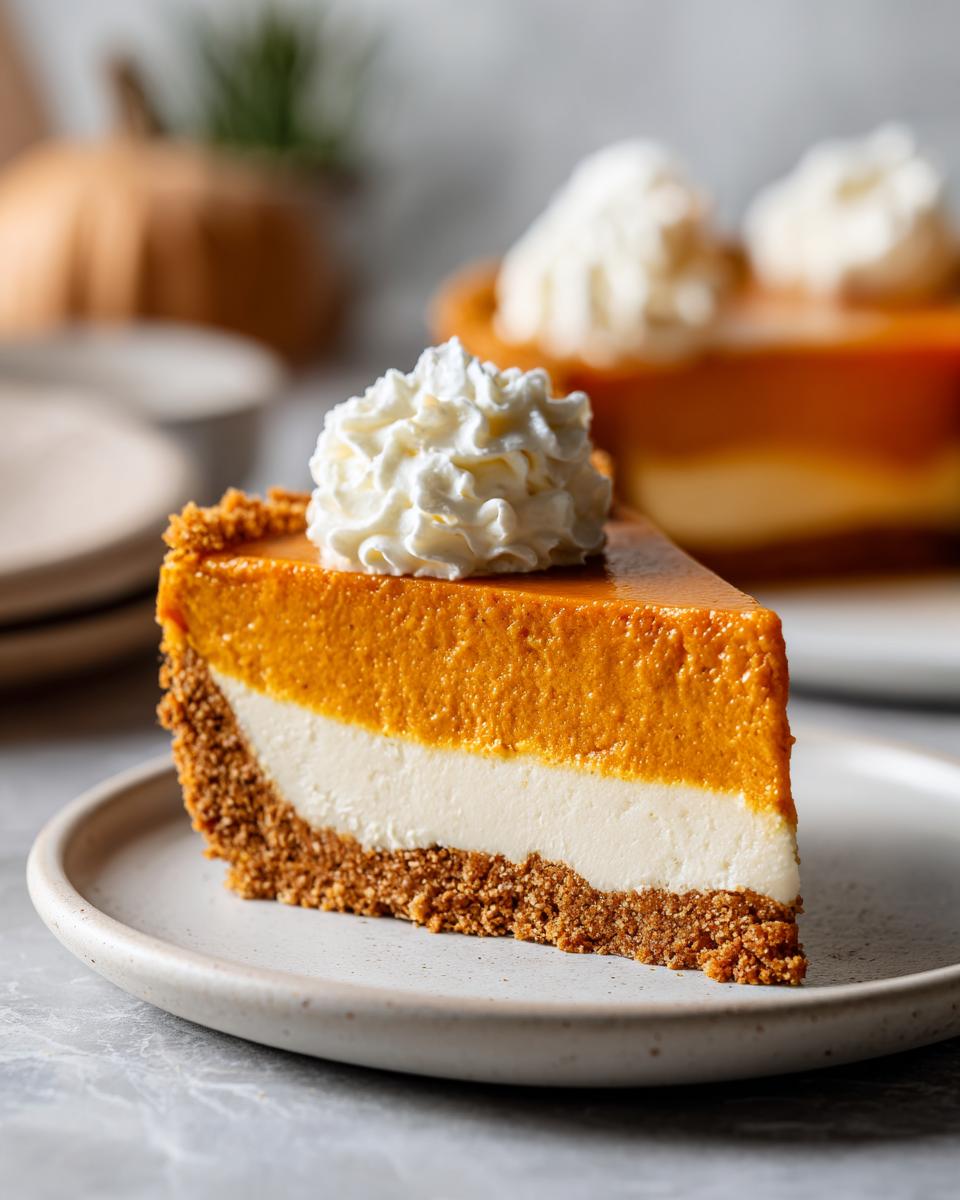
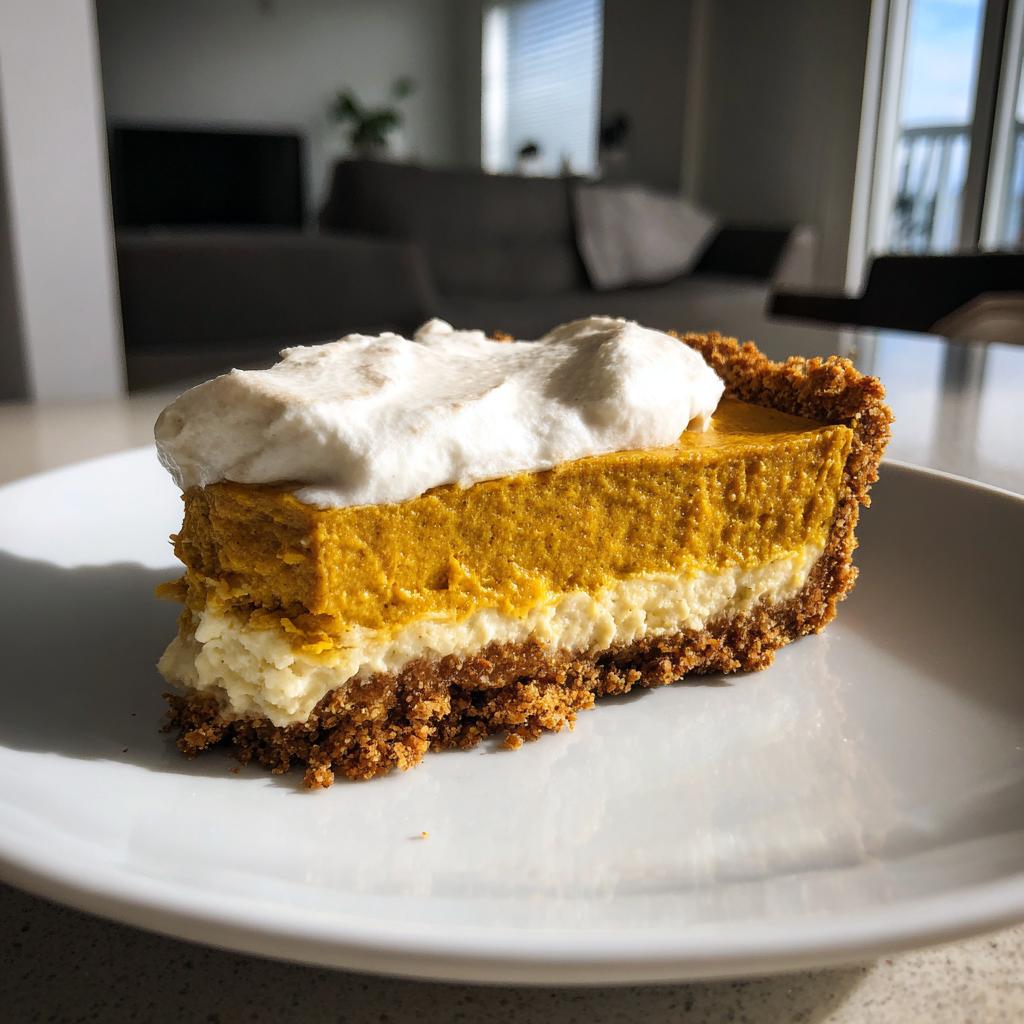
- Crowd-pleasing flavors: That rich pumpkin spice? The buttery crust? Pure nostalgia on a plate.
- Easy storage: They actually taste better after chilling—no sad, dried-out desserts here!
Plus, imagine actually getting to chat with Aunt Linda instead of frantically whisking custard. Total win.
Ingredients for Foolproof Make-Ahead Thanksgiving Desserts
Okay, let’s talk ingredients – the building blocks of our stress-free Thanksgiving masterpiece! I’m all about keeping things simple but never skimping on flavor. Here’s exactly what you’ll need, grouped by component so you can conquer this recipe step by step.
For the Crust (aka the buttery foundation of joy):
- 1.5 cups graham cracker crumbs – Pro tip: buy whole crackers and crush them yourself for maximum freshness (just whack ’em in a bag and roll with a pin – great stress reliever!)
- 1/2 cup melted butter – Use the real deal here, none of that margarine business. I always melt mine in the microwave in 15-second bursts so it doesn’t separate.
- 1/4 cup sugar – Plain white sugar works perfectly to balance the graham’s honey flavor.
For the Filling (where the magic happens):
- 2 cups pumpkin puree – Not pie filling, just pure puree. Libby’s is my go-to, but any good brand works as long as it’s 100% pumpkin.
- 1 can (14 oz) sweetened condensed milk – That iconic eagle brand we all recognize from holiday commercials. Don’t shake the can – it makes pouring easier!
- 2 eggs – Large, please. I always crack mine into a separate bowl first – one rogue shell can ruin your whole batch.
- 1 tsp cinnamon – The cozy hug of spices. Measure with your heart, but start here.
- 1/2 tsp nutmeg – Freshly grated if you’re feeling fancy, but the pre-ground works just fine too.
See? Nothing crazy or hard-to-find – just straightforward ingredients that come together to make something absolutely magical. The best part? You probably have half this stuff in your pantry already!
Equipment Needed for Foolproof Make-Ahead Thanksgiving Desserts
Now, let’s talk tools – and don’t worry, we’re keeping it simple! You probably have everything already. Here’s what you’ll need to make these life-saving desserts:
- Mixing bowls – One for the crust, one for the filling. I like to use my big glass one for the filling because I can see when everything’s perfectly combined.
- Baking dish – A standard 9-inch pie plate works great, but I’ve used square baking dishes in a pinch too. Just adjust the baking time if it’s deeper.
- Whisk – My trusty wire whisk never fails me for getting that filling silky smooth. A fork works in an emergency, but the whisk makes it so much easier!
That’s seriously it – no fancy gadgets required. The beauty of these make-ahead desserts is how simple they are to throw together with basic kitchen tools!
Step-by-Step Instructions for Foolproof Make-Ahead Thanksgiving Desserts
Alright, let’s get baking! I’ll walk you through each step so you can nail this dessert with zero stress. Follow along – it’s easier than convincing Uncle Bob not to talk politics at the table!
Preparing the Crust
First, grab that crust mixture – our buttery foundation of deliciousness. Dump your graham cracker crumbs, melted butter, and sugar into a mixing bowl. Honestly, I just use my (clean!) hands to mix it – you’ll know it’s ready when it holds together when squeezed, like damp sand at the beach. Now here’s the key: press firmly into your baking dish, going up the sides just a bit. I use the bottom of a measuring cup to really pack it in – you want it tight but not crushed. Take your time here – a well-packed crust means no crumbling disasters when slicing later!
Making the Filling
Now for the star of the show! In your other bowl, combine the pumpkin puree and sweetened condensed milk first. Whisk until they’re best friends – no streaks remaining. Crack those eggs into a separate bowl (trust me, fishing for shells isn’t fun), then whisk them in. Add your cinnamon and nutmeg – I usually give an extra sprinkle because… well, why not? The filling should be velvety smooth with no lumps. If you’re worried it’s too thick, that’s perfect – it’ll loosen up nicely in the oven!
- Preheat your oven to 350°F (175°C) – If yours runs hot like mine, maybe go for 340°F.
- Pour the filling over your crust – I use a spatula to scrape every last bit from the bowl (no waste here!).
- Bake for 45 minutes – It’s done when the edges are set but the center still has a slight jiggle, like relaxed Jell-O.
- Cool completely on a rack – About 1-2 hours. Trying to chill it warm makes the fridge sweat, and nobody wants that.
- Refrigerate for at least 4 hours – Overnight is magic – the flavors meld and the texture becomes dreamy.
See? Simple steps for maximum reward. The hardest part is waiting to dig in!
Tips for Perfect Foolproof Make-Ahead Thanksgiving Desserts
Alright, let me spill my secrets for absolute dessert success! After making this every Thanksgiving for years (and the occasional « oops, I need a pie ASAP » emergency), here are my can’t-live-without tips:
Chill that crust! After pressing it into the pan, pop it in the fridge for 10 minutes before adding filling. This helps prevent soggy bottoms—I learned this the hard way after a particularly tragic Thanksgiving 2017. Trust me, your future self will thank you when you get perfect slices.
For doneness, don’t just rely on time—do the toothpick test about 5 minutes early. Insert it near the center; it should come out mostly clean with just a few moist crumbs. If it’s wet batter, give it a few more minutes. Overbaking turns our lovely dessert into pumpkin cardboard—and nobody wants that.
Here’s my favorite trick: let it cool slowly on the counter before refrigerating. Rushing this step causes condensation, which makes the top weep. Last year I got impatient and threw it in the fridge warm… let’s just say it looked like it had been crying. Lesson learned!
Oh, and if you’re really ahead of schedule? These actually freeze beautifully for up to a month! Just wrap tightly in plastic, then foil. Thaw in the fridge overnight—it tastes just as amazing as the day you made it.
Storage and Make-Ahead Instructions
Okay, let’s talk about my favorite part—how this dessert actually gets better with time! After the agony of waiting (I know, I’m impatient too), you’ll want to refrigerate it for at least 4 hours, but honestly? Overnight is pure magic. The flavors cozy up together and the texture goes from « good » to « oh-my-goodness-where-has-this-been-all-my-life. » Cover it with plastic wrap pressed right against the surface to prevent any fridge smells from sneaking in.
You can make this beauty up to 2 days ahead—just keep it chilled until showtime. Want to serve it at its absolute best? Take it out 15 minutes before slicing so it’s cool but not ice-cold. And get this—if you’re a super-planner (no judgment, I admire you), it freezes like a dream for up to a month. Just double-wrap it in plastic, then foil, and thaw overnight in the fridge. Works perfectly every time—I’ve tested this more times than I can count between Thanksgivings and random Tuesday cravings!
Nutritional Information
Okay, let’s be real—this is dessert, not a health food, but I know some folks like to keep track (looking at you, Aunt Karen with your post-feast workout plans!). These numbers are just estimates since ingredients vary, but here’s the scoop per serving:
- Calories: About 320 – worth every single one!
- Fat: 14g (8g saturated from that glorious butter)
- Carbs: 45g (35g sugars because, well, dessert!)
- Protein: 6g (Hey, eggs count!)
But between you and me? On Thanksgiving, nutritional info is more of a fun fact than a rule. Enjoy that second slice—you earned it after all that meal prep!
Frequently Asked Questions
Can I use fresh pumpkin instead of canned?
Oh, absolutely—but there’s a trick to it! If you’ve got fresh pumpkin ready to go (you ambitious baker, you!), just roast and puree it until smooth. The key? Strain it overnight in cheesecloth to remove excess moisture. Canned pumpkin is thicker because water’s already been removed—your filling will be soupier otherwise! I learned this the hard way when my « homemade » pie slid right off the crust. Oops!
How long does this dessert actually keep?
This beauty stays heavenly for up to 4 days chilled—though it rarely lasts that long in my house! Tightly wrapped with plastic touching the surface (so it doesn’t dry out), it actually tastes better on day two as flavors meld. Just give leftovers a sniff test—if your spidey senses tingle, toss it. But honestly? You’ll probably polish it off during late-night fridge raids first.
Can I freeze leftovers?
Freeze away, my friend! Wrap individual slices tightly in plastic, then foil—they’ll keep for a month. Thaw overnight in the fridge or… don’t tell anyone I said this… microwave straight from frozen when cravings hit. The texture stays remarkably creamy—I’ve smuggled frozen slices to work for emergency desk snacks more times than I care to admit!
What if my filling cracks while baking?
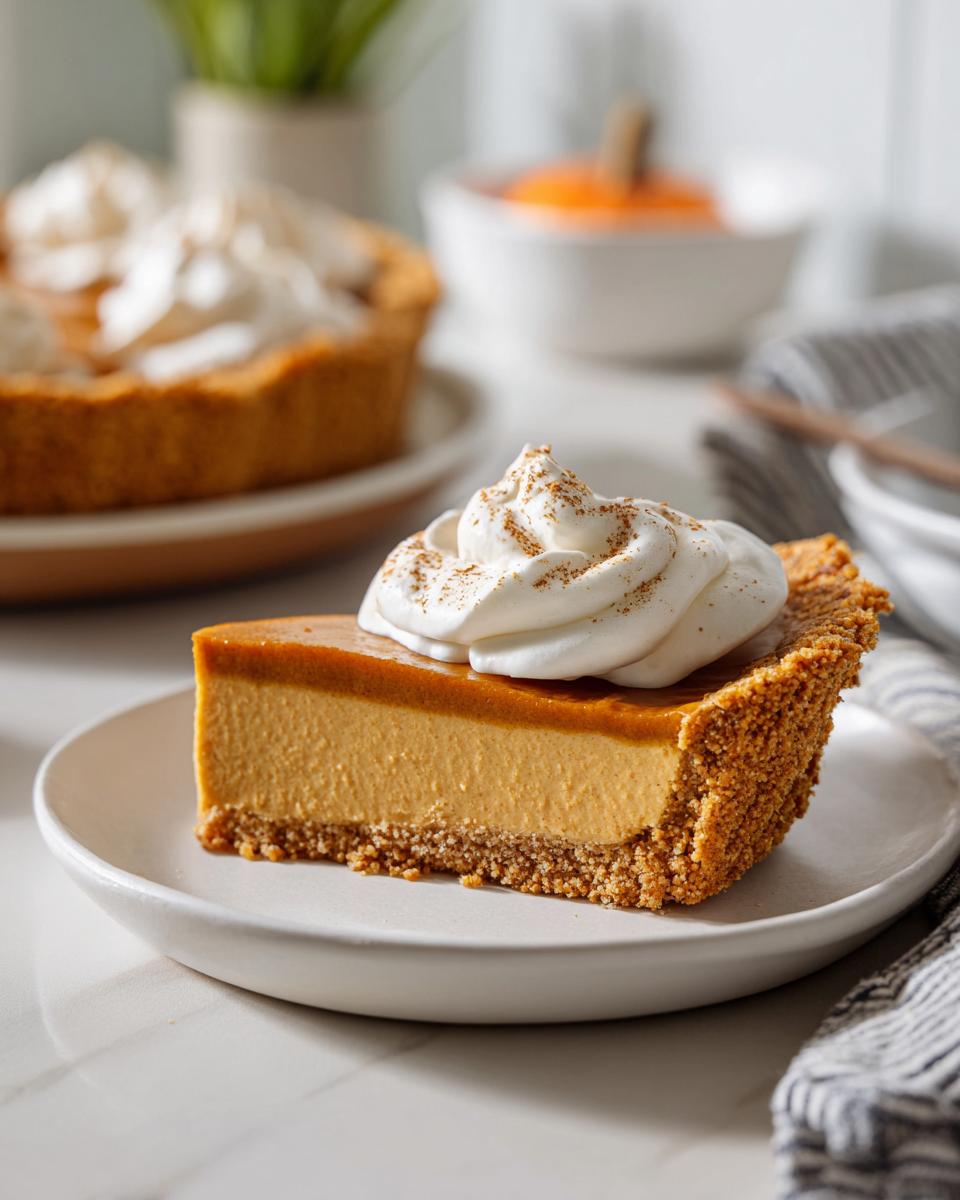
First: take a deep breath—it happens to all of us! Cracks usually mean it baked just a smidge too long or cooled too fast. Here’s my fix: dollop some whipped cream over the top like fluffy snowdrifts hiding cracks in pavement. Or get fancy with candied pecans! No one will ever know—and hey, imperfections taste just as delicious.
Can I make this gluten-free?
You bet! Just swap graham crackers for gluten-free ones—they’re surprisingly easy to find now. Or use almond flour mixed with melted butter and sugar for an extra-toasty crust. The filling’s naturally gluten-free already. Warning though: gluten-free versions disappear even faster—something about that « safe for everyone » magic makes people seconds-helpings happy!
Ready to Save Your Thanksgiving Sanity?
So what do you say—ready to give yourself the gift of stress-free holidays? Once you taste how amazing this dessert is (and how much time it saves you), you’ll wonder how you ever survived Thanksgiving without it. Go ahead—make it, enjoy it, and come back to tell me how much your family loved it. I’ll be here, probably eating my fifth slice while watching the parade in peace!
Foolproof Make-Ahead Thanksgiving Desserts
Ingrédients
Equipment
Method
- Preheat the oven to 350°F (175°C).
- Mix graham cracker crumbs, melted butter, and sugar in a bowl. Press into a baking dish to form the crust.
- In another bowl, whisk together pumpkin puree, sweetened condensed milk, eggs, cinnamon, and nutmeg until smooth.
- Pour the filling over the crust and bake for 45 minutes, or until set.
- Let cool completely, then refrigerate for at least 4 hours before serving.