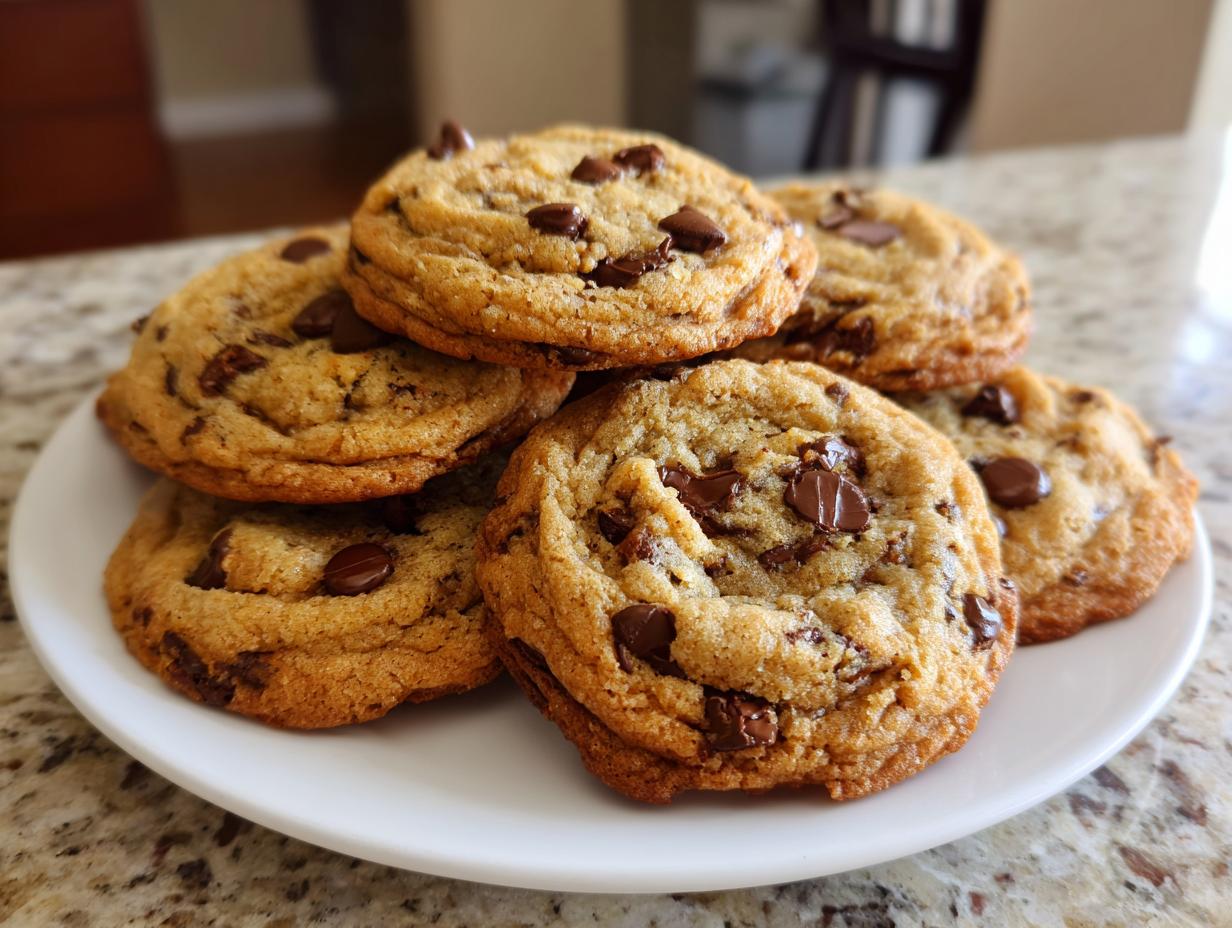
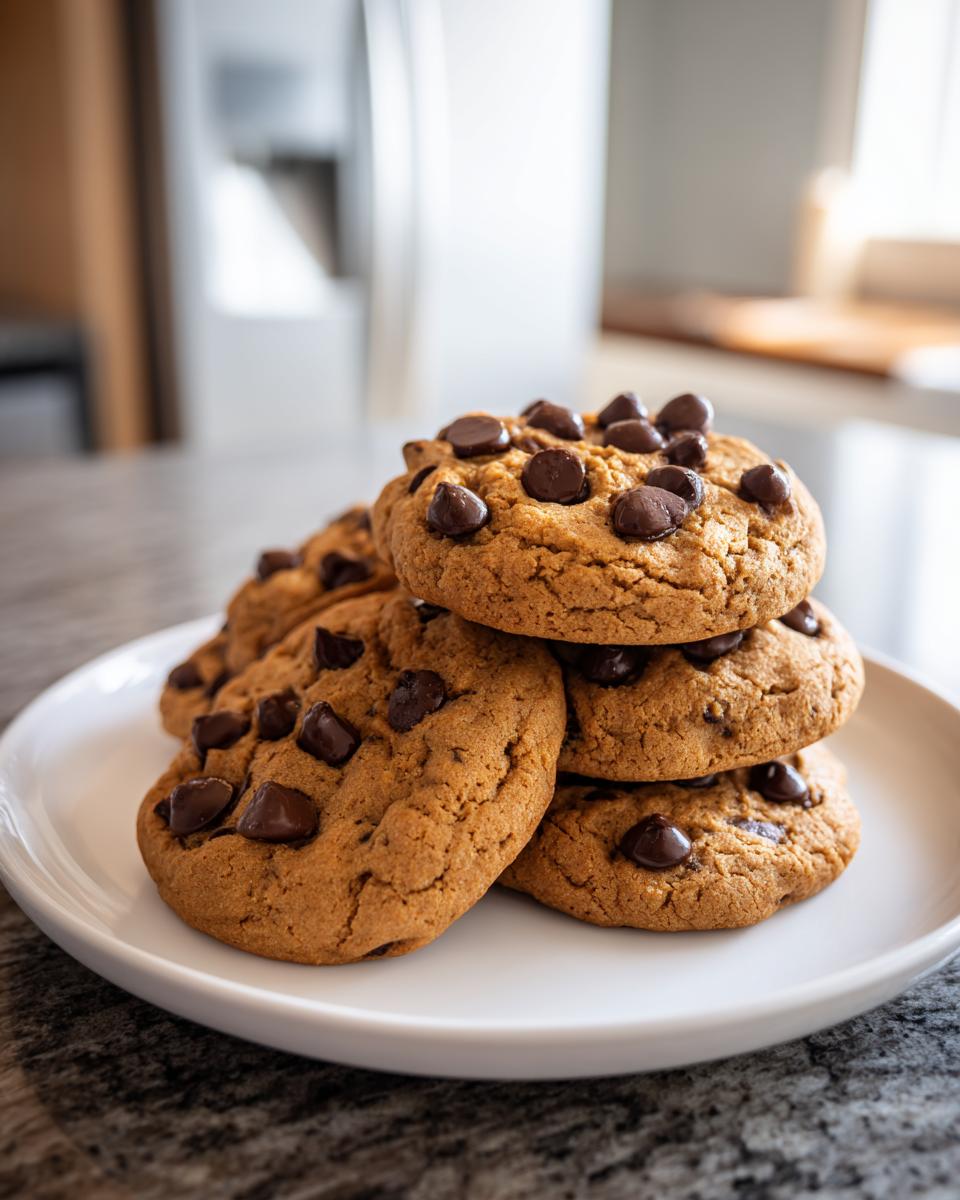
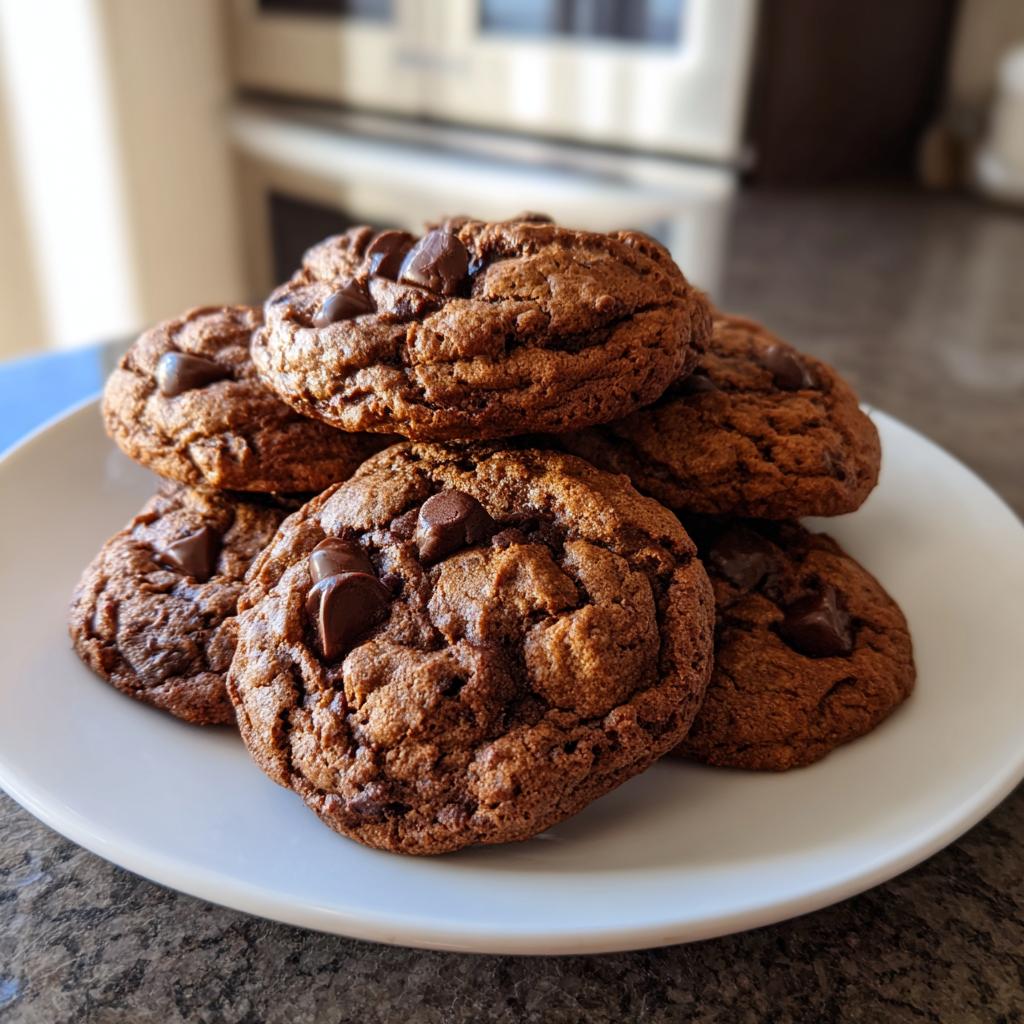
Is there anything more comforting than the smell of chocolate chip cookies baking in the oven? That golden brown exterior giving way to a soft, melty center – it’s pure magic, I tell you! These cookies have been my go-to since I was a kid, standing on a stool next to my mom, sneaking chocolate chips when she wasn’t looking. What makes these special? That perfect balance of crisp edges and chewy middles that makes you want to eat just one more… okay, maybe three more. Trust me, once you try this recipe, you’ll never go back to store-bought dough again.
Why You’ll Love These Chocolate Chip Cookies
Oh my goodness, where do I even start? These cookies are my absolute pride and joy, and here’s why they’ll become your new favorite too:
- Quick as a wink – From mixing bowl to cooling rack in under 30 minutes! Perfect for when that cookie craving hits hard.
- Texture heaven – Crispy golden edges that give way to a soft, chewy center with melty chocolate in every bite.
- Just sweet enough – The combo of brown and white sugar creates that perfect balance – not too sugary, not too bland.
- Crowd-pleaser magic – I’ve yet to meet anyone who can resist these warm from the oven. They disappear faster than I can bake them!
Seriously, these cookies have saved my reputation at more potlucks than I can count. The secret? That little extra pinch of salt that makes all the flavors pop!
Ingredients for Chocolate Chip Cookies
Alright, let’s talk ingredients – and I mean the good stuff! Over the years, I’ve learned that quality matters when it comes to chocolate chip cookies. Here’s exactly what you’ll need, grouped by how they’ll go into the mixing bowl:
Dry Ingredients
- 2 ¼ cups all-purpose flour – Spoon and level it, don’t scoop! Packed flour leads to dry cookies.
- 1 teaspoon baking soda – Make sure yours is fresh for maximum rise.
- 1 teaspoon salt – I use kosher salt because it distributes better than table salt.
Wet Ingredients
- 1 cup unsalted butter, softened – This means cool to the touch but leaves an indent when pressed. Not melted!
- ¾ cup granulated sugar – For that classic sweetness.
- ¾ cup packed brown sugar – Dark brown if you’ve got it – the molasses makes all the difference.
- 2 large eggs – Room temperature blends better. Just set them out 30 minutes before baking.
- 2 teaspoons vanilla extract – Splurge on the real stuff, not imitation.
Add-ins
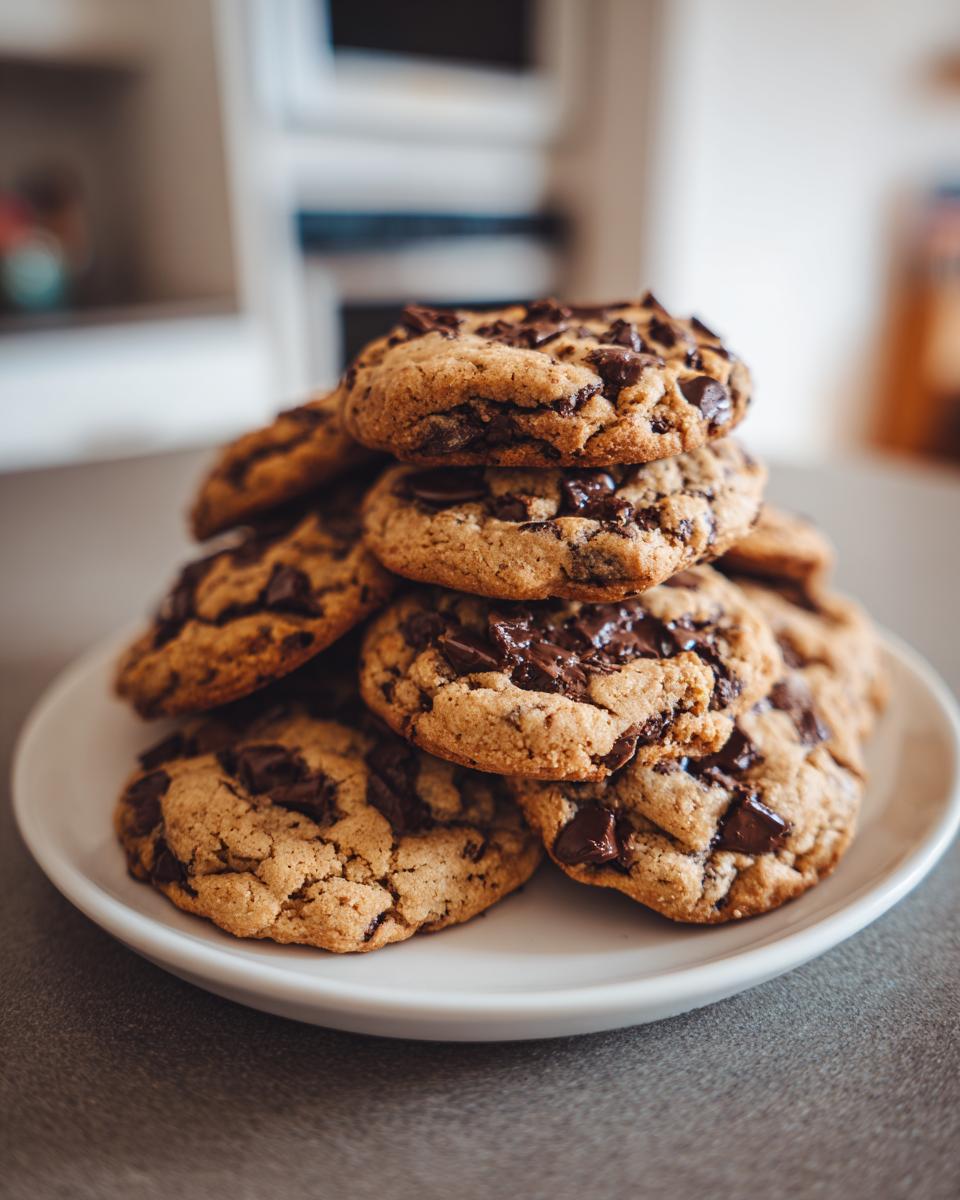
- 2 cups chocolate chips – I’m partial to semi-sweet, but use whatever makes you happy! Sometimes I’ll do half chips, half chunks for texture.
See? Nothing too fancy, just good old-fashioned ingredients that come together to make magic. Now let’s get mixing!
Equipment Needed for Chocolate Chip Cookies
Listen, I know we all want to jump right into baking, but let’s make sure you’ve got the right tools first! You don’t need anything fancy – just these basics:
- Mixing bowl – Any decent-sized bowl will do, but I love my big ceramic one with the rubber bottom (no sliding around when I’m mixing!).
- Baking sheet – Standard cookie sheets work great, but if you’ve got a dark non-stick one, watch your baking time – they brown faster!
- Electric mixer – My stand mixer is my best friend, but a hand mixer works just fine. No mixer? A wooden spoon and some elbow grease will get you there!
That’s really it! Oh, and don’t forget a spatula for scraping the bowl – we don’t want to waste a single bit of that delicious dough!
How to Make Chocolate Chip Cookies
Okay, friends – this is where the magic happens! I’ve made these chocolate chip cookies so many times I could probably do it in my sleep, but I’ll walk you through each step carefully. The key is taking your time and enjoying the process – good cookies can’t be rushed!
Step 1: Preheat and Prep
First things first – crank that oven to 375°F (190°C). While it’s heating up, line your baking sheets with parchment paper. Trust me, this isn’t just to make cleanup easier – it prevents the bottoms from getting too dark while keeping that perfect golden color.
Step 2: Mix Dry Ingredients
Grab a medium bowl and whisk together your flour, baking soda, and salt. Really get in there and break up any little lumps – we want everything evenly distributed so every bite is perfectly balanced.
Step 3: Cream Butter and Sugars
Now for the fun part! In your big mixing bowl, beat the softened butter with both sugars until it’s light and fluffy. This should take about 2-3 minutes with a mixer. You’ll know it’s ready when the mixture looks almost like frosting – pale and creamy.
Step 4: Add Eggs and Vanilla
Add your eggs one at a time, mixing well after each. This helps everything incorporate smoothly. Then pour in that glorious vanilla – the smell alone will make your kitchen heavenly! Remember, room temperature eggs blend better, so don’t skip that step.
Step 5: Combine Wet and Dry Mixtures
Here’s where patience pays off. Gradually add your dry ingredients to the wet mixture, mixing just until combined after each addition. Overmixing is the enemy of tender cookies! A few flour streaks are okay – they’ll disappear when you add the chocolate chips.
Step 6: Fold in Chocolate Chips
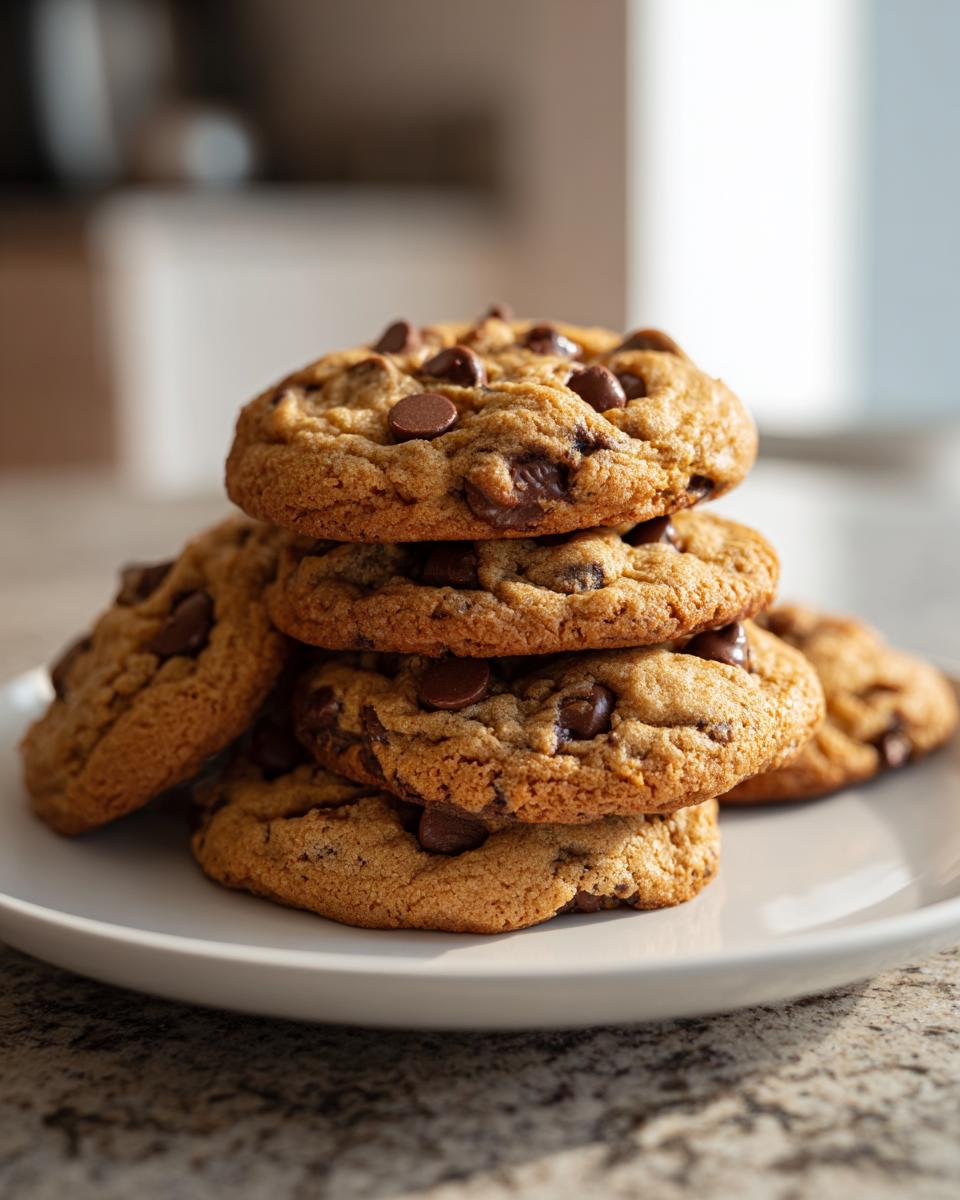
Now the best part – the chocolate! Gently fold in those chips until they’re evenly distributed. I like to save a handful to press onto the tops of the dough balls before baking – makes them look extra pretty.
Step 7: Bake to Perfection
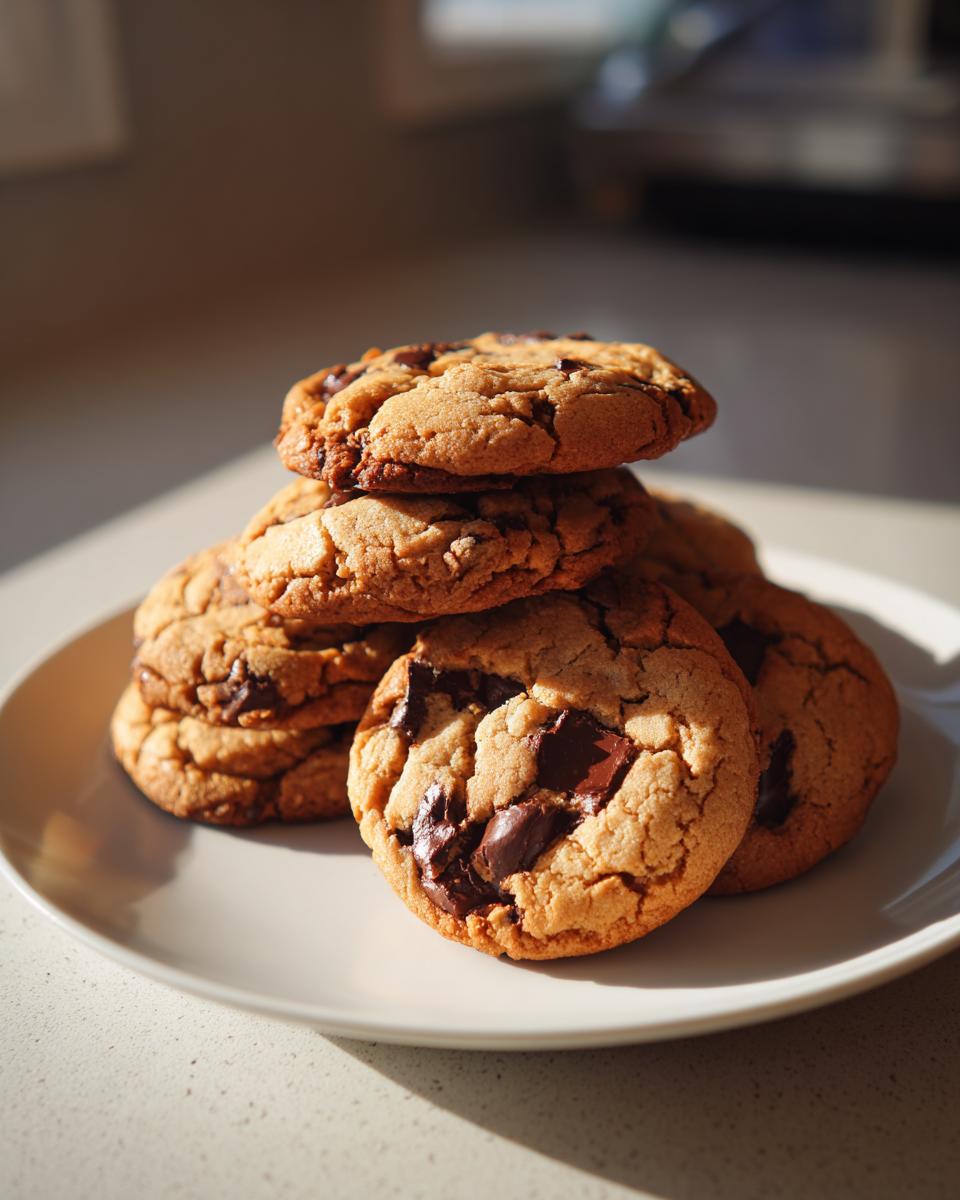
Use a tablespoon or cookie scoop to portion your dough onto the prepared sheets, leaving about 2 inches between each. Bake for 9-11 minutes until the edges are golden but the centers still look slightly underdone. They’ll keep cooking as they cool – that’s the secret to soft centers! Let them rest on the sheet for 5 minutes before transferring to a rack.
And there you have it – perfect chocolate chip cookies every time! The hardest part now is waiting for them to cool enough to eat without burning your tongue… but hey, I won’t judge if you can’t wait!
Tips for Perfect Chocolate Chip Cookies
Oh honey, let me share my hard-earned cookie wisdom with you! After burning more batches than I’d care to admit, here are my can’t-live-without tips:
- Chill that dough! Pop it in the fridge for 30 minutes before baking – it prevents spreading so you get those gorgeous thick cookies with soft centers.
- Good chocolate matters – I splurge on quality chocolate chips or chop up a bar. Those waxy store-brand chips just don’t melt the same way.
- Flour measuring 101 – Spoon flour into your measuring cup and level it off. Scooping packs it down and gives you dry, crumbly cookies (been there!).
- Rotate those pans – Halfway through baking, switch your trays front to back and top to bottom for even browning. Ovens lie about their hot spots!
Bonus tip? Always bake a test cookie first – that way you can adjust the time before committing a whole batch!
Storage and Freezing Instructions
Listen, I know the idea of having leftover cookies seems crazy, but just in case you manage to resist eating them all in one sitting (no judgment if you don’t!), here’s how to keep them fresh. Store cooled cookies in an airtight container at room temperature – they’ll stay soft and delicious for up to 5 days. Pro tip? Toss in a slice of bread to keep them extra moist!
Now, here’s my favorite trick – freezing the dough! Scoop portions onto a baking sheet, freeze until solid, then transfer to a freezer bag. They’ll keep for 3 months, and you can bake straight from frozen (just add 1-2 extra minutes). Baked cookies freeze great too – just thaw at room temperature for about an hour when that cookie craving strikes!
Nutritional Information
Now, I’m no nutritionist, but I can tell you these cookies are made with love (and butter)! Keep in mind all nutritional info is just an estimate – it really depends on your exact ingredients and how big you make those cookies. Everything in moderation, right? Though good luck stopping at just one!
Frequently Asked Questions
Okay, let’s tackle those burning cookie questions I get all the time! These are the ones my friends and family ask me constantly – and hey, no shame in asking, we’ve all been there!
Can I use melted butter instead of softened?
Oh honey, I know it’s tempting to zap that butter in the microwave, but resist! Melted butter makes cookies spread too much and lose that perfect thickness. If you forgot to soften your butter, try this trick: cut it into small cubes and let it sit for 15 minutes. Still too hard? Grate it with a cheese grater – works like magic!
How do I make my cookies extra chewy?
My secret? Use more brown sugar than white sugar (try 1 cup brown to ½ cup white) and pull them out when the centers still look slightly underdone. Also, let the dough chill for at least 30 minutes before baking – this helps develop that wonderful chewiness we all love!
Can I freeze the cookie dough?
Absolutely! In fact, I always keep some in my freezer for emergencies (you know, those « I need cookies NOW » moments). Scoop the dough into balls, freeze on a tray, then transfer to a freezer bag. Bake straight from frozen – just add 1-2 extra minutes. The dough keeps beautifully for 3 months… if you can resist it that long!
Why did my cookies come out flat?
Oh no, the dreaded pancake cookies! Usually this means your butter was too soft or melted, or your baking soda might be old. Next time, try chilling the dough first and check that your leaveners are fresh. And don’t forget – measure your flour correctly (spoon and level, don’t scoop)!
Can I use chocolate chunks instead of chips?
Yes, yes, a thousand times yes! I actually prefer chunks because they create those gorgeous melty pools of chocolate. Just chop up your favorite chocolate bar into uneven pieces – the variety makes every bite exciting. Pro tip: freeze the chunks for 10 minutes before mixing in so they hold their shape better in the dough!
Chocolate Chip Cookies
Ingrédients
Equipment
Method
- Preheat the oven to 375°F (190°C). Line baking sheets with parchment paper.
- In a bowl, whisk together flour, baking soda, and salt.
- In another bowl, beat butter, granulated sugar, and brown sugar until creamy.
- Add eggs one at a time, then mix in vanilla.
- Gradually add the dry ingredients to the wet mixture, mixing until combined.
- Fold in chocolate chips.
- Drop tablespoon-sized dough onto baking sheets, spacing 2 inches apart.
- Bake for 9-11 minutes or until edges are golden.
- Let cool on baking sheets for 5 minutes before transferring to a wire rack.