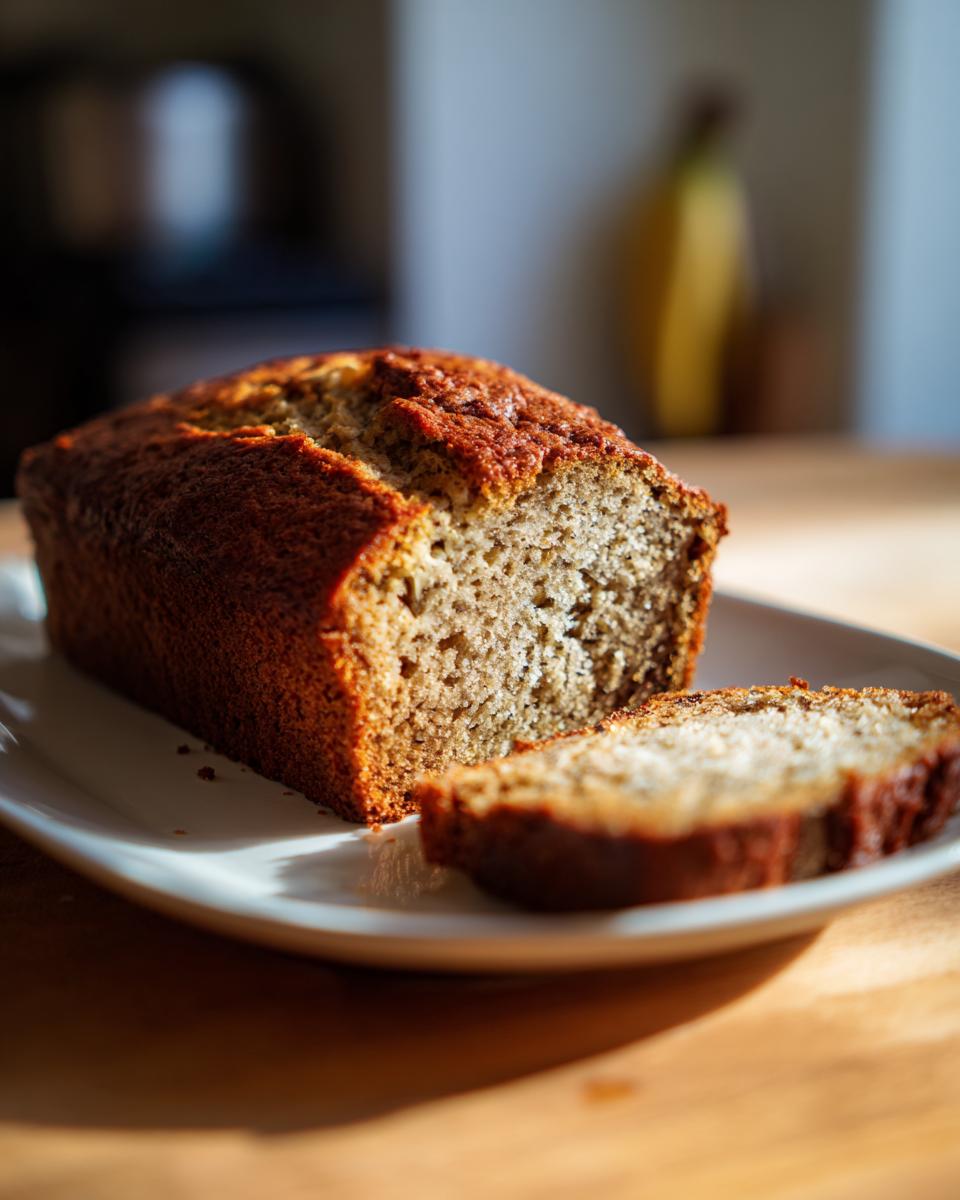
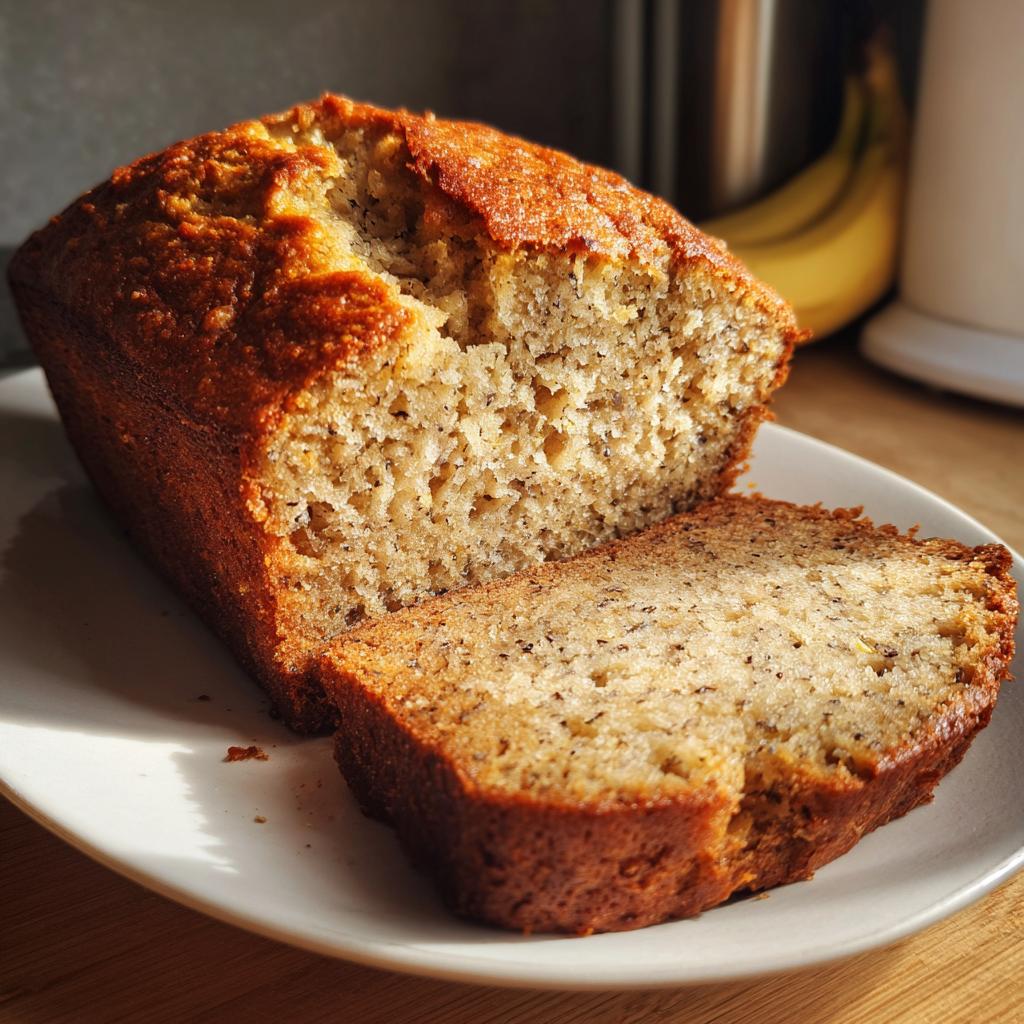
Ahh, that warm, sweet smell of banana bread fresh out of the oven—honestly, is there anything more welcoming? My whole childhood smelled like this on Saturday mornings when Mom would use up those last three sad, spotty bananas that nobody wanted to eat. Turns out, those mushy bananas make the best banana bread—packed with natural sweetness and so moist it practically melts in your mouth. I still remember standing on tiptoes to watch her mash them straight into the mixing bowl (no fancy fork required), that beautiful caramel-like color promising something magical was coming. Now when my own bananas start looking too brown, I don’t see old fruit—I see nostalgia waiting to happen.
Why You’ll Love This Banana Bread
Oh honey, this isn’t just any banana bread—it’s the kind that makes you do a little happy dance when you take that first bite. Here’s why it’s my go-to recipe:
- Moist like nobody’s business: Those overripe bananas? They’re not just for show—they create the most tender, melt-in-your-mouth crumb you’ve ever tasted.
- Pantry-friendly ingredients: Flour, sugar, eggs…chances are you’ve got everything already. No fancy supermarket runs needed!
- Quick to throw together: Ten minutes of prep and you’re done. Perfect for when those bananas suddenly look too sad for cereal.
- Endlessly adaptable: Feeling fancy? Toss in chocolate chips. Want crunch? Walnuts are your friend. This recipe’s like your favorite jeans—it looks good no matter how you dress it up.
Trust me, once you try this version, you’ll never go back to those dry, crumbly loaves again. It’s the kind of recipe that makes people ask, « Wait…you made this? » with that awed look in their eyes.
Ingredients for Banana Bread
Alright, let’s gather the good stuff! Here’s everything you’ll need to make this dreamy banana bread—grouped up so nothing gets missed. And don’t worry, it’s all super simple. I promise this isn’t one of those recipes where you’ll need to hunt down some obscure spice from three different stores!
Dry Ingredients
- 1.5 cups all-purpose flour (Yes, just plain old flour! No fancy blends here.)
- 1 tsp baking soda (The magic fluff-maker—don’t skip it!)
- ½ tsp salt (Balances the sweetness—trust me on this.)
Wet Ingredients
- 3 ripe bananas, mashed (The spottier, the better—this is their glorious moment to shine.)
- ¾ cup granulated sugar (Or go wild and use brown sugar for extra richness.)
- 1 egg, beaten (Just give it a quick whisk with a fork—no need for perfection.)
- ⅓ cup butter, melted (And slightly cooled. Because nobody wants scrambled eggs in their batter!)
That’s it! See? Told you it was easy. Now grab those bananas and let’s turn them into something magical.
How to Make Banana Bread
Okay, my friend, this is where the magic happens! Making banana bread is one of those « dump and stir » recipes that feels almost too easy—but follow these simple steps, and you’ll have a gorgeous golden loaf that’ll make your kitchen smell like heaven. Here’s exactly how I do it:
- Preheat your oven to 350°F (175°C) and grease your loaf pan. No fancy techniques here—a quick swipe of butter or a spritz of cooking spray does the trick. While the oven heats up, that gives your butter time to cool so it doesn’t cook your eggs when you mix everything. (Been there—it’s not pretty!)
- Whisk together your dry ingredients in one bowl—flour, baking soda, and salt. Just a few quick stirs to get them all friendly with each other. No need to sift unless you’re feeling fancy!
- In a separate bowl, mash those bananas with a fork (or go wild and use a potato masher if you’ve got one). Leave a few small lumps—they’ll melt into sweet pockets in the baked bread. Stir in the sugar, egg, and melted butter. The mixture will look kinda gross and gloppy, but don’t panic—that’s exactly what you want!
- Gently fold the wet into the dry ingredients with a spatula. Here’s the key: mix JUST until the flour disappears, even if there are still some streaks. Overmixing makes tough banana bread, and we’re all about that tender crumb life.
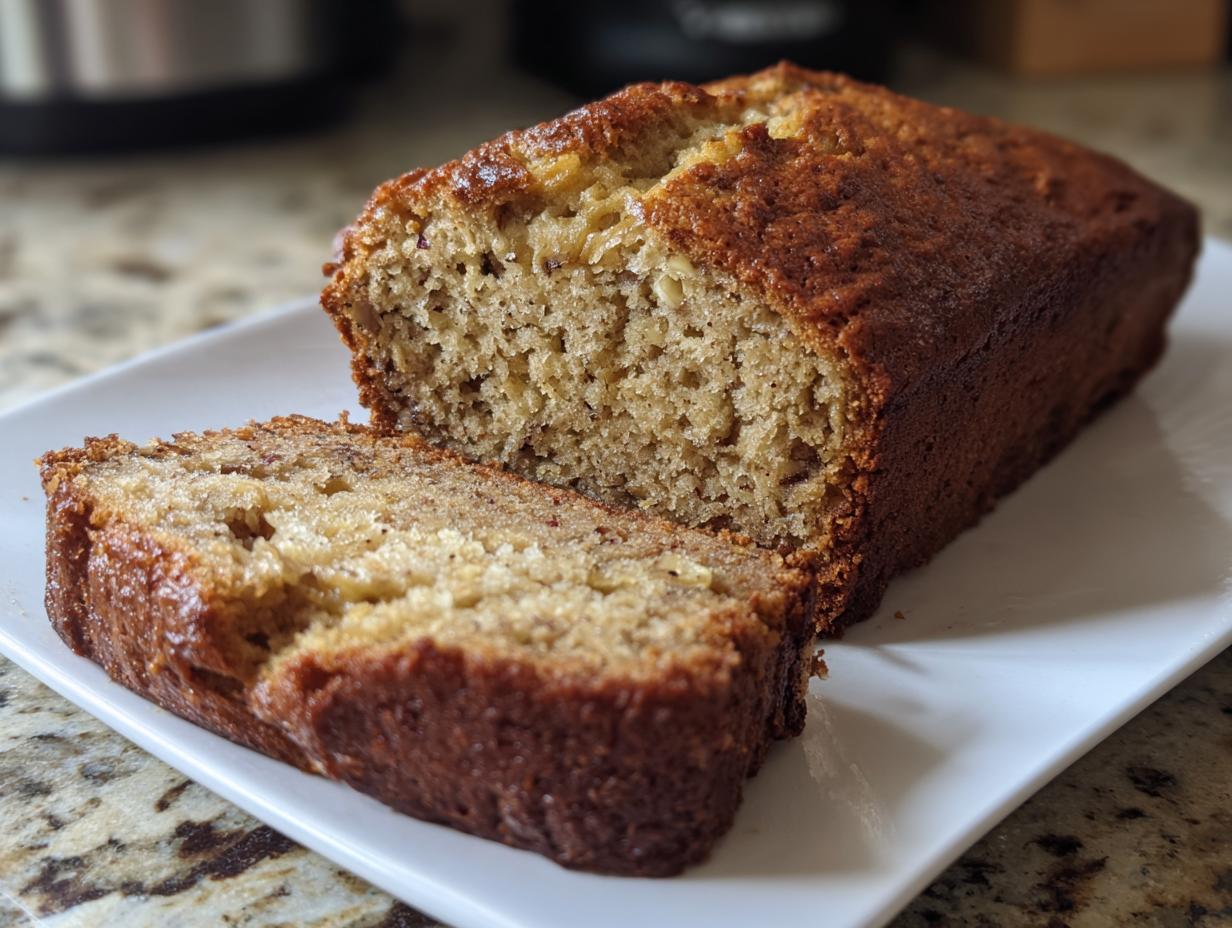
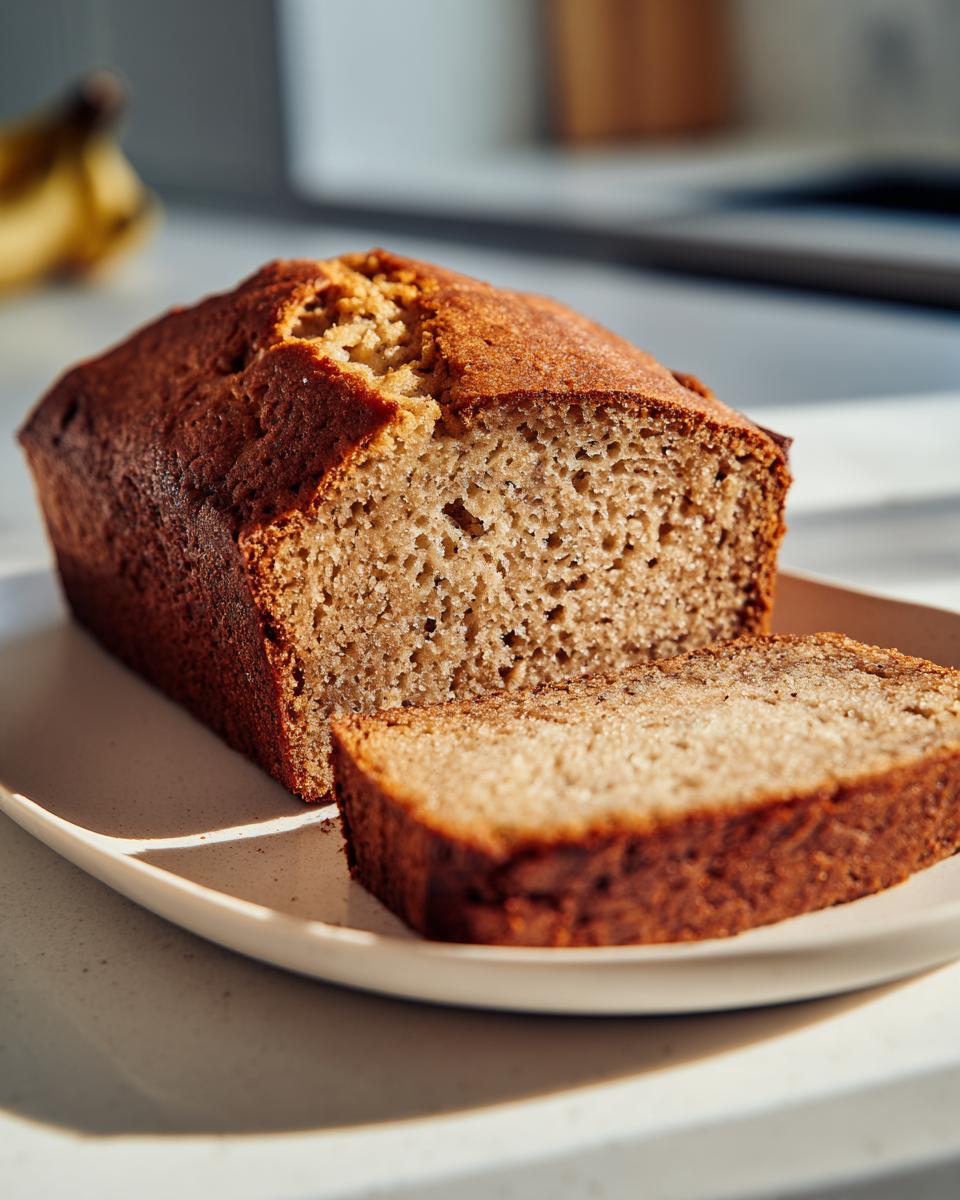
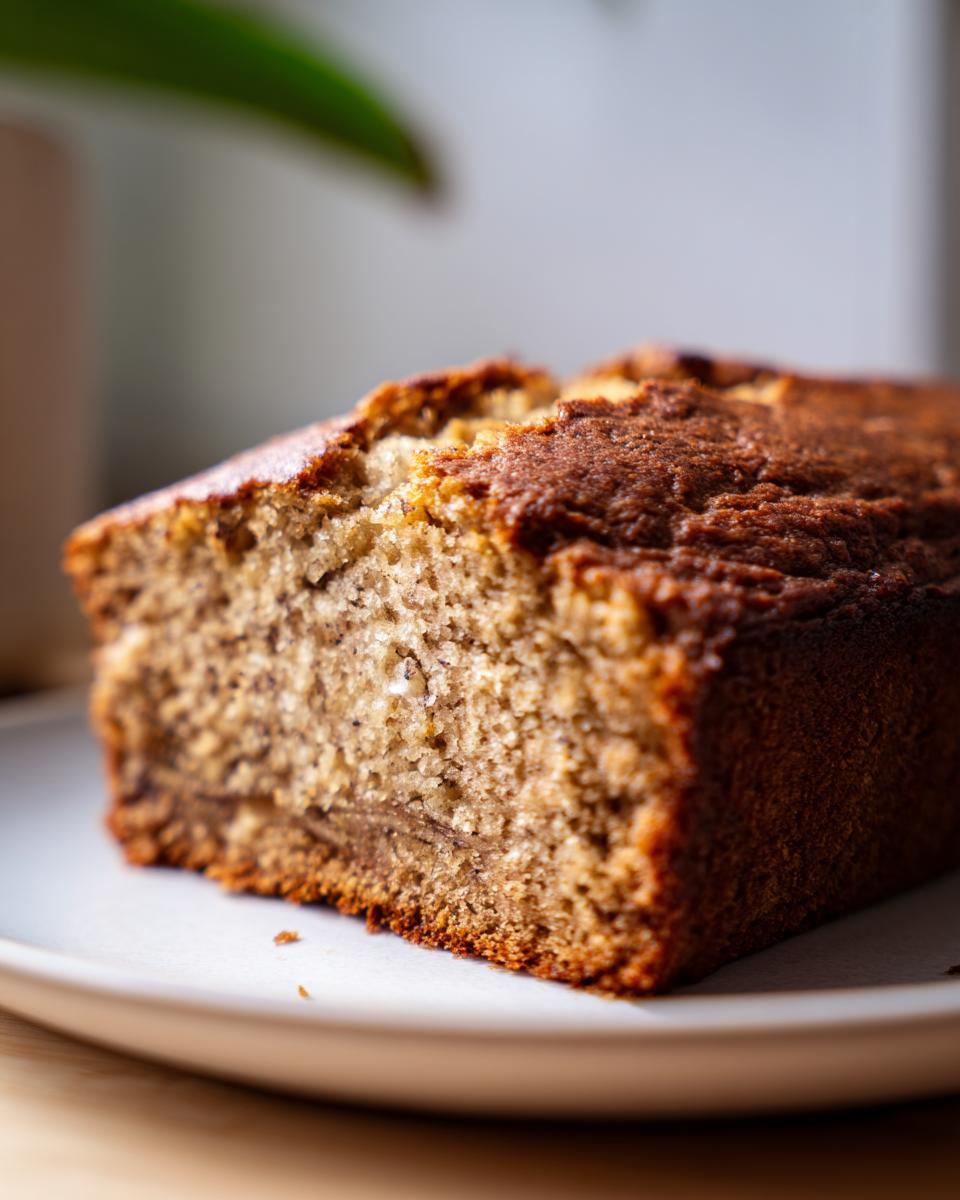
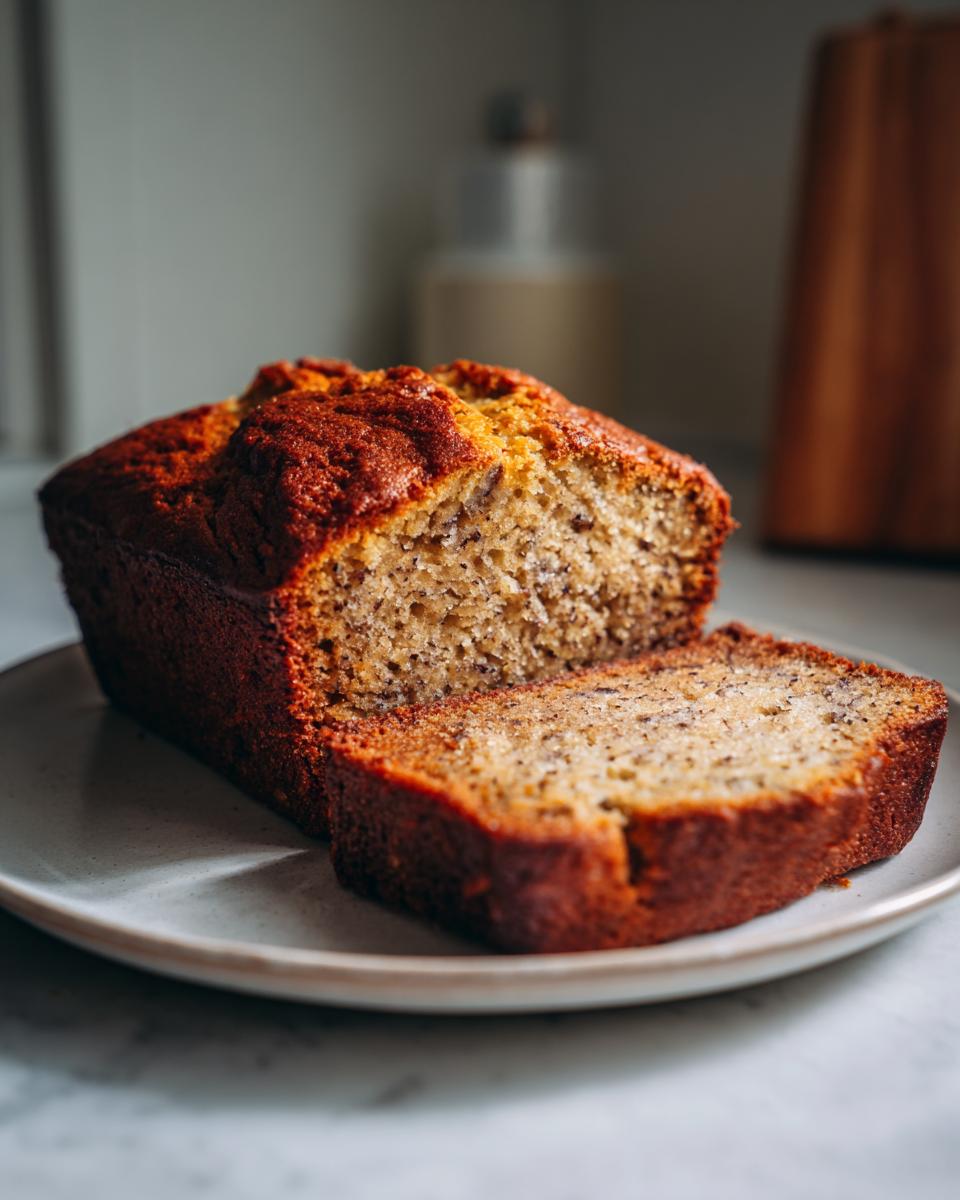
- Pour the batter into your prepared pan and smooth the top. Pop it in the oven for 60 minutes—but start checking at 50. If the top is getting too dark, tent it with foil. The bread’s done when a toothpick comes out clean (or with just a few moist crumbs—no wet batter!).
- Let it cool in the pan for 10 minutes before turning it out onto a rack. I know, I know—this is the hardest part! But patience keeps the bread from sticking and lets that perfect texture set up.
Tips for Perfect Banana Bread
Now for my golden rules—these little tricks make all the difference between « good » and « OH MY GOSH I NEED THE WHOLE LOAF »:
- Black bananas are your best friends—those almost-too-freaky-looking ones with tons of brown spots have the most natural sweetness and best texture.
- Don’t overmix—I do about 12-15 folds max after combining wet and dry. A few flour streaks are fine—they’ll disappear.
- Toothpick test isn’t just for show—poke a few spots since bananas can create moist pockets. If it comes out clean, you’re golden.
- Want extra moisture? Add ¼ cup plain yogurt or sour cream to the wet ingredients. Game changer!
There you go—that’s the secret handshake for perfect banana bread every time. Now go rescue those sad bananas and make some magic!
Variations for Banana Bread
Oh, the fun part! Banana bread is like a blank canvas just begging for your personal touch. Here are my favorite ways to jazz it up—some classic, some totally wild:
- Chocolate chip explosion: Toss in ½ cup of chocolate chips (I like dark chocolate for balance). The melty pockets take this from breakfast to dessert real quick.
- Crunchy walnut twist: Fold in ⅓ cup chopped walnuts for that perfect texture contrast. Toast ’em first for extra flavor!
- Cinnamon swirl magic: Mix 1 tbsp cinnamon with 2 tbsp sugar, then layer it through the batter before baking. Smells like heaven.
- Gluten-free? No problem: Swap the flour 1:1 with your favorite GF blend. My sister swears by almond flour—just add an extra egg for binding.
- Dairy-free delight: Use coconut oil instead of butter. Bonus points if you sprinkle shredded coconut on top!
See? One recipe, endless possibilities. What’ll you try first?
Storing and Freezing Banana Bread
Okay, here’s the deal with keeping your banana bread as delicious as day one—because if you’re anything like me, this loaf rarely lasts more than 24 hours (no judgment!). At room temp, just wrap it in a clean kitchen towel or stash it in an airtight container—it’ll stay moist for 2-3 days. Want it to last longer? Slice and freeze the pieces separately on a tray, then toss them in a freezer bag. They’ll keep for 3 months, and you can pop a slice straight into the toaster for that perfect warm-and-crispy breakfast magic. Pro tip: if you’re reheating a whole loaf, wrap it in foil and warm at 300°F for 10 minutes—tastes fresh-baked all over again!
Nutritional Information for Banana Bread
Now, let’s be real—nobody eats banana bread because it’s a « health food, » but hey, it’s got fruit in it, right? (That totally counts.) Just remember: these numbers are ballpark estimates—your exact calorie count might dance around a bit depending on your bananas’ ripeness, butter brand, or whether you went wild with chocolate chips. I like to think of each slice as pure joy with some potassium thrown in. And honestly? That’s all the math I need when I’m biting into a warm slice fresh from the oven!
Frequently Asked Questions About Banana Bread
Can I use frozen bananas?
Absolutely! Frozen bananas work like a charm—just thaw them first in a bowl (they’ll get super mushy, which is perfect). Save that liquid gold that drains off though—it’s packed with banana flavor! Stir it right back into the mash. My freezer always has a bag of black bananas waiting for their bread destiny. Pro tip: peel them before freezing unless you enjoy wrestling slippery banana skins.
How do I know when it’s done?
Ah, the eternal question! The toothpick test is your best friend—stick it in the center and look for moist crumbs (not wet batter). But here’s my secret: the bread should pull slightly away from the pan’s edges, and if you gently press the top, it should spring back. If it jiggles like Jell-O, give it 5 more minutes. And don’t panic if the top cracks—that’s just character!
Can I reduce the sugar?
You bet! I’ve cut it down to ½ cup and still had great results—especially with those super ripe bananas that are practically candy-sweet already. Want to go wild? Try swapping half the sugar with maple syrup or honey (reduce other liquids slightly). Just know the texture might be denser. My aunt makes it with no added sugar at all—but let’s just say her version is… an acquired taste!
Why did my bread sink in the middle?
Oh honey, we’ve all been there! Usually means it needed 5 more minutes in the oven or you opened the door too early. Other culprits: overmixing (turns the batter into a sad pancake) or expired baking soda (do the fizz test in vinegar!). But hey—sunken bread still tastes amazing smothered in peanut butter!
Can I make muffins instead?
Yes! This batter makes about 12 glorious muffins—just bake at the same temp for 20-25 minutes. They’re perfect for lunchboxes. Bonus: no slicing required when you’re sneaking one at midnight straight from the fridge!
Share Your Banana Bread Experience
Alright, spill the beans—how’d your banana bread turn out? Did you go classic or throw in some wild mix-ins? I live for your kitchen adventures! Snap a pic of that gorgeous loaf (or what’s left of it—no shame in the half-eaten game) and tag me. Your tweaks might just inspire my next batch! And hey, if you’ve got a genius tip I didn’t mention, share it below—we’re all in this delicious mess together.
Banana Bread
Ingrédients
Equipment
Method
- Preheat your oven to 350°F (175°C). Grease a loaf pan.
- In a mixing bowl, combine the flour, baking soda, and salt.
- In another bowl, mash the bananas and mix in the sugar, egg, and melted butter.
- Stir the banana mixture into the dry ingredients until just combined.
- Pour the batter into the prepared loaf pan and bake for 60 minutes, or until a toothpick inserted comes out clean.
- Let the bread cool in the pan for 10 minutes before transferring to a wire rack.