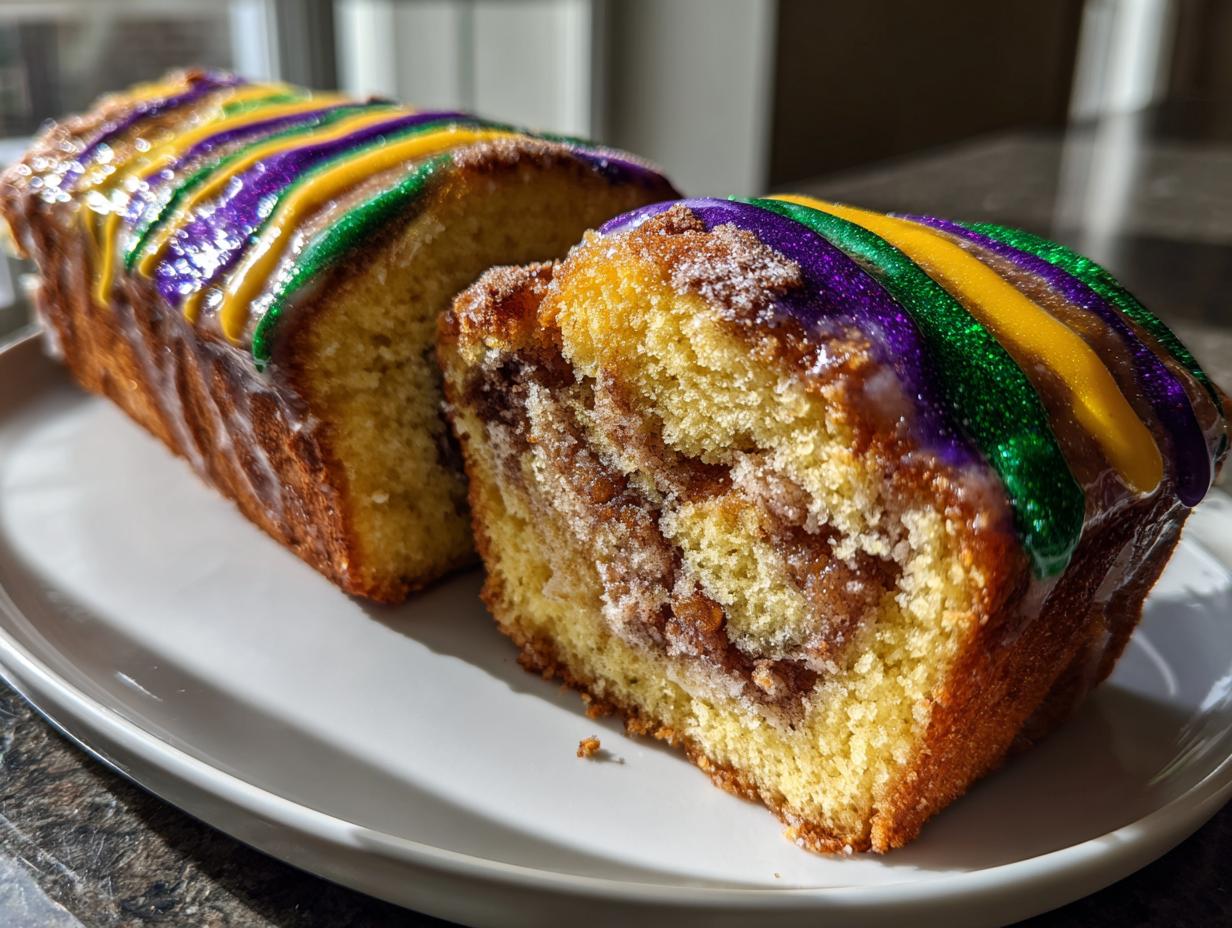
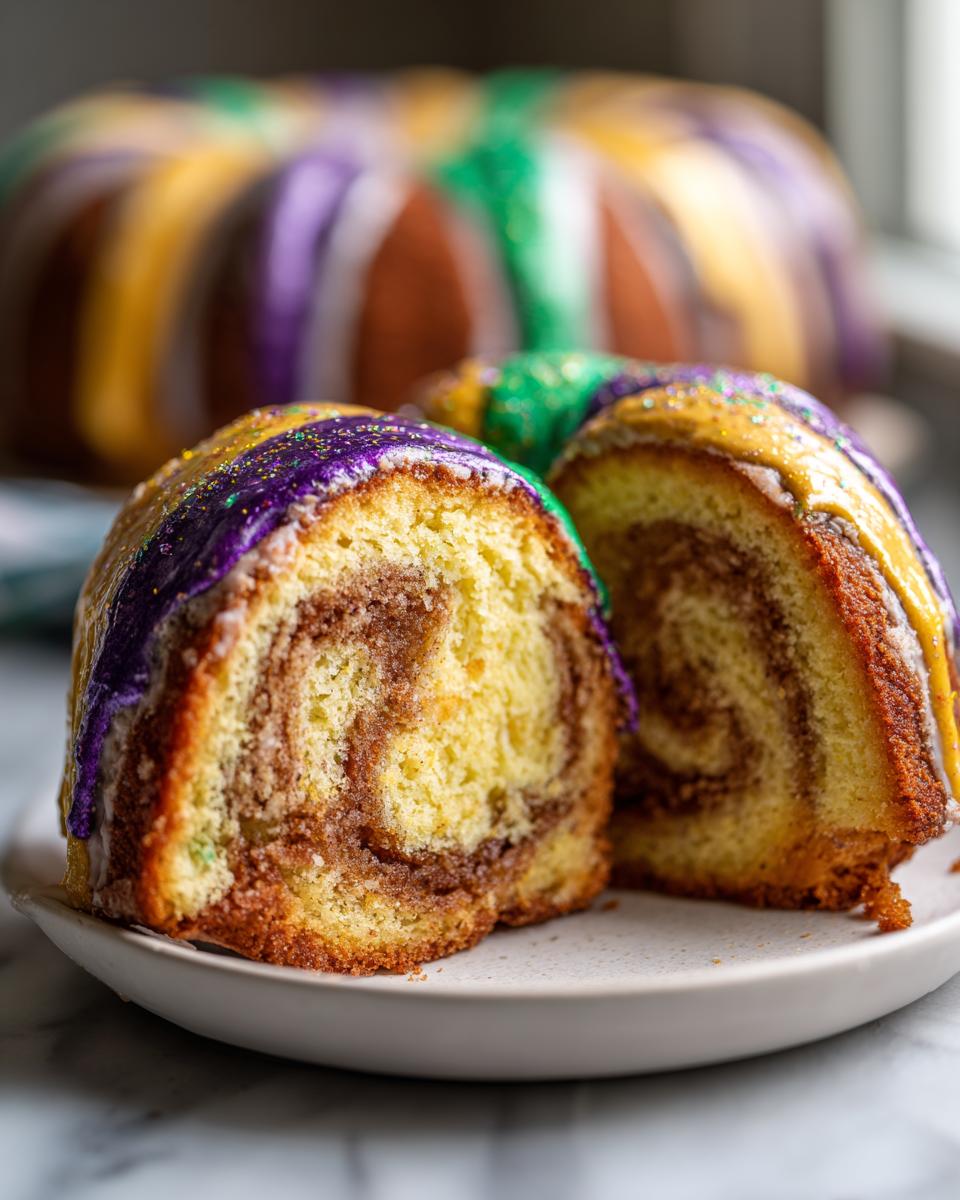
Oh, how I love Mardi Gras season! The parades, the beads, and most importantly – the King Cake. My first taste of this festive treat was at a friend’s Fat Tuesday party years ago, and I’ve been obsessed ever since. That’s why I created this Mardi Gras King Cake inspired dessert – it captures all the joy of carnival season in every bite. The moment I drizzle those vibrant purple, green, and gold icings over the sweet cinnamon-filled cake, my kitchen transforms into a mini celebration. Last year, my niece squealed with delight when she found the plastic baby in her slice – that’s the magic of this dessert! It’s not just food, it’s an experience that brings people together.
Why You’ll Love This Mardi Gras King Cake Inspired Dessert
Let me tell you why this dessert has become my go-to for celebrations – and why you’ll adore it too!
- Instant party vibes: Those purple, green and gold stripes? They scream Mardi Gras joy before anyone even takes a bite. I’ve lost count of how many « oohs » and « aahs » I get when I bring this to gatherings.
- Crowd-pleasing flavors: The cinnamon-brown sugar filling paired with sweet vanilla icing? Absolute magic. My neighbor still talks about the batch I brought over last year!
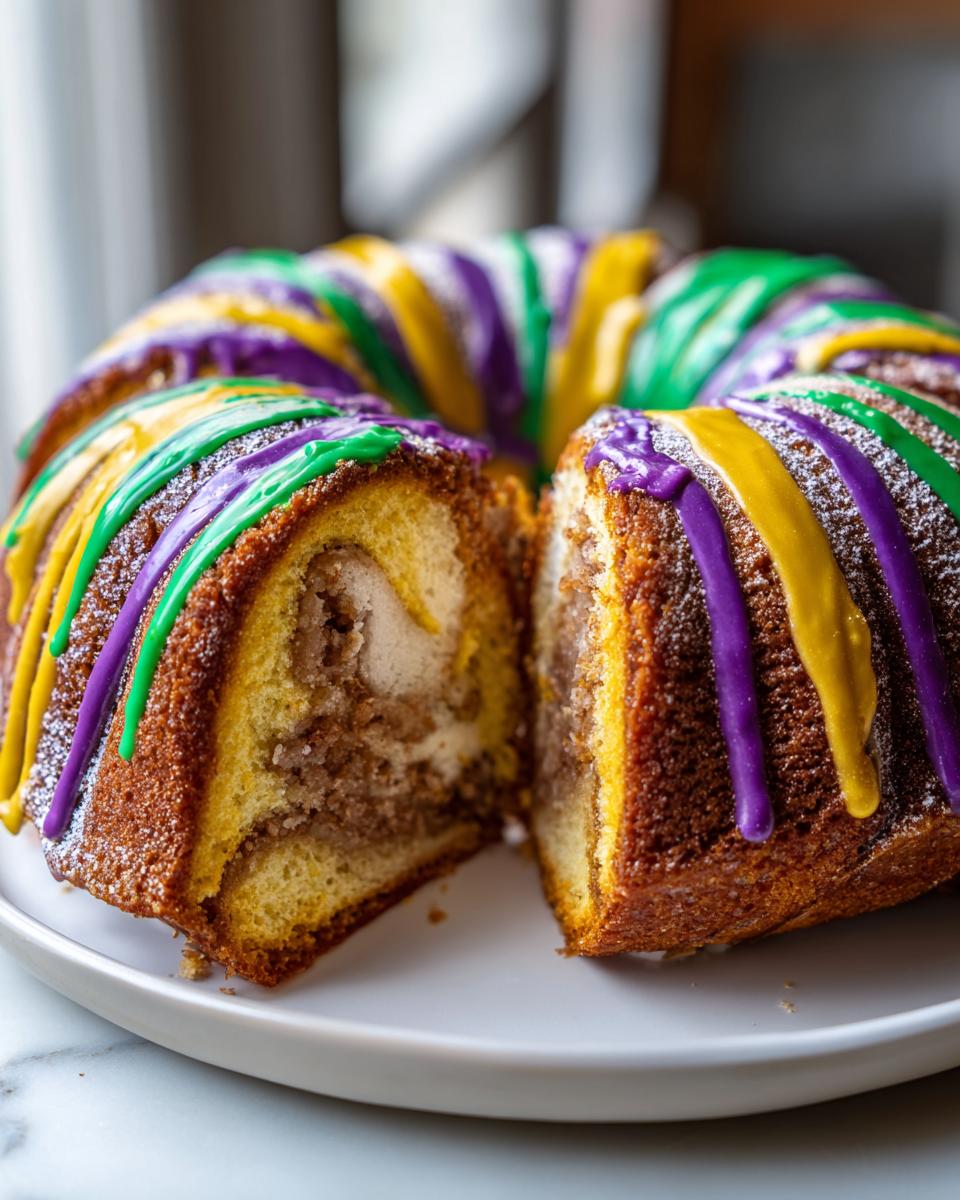
- Surprisingly simple: Don’t let the fancy look fool you – the dough comes together easily, and shaping it into that classic ring shape is way easier than you’d think.
- Perfect for traditions: Hiding that little plastic baby inside makes every slice an adventure. Watching friends and family light up when they find it never gets old!
- Versatile celebration: While it’s perfect for Mardi Gras, I’ve made this for birthdays, baby showers – you name it. Just change up the food coloring to match your theme!
Trust me, once you make this once, you’ll be hooked. It’s the kind of dessert that becomes « your thing » – the recipe everyone asks you to bring!
Ingredients for Your Mardi Gras King Cake Inspired Dessert
Now let’s gather everything you’ll need to create this festive masterpiece! I’ve learned through trial and error that using quality ingredients makes all the difference with this recipe. Here’s exactly what you’ll want to have ready:
For the Dough
- 3 cups all-purpose flour – I always spoon and level my flour to avoid packing it down too much
- 1/4 cup granulated sugar – just enough sweetness to balance the spices
- 1 tsp salt – don’t skip this! It enhances all the other flavors
- 1 packet active dry yeast – check the expiration date to make sure it’s fresh
- 1/2 cup milk, warmed – about 110°F is perfect – too hot and you’ll kill the yeast!
- 1/4 cup unsalted butter, melted – I like to use European-style butter when I can
- 2 eggs – room temperature eggs incorporate better into the dough
For the Filling
- 1/2 cup brown sugar – dark brown sugar gives the best molasses flavor
- 1 tbsp ground cinnamon – I’m generous with this – it’s the star of the show!
- 1/4 cup unsalted butter, softened – soft enough to spread easily but not melted
For the Icing
- 1 cup powdered sugar – sift it first to avoid lumps
- 2 tbsp milk – whole milk makes the creamiest icing
- 1/2 tsp vanilla extract – pure vanilla makes all the difference
- Purple, green, and gold food coloring – gel colors give the most vibrant hues
Optional Tradition: Don’t forget the tiny plastic baby figurine if you want to keep with the authentic King Cake tradition! I usually find them at party stores or baking supply shops. Just be sure to warn your guests before they take a bite – nobody wants an unexpected dental surprise!
How to Make Your Mardi Gras King Cake Inspired Dessert
Alright, let’s dive into the fun part – making this gorgeous dessert! I’ve made this recipe more times than I can count, and I’ve learned all the little tricks to make sure it comes out perfect every time. Just follow these steps, and you’ll have the most beautiful, delicious Mardi Gras King Cake inspired dessert that’ll impress everyone!
Preparing the Dough
First things first – let’s make that dough! In a large bowl, whisk together your flour, sugar, salt, and yeast. Now, here’s my secret weapon – I always pre-mix my dry ingredients first before adding anything wet. It makes everything incorporate so much better!
Add your warmed milk (test it on your wrist like baby’s milk – should feel warm, not hot), melted butter, and eggs. I like to beat the eggs lightly before adding them. Mix everything until a shaggy dough forms, then turn it out onto a lightly floured surface.
Here comes the therapeutic part – kneading! I do this for about 5 minutes until the dough becomes smooth and elastic. If it sticks to your hands, just add a teensy bit more flour – but don’t go overboard! We want this dough to be soft. When it’s ready, pop it into a greased bowl, cover it with a clean kitchen towel, and let it rise in a warm spot for about an hour. You’ll know it’s ready when it’s doubled in size – poke it with your finger, and the indentation should stay!
Adding the Filling
Now for the best part – that cinnamon-sugar filling! Roll your risen dough into a rectangle about 18×12 inches on a lightly floured surface. Pro tip: If the dough keeps shrinking back, let it rest for 5-10 minutes – the gluten just needs to relax a bit.
Spread that softened butter all over the dough – I use a silicone spatula to keep it even. Then mix your brown sugar and cinnamon together, and sprinkle it evenly over the butter. If you’re adding the traditional plastic baby, now’s the time! Just tuck it into the dough somewhere before you roll it up.
Starting from the long side, roll the dough up tightly like a jelly roll. Pinch the seam to seal – this keeps all that delicious filling from leaking out during baking! Form it into a ring on your prepared baking sheet, pinching the ends together to seal.
Baking and Decorating
Bake your gorgeous cake ring at 350°F for about 25 minutes. You’ll know it’s done when it’s golden brown and sounds hollow when tapped. Let it cool completely before decorating – trust me, trying to ice a warm cake is a messy disaster!
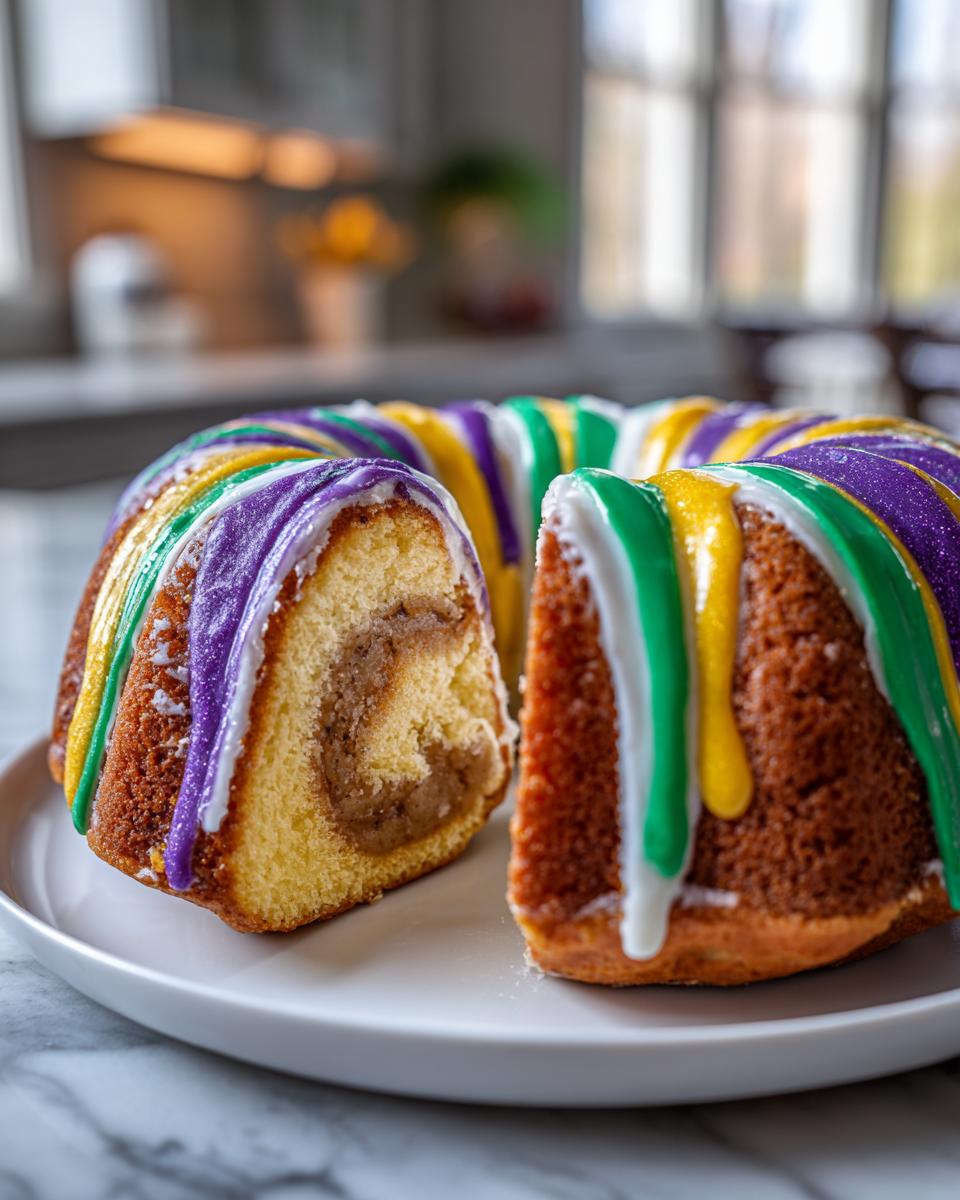
For the iconic Mardi Gras colors, mix your powdered sugar, milk, and vanilla to make the icing. Divide it into three bowls (I use small cereal bowls – perfect size!). Tint one purple, one green, and one gold using gel food coloring – liquid works too, but you’ll need more drops.
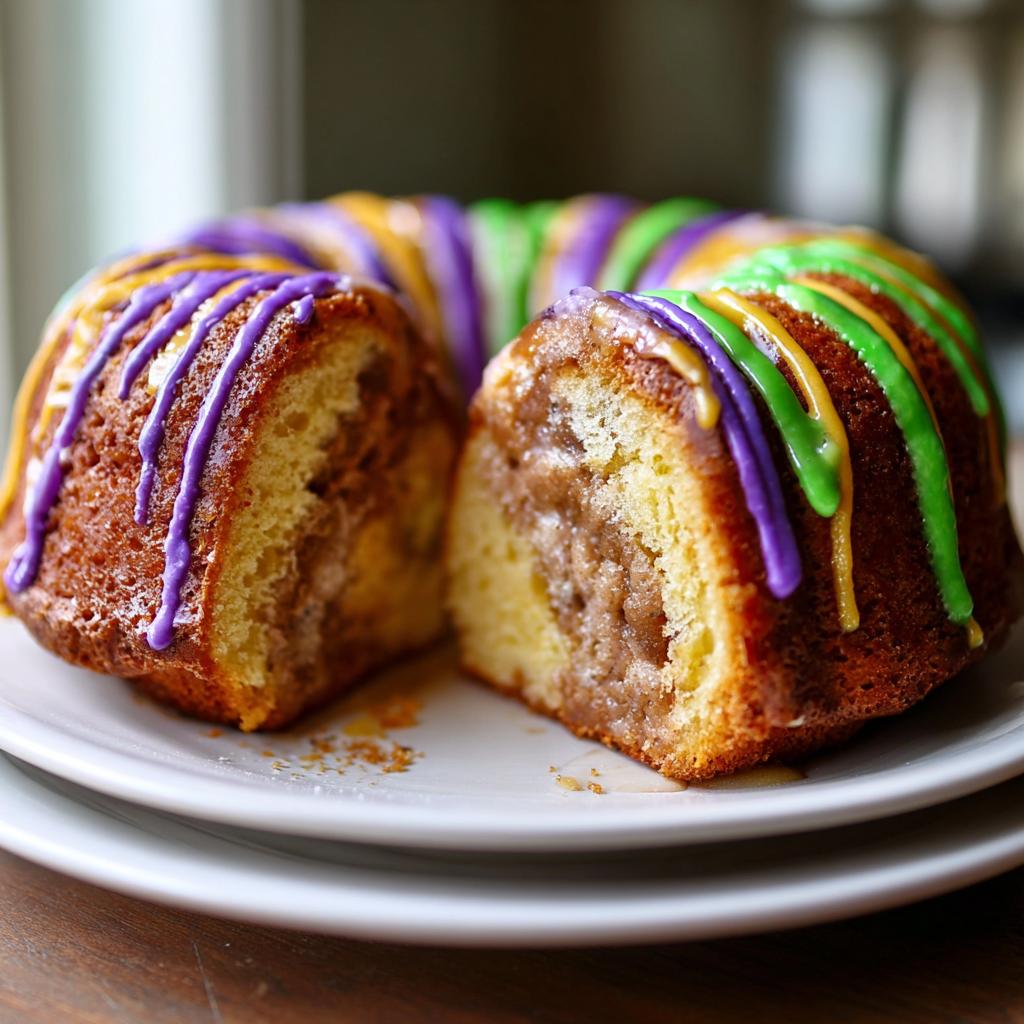
Now the fun part – drizzle the icings in stripes all over the cooled cake. I like to alternate colors randomly for that festive look! Let the drizzle set for about 20 minutes before slicing, if you can wait that long!
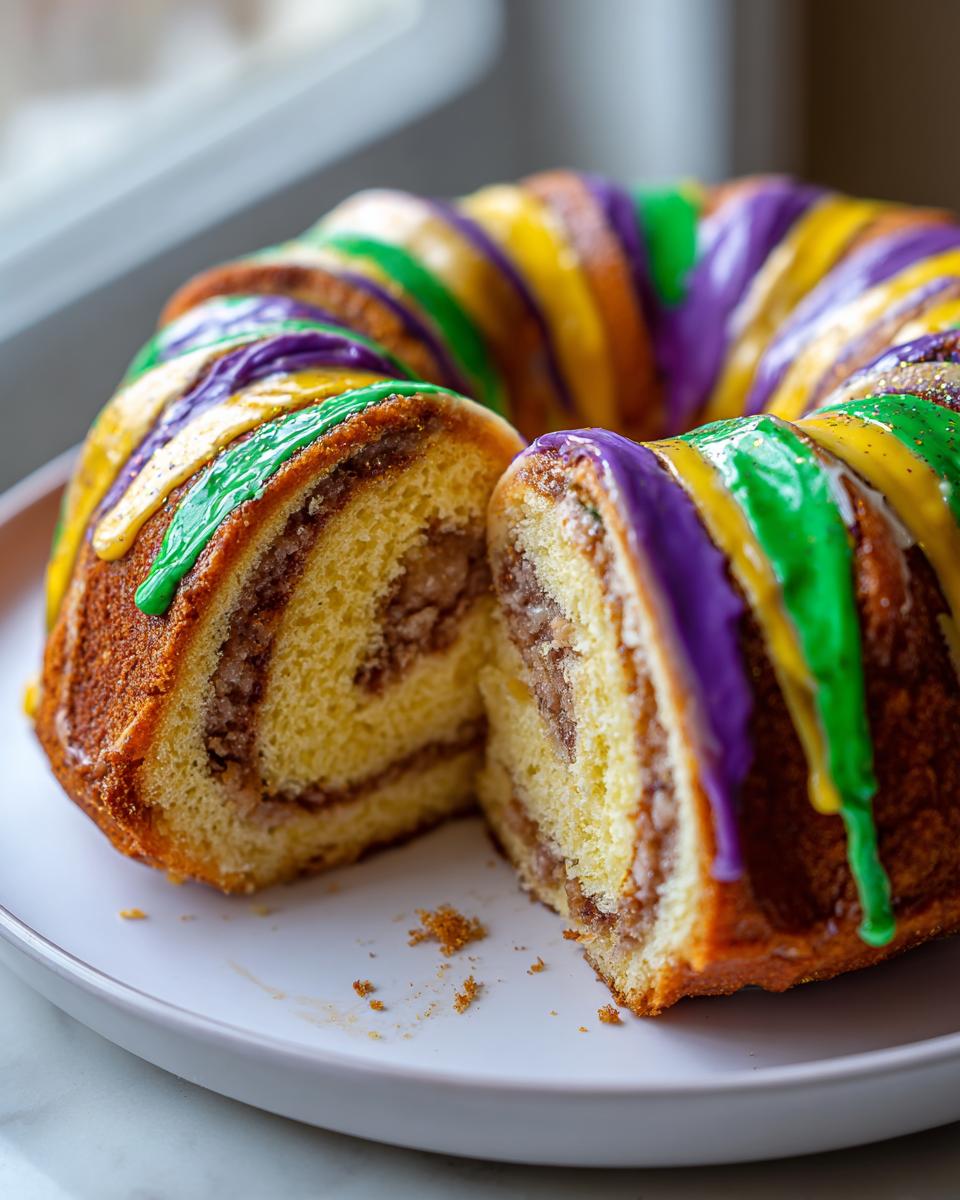
See? Not so hard, right? And the result is absolutely show-stopping. This Mardi Gras King Cake inspired dessert is guaranteed to bring joy to any gathering. Just watch your guests’ faces light up when they see it!
Tips for the Perfect Mardi Gras King Cake Inspired Dessert
After making this dessert more times than I can count, I’ve picked up some game-changing tricks that’ll take your Mardi Gras King Cake from good to showstopping. These are the little secrets I wish someone had told me the first time I tried it!
Dough too sticky? Dust your hands lightly with flour when kneading, but don’t overdo it – we want tender texture, not tough. If it clings to your fingers like bubblegum, add just a tablespoon more flour at a time. When it forms smooth, springy little pillow, it’s perfect.
For the filling, spread that softened butter right to the edges. I use the back of a spoon to make sure every inch gets covered – no bald spots allowed! And when sprinkling the cinnamon-sugar mixture, pretend you’re gently dusting snow over a winter scene. Too heavy-handed and it’ll spill out when rolling.
Those vibrant icing colors? Gel food coloring is my BFF here. I learned the hard way that liquid food dye makes icing runny before you get deep colors. Just a toothpick dip of gel coloring gives those rich purple, green and gold hues that make everyone say “Wow!”
Quick safety tip – if you’re using the plastic baby, be sure to tell guests before serving! Nothing ruins the fun like an unexpected crunch. I like to wrap mine in foil so it’s easier to spot for the lucky winner.
The magic is in these little details. Trust me, follow these tips and your King Cake will be the talk of the party – just like mine always is!
Serving and Storing Your Mardi Gras King Cake Inspired Dessert
Oh, the moment of truth – serving this beauty! I always put my Mardi Gras King Cake inspired dessert right in the center of the table where everyone can admire those gorgeous colors. It pairs perfectly with a strong cup of coffee – the sweetness of the cake and the bitterness of the coffee is a match made in heaven. For parties, I like to serve it alongside some beignets for the ultimate New Orleans-inspired spread.
Now, if by some miracle you have leftovers (it rarely happens in my house!), here’s how to keep it fresh. Cover it loosely with plastic wrap or pop it in an airtight container at room temperature for up to 2 days. The icing might get a bit sticky, but the flavor only gets better! For longer storage, you can refrigerate it for up to 5 days, but let it come to room temperature before serving – cold cake just isn’t the same. I don’t recommend freezing it though – that icing just doesn’t hold up well after thawing. Honestly, this dessert is always best enjoyed fresh the day you make it, surrounded by friends and family!
Nutritional Information for Mardi Gras King Cake Inspired Dessert
Now, let’s be real – this is a celebration dessert, not health food! But since we all like to know what we’re eating, here’s the scoop on the nutritional info. Keep in mind these are estimates – your exact numbers might vary depending on the brands you use and how generous you are with that icing!
A typical slice (about 1/12th of the cake) clocks in around 280 calories, with about 10g of fat (6g saturated). You’re looking at 45g carbs and 25g sugar per slice – but hey, it’s Mardi Gras! The cinnamon actually gives you a little boost of antioxidants, and those eggs in the dough add some protein too.
Remember, nutritional values can change based on ingredient substitutions or portion sizes. If you’re watching specific dietary needs, you might want to adjust the recipe slightly. But sometimes, especially during carnival season, it’s okay to just enjoy the celebration!
Frequently Asked Questions About Mardi Gras King Cake Inspired Dessert
Over the years, I’ve gotten so many questions about this recipe – and I love sharing all my hard-earned baking wisdom! Here are the answers to the things people ask me most:
Can I make this Mardi Gras King Cake ahead of time?
Absolutely! The dough actually benefits from a slow rise in the fridge overnight. Just prepare it through the first rise step, then cover tightly and refrigerate. The next day, let it sit at room temp for 30 minutes before rolling and filling. The baked cake stays fresh for 2 days at room temp – though the icing might get a bit sticky (still delicious!).
What if I don’t have food coloring for the icing?
No worries! You can use natural alternatives – beet juice for purple, matcha powder for green, and turmeric for gold. Or skip the colors entirely and just drizzle with plain white icing – it’ll still taste amazing! I’ve even used colored sprinkles in Mardi Gras hues when I was in a pinch.
Can I use instant yeast instead of active dry?
Yes! Instant yeast works great here. Just mix it right in with the dry ingredients – no need to activate it first. You might need slightly less rising time, so keep an eye on your dough. I’ve used both types interchangeably in this recipe with equally delicious results.
Why did my filling leak out during baking?
Oh honey, I’ve been there! The key is to roll the dough tightly and pinch that seam really well. Also, don’t overfill – a thin, even layer of butter and sugar works better than piling it on thick. If some does leak, no biggie – just call it « caramelized edges » and serve it with pride!
Where can I find the plastic baby for the tradition?
Check party stores, baking supply shops, or online. Some bakeries will even give you one if you ask nicely! No baby? A dried bean or pecan half works too – just warn your guests. The fun is in the surprise, not the specific trinket!
Mardi Gras King Cake Inspired Dessert
Ingrédients
Equipment
Method
- In a large bowl, mix flour, sugar, salt, and yeast.
- Add warmed milk, melted butter, and eggs. Mix until a dough forms.
- Knead the dough on a floured surface for 5 minutes until smooth.
- Place the dough in a greased bowl, cover, and let rise for 1 hour.
- Roll the dough into a rectangle. Spread softened butter over the dough.
- Sprinkle brown sugar and cinnamon evenly over the butter.
- Roll the dough tightly into a log and shape into a ring. Place on a baking sheet lined with parchment paper.
- Bake at 350°F for 25 minutes or until golden brown. Let cool.
- Mix powdered sugar, milk, and vanilla extract to make the icing. Divide into three bowls and tint with purple, green, and gold food coloring.
- Drizzle the colored icing over the cooled cake in alternating stripes.