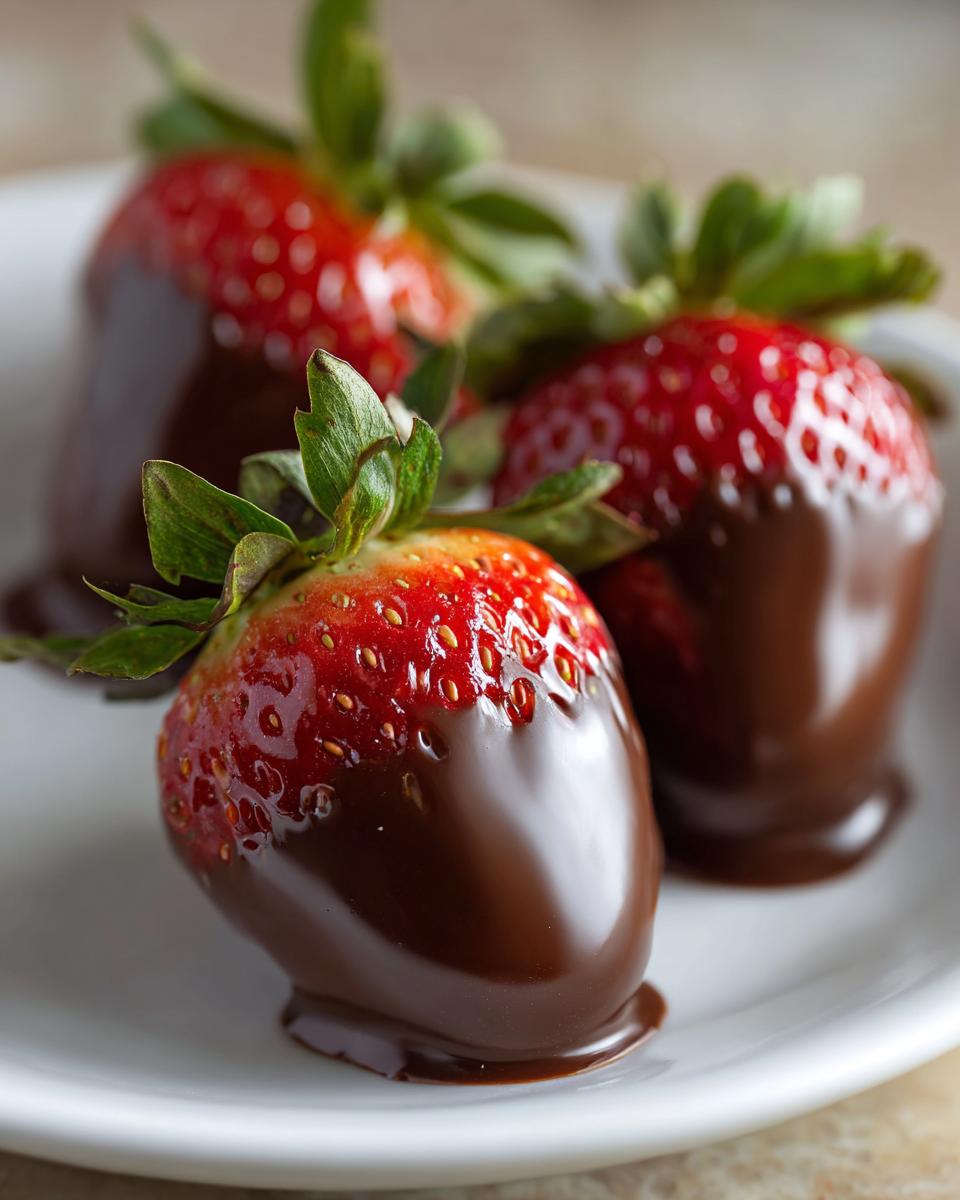
There’s something magical about chocolate covered strawberries that makes any occasion feel special. I remember making my first batch for Valentine’s Day years ago – they looked so fancy, but were ridiculously easy to whip up! Now they’re my go-to dessert for everything from bridal showers to impromptu girls’ nights. The combination of juicy, ripe strawberries and rich melted chocolate is simply irresistible.

What I love most about chocolate covered strawberries is how they transform basic ingredients into something elegant. You don’t need fancy skills – just good chocolate and perfect berries. My secret? Letting the strawberries come to room temperature first so the chocolate clings beautifully. These little beauties never fail to impress, whether I’m serving them at fancy parties or just treating myself after a long day.
The best part is how versatile they are. Dress them up with drizzles and sprinkles for holidays, or keep them simple for everyday indulgence. Once you master the basic technique, you’ll find yourself making chocolate covered strawberries for every celebration – or just because it’s Tuesday!
Why You’ll Love These Chocolate Covered Strawberries
Trust me, once you try making these chocolate covered strawberries, you’ll wonder why you ever bought them pre-made! Here’s what makes them so special:
- Quick magic: From fridge to fancy in under 20 minutes – perfect for last-minute guests
- Easy-peasy: Just melt, dip, and set – no complicated techniques required
- Instant elegance: They look like you spent hours, but we’ll keep our little secret
- Endless fun: Dress them up with sprinkles, drizzles, or crushed nuts for any occasion
- Always impressive: Works for date nights, parties, or just treating yourself
The best part? Watching people’s faces light up when you bring out a tray of these beauties. They’re the dessert equivalent of a little black dress – simple, sophisticated, and always appropriate!
Ingredients for Chocolate Covered Strawberries
Gathering the right ingredients is the first step to perfect chocolate covered strawberries – and luckily, you only need a few simple things! Here’s what I always keep on hand:
- 1 lb fresh strawberries – Look for plump, bright red berries with fresh green tops
- 8 oz semisweet chocolate – Chopped into even pieces for smooth melting
- 1 tbsp coconut oil (optional) – My secret weapon for extra glossy chocolate
A quick tip from my many strawberry-dipping adventures: splurge on good quality chocolate – it makes all the difference! And don’t skip drying those berries thoroughly. Even a tiny drop of water can make your chocolate seize up, and we definitely don’t want that!
Equipment Needed for Chocolate Covered Strawberries
You won’t need fancy gadgets for these chocolate covered strawberries – just a few basic tools from your kitchen! Here’s what I always grab:
- Double boiler – Or improvise with a heatproof bowl over simmering water
- Parchment paper – For easy cleanup and perfect chocolate setting
- Small spatula – My trusty helper for smoothing chocolate
That’s it! No special equipment required – just everyday items you probably already have. See? I told you this was easy!
How to Make Chocolate Covered Strawberries
Alright, let’s get dipping! Making chocolate covered strawberries is easier than you think, but I’ve learned a few tricks over the years that make all the difference. Follow these steps, and you’ll have perfect chocolate-dipped berries every single time.
Step 1: Prepare the Strawberries
First things first – those strawberries need to be squeaky clean and bone dry! I gently rinse them under cool water (never soak them – they’re like little sponges!), then pat them dry with paper towels. Here’s my secret: I let them air-dry for about 10 minutes too, just to be extra sure. Any moisture will make the chocolate seize up, and trust me, you don’t want that mess!
Step 2: Melt the Chocolate
Now for the fun part – melting the chocolate! I always use a double boiler because it gives me the most control. Just simmer some water in a pot, place a heatproof bowl on top (make sure it doesn’t touch the water!), and add your chopped chocolate. Stir constantly until it’s smooth as silk. That tablespoon of coconut oil? It’s optional, but it gives the chocolate this gorgeous shine and helps it set perfectly.
Step 3: Dip the Strawberries
Here’s where the magic happens! Hold each strawberry by its stem (or use a toothpick if the stems are short) and dip it about three-quarters of the way into the chocolate. Give it a little twirl as you lift it out to let the excess drip off – this prevents those awkward chocolate puddles at the base. Pro tip: tilt your wrist slightly as you lift for that perfect, even coating!

Step 4: Let the Chocolate Set
Patience, my friend! Place each dipped berry on your parchment-lined tray and resist the urge to touch them. They’ll set at room temperature in about 20 minutes, or you can pop them in the fridge for 15 minutes if you’re in a hurry (like I usually am!). Just don’t rush this step – smudged chocolate fingerprints are no one’s friend.
Tips for Perfect Chocolate Covered Strawberries
After dipping more strawberries than I can count, I’ve learned all the little tricks that take them from good to absolutely stunning! Here are my hard-earned secrets for perfect chocolate covered strawberries every time:
First, temperature matters more than you’d think. Let your strawberries come to room temperature before dipping – cold berries cause the chocolate to set too quickly, giving you a thick, clumpy coating. And speaking of chocolate, keep it warm but not hot! I test mine by touching a drop to my lip – it should feel warm, not scalding.
Water is chocolate’s worst enemy, so dry those berries like your dessert depends on it (because it does!). I actually pat them dry twice – once after washing, and again right before dipping. Any moisture will make your chocolate seize up into a grainy mess. Trust me, I learned this the hard way!
Want that gorgeous glossy finish? Add just a teaspoon of coconut oil to your melting chocolate. It gives the most beautiful sheen and helps the chocolate flow smoothly over the berries. And if you’re feeling fancy, wait until the chocolate is halfway set to add decorations – sprinkles stick better and drizzles hold their shape perfectly.
My favorite trick? Hold each strawberry at a slight angle when dipping for that elegant, tapered look. And always work quickly once the chocolate starts to thicken – rewarming it can make it lose its shine. Follow these tips, and you’ll have chocolate covered strawberries that look straight from a gourmet chocolatier!
Variations for Chocolate Covered Strawberries
Oh, the fun you can have with chocolate covered strawberries once you’ve mastered the basics! I love playing with different looks and flavors – it’s like being a kid in a candy store. My absolute favorite twist? Drizzling melted white chocolate over the dark-dipped berries in zigzag patterns. It looks so fancy but takes seconds to do!
For parties, I’ll often roll the chocolate-dipped strawberries in crushed nuts or sprinkles while the chocolate is still wet. Pistachios give them this gorgeous green-and-brown look that’s perfect for holidays. And don’t even get me started on using different chocolates – dark chocolate for sophisticated adults, milk chocolate for kids (and let’s be honest, me too), and white chocolate for that dreamy, creamy finish.
Last Valentine’s Day, I got really creative and dusted some with edible gold powder – talk about wow factor! The possibilities are endless, and half the fun is experimenting. Just remember: whatever variation you try, start with perfectly dipped berries first. That’s your blank canvas for delicious creativity!
Storing and Serving Chocolate Covered Strawberries
Now that you’ve made these gorgeous chocolate covered strawberries, let’s talk about keeping them looking (and tasting) their best! I always store mine in the fridge in an airtight container – but here’s my trick: line the container with paper towels to absorb any moisture. They’ll stay perfect for about 2 days this way, though let’s be honest – mine never last that long!
When it’s time to serve, take them out about 15 minutes before your guests arrive. The chocolate will lose its shine if it’s too cold, and nobody likes chilly strawberries! I love arranging them on a pretty platter with some fresh mint leaves – it makes them look like they came from a fancy chocolatier. For special occasions, I’ll even dust them with a little powdered sugar right before serving for that extra wow factor.
One last tip from my many strawberry-dipping adventures: serve them at room temperature for the best flavor and texture. The chocolate will be just slightly soft, and the berries will be juicy and sweet. Trust me, your guests will think you slaved over these beauties – and we’ll just keep our little secret about how easy they really are!
Nutritional Information for Chocolate Covered Strawberries
Let’s be real – we’re not eating chocolate covered strawberries for their health benefits! But if you’re curious, here’s the scoop on what you’re enjoying. Each luscious berry clocks in at about 200 calories, with 12g of fat (mostly from that glorious chocolate) and 25g of carbs. The good news? Those fresh strawberries pack a vitamin C punch!
Now, these numbers can vary depending on your chocolate choice and how generous you are with the dipping. Dark chocolate will give you slightly less sugar than milk chocolate, and skipping the coconut oil trims a few calories. But honestly? When something tastes this good, I say savor every delicious bite – nutritional info be darned!
Frequently Asked Questions About Chocolate Covered Strawberries
I get asked about chocolate covered strawberries all the time – seems everyone wants to make them but has a few worries first! Here are the questions I hear most often, along with my tried-and-true answers from years of strawberry-dipping adventures:
Can I use frozen strawberries for chocolate covered strawberries?
Oh honey, don’t even think about it! Frozen strawberries turn mushy when thawed, and that watery mess will make your chocolate seize up faster than you can say « dessert disaster. » Always use fresh, firm berries – they’re the only ones that hold up to dipping and give you that perfect juicy bite.
How long do chocolate covered strawberries last?
Here’s the bittersweet truth – they’re best eaten within 24 hours. The strawberries start releasing moisture after that, which makes the chocolate get all sweaty and sad. If you must store them, keep them in the fridge in a single layer with paper towels underneath. But really, they’re so delicious, they rarely last a day in my house!
Why is my chocolate seizing up when I dip the strawberries?
Nine times out of ten, it’s because there’s moisture on your berries! Dry them like you’re prepping them for surgery – I’m not kidding. Also, make sure your chocolate isn’t too hot (keep it below 110°F), and never let steam from the double boiler get into your melting bowl. These little precautions make all the difference!
Can I use chocolate chips instead of baking chocolate?
You can, but they won’t give you that gorgeous glossy finish. Chocolate chips have stabilizers that help them hold shape in cookies but make dipping tricky. If you’re in a pinch, add a teaspoon of coconut oil per cup of chips to help them melt smoother. But trust me, good quality baking chocolate is worth the extra trip to the store!
What’s the best way to decorate chocolate covered strawberries?
Oh, this is where the fun begins! Wait until the chocolate is halfway set (about 5 minutes after dipping), then drizzle with contrasting chocolate or roll in toppings. My favorites are crushed pistachios, colorful sprinkles, or a dusting of edible glitter. Just don’t go overboard – sometimes simple elegance is best!

Chocolate Covered Strawberries
Ingrédients
Equipment
Method
- Line a baking sheet with parchment paper.
- Melt the chocolate and coconut oil in a double boiler, stirring until smooth.
- Hold each strawberry by the stem and dip it into the melted chocolate, allowing excess to drip off.
- Place the dipped strawberries on the prepared baking sheet.
- Let the chocolate set at room temperature or refrigerate for 15 minutes.