You know those days when you suddenly remember you promised to bring dessert to tomorrow’s potluck? That was me last week—panicking at 10 PM with zero energy to bake. That’s when freezer friendly desserts became my superhero! This no-bake beauty saved me with just 15 minutes of prep and a cozy spot in my freezer. I’ve made it for everything from book club to last-minute birthday parties—it never fails to impress. The best part? You can stash it away for weeks, then pull it out like magic when guests arrive. Trust me, once you try this trick, you’ll never stress over desserts again!
Why You’ll Love These Freezer Friendly Desserts
Oh my goodness, where do I even start? These freezer-friendly treats are absolute lifesavers! Let me tell you why they’ve become my go-to for every occasion:
- Quick prep magic: Fifteen minutes is all you need—I’ve literally made this while my coffee was brewing!
- Pantry staples only: No fancy ingredients here—just simple things I always have in my kitchen.
- Make-ahead perfection: Pop it in the freezer and forget about it until party time—no last-minute stress!
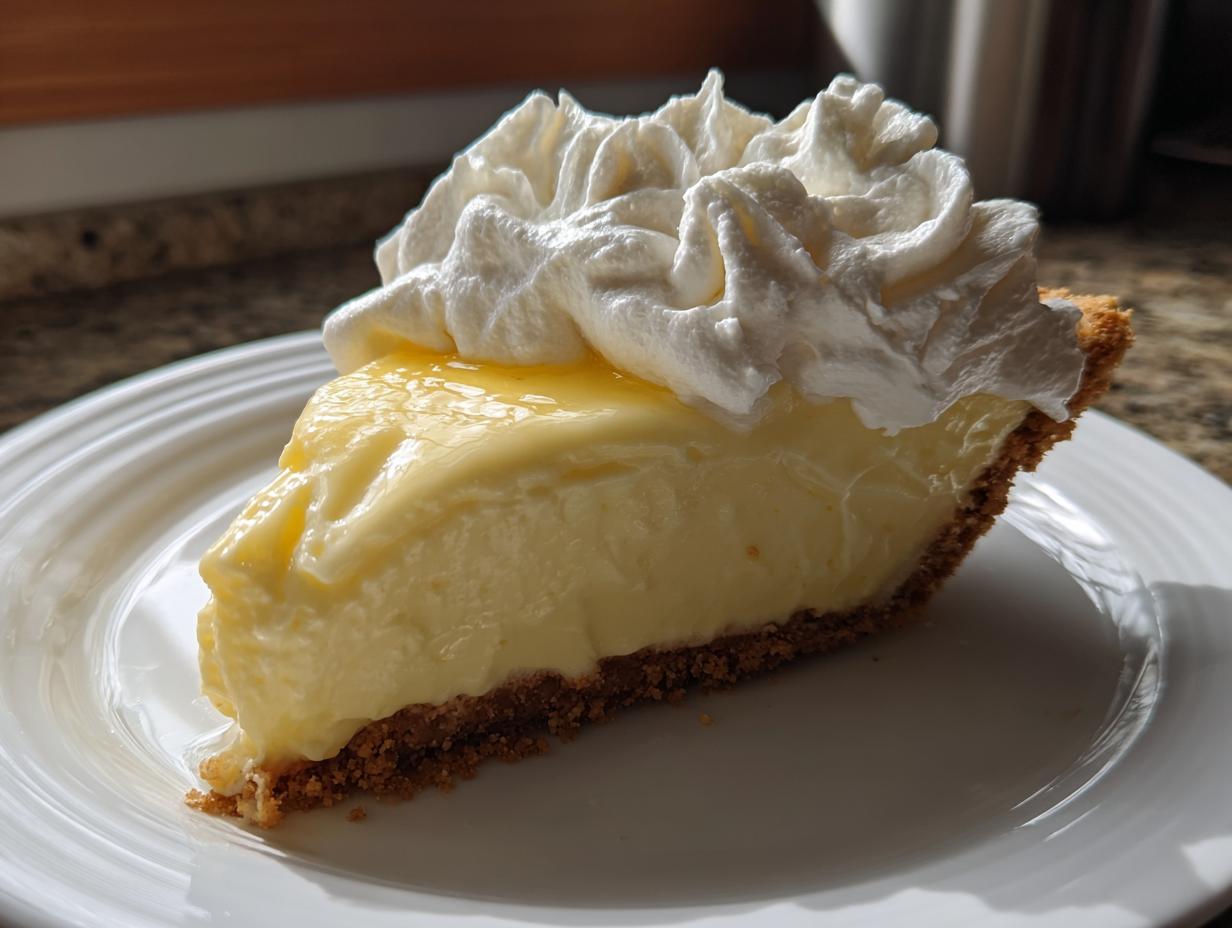
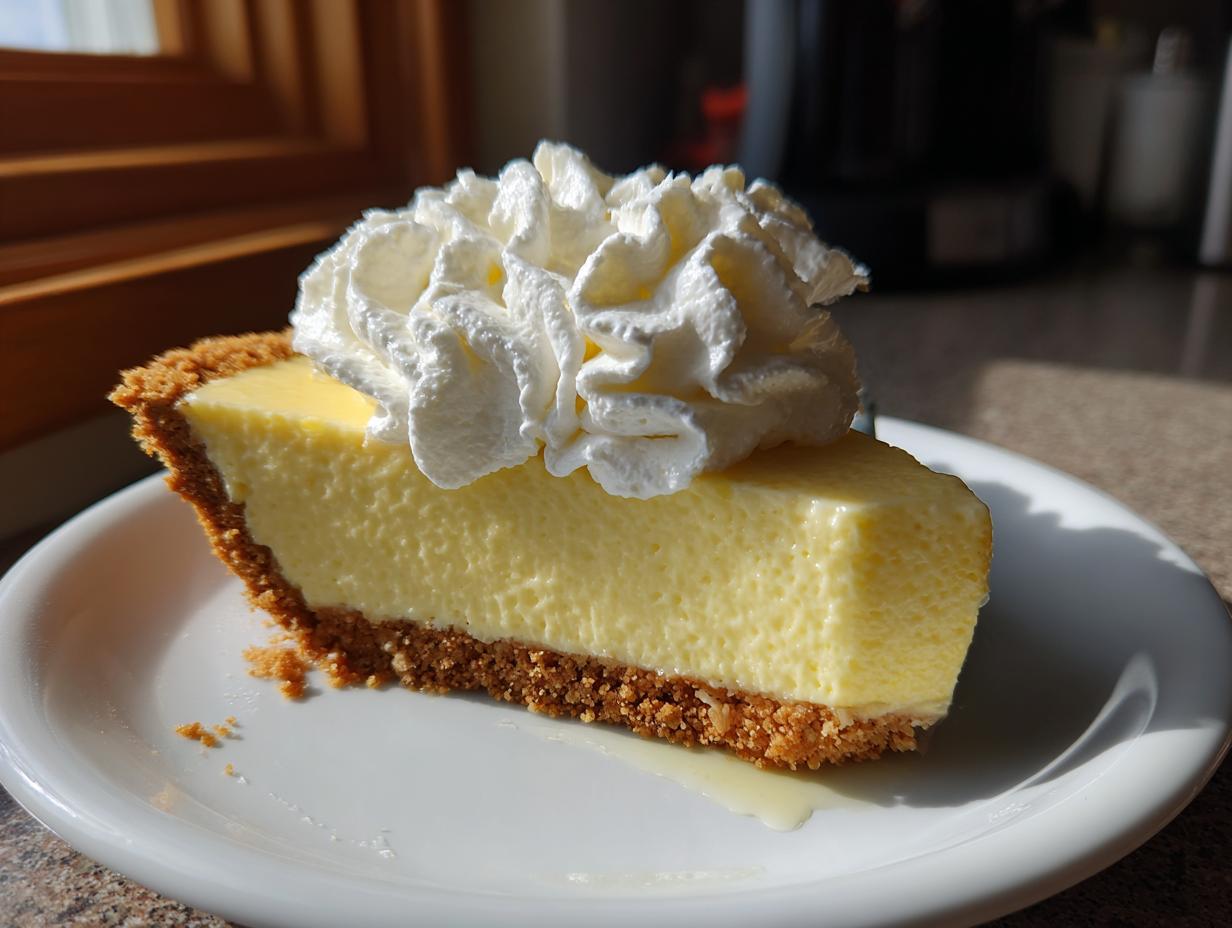
- Crowd-pleasing flavor: That creamy, tangy filling with the buttery crust? People always ask for seconds—and the recipe!
Seriously, once you try this trick, you’ll wonder how you ever lived without freezer-friendly desserts in your life!
Ingredients for Freezer Friendly Desserts
Okay, let’s talk ingredients! What I love about this recipe is how simple everything is—no fancy grocery runs needed. I’ve divided everything into two parts so you can see exactly what goes where. Pro tip: measure everything before you start mixing. It makes the whole process so much smoother!
For the Base:
- 2 cups graham cracker crumbs – I like to crush mine fresh, but store-bought works great too
- 1/2 cup melted butter – Use the real stuff, not margarine (trust me on this!)
- 1/4 cup sugar – Just regular granulated sugar does the trick
For the Filling:
- 2 cups whipped cream – Freshly whipped or the tub kind both work wonderfully
- 1 can sweetened condensed milk – That magical sticky-sweet stuff in the yellow can
- 1/4 cup lemon juice – Fresh squeezed gives the best zing, but bottled works in a pinch
See? Nothing complicated! These are all things I bet you already have in your pantry or fridge. Now let’s make some magic happen!
How to Make Freezer Friendly Desserts
Alright, let’s get our hands dirty—or should I say, buttery? This recipe couldn’t be easier, but I’ve got some tricks to make sure your freezer friendly desserts turn out perfect every time. Follow these steps, and you’ll have a crowd-pleasing treat ready for the freezer in no time!
Preparing the Crust
First things first—let’s talk crust! Grab that bowl with your graham cracker crumbs, melted butter, and sugar. Mix them together until it looks like wet sand. You want every crumb coated in that glorious butter—that’s what gives it that perfect crunch later. Now, here’s my secret: press the mixture firmly into your dish with the back of a measuring cup. I mean really press it in there—this keeps it from crumbling when you slice it later. Aim for an even layer about 1/4 inch thick across the bottom.
Mixing the Filling
Now for the fun part—the creamy filling! In a large bowl, gently fold together your whipped cream and sweetened condensed milk. Go slow here—you want to keep all that air in the whipped cream. When that’s combined, drizzle in the lemon juice while stirring. Watch the magic happen as it thickens right before your eyes! You’re looking for a smooth, pudding-like consistency. Pro tip: don’t overmix or it’ll get too stiff. A few lumps are totally fine—they’ll disappear when it freezes.
Next, pour that dreamy filling over your crust and smooth it out with a spatula. Pop it in the freezer for at least 4 hours—overnight is even better. That’s it! See? I told you freezer friendly desserts were easy. Now go relax while your freezer does all the work!
Tips for Perfect Freezer Friendly Desserts
Oh honey, let me share my freezer dessert wisdom—these little tricks make all the difference between « good » and « omg can I have the recipe? » results!
- Chill out: Pop your mixing bowl in the fridge for 10 minutes before making the filling—it whips up so much creamier when everything’s cold!
- Parchment paper magic: Trust me—line your dish with parchment strips before adding the crust. When frozen, you can just lift the whole dessert out clean as a whistle!
- Label love: After one too many « mystery freezer surprises, » I now always write what it is and the date with a sharpie. Future you will send thank-you notes!
- Slice smart: Use a hot knife straight from hot water (and dried quick) to cut perfect clean slices—it glides right through the frozen layers like butter!
There you go—my hard-earned freezer dessert secrets! Now go forth and freeze with confidence!
Storage and Serving Suggestions
Okay, let me tell you how I handle these freezer friendly desserts—because trust me, I’ve learned the hard way what works and what turns into a melty mess! First, storage: wrap that beauty tight with plastic wrap or pop it in an airtight container. It’ll keep perfectly for up to 2 weeks—though mine never lasts that long! When you’re ready to serve, just pull it out and let it sit on the counter for about 10 minutes. That sweet spot where it’s still chilled but soft enough to slice cleanly.
Now for the fun part—dressing it up! I love topping mine with fresh berries when they’re in season—those juicy strawberries or raspberries make it look so fancy. A sprinkle of chocolate shavings takes it over the top (I use a vegetable peeler on a chocolate bar—so easy!). For parties, I’ll sometimes drizzle caramel sauce in fun patterns. The best part? All these garnishes can be added right before serving, so your freezer friendly dessert stays perfect until showtime!
Nutritional Information
Now, let’s talk numbers—but don’t worry, I promise this won’t be scary math! Here’s the scoop on what you’re getting in each delicious serving of these freezer friendly desserts:
- Calories: 350 (totally worth every bite!)
- Fat: 18g (that’s where all the creamy goodness comes from)
- Carbs: 45g (hello, graham cracker crust!)
- Sugar: 35g (it’s dessert—let’s be real here)
Just a heads up—these numbers can vary depending on the brands you use. My nutritionist friend always reminds me that homemade treats are usually better than store-bought anyway, so don’t stress too much about exact counts. Enjoy every bite!
Frequently Asked Questions
I get asked about these freezer friendly desserts all the time—so let me share the answers to the questions that pop up most often in my kitchen (and my inbox)!
Can I use a different crust?
Absolutely! While graham crackers are my go-to, you can get creative. Crushed Oreos make a delicious chocolatey base, or try vanilla wafers for a different twist. I’ve even used gluten-free gingersnaps when baking for friends with dietary needs—just keep the same butter-to-crumb ratio. The key is making sure whatever you use sticks together when pressed!
How long does it last frozen?
This baby keeps beautifully for up to 2 weeks in the freezer—though I’ll admit mine never lasts that long! Just make sure it’s wrapped tight in plastic or stored in an airtight container. Pro tip: write the date on top with a marker so you don’t play « freezer mystery date » later. After two weeks, it’s still safe but might start getting icy.
Can I double the recipe?
You betcha! This recipe doubles like a dream—perfect for big gatherings. Just use a 9×13 pan instead of the usual square one. The freezing time stays about the same, which always surprises me! If you’re making multiple batches, I recommend stacking them with parchment paper between layers—saves space and prevents smooshing. My record is tripling it for my niece’s graduation party—fed 30 people with leftovers!

Freezer Friendly Desserts
Ingrédients
Method
- Mix graham cracker crumbs, melted butter, and sugar in a bowl.
- Press the mixture into a baking dish to form the crust.
- In another bowl, combine whipped cream, sweetened condensed milk, and lemon juice.
- Spread the filling over the crust.
- Freeze for at least 4 hours before serving.