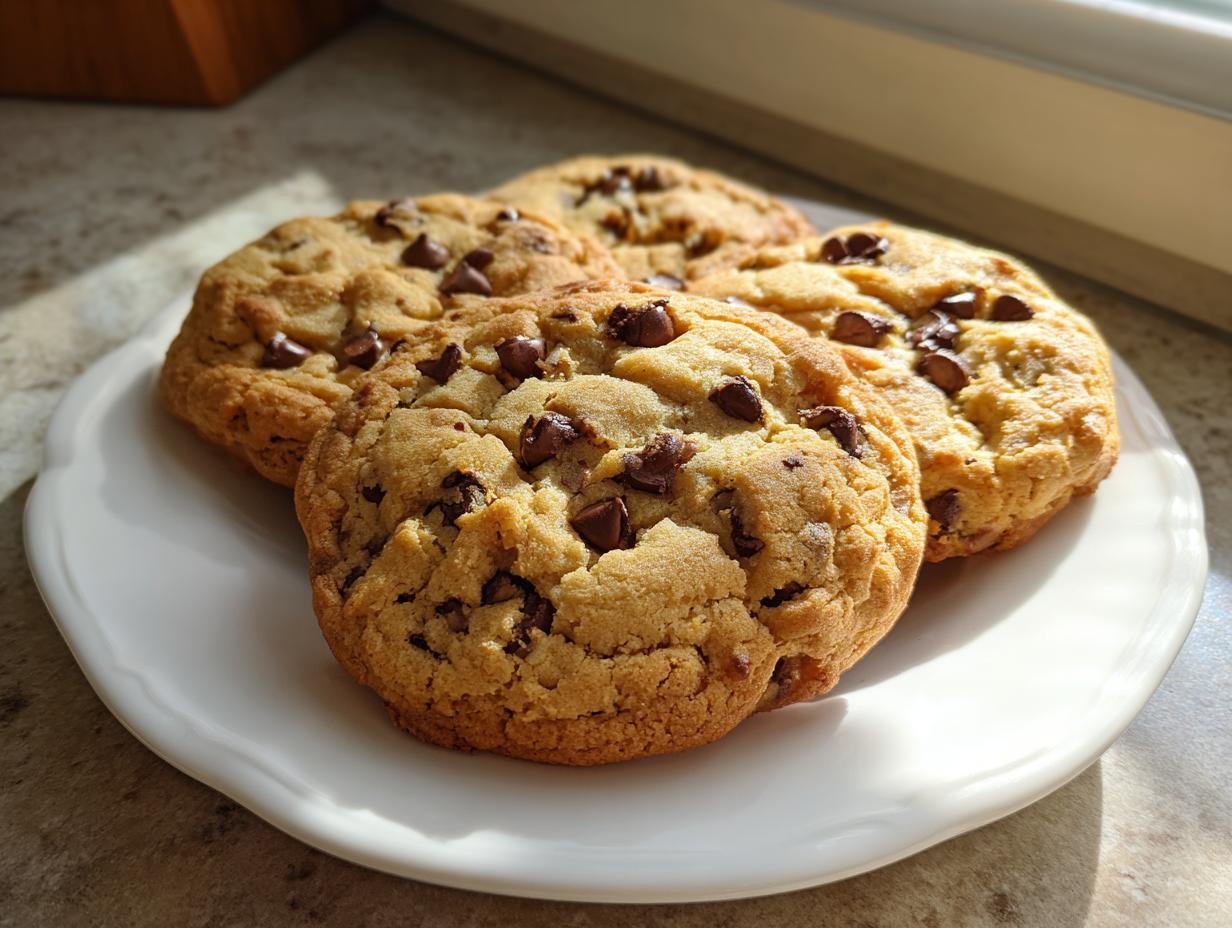
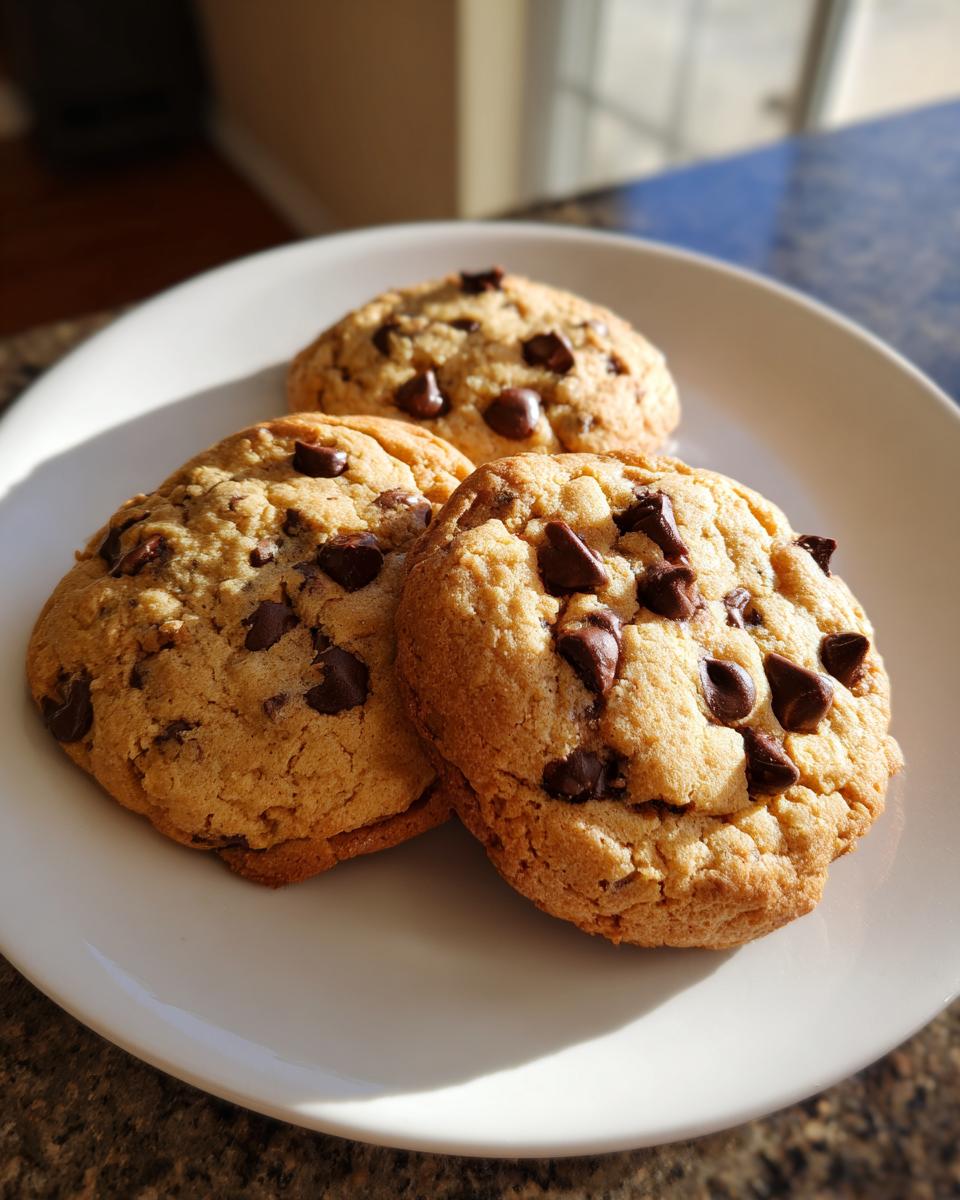
Oh, you KNOW that feeling, right? That perfect snap when you bite into a cookie, followed by that satisfying, shatteringly crisp texture? Yeah, that’s my jam! Forget those chewy, cakey things (though they have their place!). When I’m craving a *real* cookie experience, an absolute winner in the world of crunchy texture desserts, it’s gotta be these chocolate chip cookies. 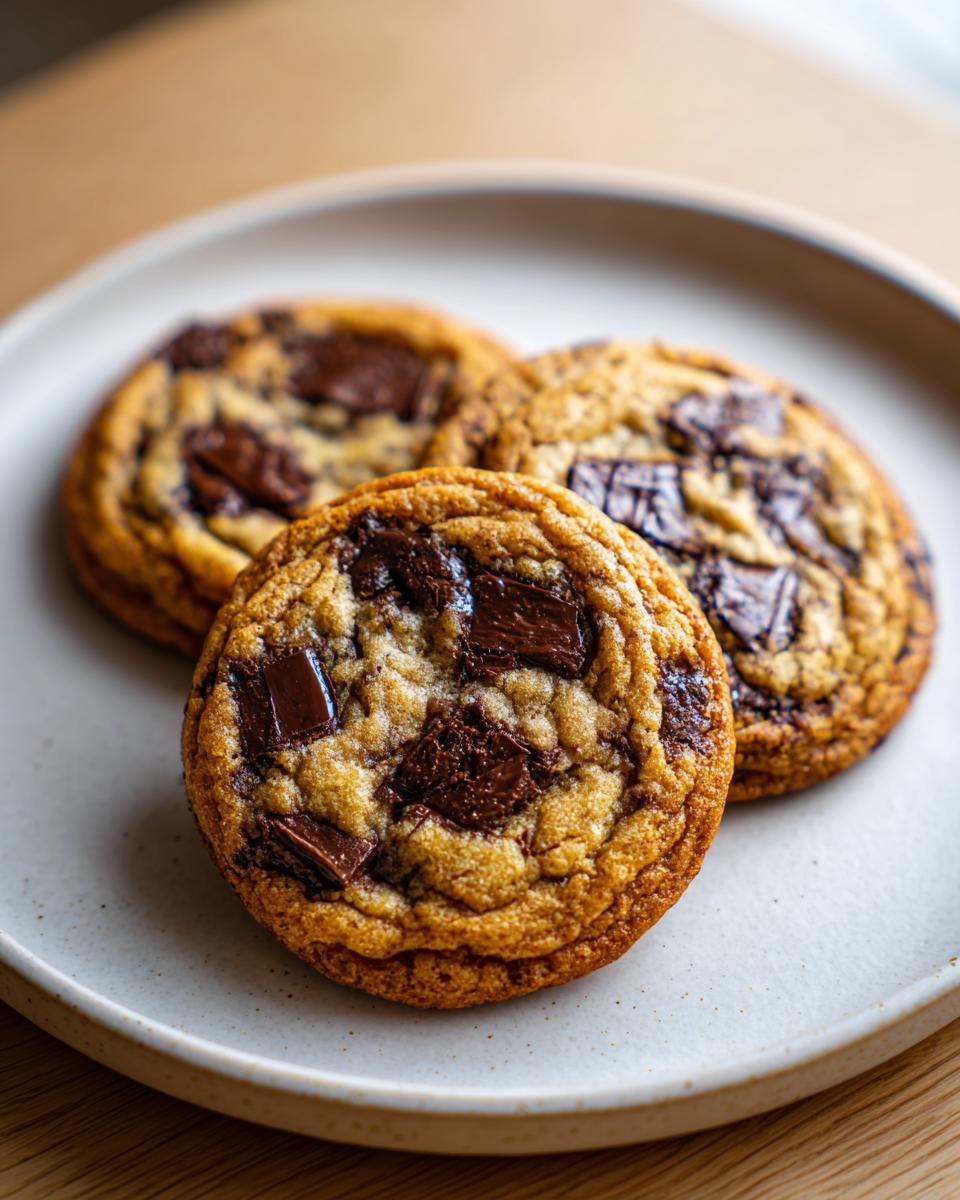 Seriously, they’re ridiculously easy to whip up, but they deliver that « just right » crispiness every single time. I remember my mom making batches of these when I was a kid, and the house would just smell like pure happiness. It’s that simple, pure joy in a cookie!
These cookies are an absolute winner for so many reasons:
- Super Easy to Whip Up: Honestly, they’re surprisingly simple. You don’t need fancy skills, and you’ll have warm, crunchy cookies in no time.
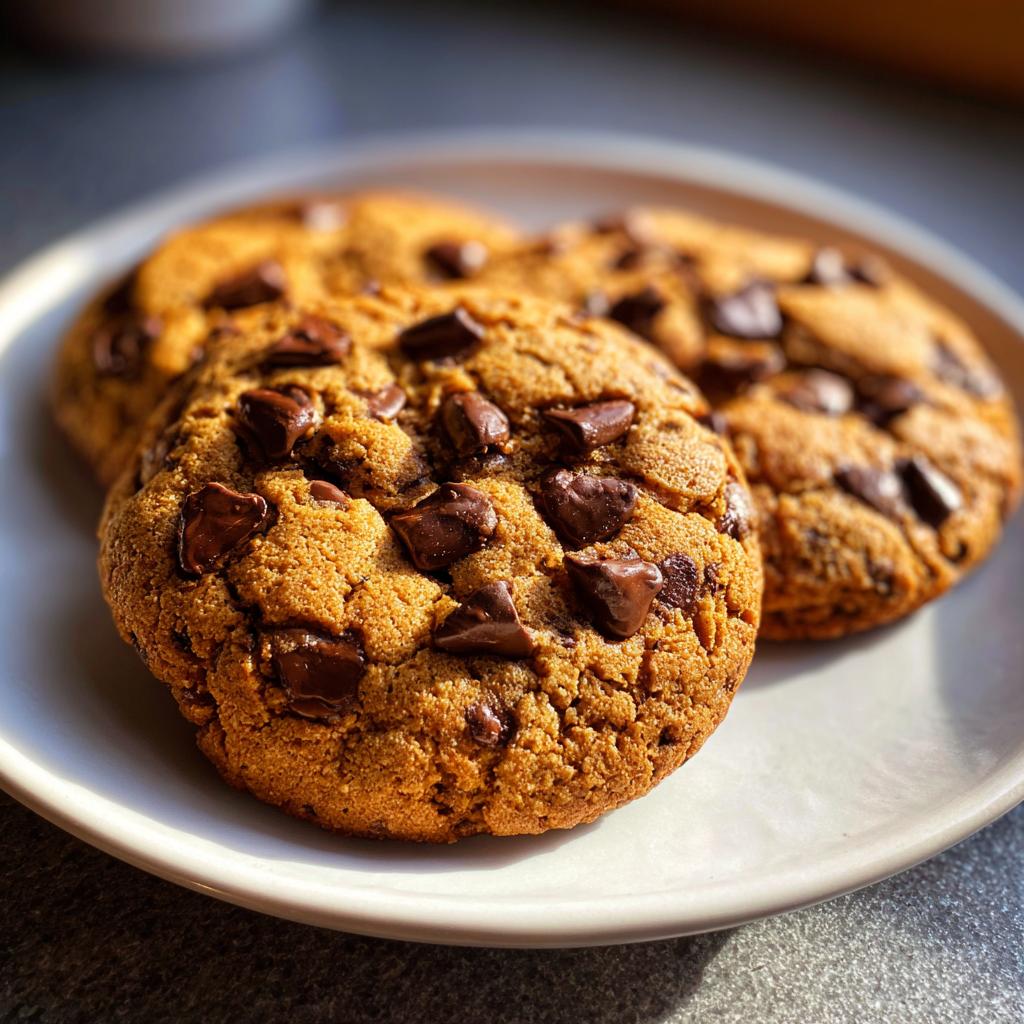
- The Ultimate Crunch Factor: If you’re all about that satisfying crisp bite, these are for you! They are truly the star of any crunchy texture desserts spread.
- Classic, Crowd-Pleasing Flavor: You can’t beat a good chocolate chip cookie, and this recipe nails that perfect balance of sweet and chocolatey.
- Perfect for Any Moment: Whether it’s a school bake sale, a family gathering, or just a cozy afternoon snack, these cookies always disappear fast!
Essential Ingredients for Perfect Crunchy Texture Desserts
Okay, so to get that *perfect* crunchy texture, the ingredients really do matter. It’s not magic, it’s just a few key players working together! Using good quality stuff, especially your butter and chocolate chips, really makes a difference. Trust me on this – it’s worth it for that ultimate crunchy cookie experience!
For the Cookies
Here’s what you’ll need to have on hand. Don’t skimp on the details here, they’re important for that amazing crunch!
- 1 cup unsalted butter, softened (make sure it’s not melted, just soft enough to mash easily)
- 3/4 cup granulated sugar (this is key for that crispness!)
- 3/4 cup packed brown sugar (adds a little chew but balances with the gran sugar for crunch)
- 2 large eggs (room temperature is best for creaming!)
- 1 teaspoon vanilla extract (because, yum!)
- 2 1/4 cups all-purpose flour
- 1 teaspoon baking soda
- 1/2 teaspoon salt
- 2 cups semi-sweet chocolate chips (or whatever your favorite is!)
Step-by-Step Guide to Making Crunchy Texture Desserts
Alright, let’s get these baking! It’s really not complicated, promise! Just follow along, and you’ll be diving into your own batch of perfection in no time.
Preparing the Dough for Crunchy Texture Desserts
First things first, get that oven preheated to 375°F (190°C). While it’s warming up, line your baking sheets with parchment paper – makes cleanup a breeze and helps with even baking. Now, in a big mixing bowl, go ahead and cream together that softened butter with both the granulated and brown sugars. You want it to get nice and light and fluffy. That step is super important for getting that lovely crunchy texture later on, so don’t skimp on it! Then, beat in your eggs one at a time, followed by that splash of vanilla extract. In a *separate* bowl, just give your flour, baking soda, and salt a quick whisk together.
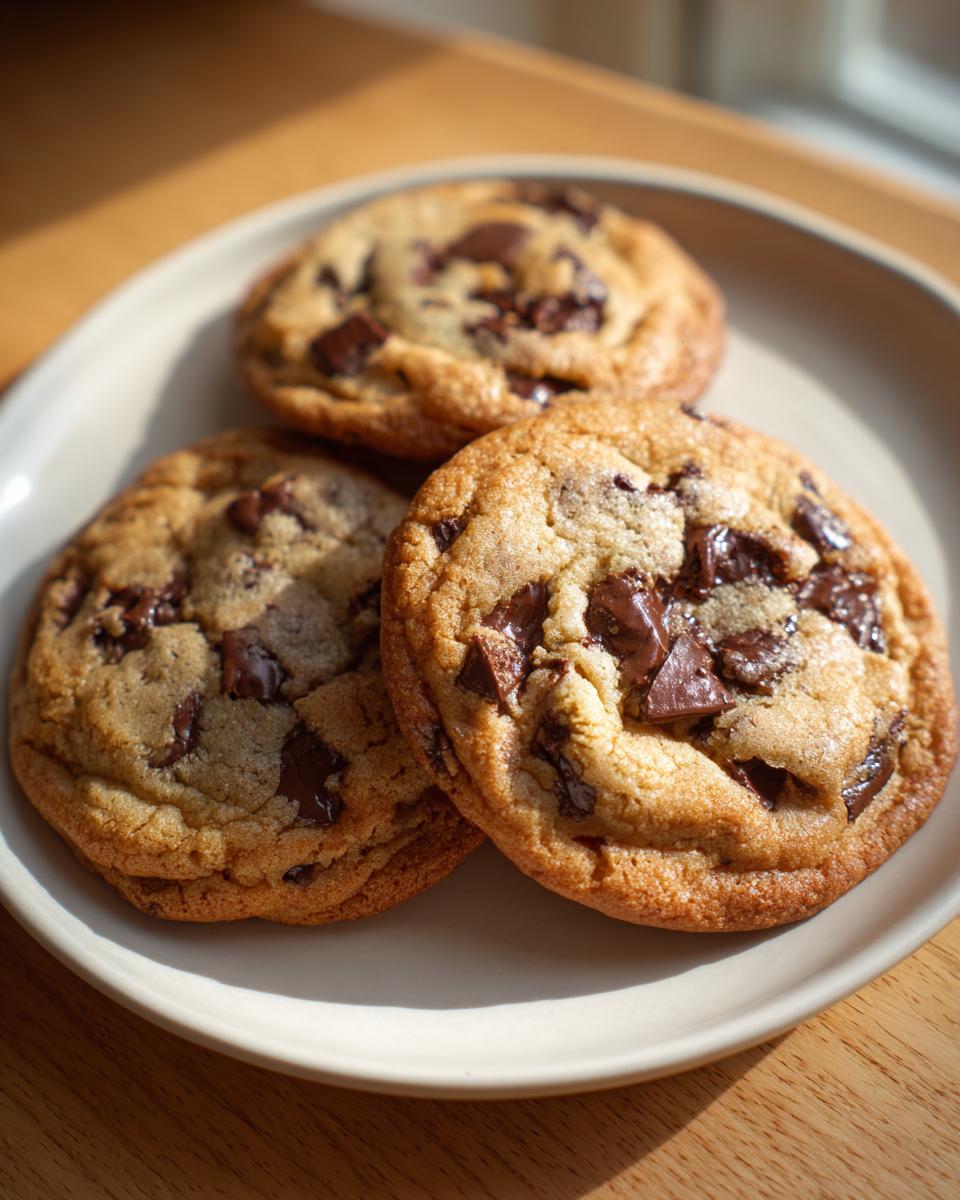
Baking for Optimal Crunch
Once your wet ingredients are all happy, it’s time to bring in the dry stuff. Gradually add the flour mixture to the butter and egg mixture, mixing only until it’s *just* combined. Seriously, don’t overmix here – that’s a fast track to tough cookies! Now, stir in those yummy chocolate chips. Drop rounded tablespoons of dough onto your prepared baking sheets, giving them about 2 inches of space because they will spread. Bake these for about 9 to 11 minutes. You’re looking for the edges to be a lovely golden brown, but the centers should still look a little soft. For *extra* crunch, try baking them for just another minute or two. It makes a world of difference!
Cooling Your Crunchy Texture Desserts
Now, this part is HUGE for that perfect crunch! Let the cookies cool on the baking sheets for a few minutes after they come out of the oven. They’re still a little delicate then. Then, carefully transfer them over to a wire rack to cool completely. This lets all that heat escape and really lets them firm up and get that satisfying crispiness we’re after.
Tips for Achieving the Ultimate Crunchy Texture
Alright, let’s talk secrets! Getting that PERFECT crunch isn’t just about the recipe itself, it’s about a few little tricks I’ve picked up over the years. You know, the stuff that’s not always written down but makes ALL the difference! I learned so much from reading up on baking tips for perfecting cookies, and these really help nail the crunch here.
First off, don’t be shy with the granulated sugar! It really helps create that crisp edge. Also, when you’re mixing the dough, make sure you don’t overmix once you add the flour. Just a quick combine is all you need. Overmixing develops gluten, and gluten means chewiness, not crunch! Another thing I do, and it sounds weird, is slightly flatten the dough balls before baking them. This helps them spread out more and cook more evenly, leading to a crispier cookie all around. And finally, that cooling step we talked about? It’s non-negotiable for crackly, crunchy goodness that you can store. Make sure they’re totally cool on the wire rack before you even *think* about storing them!
Ingredient Notes and Substitutions for Crunchy Texture Desserts
So, let’s chat about these ingredients and how they’re your best friends for getting these cookies to CRUNCH! That granulated sugar is like the backbone of crispiness here – it really helps them spread out nice and thin while baking, which means more surface area for, you guessed it, crunch! Using real butter, softened but not melty, is crucial too; it gives structure and that lovely rich flavor.
Now, if you’re looking for swaps, I get it! For a dairy-free option, you can totally use a good quality vegan butter stick. It works beautifully, though you might find they spread just a *tiny* bit more, which is actually great for our crunchy goal! If you’re watching sugar, you could try swapping some of the granulated sugar for a sugar substitute that bakes well, but be aware it might change the texture slightly – maybe a little less shatter, a little more snap. Just remember, those sugars do a lot of heavy lifting for the crunch!
Frequently Asked Questions about Crunchy Texture Desserts
How do I ensure my cookies are truly crunchy?
Oh, the crunch! Make sure you cream that butter and sugar really well, don’t overmix the dough once the flour is in, and bake them just until the edges are golden brown but the centers still look a tiny bit soft. That extra minute or two can really do wonders!
Can I make these crunchy texture desserts ahead of time?
You totally can! You can make the dough and freeze scoops of it on a baking sheet. Just pop them into a freezer bag once they’re firm. Then, you can bake them straight from frozen, adding a couple of extra minutes to the baking time. Easy peasy!
What is the best way to store crunchy cookies?
The secret to keeping them crunchy is an airtight container. Seriously, no peeking! Make sure the cookies are completely cooled first, then pop them into a container with a tight-fitting lid. They’ll stay nice and crisp for days!
 Continue to the next section. Keep the tone consistent.
Storage and Reheating Instructions
Okay, so you’ve got these glorious crunchy cookies, and you want them to *stay* crunchy, right? The absolute best way is to pop them into an airtight container once they’ve cooled down completely – like, totally, 100% cool. Store them at room temperature, no fridge needed! If, by some chance, they lose a tiny bit of their crispness after a day or two (which is rare, they’re pretty sturdy!), you can pop a couple in a toaster oven or a regular oven at about 200°F (95°C) for just a few minutes. They’ll come back to life, crisp and delicious!
Estimated Nutritional Information
Just a heads-up, the nutritional info is always an estimate, ’cause brands and even how you measure can change things a bit! But roughly, these crunchy little delights come in at around 150-180 calories per cookie, with a good chunk of that being fat (from the butter and chocolate, oh yes!) and carbs from the sugars and flour. Protein is in there too, thanks to the eggs and flour. They’re definitely a treat!
Share Your Crunchy Texture Dessert Creations!
I just LOVE hearing from you guys! Did you try making these cookies? Tell me all about it in the comments below! Did they turn out perfectly crunchy? Did you jazz them up with different chips? Rate the recipe and share your baking adventures – and if you snapped any pics, tag me on social media! I can’t wait to see your amazing crunchy texture desserts!
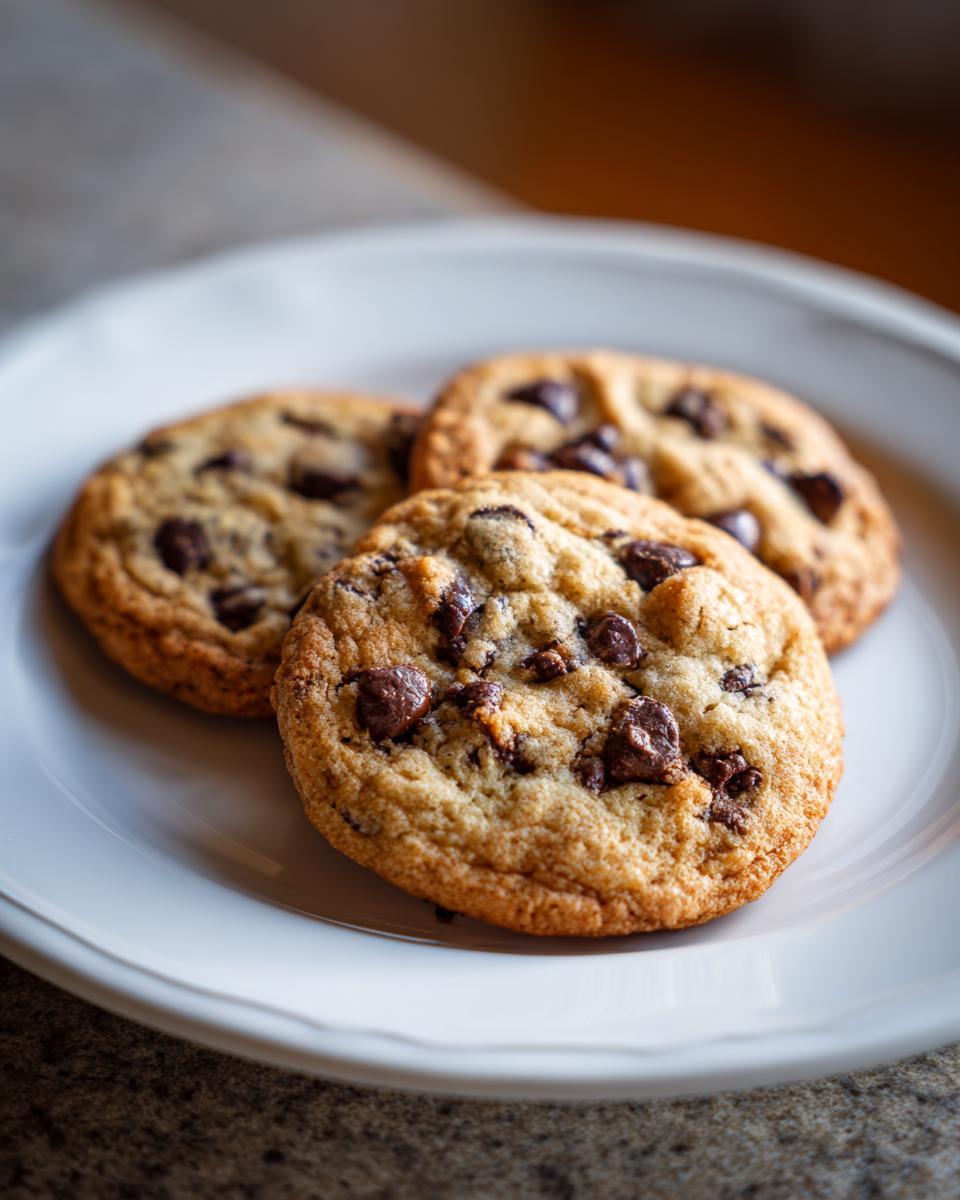
Crunchy Chocolate Chip Cookies
Ingrédients
Equipment
Method
- Preheat your oven to 375°F (190°C). Line baking sheets with parchment paper.
- In a large bowl, cream together the softened butter, granulated sugar, and brown sugar until light and fluffy.
- Beat in the eggs one at a time, then stir in the vanilla extract.
- In a separate bowl, whisk together the flour, baking soda, and salt.
- Gradually add the dry ingredients to the wet ingredients, mixing until just combined. Do not overmix.
- Stir in the chocolate chips.
- Drop rounded tablespoons of dough onto the prepared baking sheets, spacing them about 2 inches apart.
- Bake for 9-11 minutes, or until the edges are golden brown and the centers are still slightly soft. For a crispier cookie, bake for an additional minute or two.
- Let the cookies cool on the baking sheets for a few minutes before transferring them to a wire rack to cool completely.