You know what I look forward to every fall? That first batch of baked pumpkin seeds fresh from the oven. There’s something magical about turning those slimy seeds you scoop out of a pumpkin into crispy, salty little bites of goodness. I’ve been making them since I was a kid – my mom would let me toss them in oil and salt while she carved our jack-o’-lanterns. Now I make them all season long because they’re the easiest healthy snack you’ll ever make. Just three ingredients and about 30 minutes in the oven, and you’ve got a crunchy treat packed with protein and fiber. Trust me, once you try homemade baked pumpkin seeds, you’ll never go back to store-bought!
Why You’ll Love These Baked Pumpkin Seeds
Oh my gosh, where do I even start with why these little crispy gems are the best? First off, they’re ridiculously easy – we’re talking 10 minutes of prep and you’re done. But here’s what really gets me excited:
- Crunch perfection: That satisfying snap when you bite into them? Pure snack heaven.
- Healthier than chips but just as addictive (I may or may not have eaten an entire batch in one sitting last week).
- Totally customizable – add whatever spices make your taste buds happy.
- Uses something you’d normally throw away! Waste not, want not, right?
- Perfect for movie nights, lunchboxes, or when you need that 3pm pick-me-up.
Seriously, once you make your first batch, you’ll wonder why you haven’t been doing this every pumpkin season!
Ingredients for Baked Pumpkin Seeds
Okay, let’s talk ingredients – and I mean the simple, honest kind that won’t have you running to three different stores. Here’s all you need for perfect baked pumpkin seeds:
- 1 cup pumpkin seeds – freshly scooped from your pumpkin (those slimy little guys you’d normally toss? Gold mine!)
- 1 tablespoon olive oil – just enough to make them glisten without getting greasy
- ½ teaspoon salt – I use kosher, but whatever you’ve got works
That’s it! Three ingredients you probably already have. Well, except maybe the pumpkin seeds – but that’s half the fun of carving pumpkins, right? Getting your hands messy to uncover these little treasures.
How to Make Baked Pumpkin Seeds
Alright, let’s get down to business! Making baked pumpkin seeds is so simple you’ll laugh, but I’ve got a few tricks up my sleeve to make them extra perfect. The key is taking your time with each step – trust me, it makes all the difference between « meh » seeds and « oh wow! » seeds. Here’s exactly how I do it every time:
Preparing the Pumpkin Seeds
First things first – let’s deal with those slippery little seeds fresh from the pumpkin. I dump them in a colander and rinse them under cold water, using my fingers to rub off all that orange stringy pulp. Don’t skip this step! Any leftover pumpkin guts will burn in the oven. Then I pat them dry with paper towels – really get in there because wet seeds steam instead of getting crispy. Some folks say to let them air dry overnight, but who has that kind of patience? A good towel blot does the trick!
Baking the Pumpkin Seeds
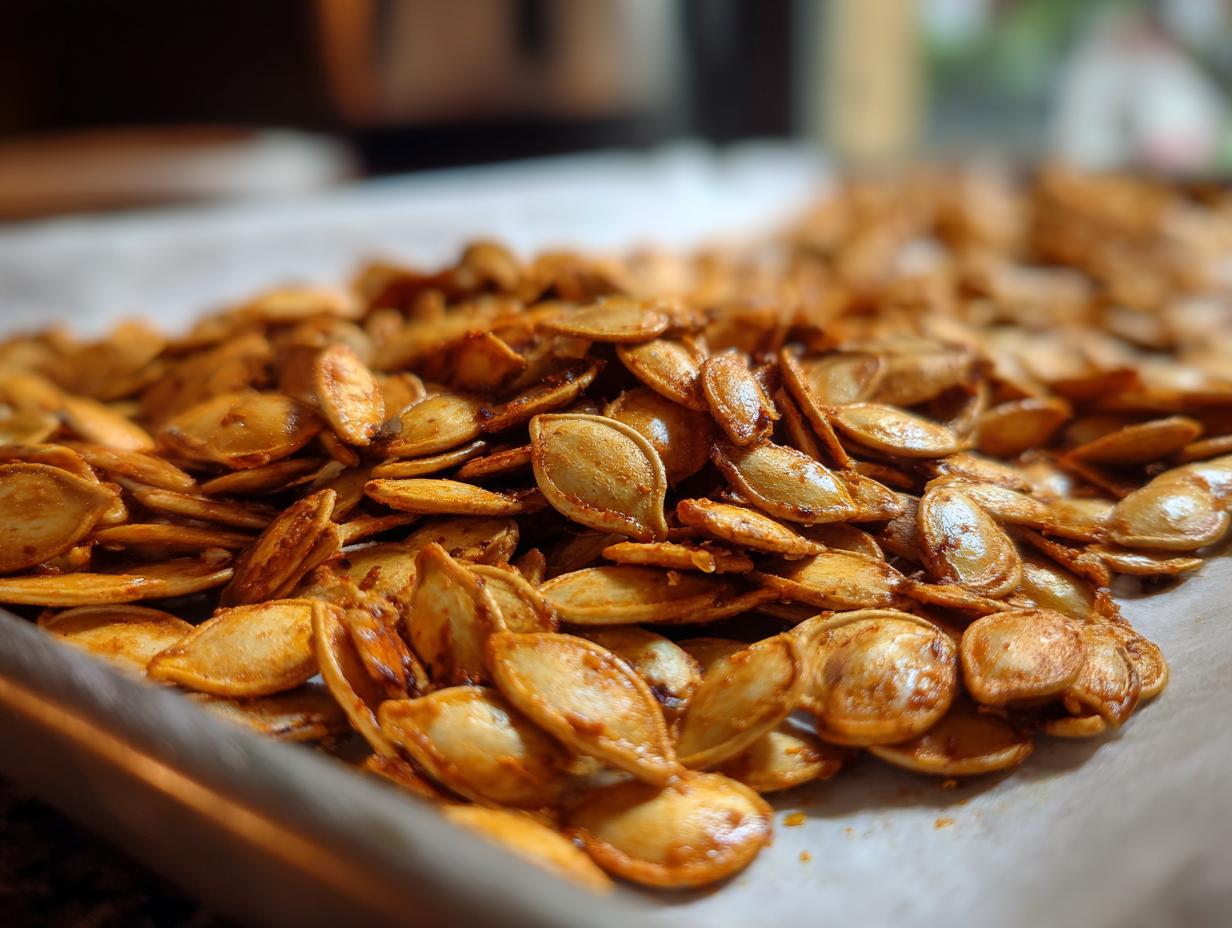
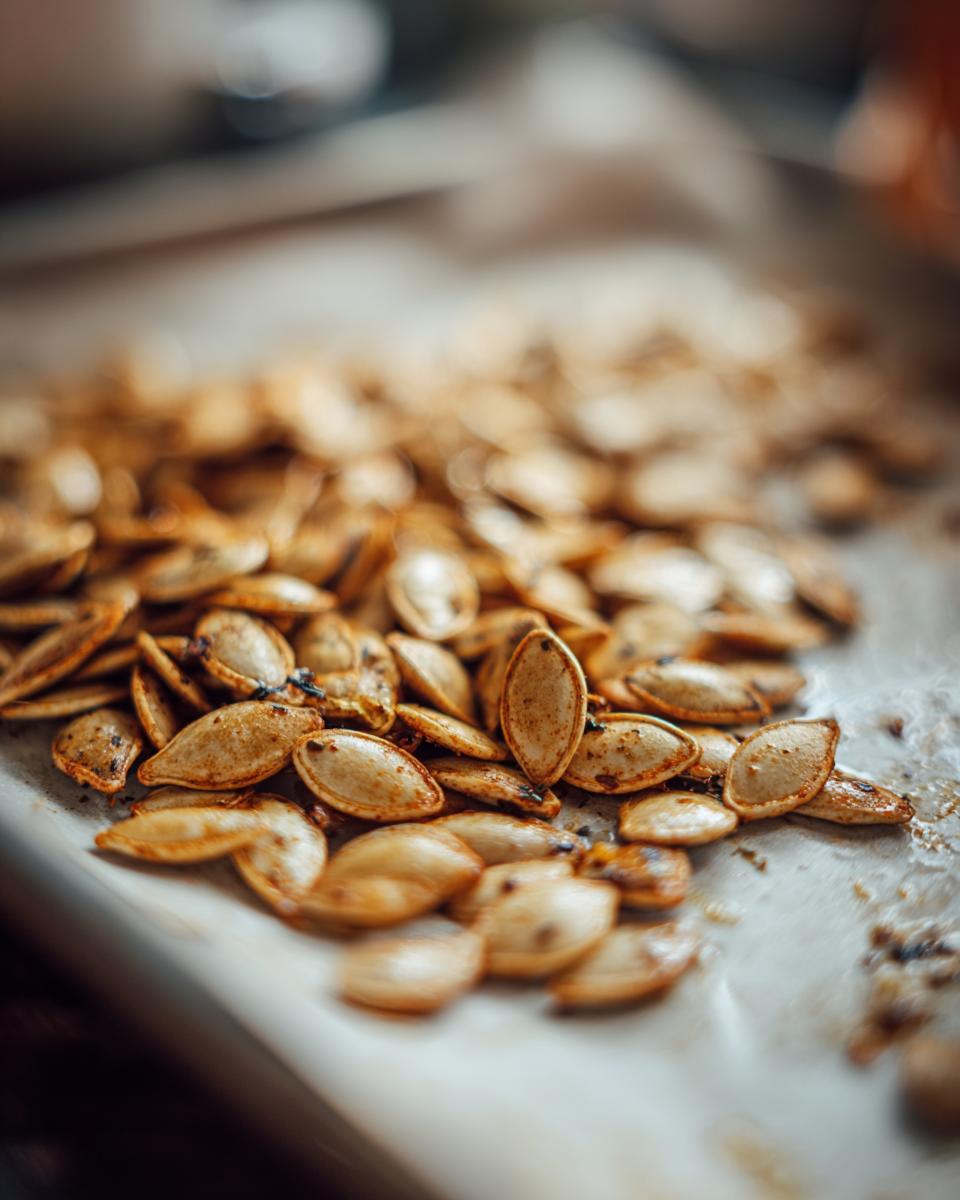
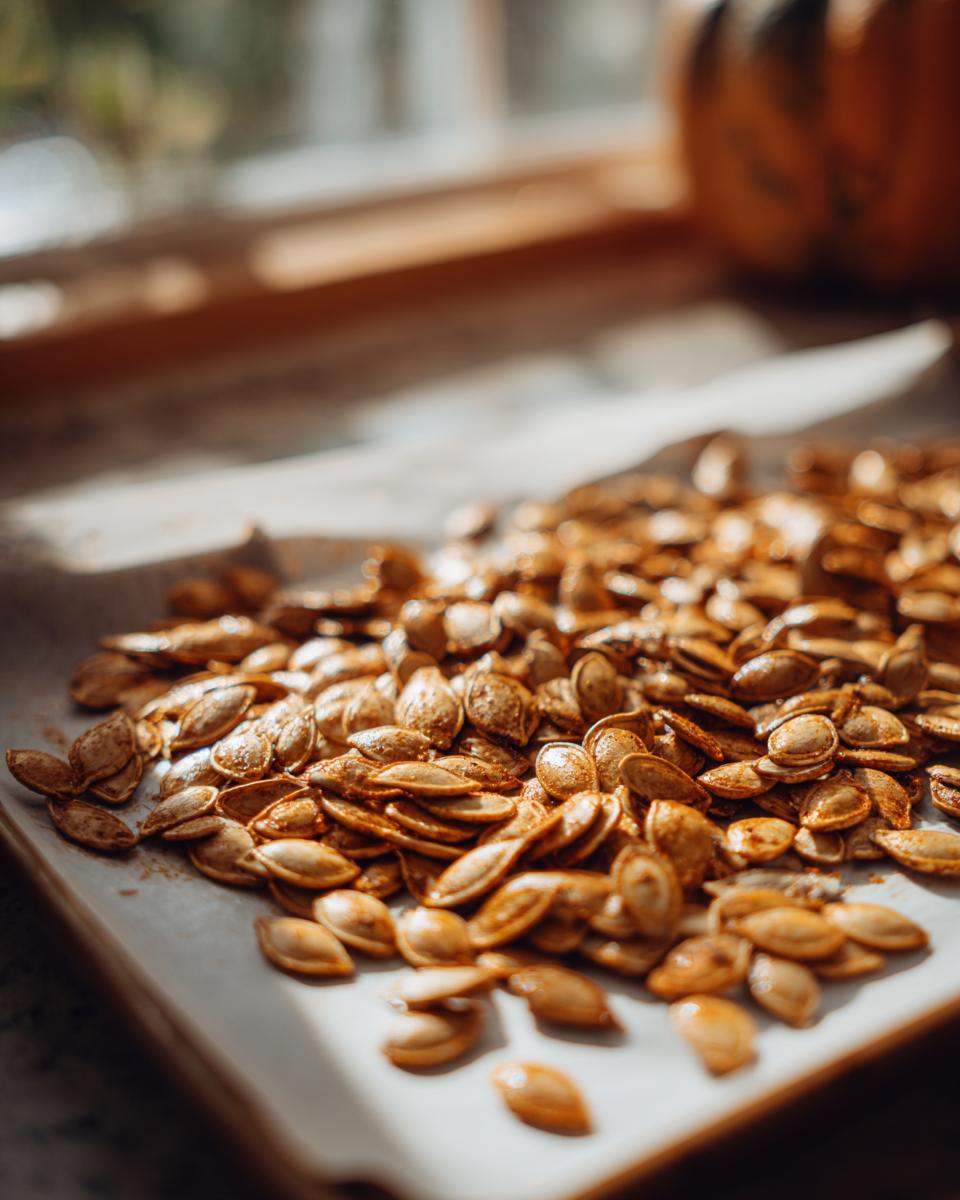
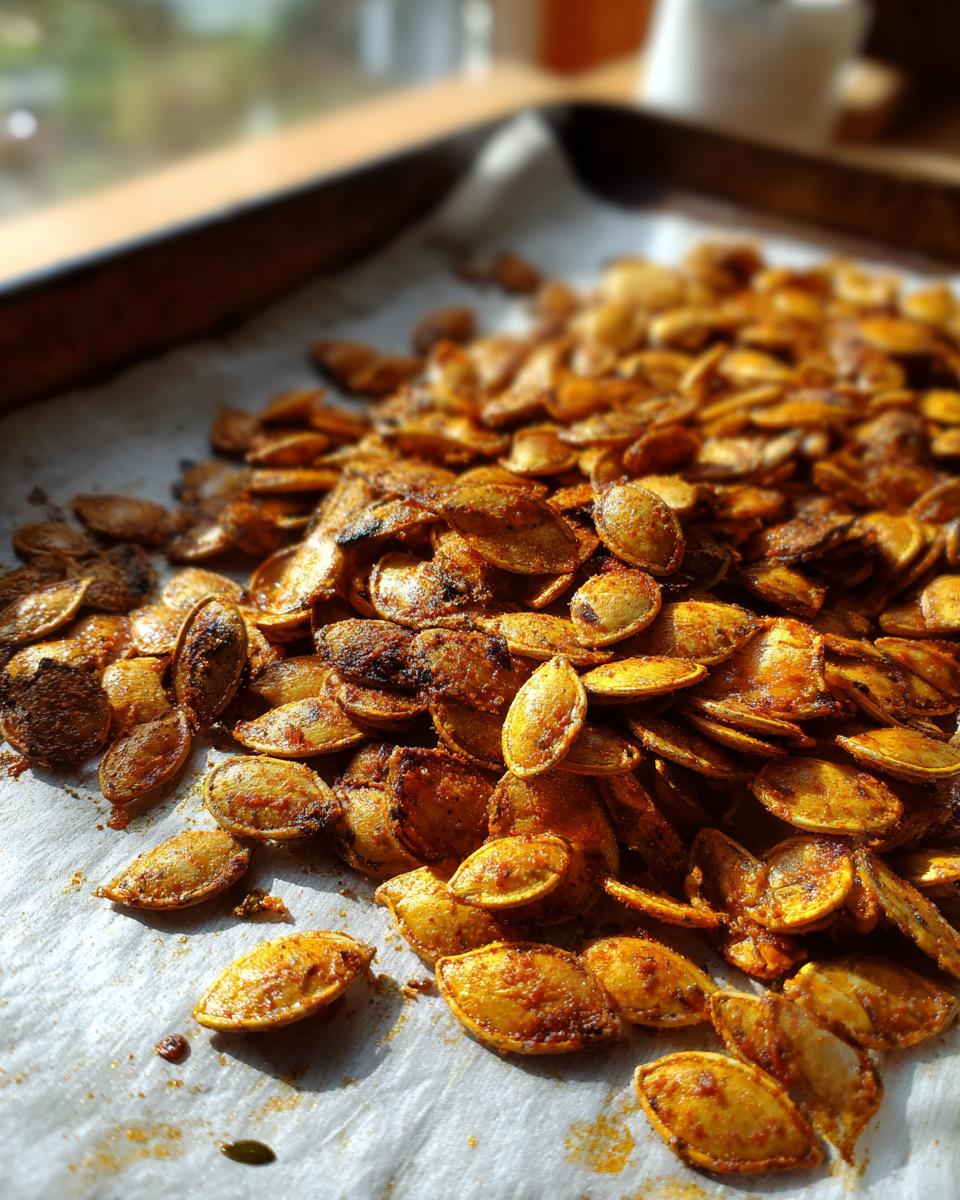
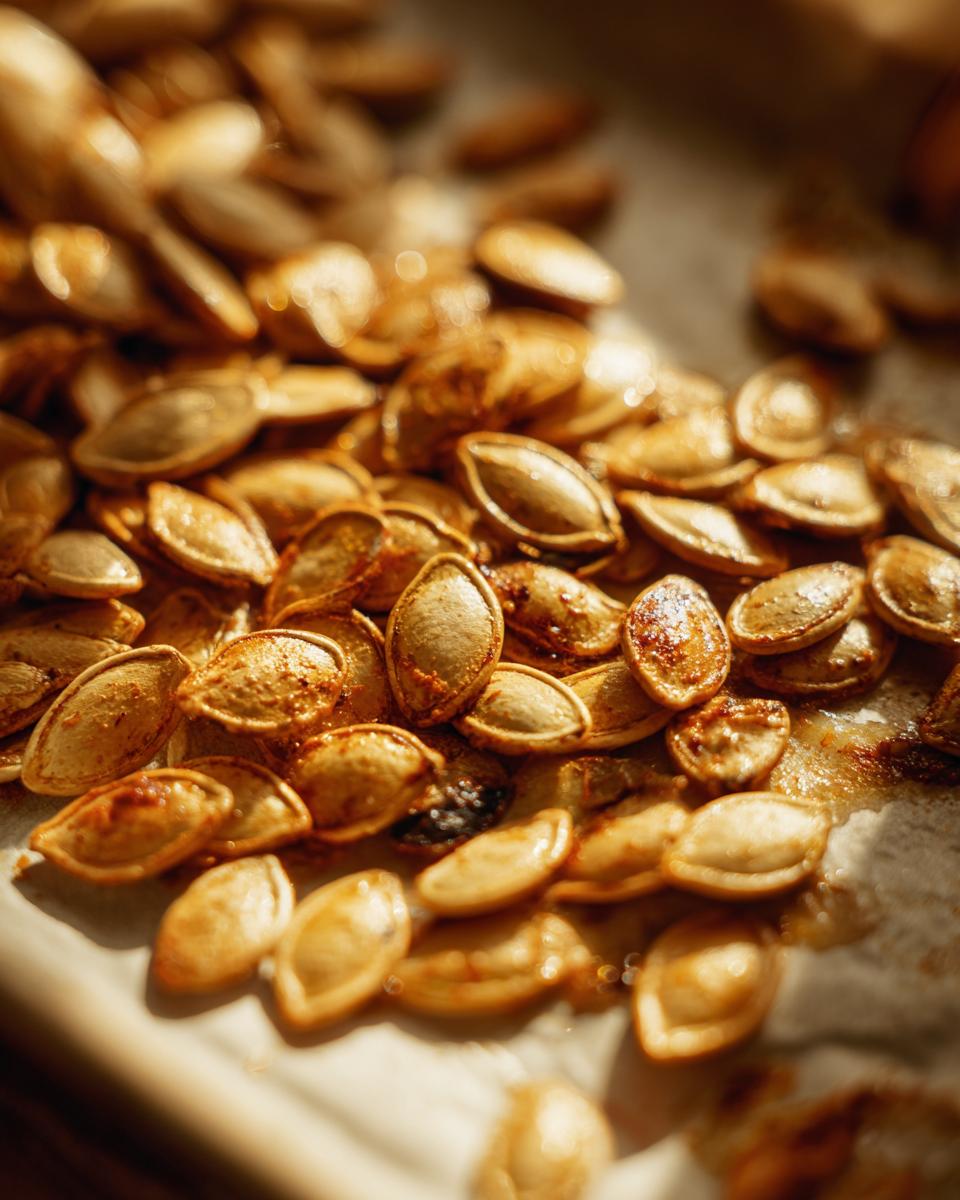
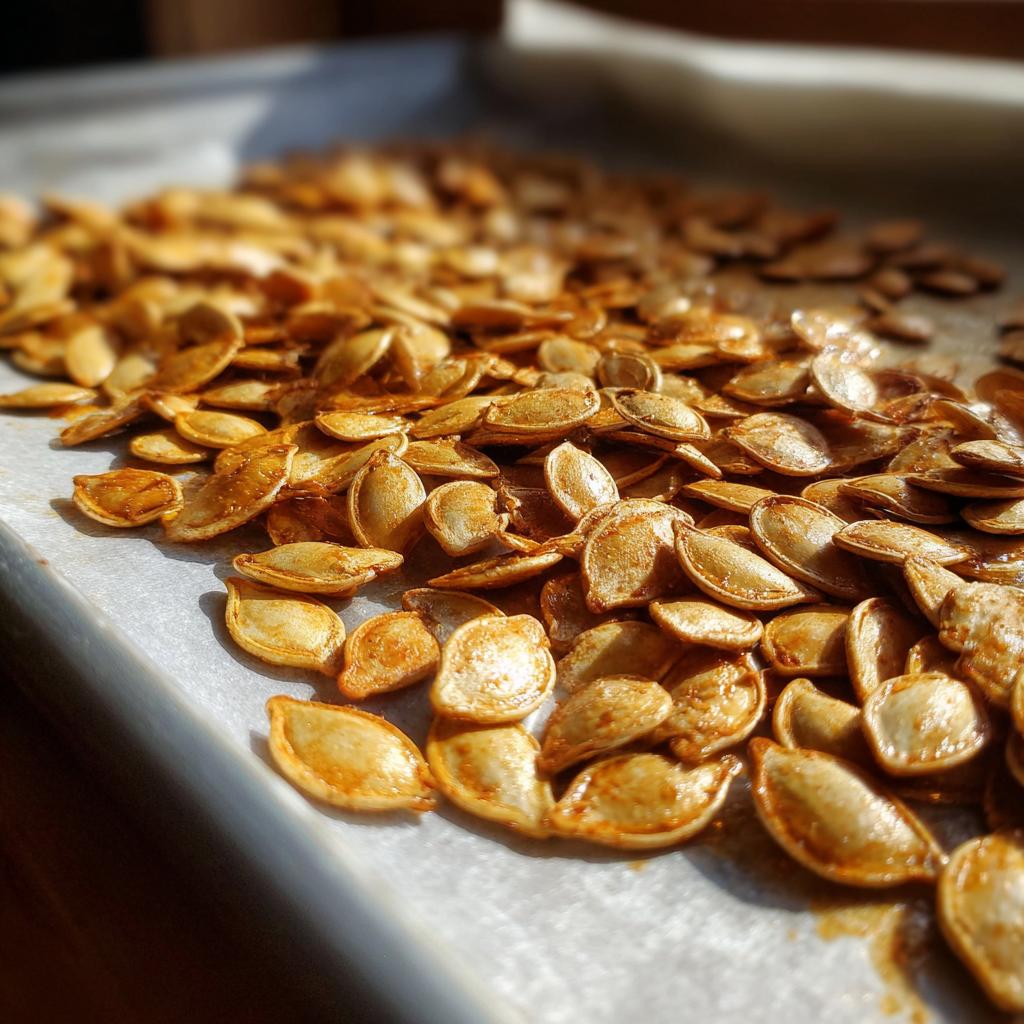
Now for the fun part! I toss the dry seeds with olive oil and salt in a bowl until they’re all shiny and coated – like little edible jewels. Then I spread them in a single layer on my trusty baking sheet. Here’s my secret: don’t crowd them! Give each seed some personal space so they crisp up evenly. Into the oven they go at 300°F, and here’s where the magic happens. Every 10 minutes, I give them a stir with a wooden spoon – this prevents burning and ensures every seed gets golden and crunchy. After about 30 minutes, they’re done when they make that perfect « clink » sound when you shake the pan!
Tips for Perfect Baked Pumpkin Seeds
After making more batches of baked pumpkin seeds than I can count (seriously, my family thinks I’m obsessed), I’ve learned a few tricks to make them absolutely foolproof. First, always use fresh seeds – the ones from your just-carved pumpkin have way better flavor than store-bought. And don’t be shy with the salt! I always taste a seed after mixing and usually add another pinch. The real magic happens when you give those seeds room to breathe on the baking sheet – overcrowd them and they’ll steam instead of crisp up. Oh, and here’s my favorite tip: while they’re still warm from the oven, toss them with whatever spices make you happy. A little smoked paprika or garlic powder? Yes please!
Variations for Baked Pumpkin Seeds
Oh, the fun really begins when you start playing with flavors! My basic baked pumpkin seeds are delicious, but sometimes I like to mix things up. A sprinkle of smoked paprika gives them a barbecue vibe that’s perfect for game day. Garlic powder and a pinch of cayenne? Now we’re talking! For a sweet twist, try cinnamon and a tiny bit of sugar – they taste like fall in every bite. The possibilities are endless, so don’t be afraid to get creative with your spice rack!
Storing and Reheating Baked Pumpkin Seeds
Here’s the best part about baked pumpkin seeds – they stay crispy for days if you store them right! I always use an airtight container (my favorite is a mason jar because I can see those golden beauties). They’ll keep their crunch for about a week at room temperature – if they last that long in your house! If they start to lose their crispness, just pop them back in a 300°F oven for 5 minutes. Works like magic every time. Pro tip: don’t refrigerate them – the moisture makes them soggy, and nobody wants sad, soft pumpkin seeds!
Nutritional Information for Baked Pumpkin Seeds
Let me tell you why I feel so good about snacking on these baked pumpkin seeds! A single serving (about ¼ cup) packs a nutritional punch with:
- 125 calories – perfect for guilt-free munching
- 5g protein – great for keeping you full
- 10g healthy fats – mostly from that good olive oil
- 5g carbs – with 1g fiber to keep things moving
Now, here’s my little disclaimer – these numbers can dance around a bit depending on how much oil or salt you use. But one thing’s for sure: they’re way better for you than reaching for that bag of chips! Plus, those little seeds are loaded with magnesium and zinc – nature’s multivitamin in snack form.
Frequently Asked Questions About Baked Pumpkin Seeds
I get asked about baked pumpkin seeds all the time – and I love sharing what I’ve learned through years of trial and error! Here are the questions that pop up most often in my kitchen:
Can I use store-bought pumpkin seeds instead of fresh?
You totally can, but fresh seeds from your pumpkin have way more flavor! Store-bought seeds work in a pinch, but they’re often drier. If you do use them, soak them in water for an hour first to plump them up – it makes all the difference in texture.
How long do baked pumpkin seeds stay fresh?
In my experience, they stay crispy for about a week if you store them right. I keep mine in a mason jar with the lid tight – no plastic bags because they let in moisture. If they start to soften, just pop them back in the oven at 300°F for 5 minutes to revive that perfect crunch!
Can you freeze baked pumpkin seeds?
Absolutely! I freeze them all the time for later snacking. Just make sure they’re completely cooled first, then pack them in freezer bags with all the air squeezed out. They’ll keep for months – though mine never last that long because I keep sneaking handfuls straight from the freezer!
Why are my pumpkin seeds chewy instead of crispy?
Oh, I’ve been there! Usually it means they weren’t dry enough before baking, or the oven temp was too low. Next time, really pat those seeds dry and make sure your oven’s at 300°F. And don’t crowd the pan – give them space to crisp up properly. You’ll get that perfect crunch!
Baked Pumpkin Seeds
Ingrédients
Equipment
Method
- Preheat the oven to 300°F (150°C).
- Rinse the pumpkin seeds under cold water to remove any pulp. Pat them dry with a paper towel.
- Toss the seeds with olive oil and salt in a bowl until evenly coated.
- Spread the seeds in a single layer on a baking sheet.
- Bake for 30 minutes, stirring occasionally, until golden and crispy.