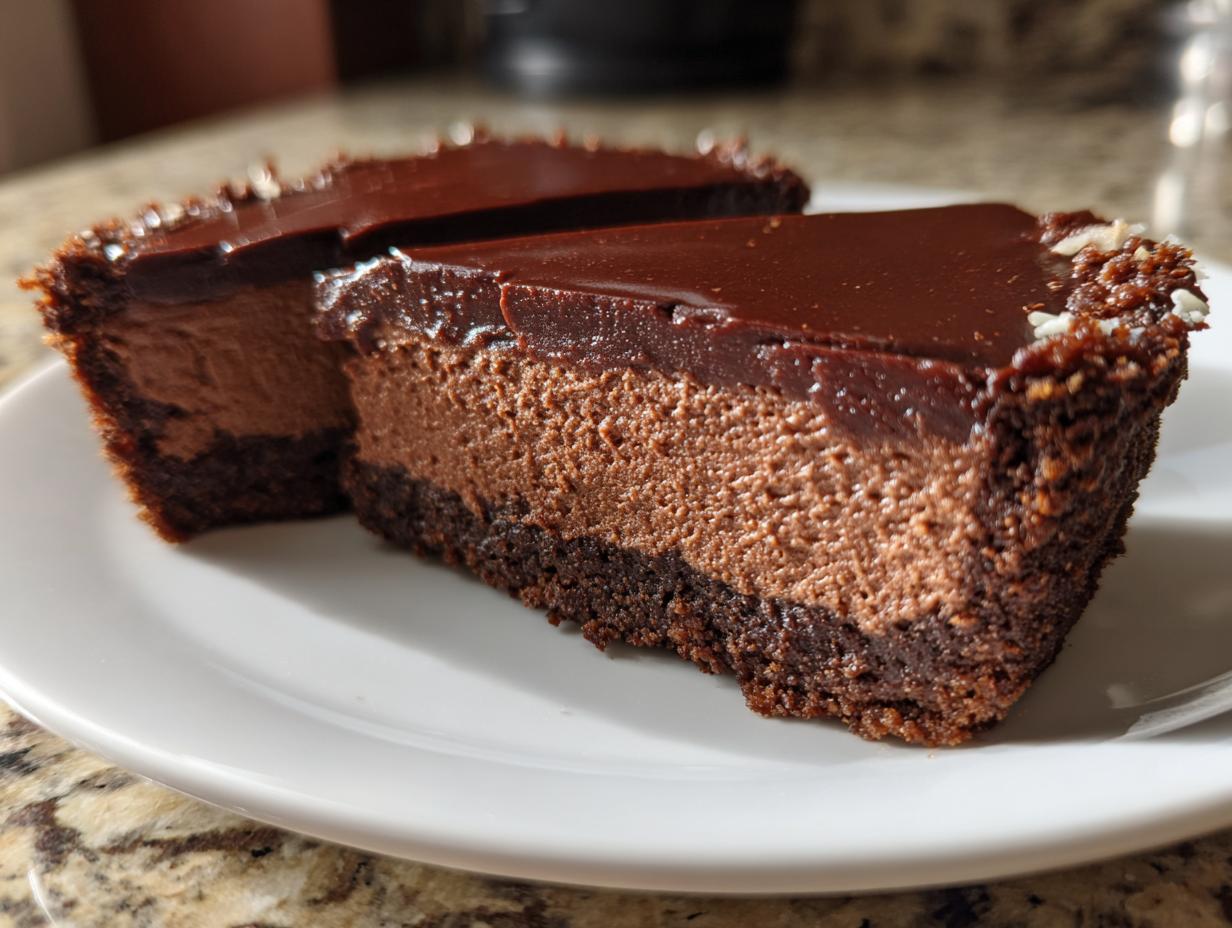
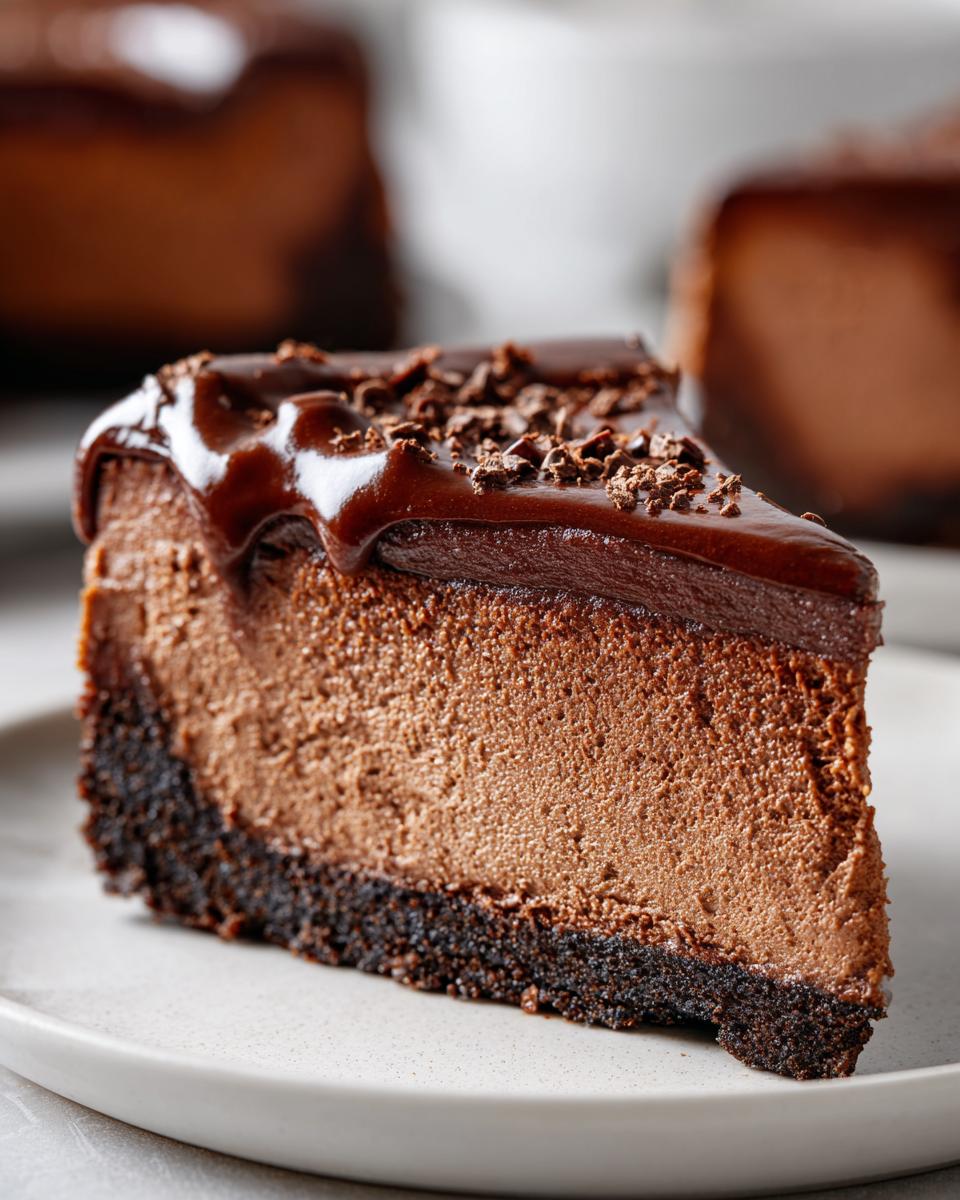
There’s something magical about slicing into a rich, velvety chocolate cheesecake—that moment when your fork glides through the creamy filling and crisp biscuit base. My love affair with chocolate cheesecake recipes began when I surprised my best friend with one for her birthday. The look on her face when she took that first bite? Pure bliss. Now it’s my go-to dessert for celebrations, anniversaries, and those « I just need chocolate » days.
What makes this chocolate cheesecake recipe so special? It’s all about balance—the deep cocoa flavor shining through the smooth, tangy cream cheese, resting on that buttery crumb base that gives just the right crunch. My version skips fancy techniques for straightforward, honest indulgence. You’ll notice I always use dark chocolate—it gives that grown-up richness without being overly sweet. But here’s a secret: this recipe works beautifully with milk chocolate too when you’re’re craving something gentler.
Trust me, after your first bite of these chocolate cheesecake recipes, your dessert rotation will never be the same again.
Why You’ll Love This Chocolate Cheesecake Recipe
Let me tell you why this chocolate cheesecake recipe has become my most requested dessert—and why it’ll become yours too. It’s not just about the chocolate (though that’s a big part of it!), but how everything comes together to create something truly special.
- Rich chocolate flavor that satisfies cravings – I use quality dark chocolate that gives that deep, grown-up cocoa hit without being overly sweet. Every bite feels like a little celebration.
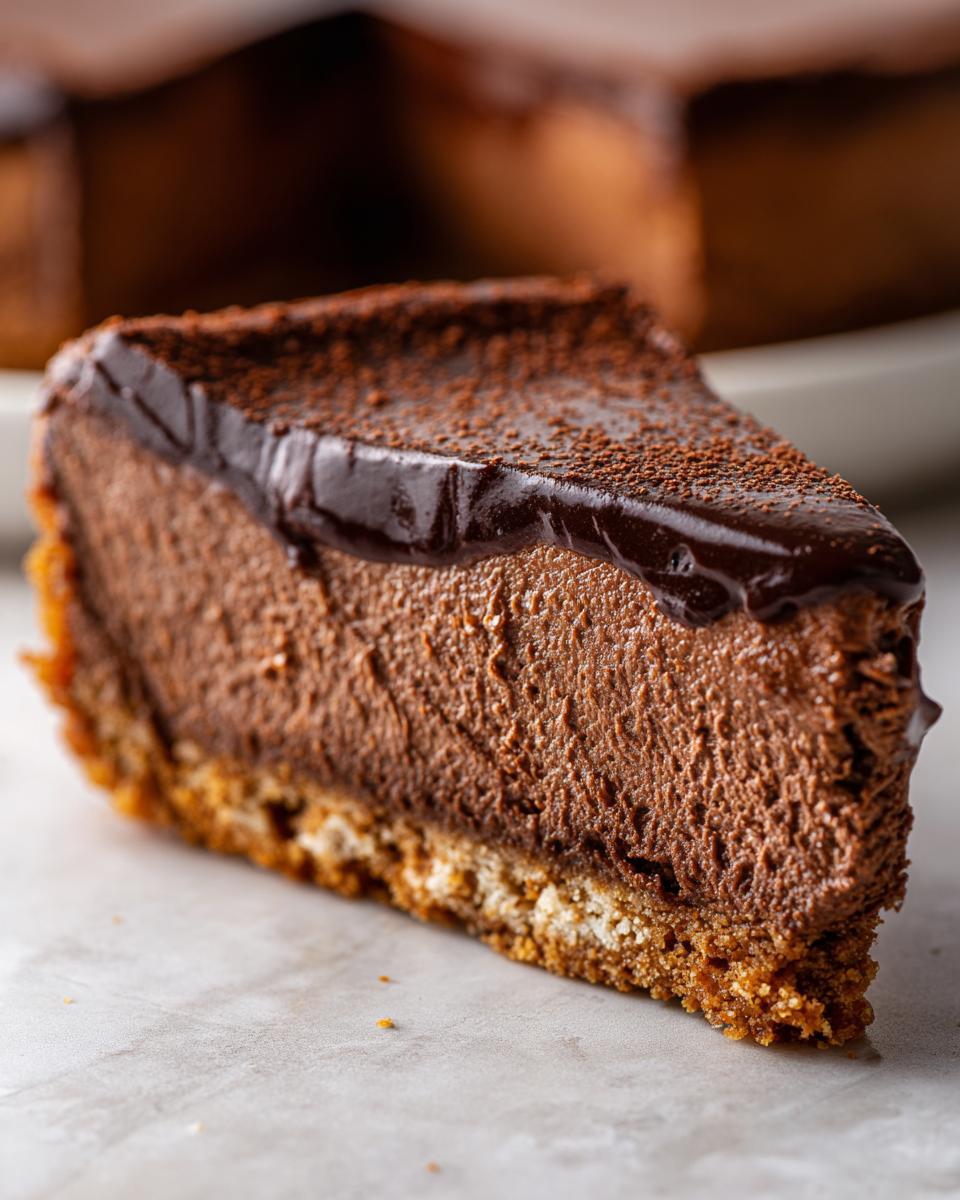
- Creamy texture that melts in your mouth – The secret? Beating the cream cheese just right until it’s silky smooth. You’ll love how it contrasts with the crunchy biscuit base.
- Surprisingly easy to make – Don’t let the fancy look fool you! With simple steps and common ingredients, even beginner bakers can nail this chocolate cheesecake.
- Looks stunning with minimal effort – That smooth chocolate top and clean slices make it look like you spent hours, when really, most of the time is just waiting for it to chill.
- Perfect for any occasion – I’ve served this at everything from birthday parties to casual coffee dates. Dress it up with berries or keep it simple—it always impresses.
Honestly, what’s not to love? It’s the kind of dessert that makes people ask for the recipe before they’ve even finished their slice. And trust me, they will ask!
Ingredients for Chocolate Cheesecake
Now let’s talk ingredients – because I’ve learned the hard way that quality makes all the difference with chocolate cheesecake recipes. Trust me, don’t skimp here! What seems like small choices (dark chocolate vs milk, proper softened cream cheese) transforms this from good to knock-your-socks-off amazing.
For the Base:
- 200g digestive biscuits – These are my absolute favorite for cheesecakes. Their malty flavor complements the chocolate perfectly. Yes, you can use graham crackers in a pinch, but digestives give that special British charm I love.
- 100g butter, melted – Real butter, please! None of that margarine business. I usually melt it in short bursts in the microwave—watch it doesn’t splatter!
For the Filling:
- 500g cream cheese, softened – This is KEY. Leave it out for at least an hour before baking. Room temp cream cheese blends smoothly—no lumpy cheesecakes on my watch!
- 150g caster sugar – Finer than granulated, it dissolves beautifully. If you can’t find it, pulse regular sugar in a blender for 10 seconds.
- 200g dark chocolate, melted – Use good quality chocolate (around 70% cocoa). Cheap chocolate waxes up weird when melted. I melt mine in a bowl over simmering water—patience prevents scorching!
- 3 eggs – Large UK size or extra-large US size. Crack them into a separate bowl first—ask me how I know this saves heartache!
- 1 tsp vanilla extract – The real stuff, not artificial flavoring. That tiny bottle lasts ages and makes everything taste better.
See? Nothing too crazy ingredient-wise. This proves you don’t need a shopping cart full of exotic items to make showstopping chocolate cheesecake recipes. Just good basics treated right!
Equipment Needed for Chocolate Cheesecake
Alright, let’s talk gear! One of the things I love about chocolate cheesecake recipes is that you don’t need fancy equipment to make something spectacular. Here’s what I always grab from my kitchen cabinets – and some handy alternatives if you don’t have exactly what’s listed.
- 9-inch springform pan – This is non-negotiable, friends. The removable sides make getting your cheesecake out in one piece so much easier. Mine’s got a few battle scars from years of use, but that just adds character! If you’re really in a pinch, a regular cake pan lined with parchment paper can work, but springform is the way to go.
- Mixing bowls – I like to have two medium-sized ones ready – one for the biscuit base, one for the filling. Glass or metal bowls are my preference because they don’t retain odors like plastic can. But honestly? Use what you’ve got!
- Electric mixer – My trusty stand mixer gets the most use, but a hand mixer works just as well. In a real pinch? A sturdy whisk and some elbow grease will do the job – just be prepared for an arm workout getting that cream cheese smooth!
See? Nothing too specialized here. The beauty of chocolate cheesecake is that it doesn’t demand fancy tools – just the basics done right. Now let’s get mixing!
How to Make Chocolate Cheesecake
Okay, let’s dive into making this dreamy chocolate cheesecake together! I’ll walk you through each step just like I would if we were baking side by side in my kitchen. The process is surprisingly straightforward, but there are a few key tricks I’ve picked up over the years that make all the difference. Grab your ingredients because we’re about to create something amazing!
Preparing the Biscuit Base
First things first – let’s tackle that irresistible biscuit base. Crushing the biscuits? My favorite stress-reliever! I pop them in a zip-top bag and roll them with a rolling pin (the wine bottle trick works too in a pinch). You want fine crumbs, but not powder – little bits add nice texture. Mix the crumbs with melted butter until it looks like wet sand – that’s when you know it’s ready. Now here’s the important part: press the mixture firmly into your greased pan using a flat-bottomed glass or measuring cup. Really pack it down so it holds together when sliced. I always do a little border up the sides – makes it extra pretty!
Making the Chocolate Cheesecake Filling
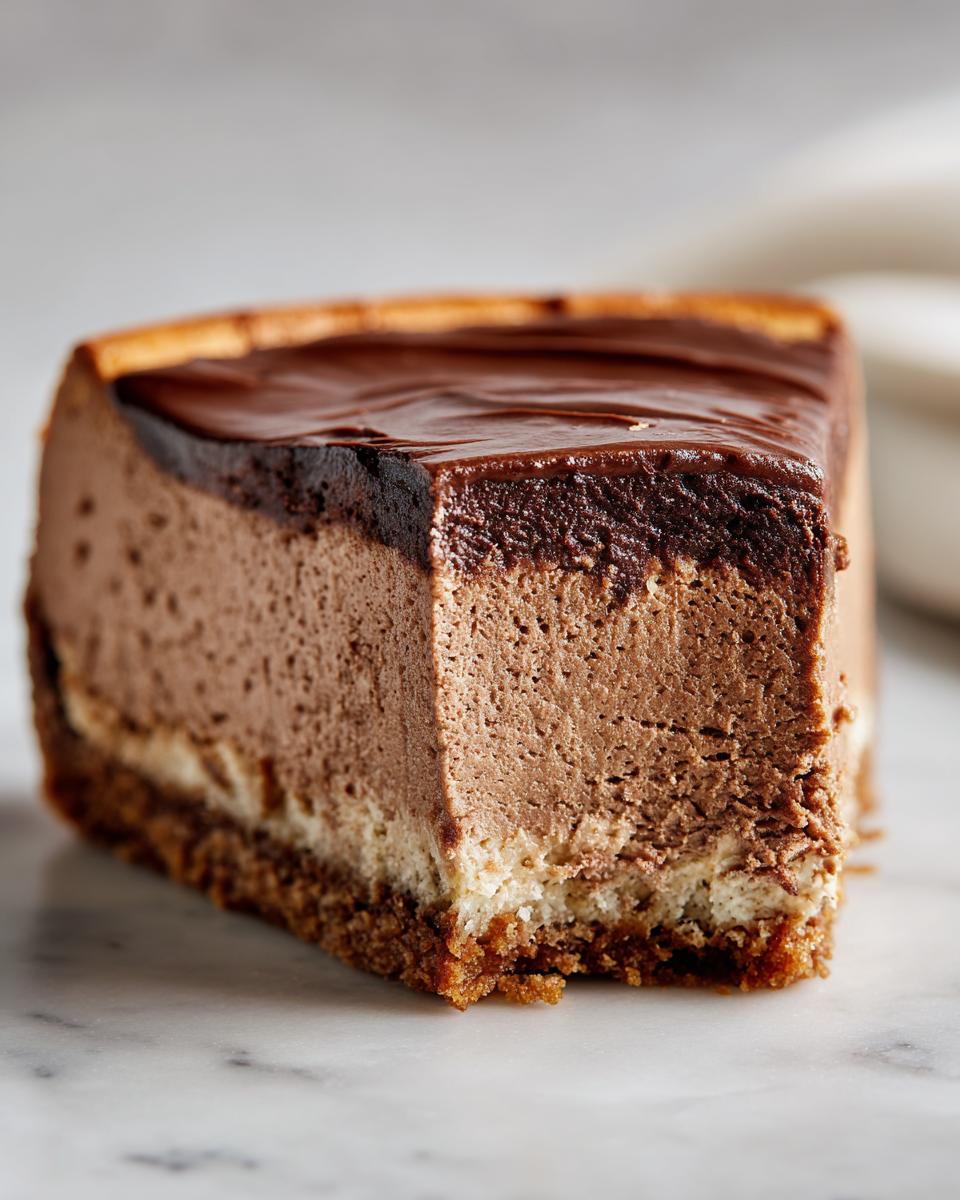
Now for the star of the show – that luscious chocolate filling. Start by beating the softened cream cheese (no lumps allowed!) with the sugar until WTWHW& creamy. Scrape the bowl sides – this gets missed way too often! Melt your chocolate gently – I do 30-second microwave bursts, stirring between each. Let it cool slightly so it doesn’t cook the eggs when added. Now here’s the key: add the eggs one at a time, mixing just until combined after each. Overbeating introduces too much air and causes cracks (but hey, even cracked cheesecakes taste incredible!). The batter should be silky smooth – like chocolate satin.
Baking and Chilling the Cheesecake
Okay baker friends, this is where patience comes in! Bake at 160°C (140°C fan) for about 60 minutes. The center should still have a slight wobble when done – like Jell-O not water. Now here’s my special trick: turn outbreakxcheesecakeoolingodham cake into oven propped ajar for an hour. This gradual cooling prevents shocking the cheesecake and reduces cracking. Then comes the秋季 hardest part – refrigerating for at least 4 hours (overnight is better). Trust me, rushing this step您好thissssill ruin cakes texture. A well-chilled cheesecake slices cleanly and feels luxuriously firm yet creamy.
Tips for Perfect Chocolate Cheesecake
Alright, let me share the hard-earned secrets I’ve discovered after years of making chocolate cheesecake recipes—some learned through delicious successes, others through, well… let’s call them « learning experiences. » These little tricks make all the difference between a good cheesecake and an unforgettable one!
Room temperature ingredients are non-negotiable – I can’t stress this enough! Cold cream cheese will never blend smoothly, no matter how hard you beat it. I leave mine out for at least 2 hours before baking—sometimes overnight if my kitchen’s chilly. Eggs should be room temp too—just pop them in warm water for 10 minutes if you forgot to take them out earlier.
Stop mixing before you think you should – Overbeating introduces too much air, which leads to cracks as the cheesecake cools. I mix just until each ingredient disappears—no longer. That moment when you think « maybe one more stir? »? That’s when you stop! Your cheesecake will thank you with that perfect smooth texture.
The water bath magic trick – Okay, I resisted this for years because it seemed fussy, but wrapping my springform pan in foil and placing it in a roasting pan with hot water changed everything. The steam creates gentle, even heat that prevents cracks and gives that dreamy creamy texture. Pro tip: use boiling water from the kettle—it’s quicker than waiting for the oven to heat the water.
Patience during chilling is everything – I know, I know—that heavenly chocolate scent filling your kitchen makes waiting unbearable. But cutting into a warm cheesecake is like opening a present too soon! At least 4 hours in the fridge is mandatory (overnight is better). This sets the structure so you get clean slices instead of chocolate pudding. Trust me—it’s worth the wait!
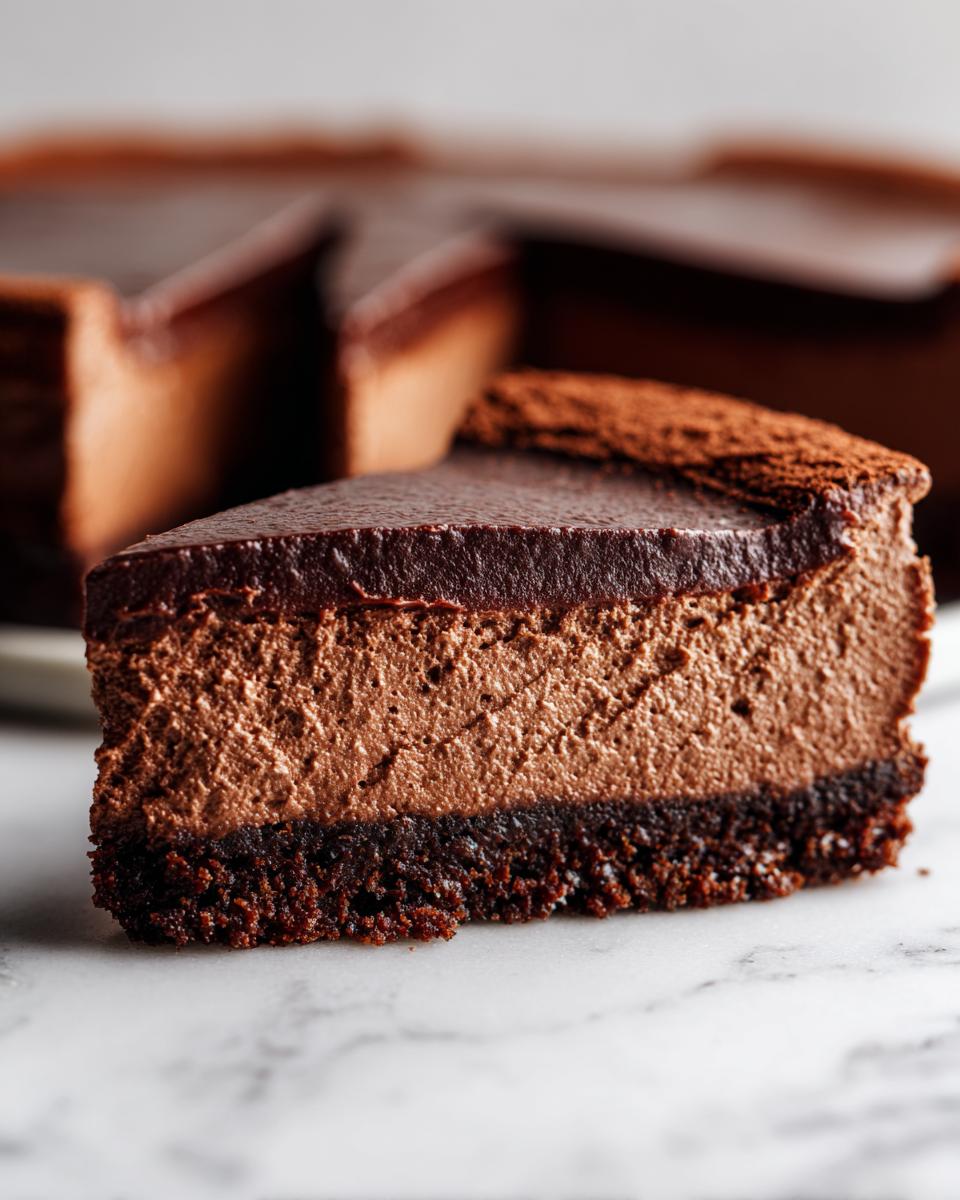
Slice with a hot knife – Here’s my party trick: run your knife under hot water and wipe it dry between each slice. The heat glides right through the chilled cheesecake like butter, giving you those picture-perfect slices every time. Bonus? You get to « test » the knife between cuts—you know, for quality control purposes!
Remember, even if your cheesecake cracks or doesn’t look perfect, it’ll still taste amazing. Some of my most delicious chocolate cheesecake recipes came from « mistakes » that turned into happy accidents. Now go forth and bake with confidence—you’ve got this!
Common Chocolate Cheesecake Questions
After sharing my chocolate cheesecake recipes with friends for years, I’ve heard every question under the sun! Here are the answers to what everyone always wants to know – consider it your cheat sheet for cheesecake success.
Can I use milk chocolate instead of dark chocolate?
Absolutely! While I love the rich depth of dark chocolate, milk chocolate works beautifully when you’re craving something sweeter. Just use the same amount (200g) and follow the recipe exactly. White chocolate works too, though you might want to reduce the sugar slightly since it’s naturally sweeter. My niece swears by a half-dark, half-milk chocolate combo – the best of both worlds!
How do I prevent cracks in my chocolate cheesecake?
Oh, the dreaded cracks! Here’s what I’ve learned: don’t overmix after adding eggs, cool the cheesecake slowly in the oven with the door ajar, and resist the urge to peek while baking (temperature changes cause cracking!). If cracks still appear? No stress – cover them with whipped cream, chocolate ganache, or just call them « rustic charm. » Taste isn’t affected one bit!
Can I freeze chocolate cheesecake?
You bet! Freeze whole or in slices for up to 2 months. First chill completely in the fridge, then wrap tightly in plastic wrap followed by foil. Thaw overnight in the fridge – never at room temperature or it gets soggy. Pro tip: freeze slices on a tray before wrapping so they don’t stick together. Perfect for when chocolate emergencies strike!
How long does chocolate cheesecake last in the fridge?
Your cheesecake will stay fresh for 4-5 days when covered well (I press plastic wrap directly on the surface to prevent drying out). The flavor actually improves after 24 hours as the chocolate mellows. If it lasts that long in your house – mine never does!
Can I make this without a springform pan?
While springform pans are ideal, you can use a regular 9-inch cake pan lined with parchment paper (let the paper hang over the edges for easy removal). Just be extra careful when unmolding – run a knife around the edges first and flip it onto a plate. No one will know the difference once they taste that first bite!
Remember, even if things don’t go perfectly the first time, every chocolate cheesecake recipe attempt makes you a better baker. Now go forth and conquer those cheesecake questions – and more importantly, enjoy every chocolatey bite!
Nutritional Information for Chocolate Cheesecake
Alright, let’s talk about the nutrition side of things—because let’s be honest, when you’re diving into a slice of this decadent chocolate cheesecake, you’re not exactly counting calories! But I know folks appreciate having some guidelines, so here’s what you should know about this dessert’s nutritional picture.
First off, every ingredient choice affects the final numbers—the brand of cream cheese you use, whether you go for full-fat or reduced-fat, the percentage of cocoa in your chocolate, even the specific biscuits in your base. That’s why I always say these numbers are more like friendly estimates than strict rules. Your chocolate cheesecake might be slightly different from mine, and that’s perfectly okay!
What I can tell you is that this is a rich, indulgent dessert meant for special occasions—like that birthday celebration or anniversary dinner. The combination of cream cheese, chocolate, and butter creates a dessert that’s satisfying in small portions. A little goes a long way when the flavors are this intense!
If you’re looking to lighten things up, you could experiment with reduced-fat cream cheese or a higher-quality dark chocolate that lets you use less while still getting that deep chocolate flavor. But personally? I believe desserts like this chocolate cheesecake are worth savoring in their full, glorious form—just maybe not every single day!
Remember, enjoying food is about balance and pleasure as much as nutrition. This chocolate cheesecake recipe is one of those « worth every bite » treats that makes life sweeter—literally and figuratively!
Serving and Storing Chocolate Cheesecake
Now for the best part—enjoying your masterpiece! After all that patience (you did wait until it was properly chilled, right?), it’s time to dive into this glorious chocolate cheesecake. Let me share my favorite ways to serve it and keep it tasting fresh.
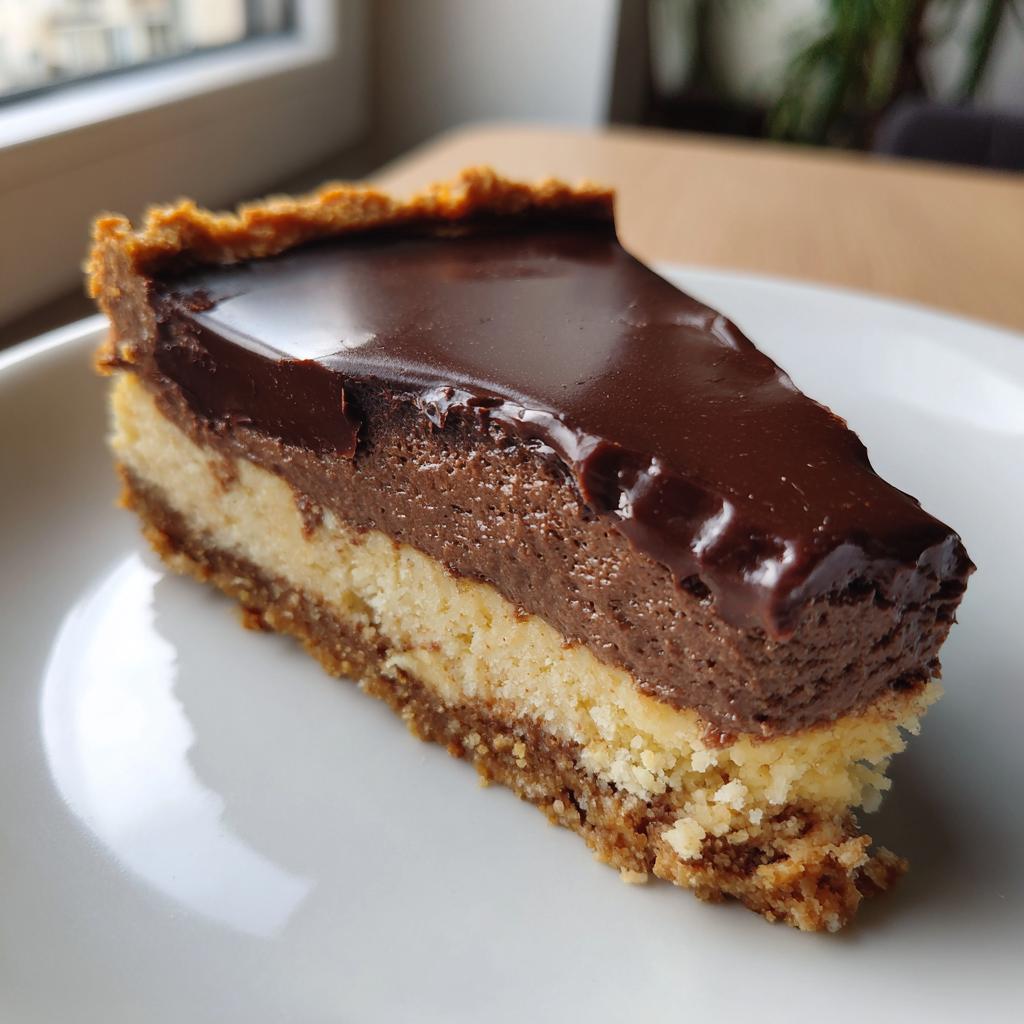
Serving suggestions that’ll wow your guests – A simple dusting of cocoa powder transforms this into an elegant dessert, but my favorite way is pairing it with fresh berries. The tartness of raspberries cuts through the richness perfectly. For special occasions, I’ll add a dollop of barely-sweetened whipped cream or drizzle with warm chocolate ganache. Kids in the house? A sprinkle of chocolate shavings makes it extra fun!
Storing in the fridge – Your chocolate cheesecake will keep beautifully in the refrigerator for 3-4 days. Here’s my trick: press a piece of baking paper directly onto the surface before covering with plastic wrap or foil. This prevents condensation from making the top sticky. Leftovers? As if! But if you do have some, the flavors actually deepen overnight—if anything, it gets better!
Freezing for future cravings – Yes, chocolate cheesecake freezes like a dream! For whole cakes, chill completely first, then wrap tightly in plastic wrap followed by foil. Pre-slice it before freezing for easy portions—place slices on a parchment-lined tray until frozen solid (about 2 hours), then transfer to a freezer bag. They’ll keep for up to 2 months. Thaw overnight in the fridge (never at room temp—patience pays off!).
Whether you’re serving it fresh from the fridge or pulling a frozen slice for a midnight snack (no judgment here!), this chocolate cheesecake recipe delivers smile after delicious smile. Now go on—slice, serve, and bask in the compliments headed your way!
Chocolate Cheesecake
Ingrédients
Equipment
Method
- Preheat the oven to 160°C (140°C fan). Grease a 9-inch springform pan.
- Mix crushed biscuits with melted butter. Press into the base of the pan.
- Beat cream cheese and sugar until smooth. Add melted chocolate and mix.
- Add eggs one at a time, then vanilla extract. Pour over the biscuit base.
- Bake for 60 minutes until set but slightly wobbly in the center. Cool in the oven with the door ajar.
- Chill in the fridge for at least 4 hours before serving.