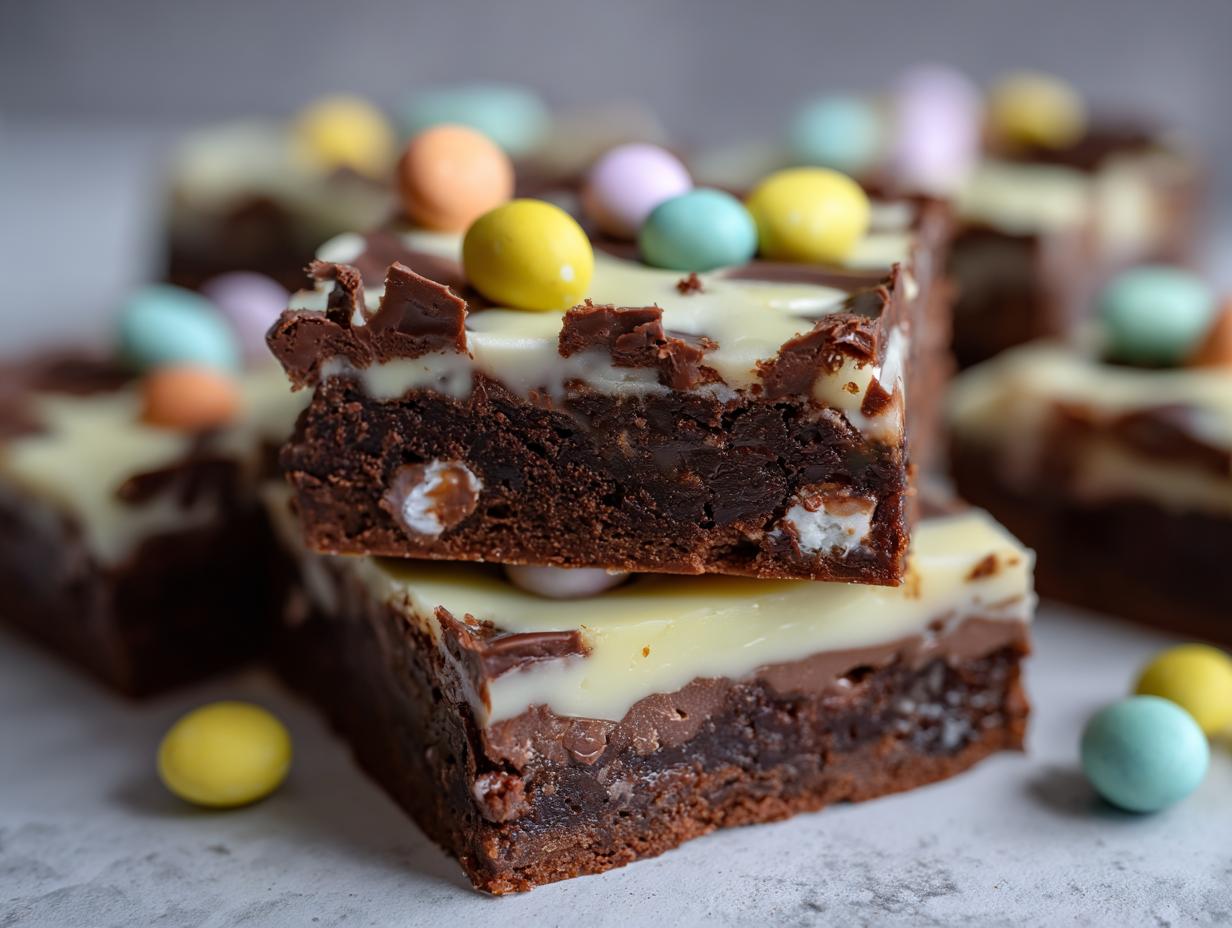
There’s something magical about Chocolate Easter desserts that makes the holiday feel complete. Maybe it’s the way the rich, velvety chocolate pairs with those colorful mini eggs we all hunted for as kids. Every year, I whip up this exact recipe – it’s become a tradition in our house. I still remember the first time I made it for our family’s Easter brunch. My nephew’s eyes lit up when he saw those little chocolate eggs nestled in the glossy chocolate base. Now, even the grown-ups sneak extra pieces when they think no one’s looking!
Why You’ll Love These Chocolate Easter Desserts
Listen, I know Easter can get hectic with all the egg hunts and family gatherings – that’s exactly why you need this recipe in your life. Here’s what makes it so darn special:
- Quick & Easy: Only 20 minutes to prep! Melt, pour, decorate – boom, done.
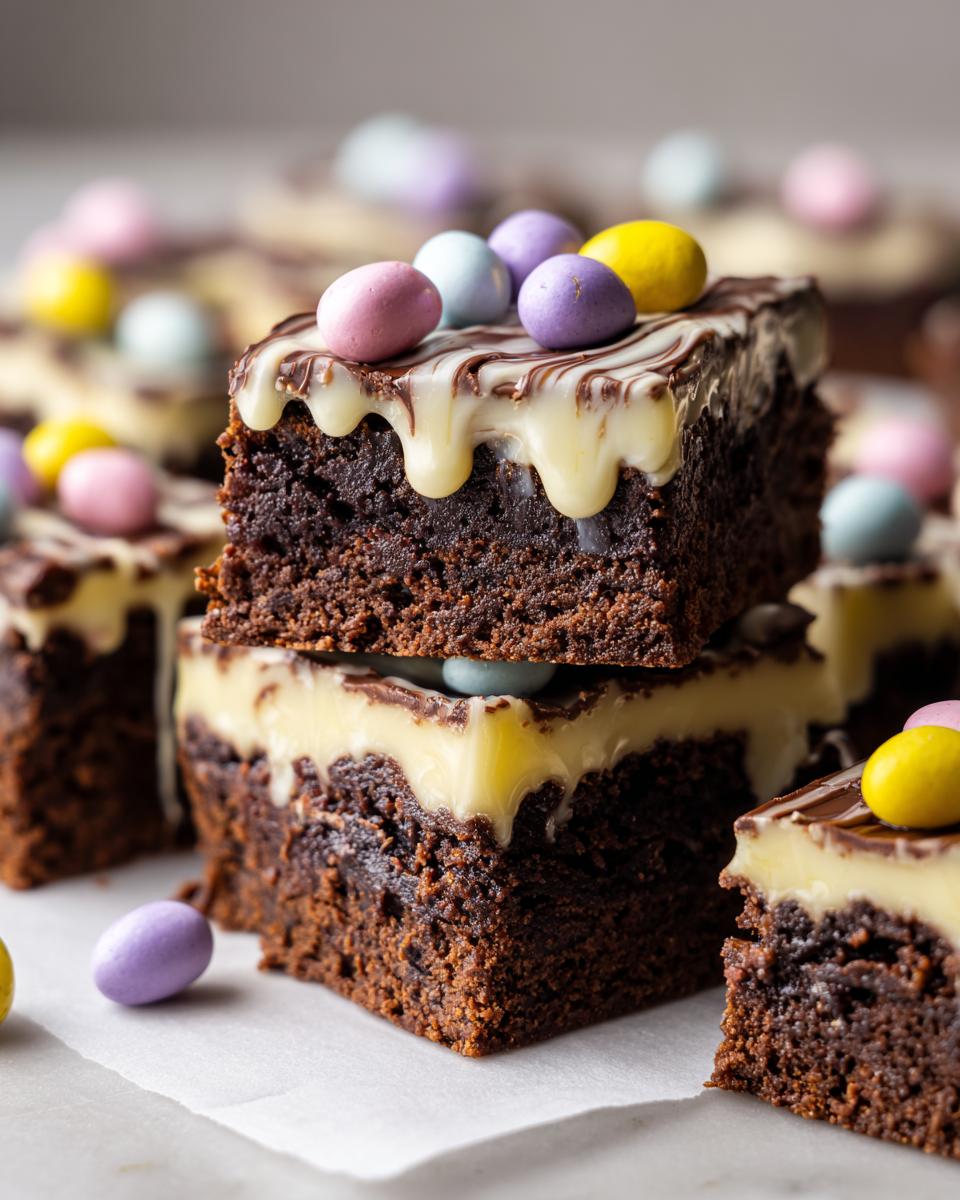
- Big Flavor Payoff: That rich dark chocolate base with sweet white chocolate swirls? Pure magic.
- Easter-Perfect:Those mini chocolate eggs aren’t just cute – they add wonderful texture.
- Crowd-Pleaser: Kids adore it, adults secretly eat thirds, and everyone asks for the recipe.
The first time I brought this to our family’s Easter lunch, my aunt started slicing smaller pieces so there’d be enough for everyone. Now I make a double batch – trust me, you’ll need it!
Ingredients for Chocolate Easter Desserts
This recipe keeps things wonderfully simple – just two components make magic happen. Here’s everything you’ll need:
For the Chocolate Base
- 200g dark chocolate, chopped (my secret? Using 70% cocoa for deep flavor)
- 100g butter (real butter please – it makes all the difference!)
For the Topping
- 50g white chocolate, melted (I like to add a tiny pinch of sea salt to cut the sweetness)
- 1 cup mini chocolate eggs (about 100g – but honestly, I always add extra!)
Ingredient Notes and Substitutions
Don’t panic if you’re missing an ingredient – I’ve tested all sorts of swaps over the years! Milk chocolate works if dark isn’t your thing, though the dessert will be sweeter. For the topping, crushed toasted hazelnuts or freeze-dried raspberries make gorgeous (and delicious) alternatives to chocolate eggs. That « 1 cup » of mini eggs? It’s really just a guideline – I usually pour until the baking tray looks happily crowded!
Equipment Needed for Chocolate Easter Desserts
The beauty of these chocolate Easter treats? You don’t need fancy gadgets to make them beautiful. My absolute essentials:
- Mixing bowl: I always grab my trusty glass one – you can actually see the chocolate melt
- Baking tray: Mine’s an old battle-scarred quarter sheet pan that’s seen many Easters
- Saucepan: For the simmering water when melting chocolate (though honestly, I’ve used microwave-safe bowls in a pinch)
- Spatula: That one silicone one that’s slightly melted at the edges? Perfect for scraping every glorious drop
See? Nothing complicated – just grab what you’ve already got in the kitchen. The magic happens with or without fancy equipment!
How to Make Chocolate Easter Desserts
Okay, let’s make some chocolate magic happen! I’ve made this recipe so many times I could do it in my sleep, but I’ll walk you through each step like I’m right there in the kitchen with you.
First, preheat your oven to 180°C (350°F) – no cheating here! Giving the oven time to reach the right temperature ensures even baking. While that’s heating up, grab your mixing bowl and set it over a saucepan of gently simmering water (make sure the bowl doesn’t touch the water). Toss in your chopped dark chocolate and butter, stirring occasionally until you’ve got this glossy, velvety pool of chocolatey goodness. Seriously, resist the urge to taste-test now – you’ll burn your tongue!
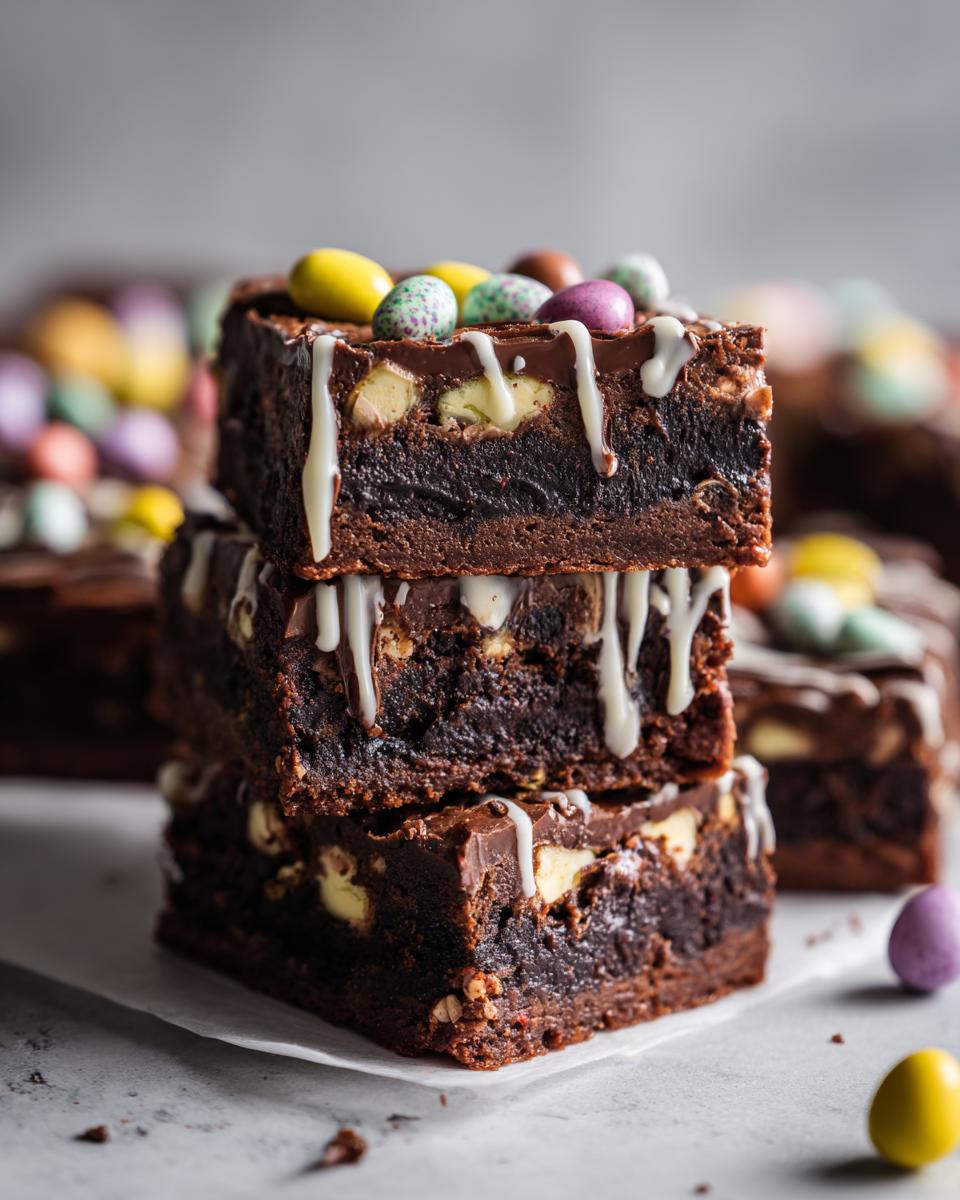
Pour this liquid heaven into your lined baking tray, using a spatula to spread it evenly. Then comes the fun part – drizzle that melted white chocolate over the top in whatever wild pattern makes your heart sing. I like doing figure eights, but zigzags are great too! Now, while things are still soft and inviting, sprinkle those adorable mini chocolate eggs all over. Don’t be shy – crowd them in there!
Pop it in the oven for exactly 30 minutes (set a timer – chocolate burns easily!). When it comes out, you’ll need to exercise some patience and let it cool completely before slicing. I know, the chocolate smell is intoxicating, but cutting too soon makes a mess. Trust me, waiting leads to clean, beautiful squares that’ll make everyone at your Easter gathering swoon.
Tips for Perfect Chocolate Easter Desserts
Here are my hard-earned secrets for making these treats absolutely foolproof:
- Chop chocolate evenly: Large chunks take forever to melt, while tiny bits might scorch. Aim for hazelnut-sized pieces.
- Low and slow melting: Keep the heat medium-low and stir frequently. Rushing this step can make your chocolate seize up.
- Cooling patience: I mean it – don’t slice warm! The texture sets perfectly at room temperature after about 2 hours.
- Egg placement: Press some mini eggs slightly into the surface so they don’t roll off when serving.
The first time I made these, I was too impatient with the cooling and ended up with delicious but messy blobs. Learn from my mistakes – good things come to those who wait!
Serving Suggestions for Chocolate Easter Desserts
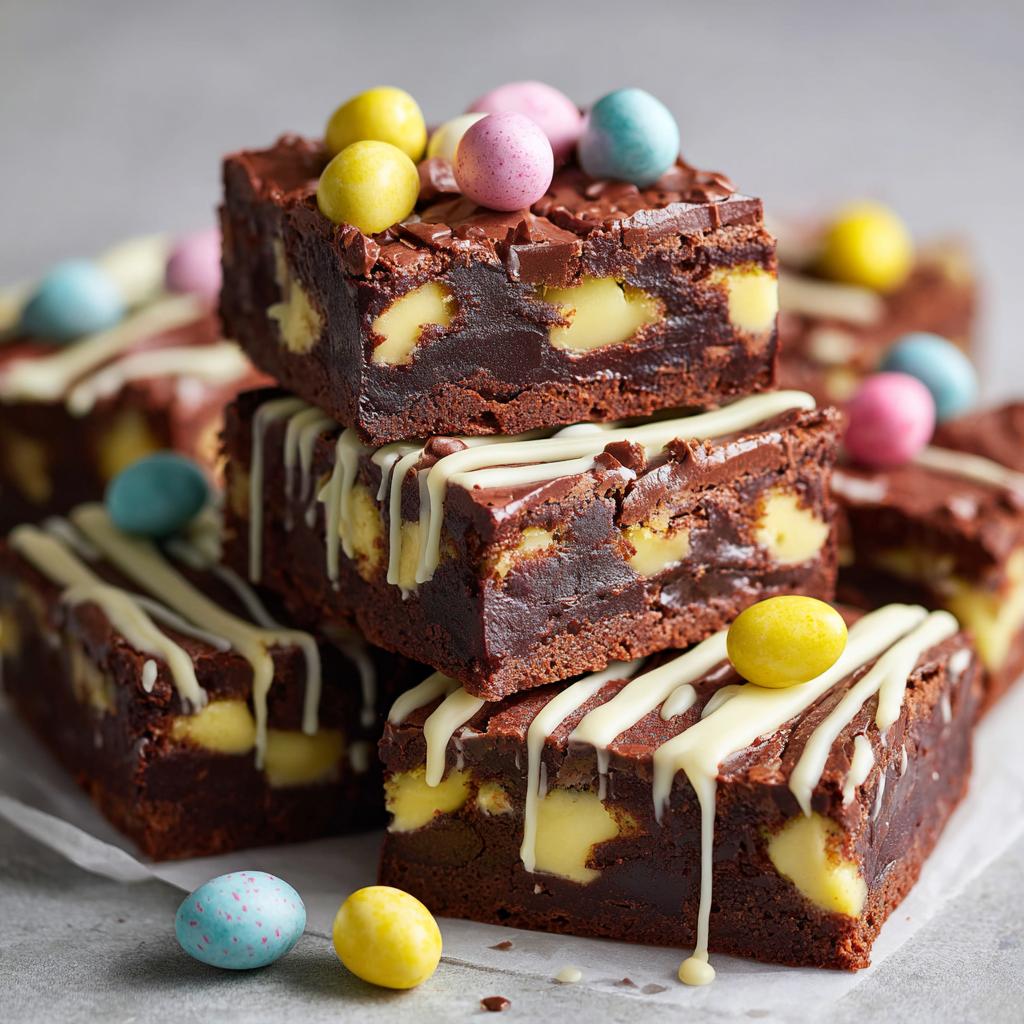
Oh, the joy of presenting these chocolatey beauties! I love making them the centerpiece of our Easter table. Dust with powdered sugar for a snowy spring look, or tuck fresh raspberries between the squares for pops of color. My personal trick? Serve them on a pretty pastel platter – I have this mint green ceramic dish that makes the chocolate look even richer. Kids adore when I arrange them like little nests with extra mini eggs scattered around. And don’t forget the coffee! A bitter espresso cuts through the sweetness perfectly.

Storage and Reheating Instructions
Let’s be real – leftovers are unlikely with these chocolate treats, but if you do manage to save some (willpower of steel!), here’s how to keep them perfect. Tuck them into an airtight container at room temperature – no fridge! The cold makes chocolate dull and sweaty. They’ll stay dreamy for about 3 days, though mine never last that long! If you must revive cooled pieces, just 5 seconds in the microwave brings back that melty magic. Careful though – those mini eggs get hot fast!
Nutritional Information
Okay, let’s talk numbers – because we all sneak that extra piece anyway! Each serving (about one generous square) packs roughly 320 calories, with 22g of that glorious fat (13g saturated – hey, it’s a holiday!). You’ll get 4g protein and 28g carbs per serving, with 3g fiber to balance things out a bit. These estimates can vary slightly depending on your specific chocolate brands and how generously you decorate with those mini eggs (no judgment!). I used 70% dark chocolate for these stats – if you go sweeter with milk chocolate, expect slightly higher sugar content. But honestly? Easter comes once a year – savor every decadent bite!
FAQ About Chocolate Easter Desserts
I get asked these questions every Easter – here are my tried-and-true answers from years of making (and eating!) these chocolate treats:
Can I use milk chocolate instead of dark?
Absolutely! The recipe works with any chocolate you love. Milk chocolate makes it sweeter (kids adore this version), while dark gives that sophisticated depth. I sometimes do half dark, half milk for the perfect balance. Just don’t tell my grandma I mess with her original recipe!
How do I prevent the chocolate from seizing?
Oh honey, I’ve been there – nothing worse than grainy chocolate! Keep your bowl completely dry (even a drop of water causes chaos) and melt it low and slow. If disaster strikes, whisk in a teaspoon of vegetable oil to smooth it out. Works like magic!
Can I make these ahead of time?
You’re speaking my language! These actually taste better the next day as the flavors meld. Bake them up to 3 days before Easter and store at room temperature in an airtight container. Just hide them well – my husband « tests » them constantly!
What if I can’t find mini chocolate eggs?
No stress! Chopped nuts, colorful sprinkles, or even crushed pretzels make fantastic substitutes. Last year I used broken pieces of those pastel candy-coated chocolates – looked like a spring garden and tasted amazing!
Why does my chocolate look dull after cooling?
That’s just the cocoa butter settling – totally normal! For extra shine, I sometimes give the cooled squares a quick pass with a hairdryer (low heat from a distance). Or embrace the rustic look – it tastes incredible either way!

Chocolate Easter Desserts
Ingrédients
Equipment
Method
- Preheat the oven to 180°C (350°F).
- Melt the dark chocolate and butter together in a bowl over simmering water.
- Pour the mixture into a lined baking tray and spread evenly.
- Drizzle the melted white chocolate over the base and sprinkle with mini chocolate eggs.
- Bake for 30 minutes, then let it cool before cutting into squares.