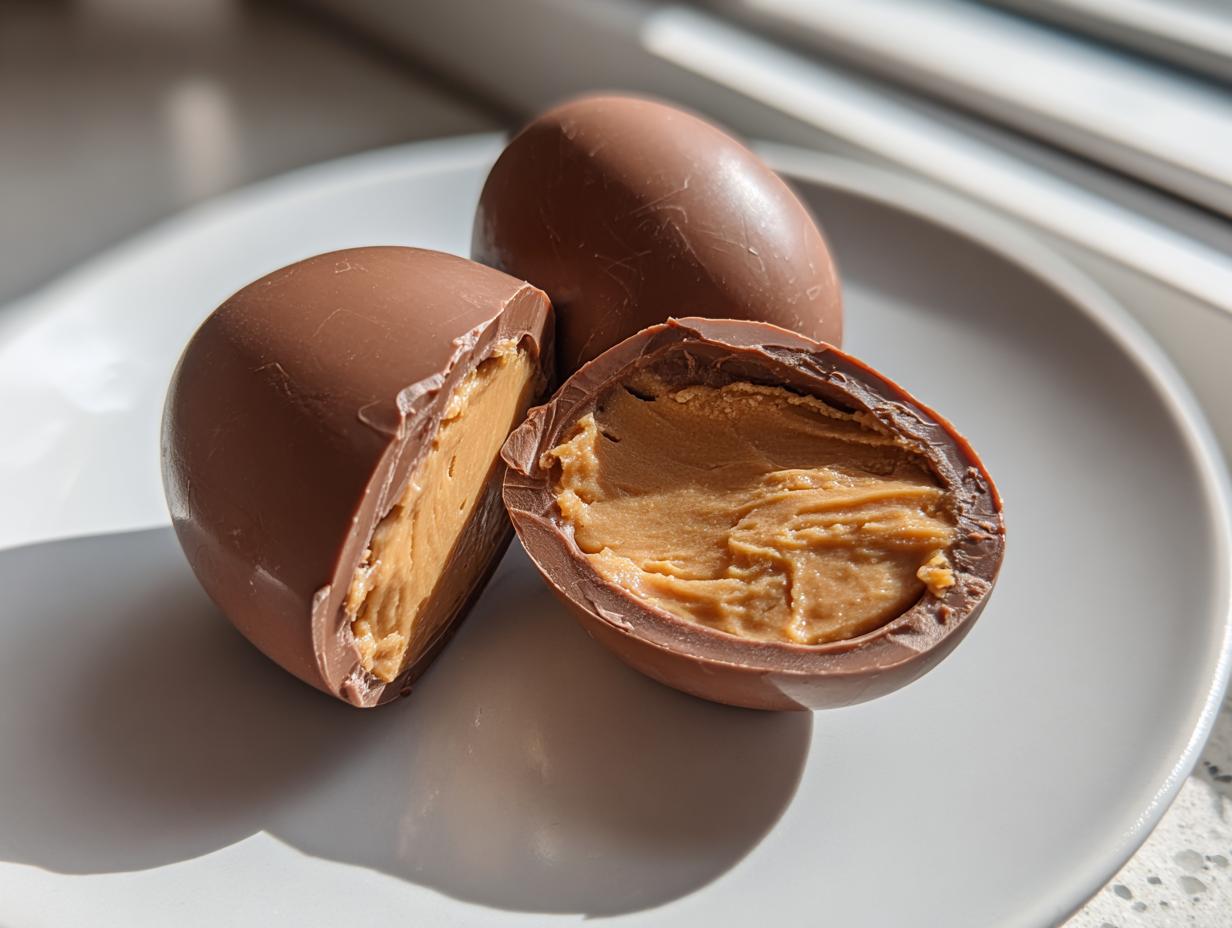
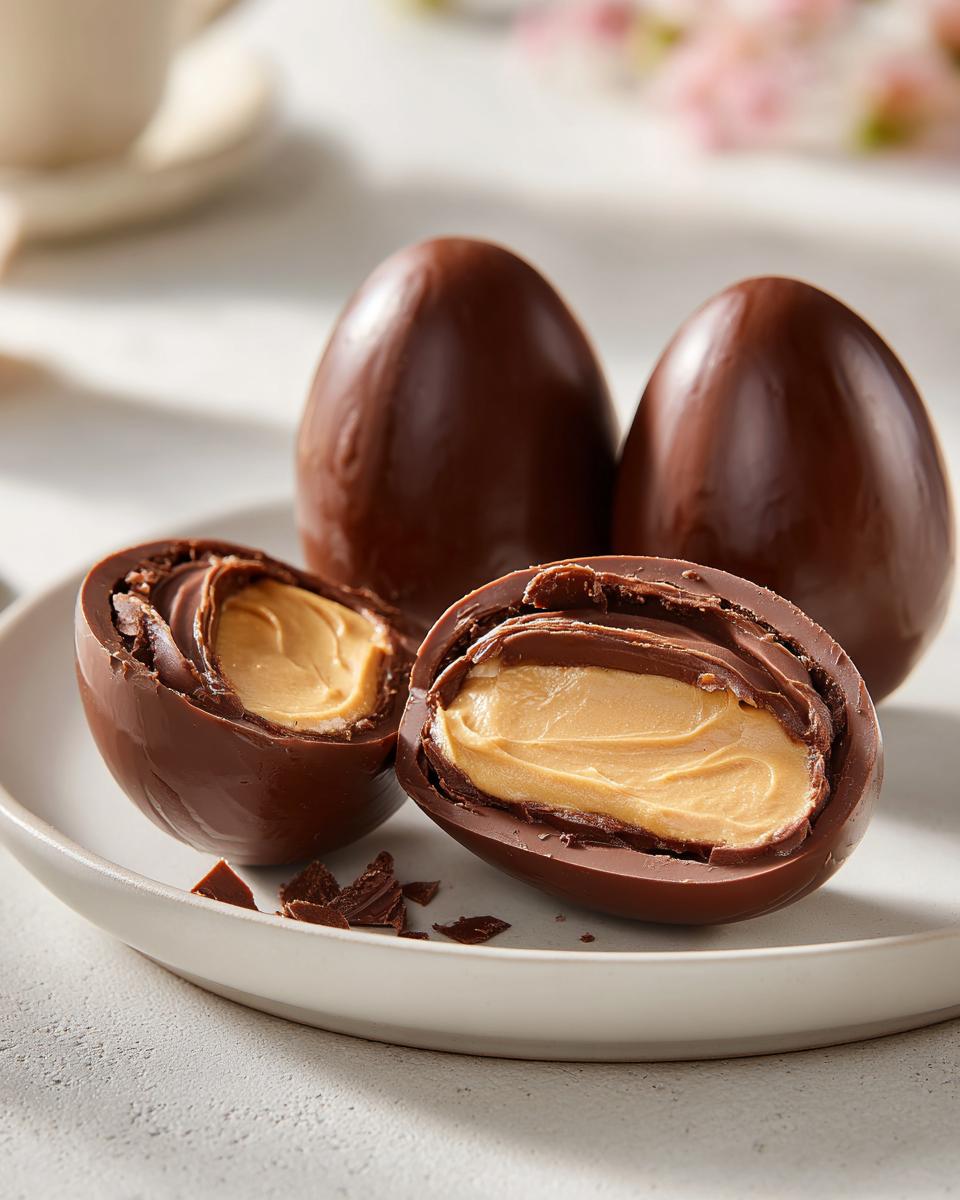
I’ll never forget the first time I made chocolate filled Easter eggs with my grandma – the way her kitchen smelled like melted chocolate and happiness! These homemade treasures quickly became our family’s favorite Easter tradition. Now I make them every spring, and trust me, nothing beats cracking open one of these rich chocolate shells to discover a creamy surprise inside. They’re perfect for Easter baskets or as sweet little gifts that’ll make anyone feel like a kid again.

Why You’ll Love These Chocolate Filled Easter Eggs
Oh my goodness, these chocolate eggs are everything! Let me tell you why they’re absolute perfection:
- 100% real ingredients – No weird additives like store-bought versions. Just pure chocolate and simple fillings that you can pronounce.
- Endless filling options – While I’m sharing my favorite peanut butter filling, you can get creative with cookie butter, marshmallow fluff, or even caramel!
- Fun family activity – My kids go crazy for the « treasure hunt » moment when we crack these open. They love helping decorate them too.
- Impressive yet easy – They look like fancy chocolatier creations, but trust me, they’re totally doable – I’ll walk you through every step!
- Perfect gifts – Wrap them in colorful foil and watch friends swoon over these homemade delights. Way better than drugstore chocolates!
Ingredients for Chocolate Filled Easter Eggs
Okay friends, let’s talk ingredients – this is where the magic starts! I’ve broken everything down into two simple groups because, honestly, who has time to hunt through a giant list? Here’s exactly what you’ll need to make these dreamy chocolate filled Easter eggs:
For the Chocolate Shell:
You’ll want these items prepped and ready to go before you start melting:
- 12 oz chocolate chips (I use milk chocolate because it’s my weakness, but dark chocolate works beautifully too)
- 1 tbsp coconut oil (measure it solid – no need to melt it first)
For the Filling:
This is where you can play around, but here’s my go-to combo:
- 1/2 cup peanut butter (smooth or crunchy – your call! Just make sure it’s at room temperature so it mixes easily)
- 1/4 cup powdered sugar (sifted if you’re feeling fancy)
- 1 tbsp milk (whole milk makes it extra creamy, but any kind works in a pinch)
See? Super simple stuff you probably already have in your pantry. Just wait until you see what these basic ingredients transform into!
Equipment Needed for Chocolate Filled Easter Eggs
Before we dive into making these chocolate eggs, let’s chat about the few simple tools you’ll need. Don’t worry if you don’t have fancy equipment – I’ve got smart swaps for nearly everything!
- Egg-shaped molds – These are the real stars! I found my favorite silicone ones at the craft store for under $10. (No molds? No problem – you can use plastic Easter eggs lined with foil in a pinch!)
- Double boiler – A saucepan with a heatproof bowl on top works perfectly for gentle chocolate melting. But if you’re in a hurry like I sometimes am, the microwave in 30-second bursts does the job too – just stir like crazy between zaps!
- Pastry brush – That little brush helps spread the chocolate evenly in all the mold’s nooks. If you don’t have one, a clean paintbrush reserved for food works too. (I may or may not have used my kids’ craft brushes in emergencies…)
That’s really it! See? I told you we’re keeping this simple. Now grab your gear and let’s make some magic!
How to Make Chocolate Filled Easter Eggs
Alright, chocolate lovers, it’s time to roll up our sleeves and make some magic happen! I’ll walk you through each step to create these gorgeous chocolate filled Easter eggs. I’ve made plenty of mistakes along the way (oh, the cracked shells I’ve cried over!), so you get all my hard-earned tips for perfect eggs every time.
Preparing the Chocolate Shells
First things first – the chocolate! Melt your chips with the coconut oil over low heat, stirring constantly. Here’s my golden rule: if you think the heat’s too low, it’s probably just right. Chocolate burns fast, and once it’s grainy, there’s no going back. When it’s silky smooth, take it off the heat immediately.
Now for the fun part – brushing it into the molds! Work in thin layers, getting into every little curve. Pro tip: tap the mold gently on the counter to pop any air bubbles. Chill for exactly 20 minutes – set a timer! Less than that and your shells will be too fragile; more than that and they get brittle. I learned this the hard way when my first batch cracked like eggshells (pun totally intended).
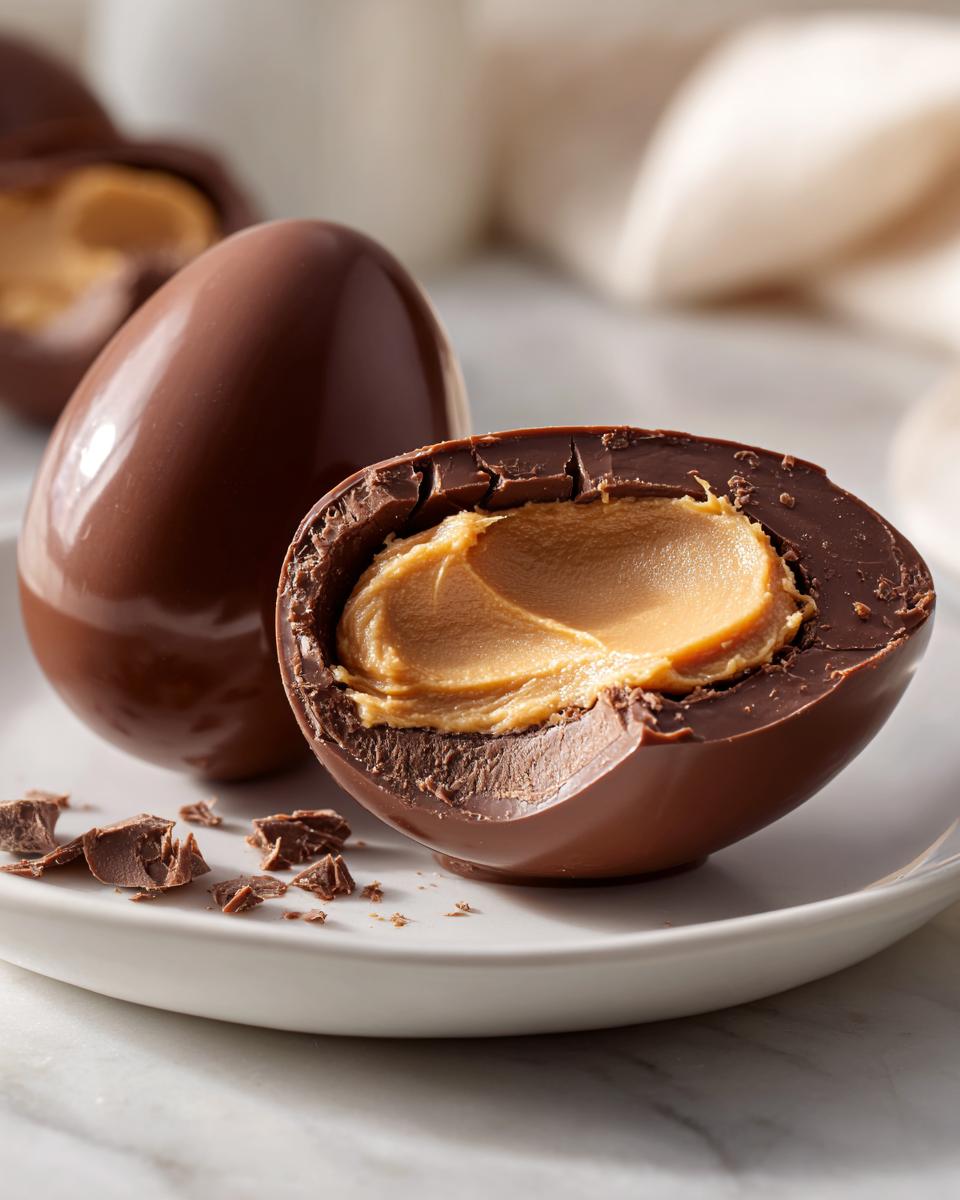
Making the Peanut Butter Filling
While your chocolate shells are chilling, let’s whip up the filling. Mix the peanut butter and powdered sugar first – it’ll look crumbly at first, but keep stirring! Add milk just a teaspoon at a time until it’s soft enough to pipe but firm enough to hold its shape. Want to switch it up? Almond butter works great, or for a fun twist, I sometimes add a dash of cinnamon. My kids go nuts when I swirl in a spoonful of jam too!
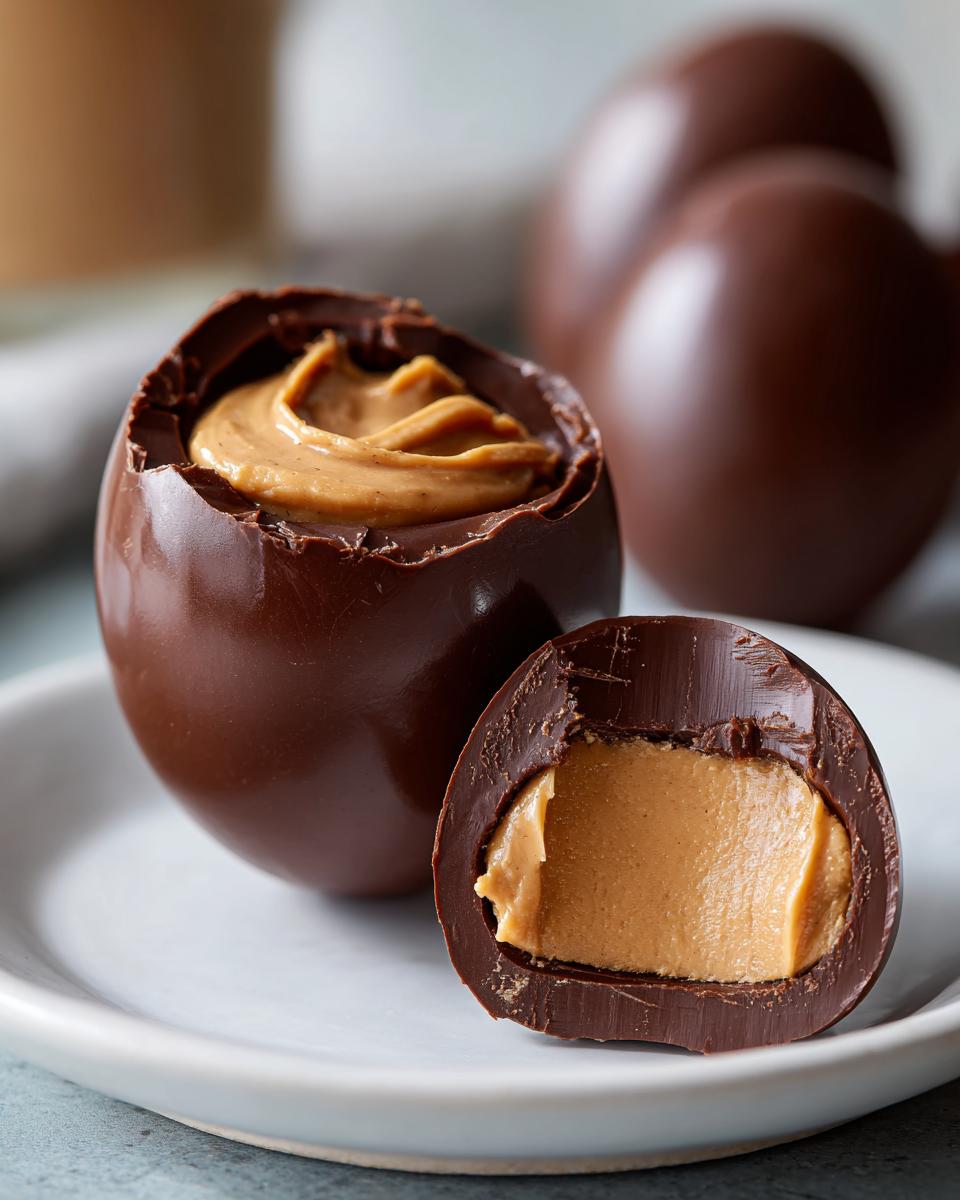
Assembling Chocolate Filled Easter Eggs
Now comes the moment of truth! Spoon your filling into the chilled shells, leaving about 1/4 inch at the top. Here’s the secret to perfect seals: warm the edges of the shells with just a dab of melted chocolate before adding the « lid. » It acts like glue! Chill another 40 minutes – don’t peek! I know it’s tempting, but patience makes perfect eggs.
When they’re ready, gently twist the mold to release your masterpieces. Feeling fancy? Melt some white chocolate to drizzle over the tops, or press on some sprinkles while the chocolate’s still soft. These chocolate filled Easter eggs are ready to hide, gift, or (my personal favorite) immediately devour!
Tips for Perfect Chocolate Filled Easter Eggs
Listen, I’ve made every chocolate egg mistake in the book – sticky fingers and cracked shells included! Here are my battle-tested tips to save you the trouble:
- Tempering trick for shiny chocolate – Want that professional gloss? After melting your chocolate, cool it slightly by stirring in a handful of unmelted chips. This tempers it, giving you eggs that snap beautifully instead of melting in your hands!
- Piping bag magic – Spooning filling is fine, but for perfect little eggs? Use a zip-top bag with the corner snipped off. No mess, and you’ll fill those shells like a pastry pro. (Bonus: kids love squeezing the filling themselves!)
- Cracked shell fix – Oops! If your shells break, just melt the pieces and re-pour. I keep extra chocolate chips on hand for these emergencies. Another secret? Rub a tiny bit of oil on your molds first – releases like a dream!
- Work cool – Chocolate hates heat. If your kitchen’s warm, work fast and take breaks to pop everything in the fridge for a few minutes. I sometimes even chill my tools if I’m really battling the melties.
- The patience payoff – I know, I know – waiting is hard! But don’t rush the chilling times. That extra 10 minutes makes all the difference between eggs that hold their shape and chocolate puddles (ask me how I know…).
Variations for Chocolate Filled Easter Eggs
Okay, confession time – I can never make these the same way twice because I love experimenting with new flavors! Here are my favorite twists on chocolate filled Easter eggs that’ll make your taste buds dance:
Filling ideas that’ll blow your mind:
- Cookie butter cream – Swap the peanut butter for speculoos spread and thank me later. I add a pinch of cinnamon for extra coziness.
- Salted caramel ganache – Mix equal parts heavy cream and caramel sauce, then chill until thick. A flake of sea salt on top? *chef’s kiss*
- Marshmallow fluff surprise – Layer store-bought fluff with crushed graham crackers for s’mores eggs. My kids fight over these!
Coating tricks to make them pretty:
- Drizzle melted white chocolate over dark chocolate shells for that fancy marble effect (I use a toothpick to swirl it).
- Roll warm eggs in colored sprinkles or crushed freeze-dried strawberries for instant Easter vibes.
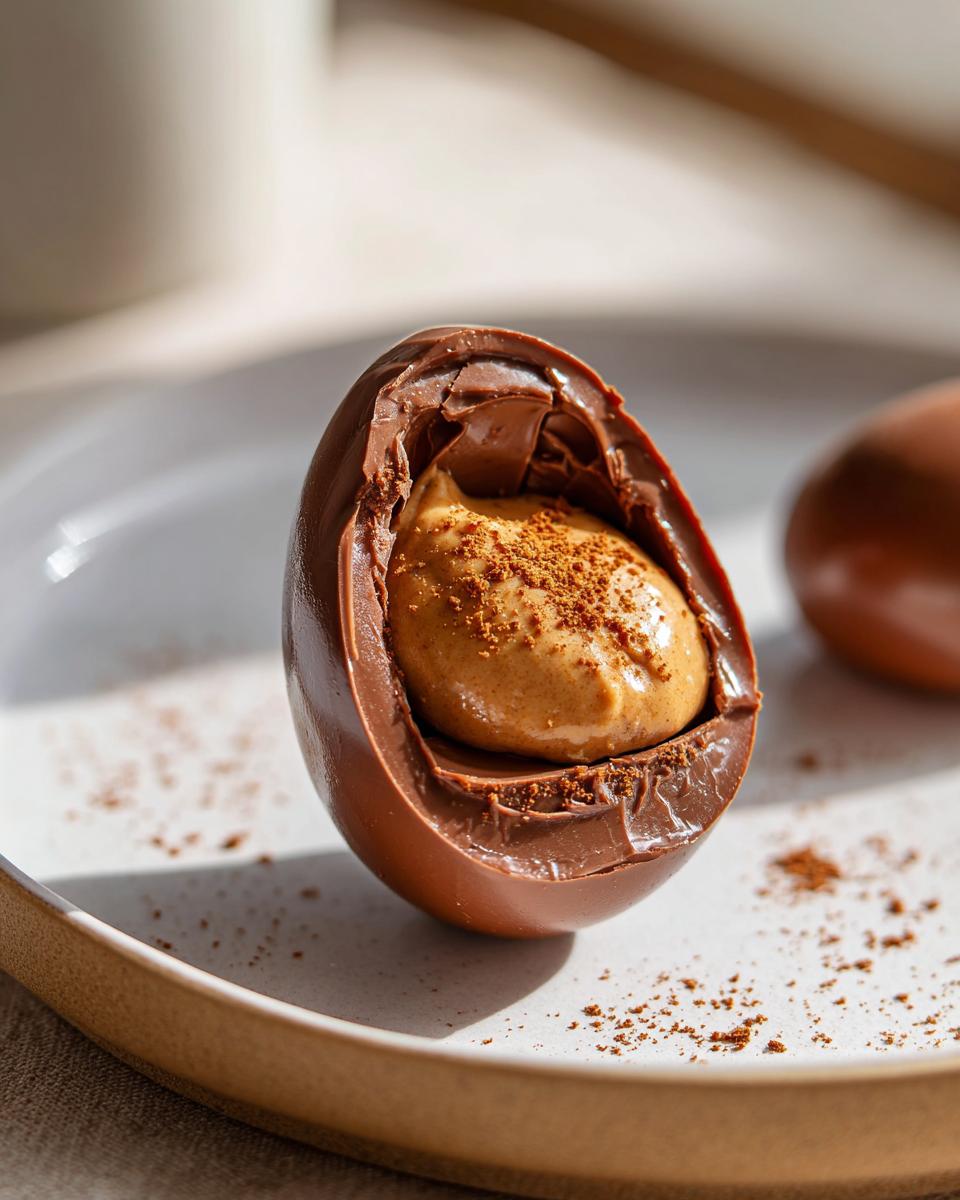
- For adults, try a dusting of cocoa powder or espresso powder – so sophisticated yet simple!
The best part? You can mix and match these ideas to create your own signature chocolate filled Easter eggs. Trust me, once you start playing with flavors, you’ll never go back to store-bought again!
Storing Your Chocolate Filled Easter Eggs
Now, I know you’ll want to hide these chocolate eggs from yourself (trust me, I’ve tried!), but here’s how to keep them fresh as long as possible. Store them in an airtight container with parchment between layers – those fancy cookie tins work great! Pop them in the fridge where they’ll stay perfect for up to 1 week (if they last that long in your house!). Whatever you do, keep them away from humidity – nothing ruins shiny chocolate faster than condensation. Learned that the hard way when my beautiful eggs got that weird white bloom! If you’re gifting them, wait until the last minute to take them out of the fridge so they don’t sweat in their packaging.
Nutrition Information for Chocolate Filled Easter Eggs
Now, I’m no dietitian, but here’s the scoop on what’s inside these delicious chocolate filled Easter eggs. Remember – these are just estimates (I promise I didn’t sneak extra chocolate when calculating!). Each egg contains:
- 180 calories (worth every one!)
- 15g sugar (it is Easter, after all Highlands)
- 11g fat (the good kind from chocolate and peanut butter)
- 3g protein (peanut butter power!)
- 1g fiber (thank you, real ingredients!)
Truth bomb: no one eats just one! But hey, that’s what spring pastel clothes are for, right? Happy indulging!
Frequently Asked Questions
Can I use candy molds instead of egg molds?
Absolutely! Any silicone mold will work – I’ve used heart shapes for Valentine’s Day and even mini cupcake molds in a pinch. The trick is making sure your chocolate layer is thick enough (about 1/8 inch) so it doesn’t crack when removing. Pro tip: plastic Easter eggs lined with foil work surprisingly well if you’re in a bind!
How do I fix grainy filling?
Oh honey, I’ve been there! If your peanut butter filling looks crumbly, add milk just a teaspoon at a time until smooth. For chocolate that’s seized up, stir in a splash of warm milk or coconut oil until silky again. And always sift that powdered sugar – lumps are the enemy of creamy fillings!
Can I freeze these eggs?
You bet! These chocolate filled Easter eggs freeze beautifully for up to 2 months. Just wrap them tightly in plastic wrap first – trust me, you don’t want freezer smells sneaking in! Thaw overnight in the fridge so they don’t sweat. The texture stays perfect, though I can never wait that long… frozen peanut butter filling is my secret midnight snack!
Chocolate Filled Easter Eggs
Ingrédients
Equipment
Method
- Melt chocolate chips and coconut oil in a double boiler until smooth.
- Brush melted chocolate into egg molds, creating a thick shell. Chill for 20 minutes.
- Mix peanut butter, powdered sugar, and milk to make the filling.
- Spoon filling into chocolate shells, leaving room to seal.
- Seal eggs with more melted chocolate. Chill for 40 minutes.
- Carefully remove eggs from molds.