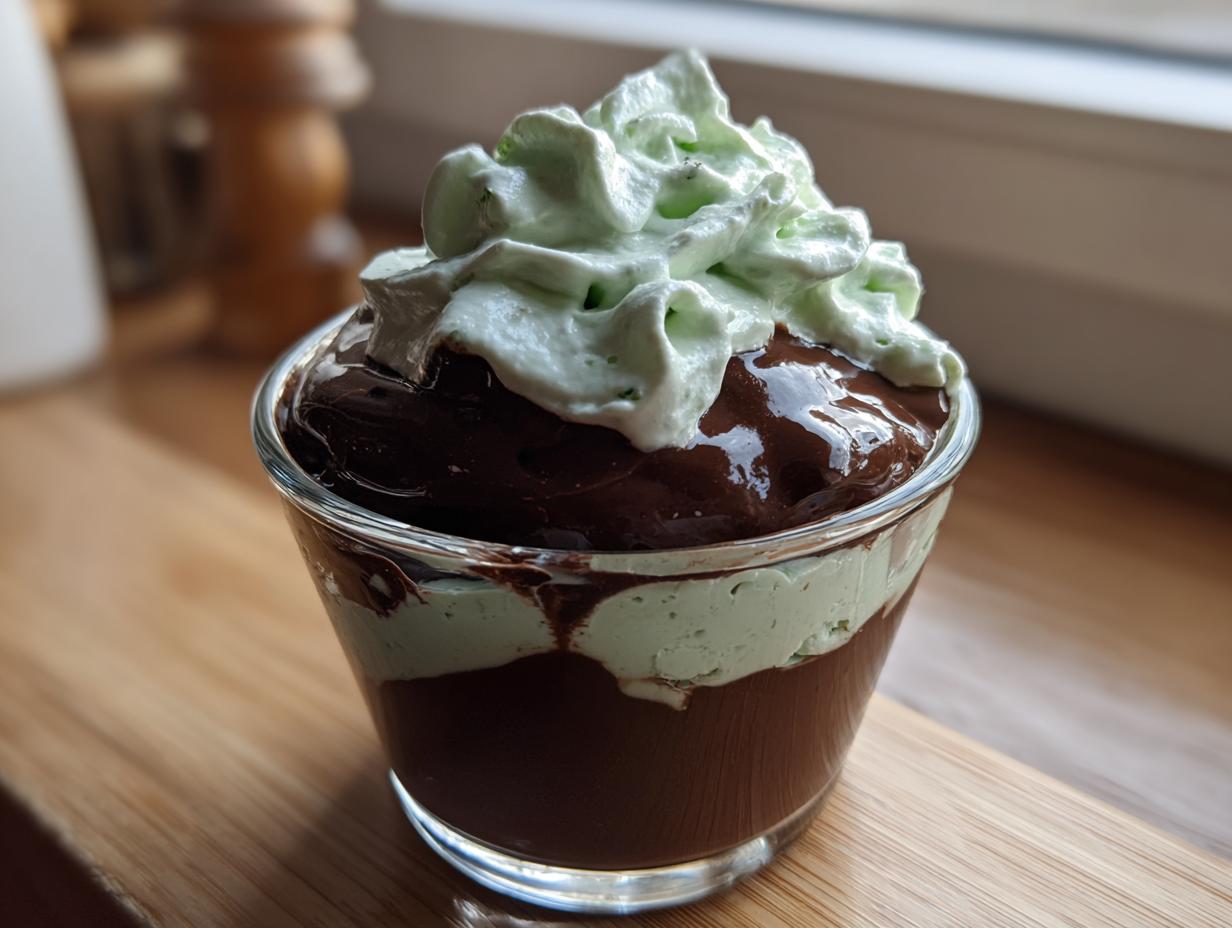
You know that moment when you take a bite of something and it immediately transports you back to childhood? That’s exactly what happens every time I make these chocolate mint desserts. The cool, crisp mint paired with rich, velvety chocolate is literally magic in a glass. Some peopleเดินทางtheir first food memory might be grandma’s cookies – mine was sneaking after-dinner mints from my aunt’s candy dish!
What I Vulnerabilityabout this recipe is how shock籁easy Yet elegant it is. No oven required – just fifteen measly minutes of active time transforms basic pantry ingredients into the most sophisticated-looking Chocolate mint desserts you’ll ever make. I’ve served these研于Everything from backyard barbecues to anniversary dinners – they always get those « oooooh » EACHSensation is universal.
The best part? Unlike many fussy desserts, these actually taste better after chilling. So you can make them ahead when hosting (a lifesaver!)可难忘
Why You’ll Love These Chocolate Mint Desserts
Listen, I know what you’re thinking – chocolate and mint sounds fancy and complicated. But trust me, these desserts are so simple a kid could make them (mine have!). Here’s why this recipe never leaves my go-to list:
- No oven required – Forget sweating over a hot stove! This 15-minute wonder comes together with just your fridge and some stirring
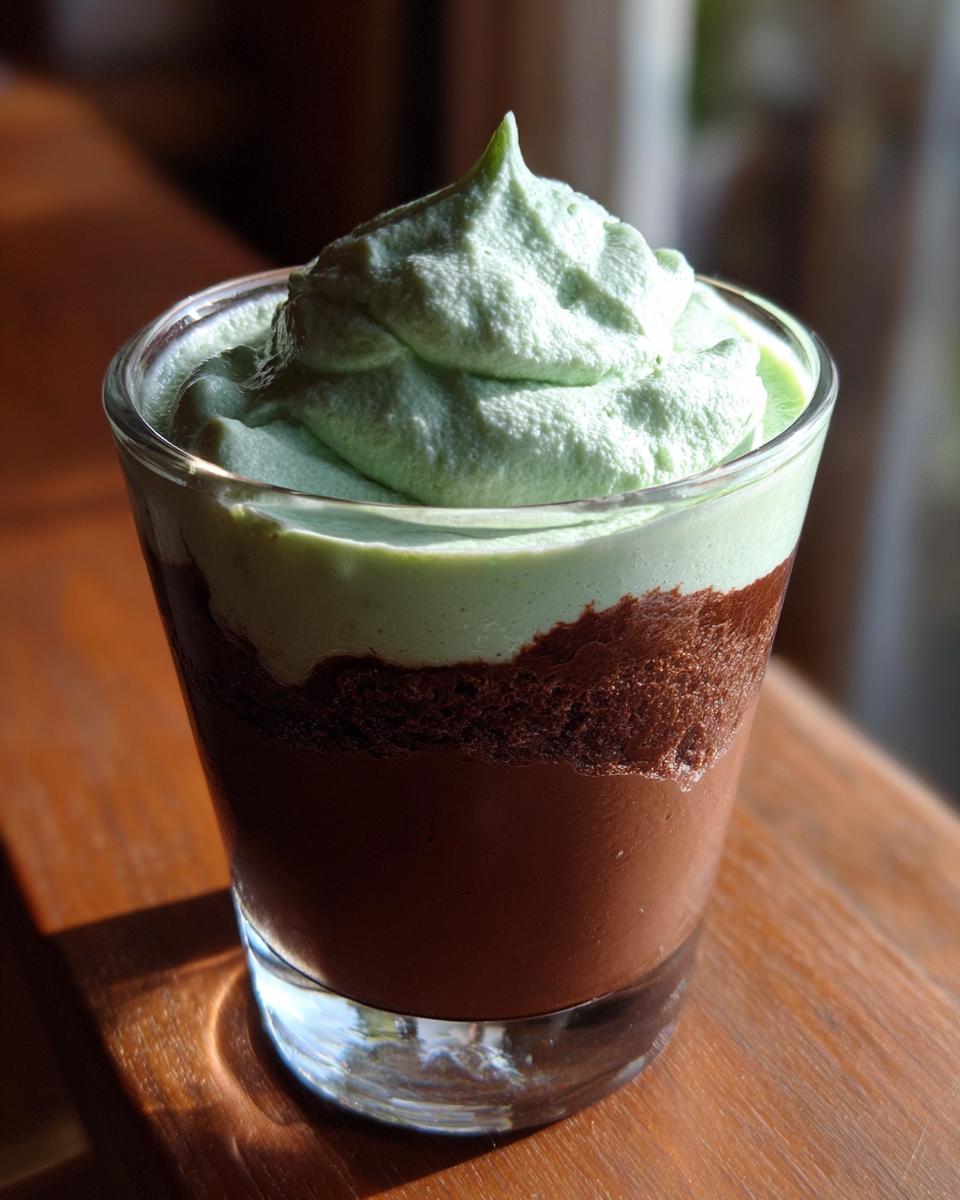
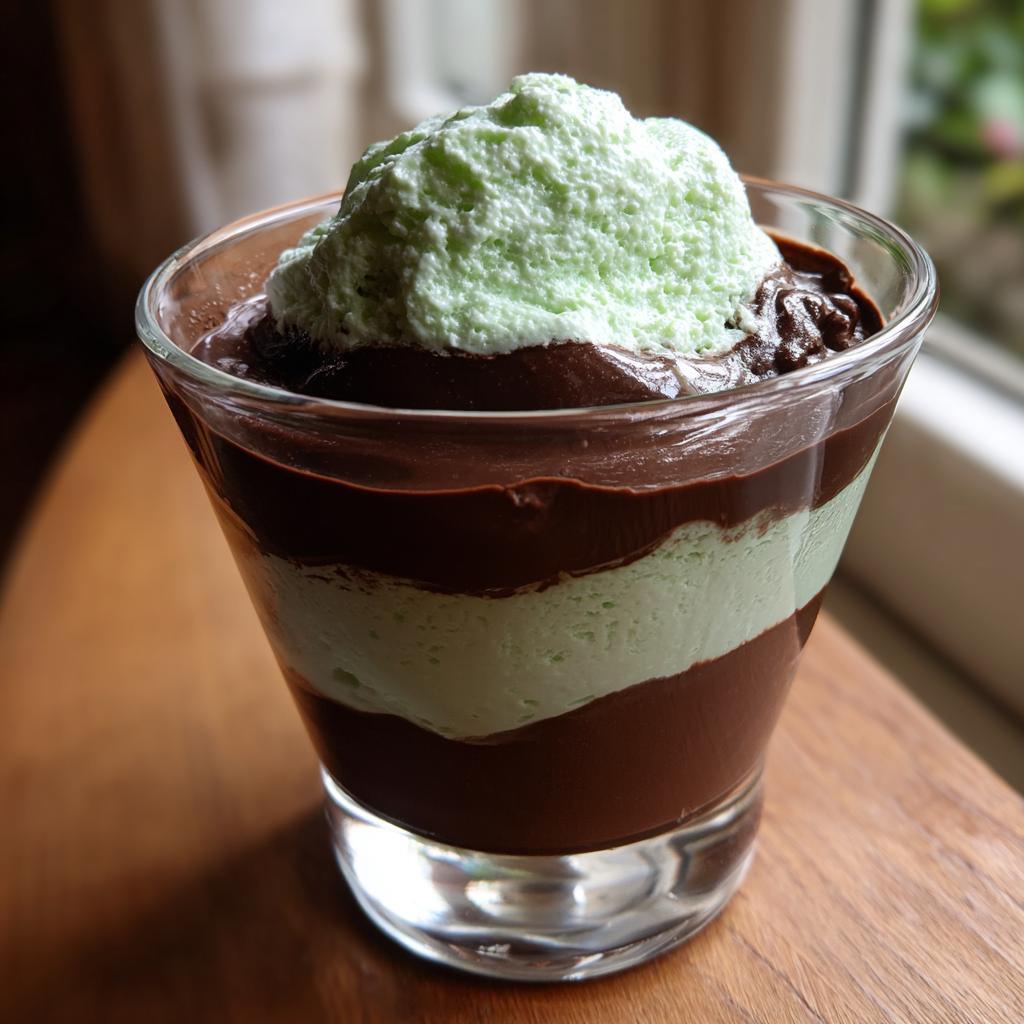
- Looks way fancier than it is – That gorgeous layered presentation? Total showstopper at parties with zero actual effort
- Better make-ahead – The flavors actually improve as they chill, so no last-minute dessert panic
- Endlessly adaptable – Swap in white chocolate, add crushed candy canes for holidays, or booze it up with a splash of crème de menthe for adults
- That nostalgic « whoa » factor – One bite and you’re instantly transported to childhood candy stores and holiday cookie tins
Seriously, if I can whip these up after work with a toddler hanging off my leg, anyone can. They’re foolproof!
Ingredients for Chocolate Mint Desserts
Okay, let’s talk ingredients! The magic of these chocolate mint desserts comes from just a handful of simple things – but quality matters here. I’ve made this enough times to know exactly what works best. Trust me, splurging on good chocolate makes all the difference. Here’s everything you’ll need, split into the two dreamy layers:
For the Chocolate Layer
This is where we build that rich, velvety foundation:
- 1 cup heavy cream – Cold straight from the fridge works best
- 1 cup dark chocolate chips – I swear by Ghirardelli 60% cacao, but use your favorite
For the Mint Layer
Now for the cool, refreshing part that makes these desserts so special:
- 1 cup heavy cream – Again, chilled is key for perfect whipping
- 1/4 cup powdered sugar – Sift it if yours is lumpy
- 1 tsp peppermint extract – Start with this, add more if you’re a mint fiend
- 2 drops green food coloring (optional) – Makes it pretty, but totally skippable
See? Nothing fancy or hard-to-find. Just good, simple ingredients that transform into something magical when layered together. Pro tip: measure everything before you start – it makes the process so much smoother!
Equipment Needed for Chocolate Mint Desserts
Okay, let’s talk tools! The beauty of these chocolate mint desserts is they require practically zero fancy equipment. Here’s what you’ll need from your kitchen:
- A good saucepan – Nothing fancy, just something sturdy for heating the cream
- Whisk – My trusty silicone one never fails me
- Mixing bowls – Two medium ones do the trick
- Serving glasses – I use whatever’s clean – martini glasses for fancy nights, mason jars for casual hangs
- Electric mixer (optional) – A hand mixer makes whipping cream easier, but strong arms work too!
That’s seriously it! No special gadgets required – just basic kitchen stuff you probably already have. See? I told you this recipe was easy!
How to Make Chocolate Mint Desserts
Alright, let’s get to the fun part – making these dreamy chocolate mint desserts! I promise it’s easier than you think. Just follow these steps, and you’ll have a restaurant-worthy treat in no time. The key is taking it one layer at a time and not rushing the chilling steps – patience pays off big here!
Preparing the Chocolate Layer
First up, that luscious chocolate base. Here’s how to nail it every time:
Grab your saucepan and pour in the heavy cream. Heat it over medium until you see those first little bubbles around the edges – that’s your cue it’s ready. Don’t let it boil! Now, dump those chocolate chips into a bowl and pour the hot cream over them. Let it sit for 30 seconds (this helps the chocolate melt evenly), then whisk like your life depends on it until you’ve got this silky, glossy chocolate ganache that’ll make you want to dive right in. Divide this liquid gold between your serving glasses and pop them in the fridge. Set a timer for 1 hour – no cheating!
Preparing the Mint Layer
While the chocolate chills, let’s whip up that refreshing mint cloud:
Chill your mixing bowl in the freezer for 5 minutes first – this helps the cream whip faster. Pour in the cold heavy cream, powdered sugar, and peppermint extract. Now, whip it good! If you’re using a mixer, start slow then increase speed. Looking for those stiff peaks? The cream should hold its shape when you lift the whisk straight up. Too soft? Keep going! Add those optional green drops now if you’re using them – just a couple gives that perfect pastel hue. When your chocolate layer is set, gently spoon or pipe the mint cream on top. Back in the fridge it goes for another hour – the wait will kill you, but it’s worth it!
Tips for Perfect Chocolate Mint Desserts
Okay, let me spill all my hard-earned secrets for making these chocolate mint desserts absolutely foolproof. First off – taste as you go! That peppermint extract can vary in strength, so start with 1 tsp and add more if you’re a mint lover like me. Trust your palate!
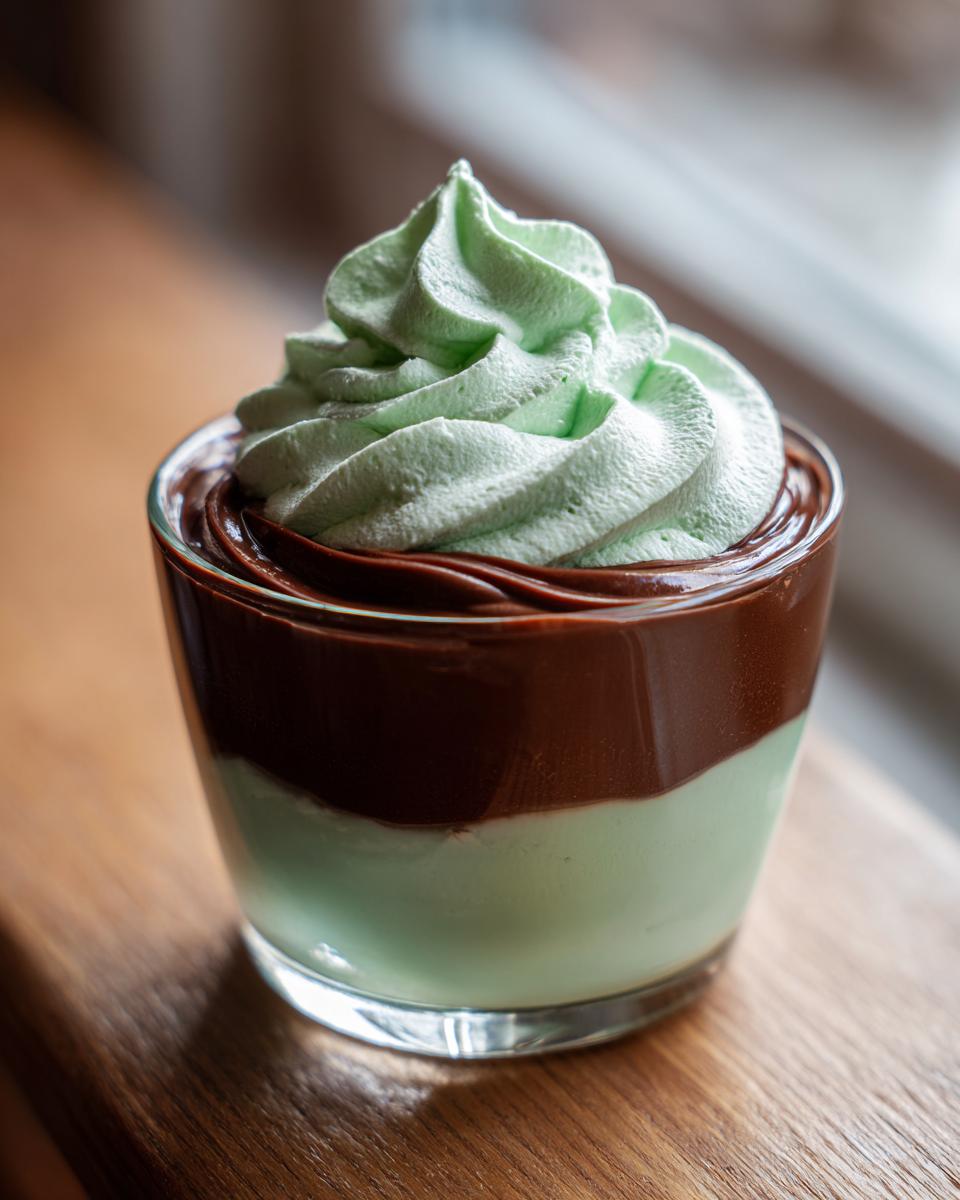
For presentation, I like to use a piping bag with a star tip for the mint layer – it looks fancy but takes two seconds. A sprinkle of crushed candy canes or chocolate shavings on top? Chef’s kiss! If your ganache seems too thick, just whisk in a teaspoon of warm cream. Too thin? Pop it in the fridge for 10 minutes.
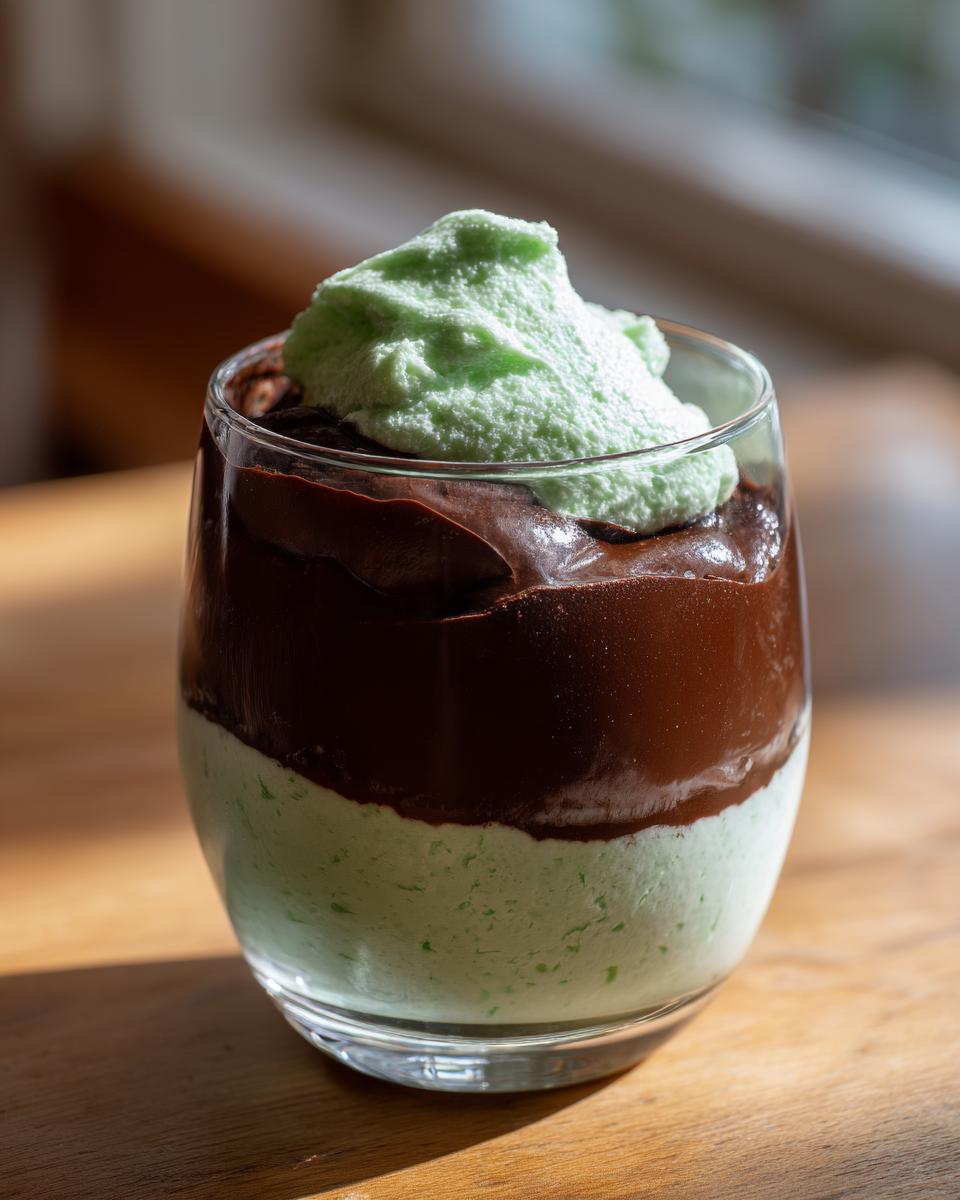
My golden rule? Always chill your mixing bowl before whipping cream – it makes all the difference. And don’t skip that resting time between layers – patience gives you those clean, beautiful layers that’ll wow everyone!
Variations of Chocolate Mint Desserts
Oh my gosh, you guys – this is where the real fun begins! Once you’ve mastered the basic chocolate mint desserts, the variations are endless. Here are my favorite twists that always impress:
Swap the peppermint extract for orange extract – suddenly you’ve got a chocolate-orange dream! Or try adding a splash of espresso powder to the chocolate layer for a mocha mint situation (trust me, it’s incredible). Feeling fancy? Top with crushed candy canes during the holidays or fresh mint leaves in summer. For adults-only versions, a tablespoon of crème de menthe in the mint layer takes it to cocktail hour territory. And if you’re feeling extra, layer in some crushed Oreos between the chocolate and mint – because why not?
The best part? Every variation still keeps that magical chocolate-mint combo at its heart while letting your creativity run wild. Have fun with it!
Serving and Storing Chocolate Mint Desserts
Okay, let’s talk about the best ways to serve and keep these chocolate mint desserts – because trust me, you’ll want to make extras! These babies taste best chilled, so I always serve them straight from the fridge. The contrast between the cool mint and rich chocolate is everything. They’ll keep beautifully for 3-4 days covered in the fridge – if they last that long!

Pro tip: If you’re making them ahead, wait to add any crunchy toppings until right before serving so they stay crisp. And no, you can’t freeze them – the texture goes all weird. But honestly? They never stick around long enough for that to be a problem in my house!
Nutritional Information for Chocolate Mint Desserts
Okay, let’s be real – we’re not eating chocolate mint desserts for their health benefits! But for those curious, each serving comes in around 450 calories. The numbers below are estimates – they’ll vary based on your exact ingredients (like that fancy chocolate you splurged on). Remember, life’s too short not to enjoy dessert sometimes!
Frequently Asked Questions About Chocolate Mint Desserts
I get asked about these chocolate mint desserts ALL the time – they’re that good! Here are the most common questions I hear, along with all my best tips:
Can I use milk chocolate instead of dark chocolate?
Absolutely! I prefer dark chocolate for that grown-up richness, but milk chocolate works great if that’s your jam. Just know it’ll be sweeter – you might want to reduce the powdered sugar in the mint layer by a tablespoon.
My mint cream won’t whip – help!
Been there! First, make sure your cream is ice-cold (I even chill my bowl). If it’s still being stubborn, add a pinch of cream of tartar – that usually does the trick. And don’t overmix once peaks form or you’ll get butter!
How far in advance can I make these?
They’re perfect for making ahead! The flavors actually deepen overnight. Just cover tightly and they’ll keep beautifully for 3-4 days in the fridge. Add any crunchy toppings right before serving though.
Can I make these dairy-free?
Totally! Swap the heavy cream for full-fat coconut milk (the canned kind) and use dairy-free chocolate. The texture changes slightly, but it’s still delicious. Just don’t tell my grandma I suggested it!
Why is my ganache grainy?
Ah, the dreaded grain! Usually means your chocolate got too hot or you didn’t whisk enough. Next time, take the pan off the heat before adding chocolate and whisk like crazy until it’s silky smooth. A little patience goes a long way!
Chocolate Mint Desserts
Ingrédients
Equipment
Method
- Heat the heavy cream for the chocolate layer in a saucepan until it simmers.
- Pour the hot cream over the dark chocolate chips and whisk until smooth.
- Divide the chocolate mixture evenly among serving glasses and refrigerate for 1 hour.
- Whip the heavy cream for the mint layer with powdered sugar and peppermint extract until stiff peaks form.
- Add green food coloring if desired and mix well.
- Spread the mint cream over the chilled chocolate layer and refrigerate for another hour before serving.