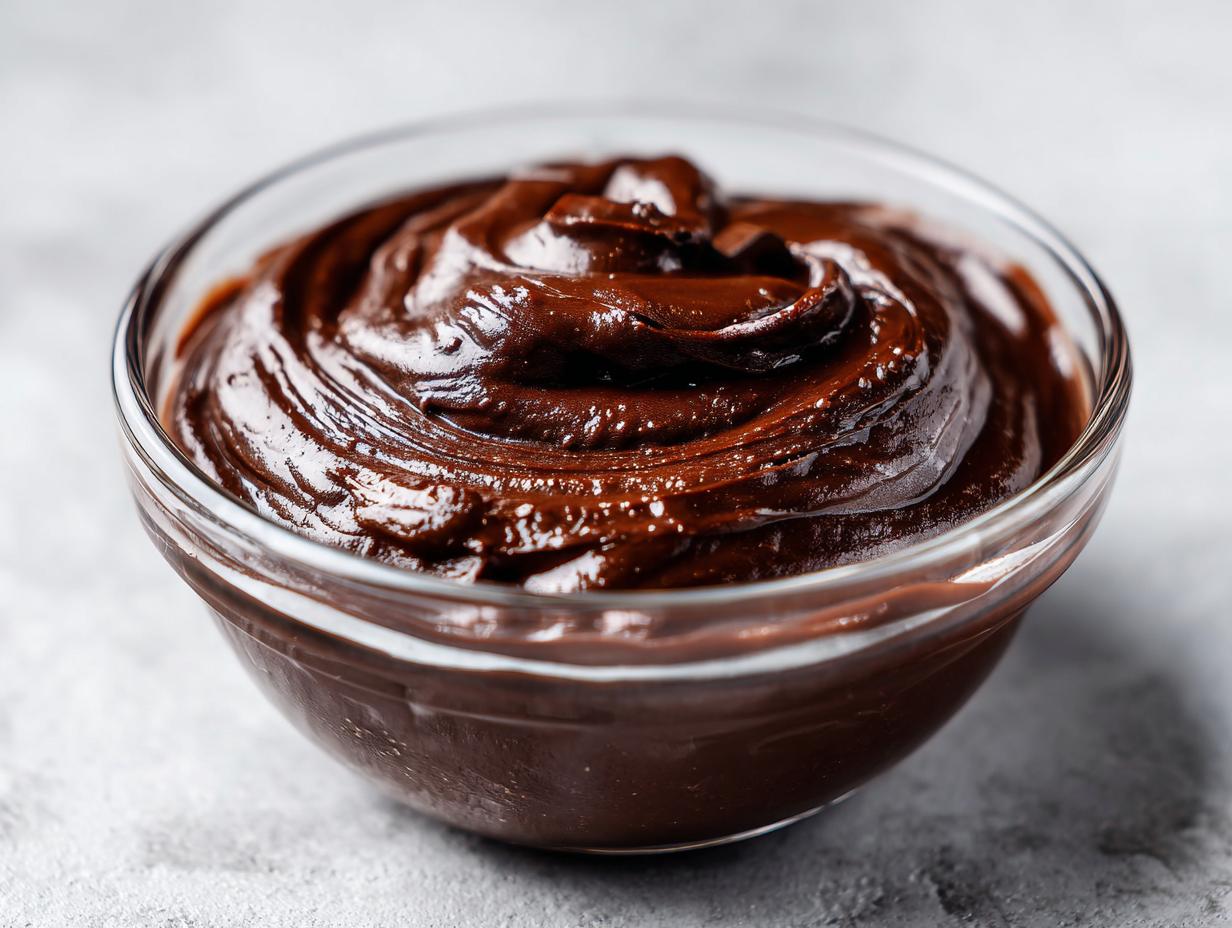
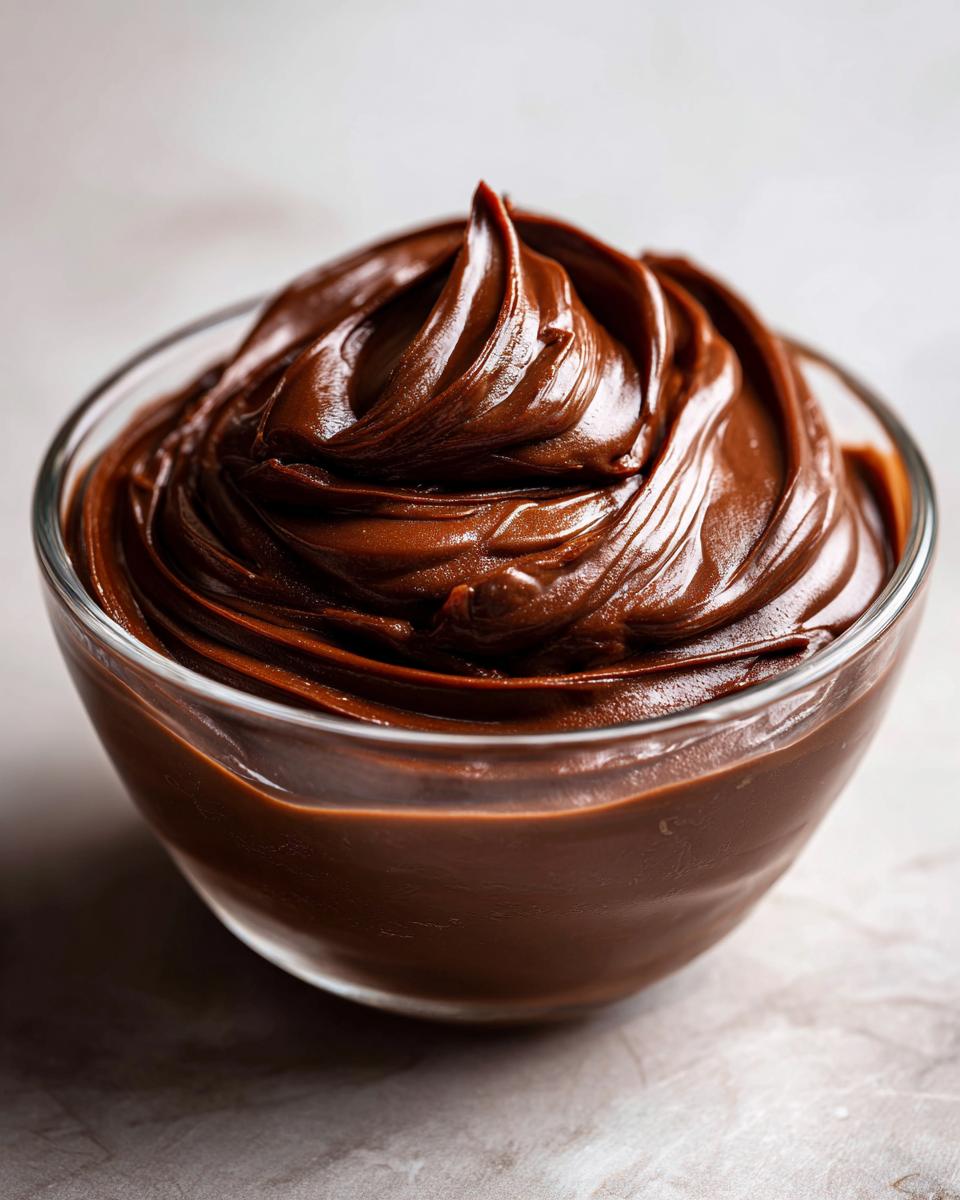
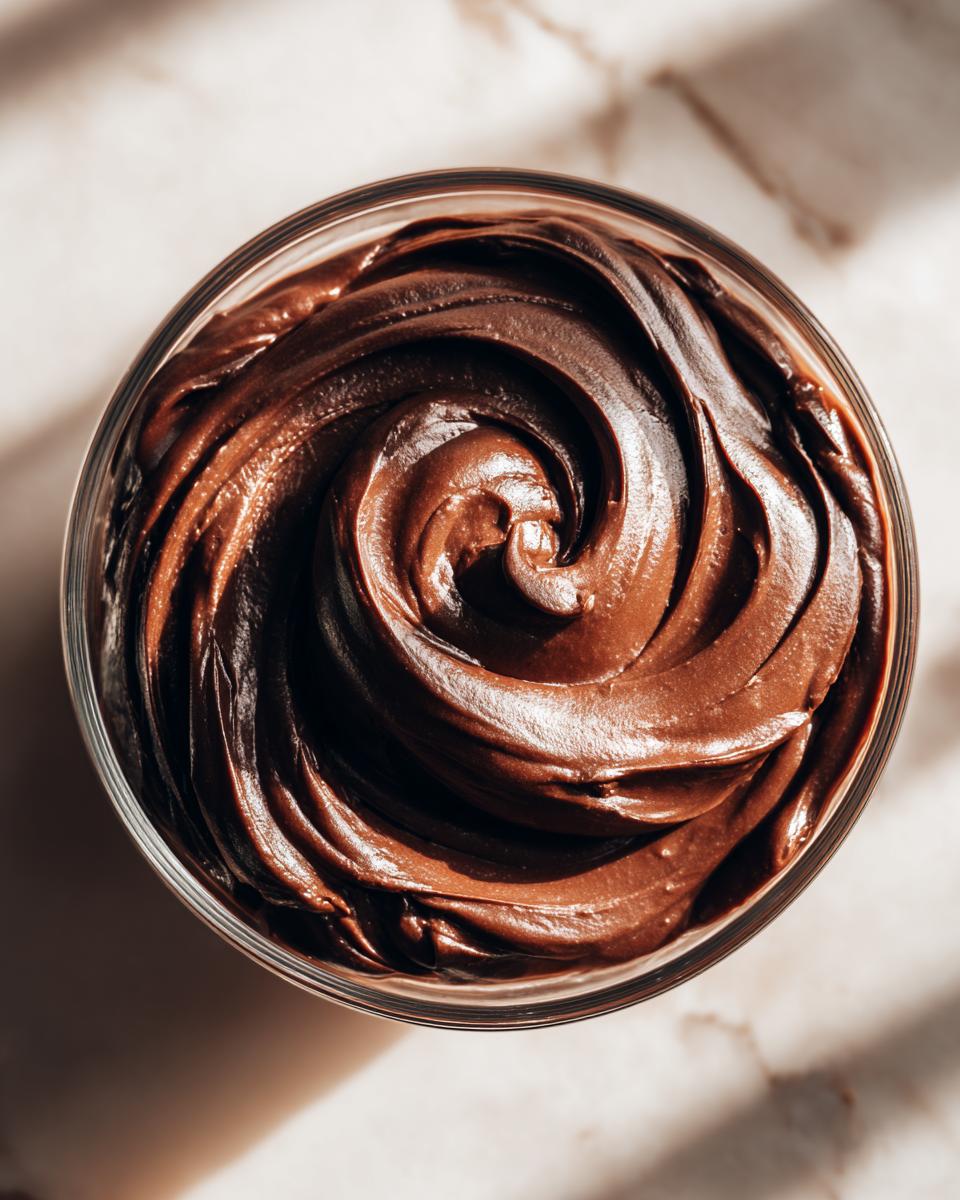
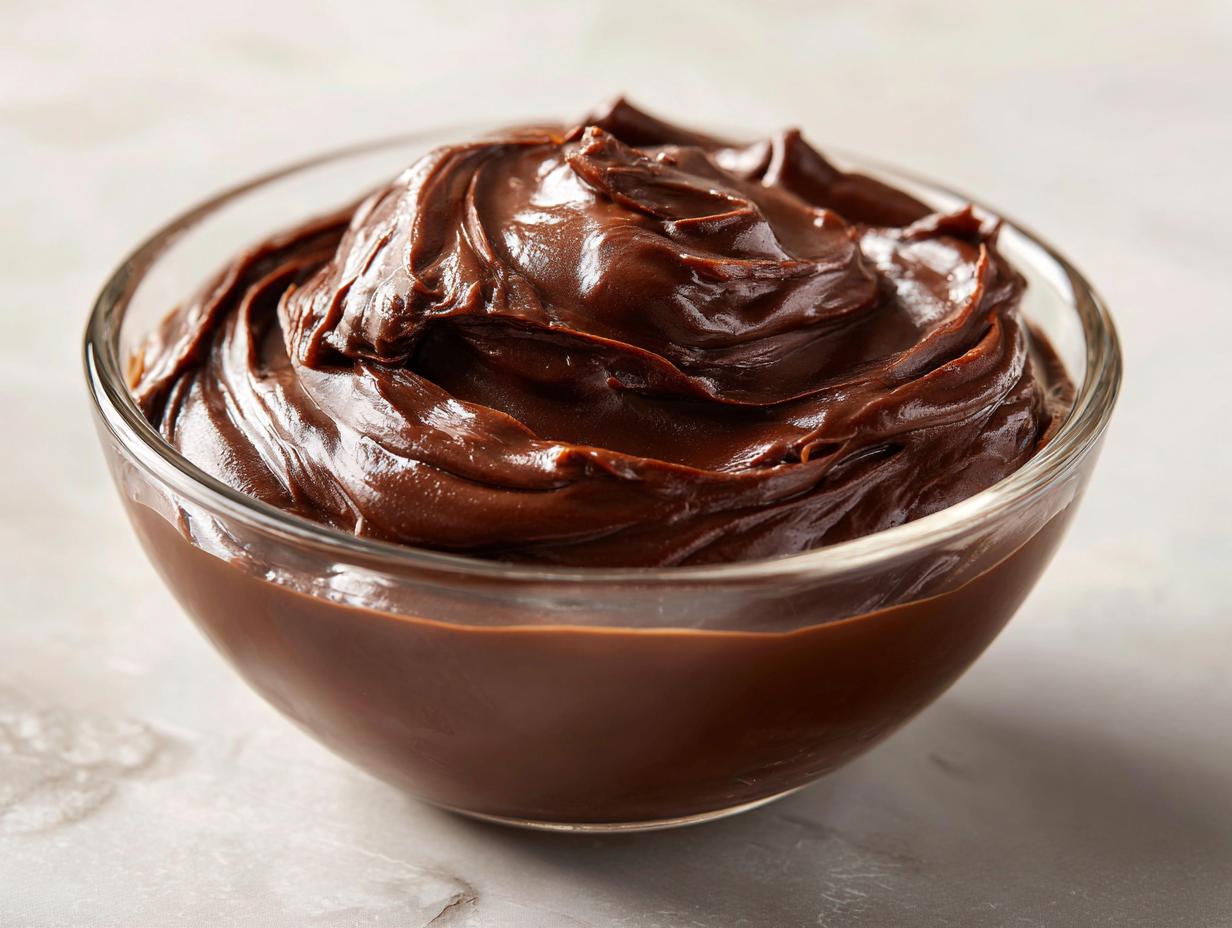
There’s something magical about homemade chocolate pudding dessert, isn’t there? That rich, velvety texture that coats your spoon and melts on your tongue – it takes me right back to rainy afternoons at my grandma’s kitchen table. What makes this recipe special? It’s ridiculously simple (just 6 ingredients!) yet delivers restaurant-quality creaminess in under 30 minutes. No fancy equipment needed – just a saucepan, whisk, and that irresistible chocolate craving we all get sometimes.
Why You’ll Love This Chocolate Pudding Dessert
Oh, where do I even start? This chocolate pudding hits all the right notes. First, that luscious, silky texture – it’s like dessert velvet that clings to your spoon in the most satisfying way. I swear it’s better than any store-bought version, and my kids go crazy when they see me pulling out the saucepan. Second, it comes together in just 25 minutes from start to finish. No sweating over complex techniques or waiting hours for it to set. Third, you only need six basic ingredients that you probably already have in your pantry. And here’s my favorite part: it’s crazy versatile. Serve it warm, cold, with berries, or just straight from the bowl when you need a little chocolate pick-me-up. This pudding never lets me down.
Ingredients for Chocolate Pudding Dessert
Let me tell you about the simple magic that goes into this chocolate pudding. I’ve made this recipe so many times I could probably do it in my sleep, but I still measure everything carefully – that’s the secret to getting it perfect every time. Here’s what you’ll need:
For the Pudding
- 1/2 cup granulated sugar – Trust me, don’t skimp here. The sugar balances the cocoa’s bitterness perfectly.
- 1/4 cup cocoa powder – I use regular unsweetened, but if you’re feeling fancy, dark cocoa powder makes it extra rich.
- 3 tbsp cornstarch – This is what gives our pudding that dreamy thickness.
- 1/4 tsp salt – Just a pinch! It makes all the flavors pop.
- 2 cups whole milk – Full-fat is best here – it makes the pudding luxuriously creamy.
- 2 tbsp unsalted butter – Room temperature is ideal, but cold works in a pinch.
- 1 tsp vanilla extract – The real stuff, please! It adds that special something.
See? Nothing weird or complicated. Just good, honest ingredients that come together to make something magical. I always double-check my measurements before starting – it saves me from mid-recipe panic when I realize I’m short on cocoa (been there, done that!).
Equipment Needed for Chocolate Pudding Dessert
You don’t need fancy gadgets to make heavenly chocolate pudding – just grab these kitchen staples:
- Medium saucepan – Mine’s a bit battered from years of pudding-making, but it gets the job done every time. The heavy bottom helps prevent scorching.
- Whisk – A trusty wire whisk works best for smoothing out stubborn cocoa powder lumps. If you’re in a pinch, I’ve used a fork – just whisk harder!
That’s seriously it! Though I sometimes grab my rubber spatula to scrape every last bit of pudding into bowls – no chocolate left behind in my kitchen.
How to Make Chocolate Pudding Dessert
Alright, let’s get to the fun part – turning those simple ingredients into silky, dreamy chocolate pudding! I’ve made this recipe more times than I can count, and I promise it’s foolproof if you follow these steps carefully. Don’t let the cooking part intimidate you – it’s mostly just whisking and watching for bubbles. Ready? Let’s go!
Step 1: Combine Dry Ingredients
First things first – grab your trusty saucepan and whisk. Dump in the sugar, cocoa powder, cornstarch, and that pinch of salt. Now here’s my secret: whisk them together before adding any liquid. This prevents those annoying cocoa lumps that never seem to dissolve later. I like to whisk for a good 30 seconds – until everything looks evenly mixed and smells like chocolate heaven.
Step 2: Add Milk and Cook
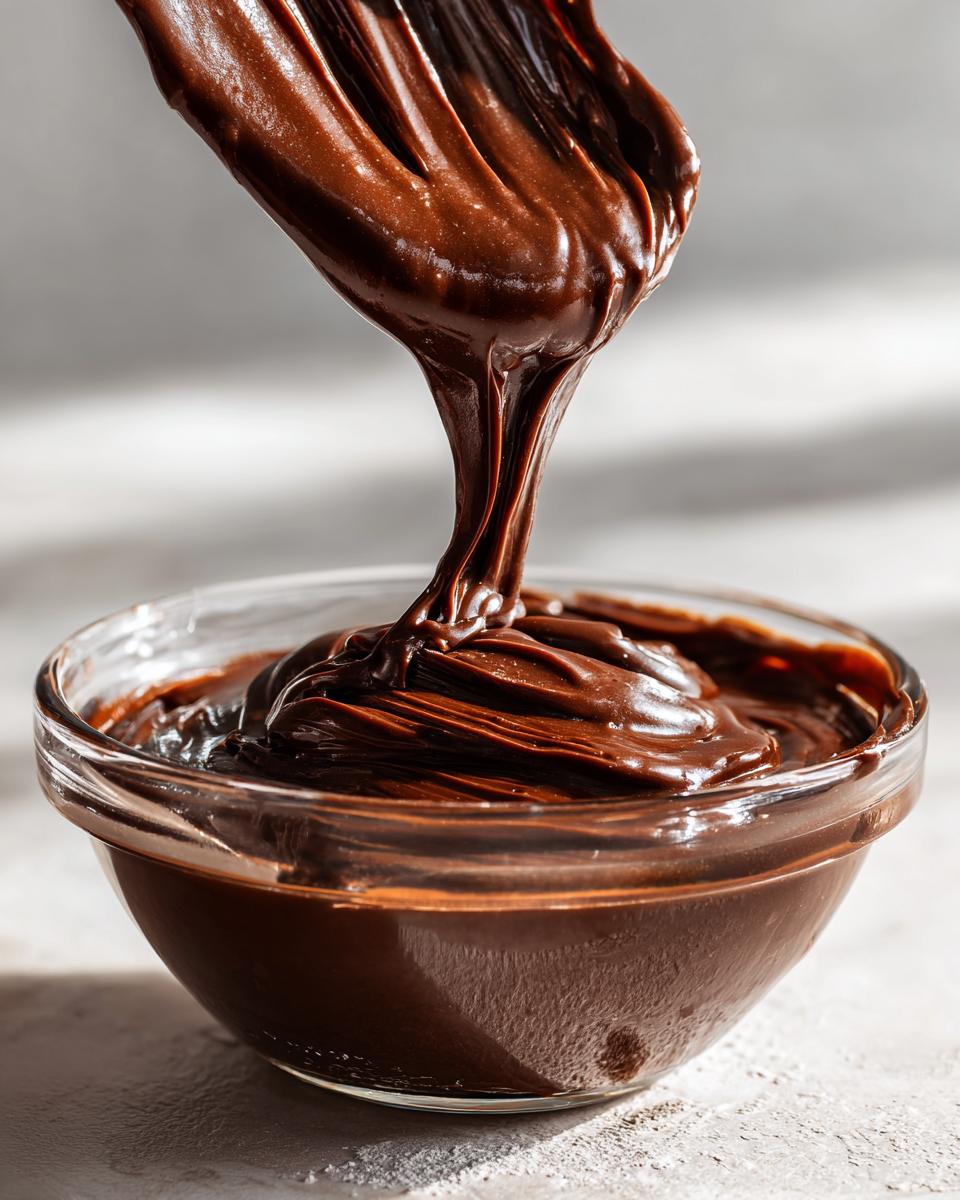
Okay, here’s where the magic starts happening! Slowly drizzle in the milk while whisking constantly – I mean it, don’t stop whisking! This gradual addition keeps lumps from forming. Once it’s all incorporated, turn the heat to medium. Now comes the arm workout: keep whisking gently but constantly as it heats up. You’ll see it start thickening after about 5-7 minutes. When big bubbles start plopping up (like lava!), keep whisking and let it boil for exactly 1 minute – this activates the cornstarch fully. Pro tip: tilt the pan occasionally to check for thickness – it should coat the back of a spoon nicely.
Step 3: Finish and Chill
Remove the pan from heat immediately – overcooked pudding gets weirdly thick. Now stir in the butter and vanilla until they melt into the mixture. Oh, that glossy sheen! Pour the pudding into your favorite serving dishes (I use little teacups for nostalgia). Here’s the hardest part: let it chill uncovered in the fridge for at least 2 hours. I know, the waiting kills me too! But trust me, that cooling time transforms it from good to « oh-my-goodness » creamy perfection. The pudding will thicken more as it cools – that’s normal!
See? Told you it was simple! Now resist the urge to eat it all straight from the fridge (no judgment if you don’t). This chocolate pudding dessert keeps beautifully for 3 days covered in the fridge – if it lasts that long in your house!
Tips for Perfect Chocolate Pudding Dessert
After making this chocolate pudding dessert more times than I can count, I’ve learned a few tricks that guarantee silky-smooth results every time. First, always sift your cocoa powder – those stubborn little clumps will ruin your smooth texture if you don’t. Second, stick with whole milk – I tried skim once and ended up with sad, watery pudding that nobody wanted to eat. Third, keep the heat medium-low – rushing the cooking process leads to scorched bottoms and lumpy textures. And here’s my bonus tip: whisk like you mean it when adding the milk – those first 30 seconds of vigorous mixing make all the difference!
Variations for Chocolate Pudding Dessert
Oh, the fun part – playing with flavors! My chocolate pudding is like a blank canvas waiting for your personal touch. My favorite twist? A teaspoon of espresso powder whisked in with the dry ingredients – it deepens the chocolate flavor without tasting like coffee. For summer, I love topping warm pudding with fresh raspberries – their tartness cuts through the richness perfectly. And when my lactose-intolerant friends visit, I swap the milk for almond milk (just add an extra tablespoon of cornstarch). The possibilities are endless!
Serving Suggestions for Chocolate Pudding Dessert
Oh, dollop it, top it, or dunk it – that’s my motto for serving this chocolate pudding! My absolute favorite way? A big cloud of fresh whipped cream floating on top, slowly melting into the warm pudding. For special occasions, I’ll sprinkle on some chocolate shavings or fresh mint leaves for a pretty pop of color. When my kids are involved, it’s always crumbled chocolate cookies for dipping – the way the crunchy pieces soften in the creamy pudding is pure magic. And honestly? Sometimes straight out of the bowl with just a spoon is the best way to go!
Storage and Reheating Instructions
Now, let’s talk about keeping your chocolate pudding perfect for days (if it lasts that long in your house!). I always store mine in the fridge with plastic wrap pressed right against the pudding’s surface – this prevents that weird skin from forming. It keeps beautifully for up to 3 days – not that it’s ever lasted that long with my sweet tooth! If you need to reheat, do it gently in the microwave at 50% power, stirring every 30 seconds. Oh, and add a splash of milk if it thickens too much – just whisk like crazy until it’s silkier than new pajamas. Trust me, this method brings leftover pudding back to life without any grainy texture.
Nutritional Information
Now, I’m no nutritionist, but here’s the scoop on what’s in this chocolatey goodness! Remember, these numbers are just estimates – your exact amounts might dance around a bit depending on your ingredients. For one serving (and let’s be real, who stops at just one?), you’re looking at about 220 calories, with 8g fat (that’s where the creaminess comes from!), 38g carbs (hello, sweet happiness), and 4g protein. Not too shabby for a dessert that tastes this indulgent! The cocoa powder packs in 2g fiber too – see? It’s practically health food!
Frequently Asked Questions
Can I use low-fat milk for this chocolate pudding dessert?
Oh honey, I’ve tried it – and trust me, whole milk makes all the difference! Low-fat milk will technically work, but your pudding won’t get that luxuriously creamy texture we’re after. If you must use low-fat, try adding an extra tablespoon of cornstarch to help thicken it up. But between you and me? That extra bit of fat in whole milk is what makes this pudding taste like a dream.
How do I fix lumpy chocolate pudding?
Don’t panic! We’ve all been there. First, try whisking like crazy – sometimes those lumps just need some tough love. If that doesn’t work, pour the pudding through a fine mesh strainer to catch any stubborn bits. My grandma’s trick? A quick blitz with an immersion blender fixes most lumpy pudding disasters. And next time, remember to whisk those dry ingredients really well before adding milk!
Can I make this chocolate pudding dessert ahead of time?
Absolutely! In fact, I think it tastes even better after chilling overnight. Just press plastic wrap directly onto the pudding’s surface before refrigerating to prevent that weird skin from forming. It keeps beautifully for up to 3 days – though in my house, it rarely lasts past day two!
Why did my pudding turn out too thick?
Oops! Sounds like you might have cooked it too long or used too much cornstarch. Next time, remove it from heat as soon as big bubbles appear – that extra minute of boiling makes a huge difference. For now, just whisk in a splash of warm milk until it reaches your perfect consistency. Remember, pudding thickens more as it cools!
Can I freeze chocolate pudding?
I wouldn’t recommend it, sweetie. Freezing changes the texture completely – it becomes grainy when thawed. But here’s a secret: this pudding keeps so well in the fridge that freezing isn’t necessary anyway. If you need to make it ahead, just whip up a fresh batch – it’s so quick and easy!
Ingrédients
Equipment
Method
- In a medium saucepan, whisk together sugar, cocoa powder, cornstarch, and salt.
- Gradually whisk in milk until smooth.
- Place the saucepan over medium heat and cook, stirring constantly, until the mixture thickens and comes to a boil.
- Boil for 1 minute, then remove from heat.
- Stir in butter and vanilla until smooth.
- Pour the pudding into serving dishes and chill for at least 2 hours before serving.