
You know that moment when you take your first bite of warm, creamy corn pudding at a family gathering? That’s pure comfort right there. This corn pudding recipe has been my go-to side dish for years—whether it’s Thanksgiving, a summer barbecue, or just a cozy Sunday dinner. My grandma used to make a version of this, and the smell alone would have us kids hovering around the kitchen, spoons at the ready. What I love most is how simple it is—just a handful of ingredients transform into this rich, velvety dish that somehow manages to be both humble and showstopping. The sweetness of the corn, the hint of sugar, and that buttery finish? Absolute magic. Trust me, once you try this, you’ll understand why it’s been a staple at my table for so long.
Why You’ll Love This Corn Pudding Recipe
Oh, where do I even start? This corn pudding recipe is one of those rare gems that’s:
- Crazy easy – Just toss everything in a saucepan and bake. No fancy techniques!
- Creamy dreamy – That smooth, velvety texture will have everyone asking for seconds.
- Always a hit – Works for holidays, potlucks, or Tuesday night dinners when you need comfort food fast.
- Forgiving – Use fresh corn in summer or frozen when it’s not. Still turns out perfect.
- Just sweet enough – The touch of sugar makes it sing without turning it into dessert.
Seriously, it’s the kind of recipe you’ll scribble on an index card because you’ll be making it that often.
Ingredients for Corn Pudding
Okay, let’s gather our simple but mighty ingredients! This is everything you’ll need for that perfect creamy corn pudding. I always measure everything out first – it makes the whole process so much smoother. Here’s what you’ll grab:
- 2 cups corn kernels – Fresh summer corn is amazing here, but frozen works beautifully too (no shame in my game – I keep bags in the freezer for corn pudding emergencies!)
- 1 cup milk – Whole milk gives the creamiest results, but 2% works in a pinch
- 2 tablespoons sugar – Just enough to enhance the corn’s natural sweetness without going dessert-level sweet
- 2 tablespoons cornstarch – Our thickening hero that gives the pudding its perfect body
- 1/4 teaspoon salt – Balances all the flavors beautifully
- 2 tablespoons butter – Because everything’s better with butter, right? I use unsalted so I can control the saltiness
See? Nothing fancy, just good honest ingredients that come together to make something truly special. Now let’s get cooking!
How to Make Corn Pudding
Alright, let’s get to the fun part – making this dreamy corn pudding! I promise it’s easier than you think, but I’ll walk you through each step so you get that perfect creamy texture every time. Just follow along, and in less than an hour, you’ll have a dish that’ll make everyone at the table smile.
Step 1: Combine Ingredients
First, grab your favorite saucepan – I like using a medium-sized one with high sides to prevent splatters. Toss in the corn, milk, sugar, cornstarch, and salt. Now here’s my little secret: whisk the cornstarch with a fork first to break up any lumps before adding it to the mix. Trust me, this saves you from those pesky little starch balls later! Give everything a good stir until it looks evenly combined.
Step 2: Cook the Mixture
Turn your burner to medium heat and start stirring – and I mean really stirring. This isn’t a « set it and forget it » situation. Keep that spoon moving constantly as the mixture heats up. After about 5-7 minutes, you’ll notice it starting to thicken. When it coats the back of your spoon and leaves a clear trail when you run your finger through it, you’re golden. Don’t worry if it seems thin at first – the magic happens fast!
Step 3: Add Butter and Bake
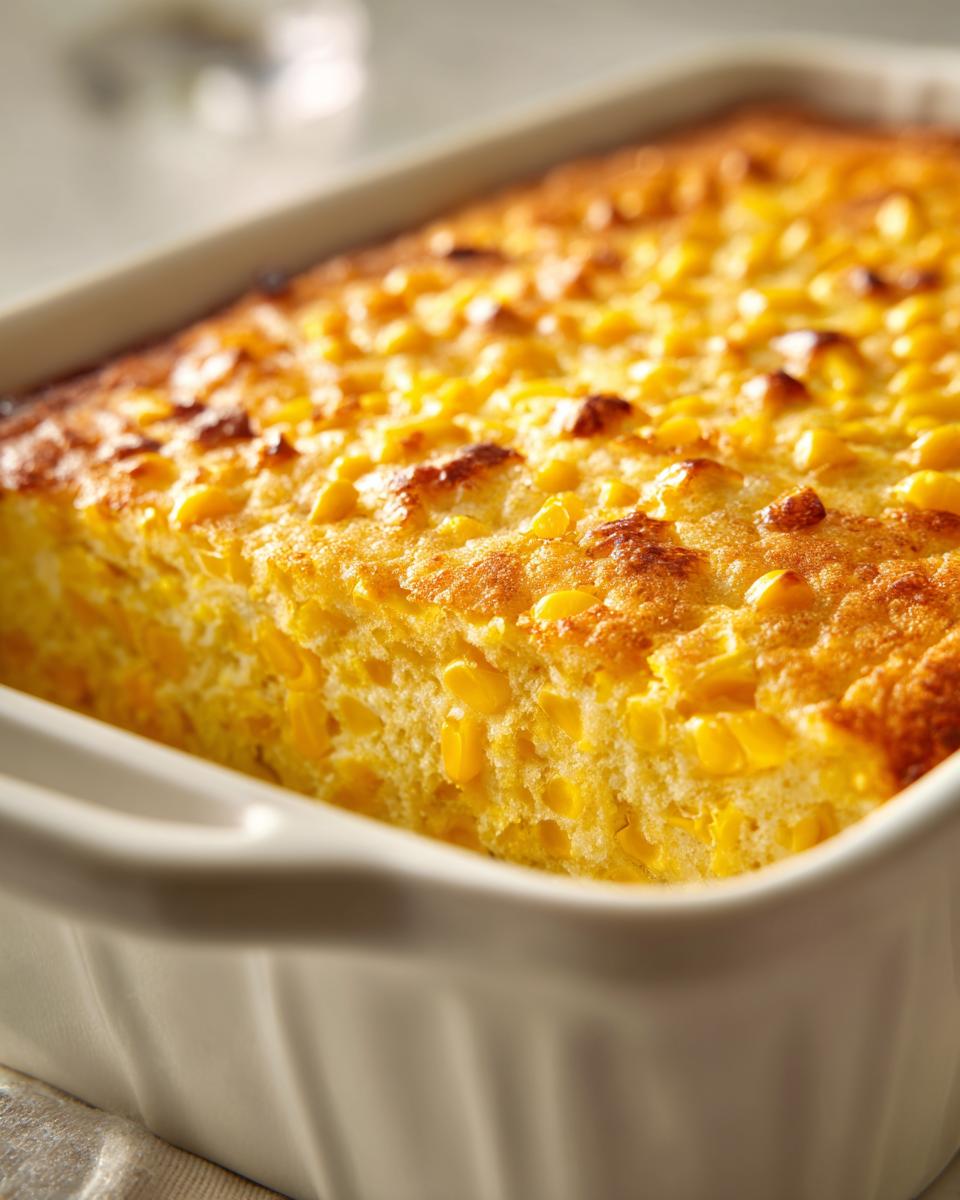
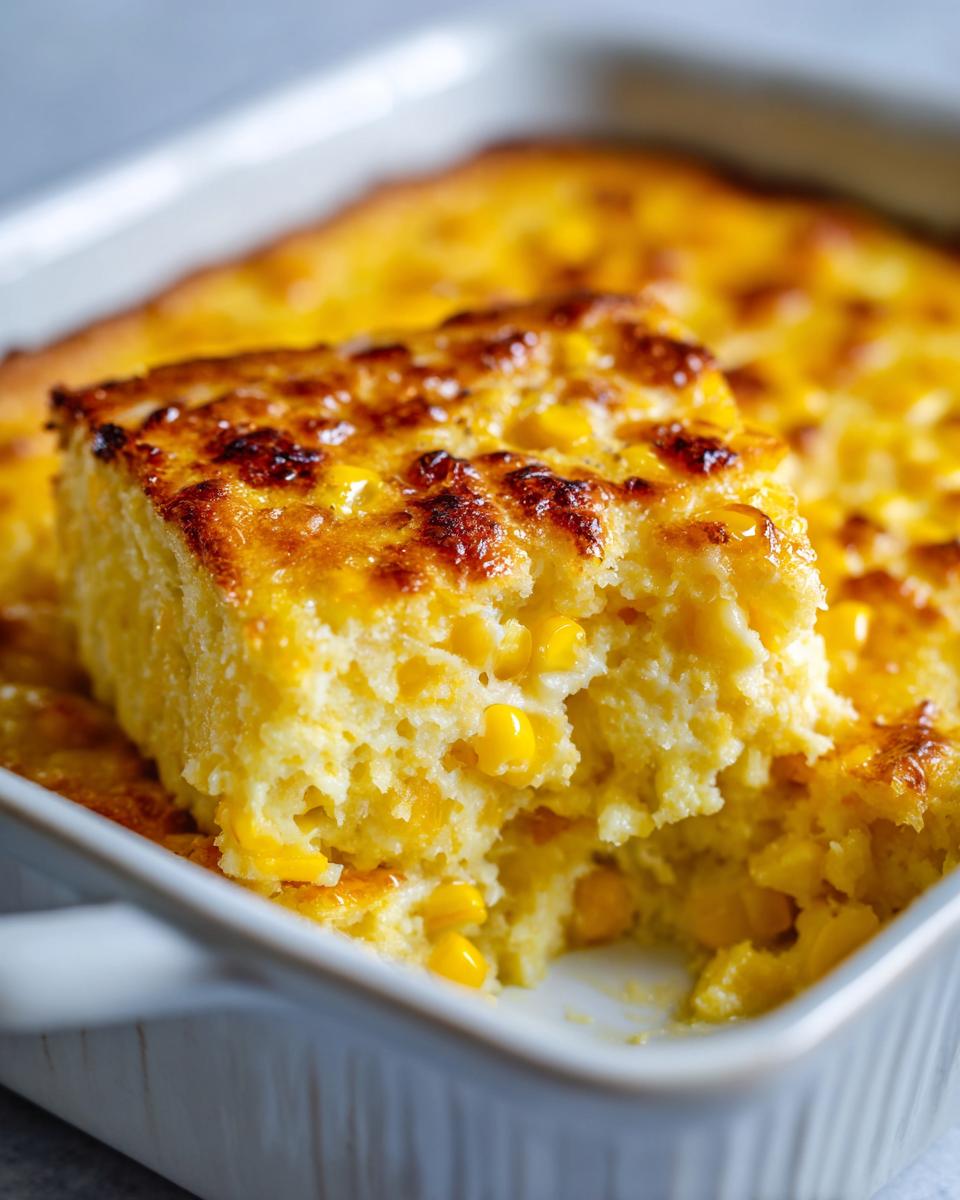
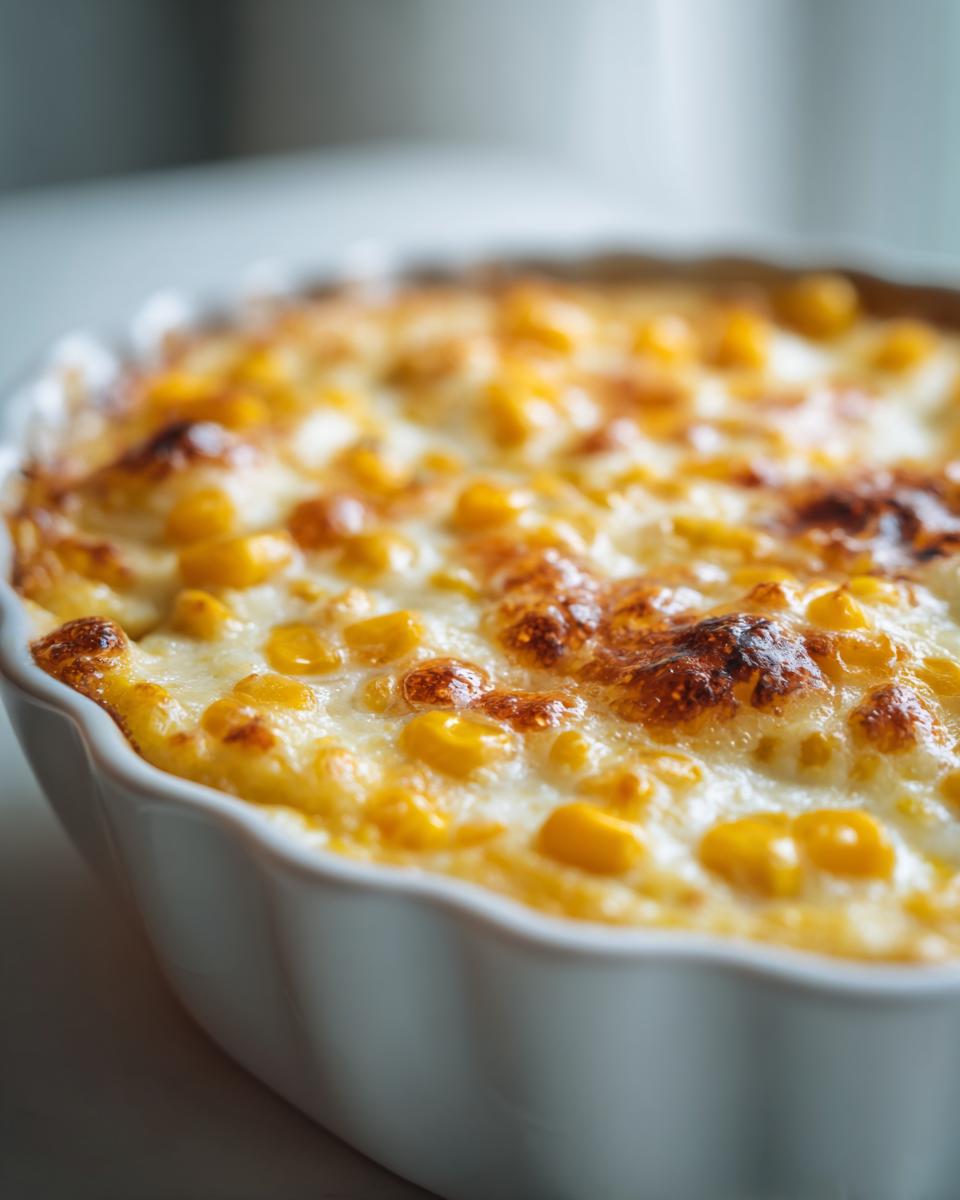
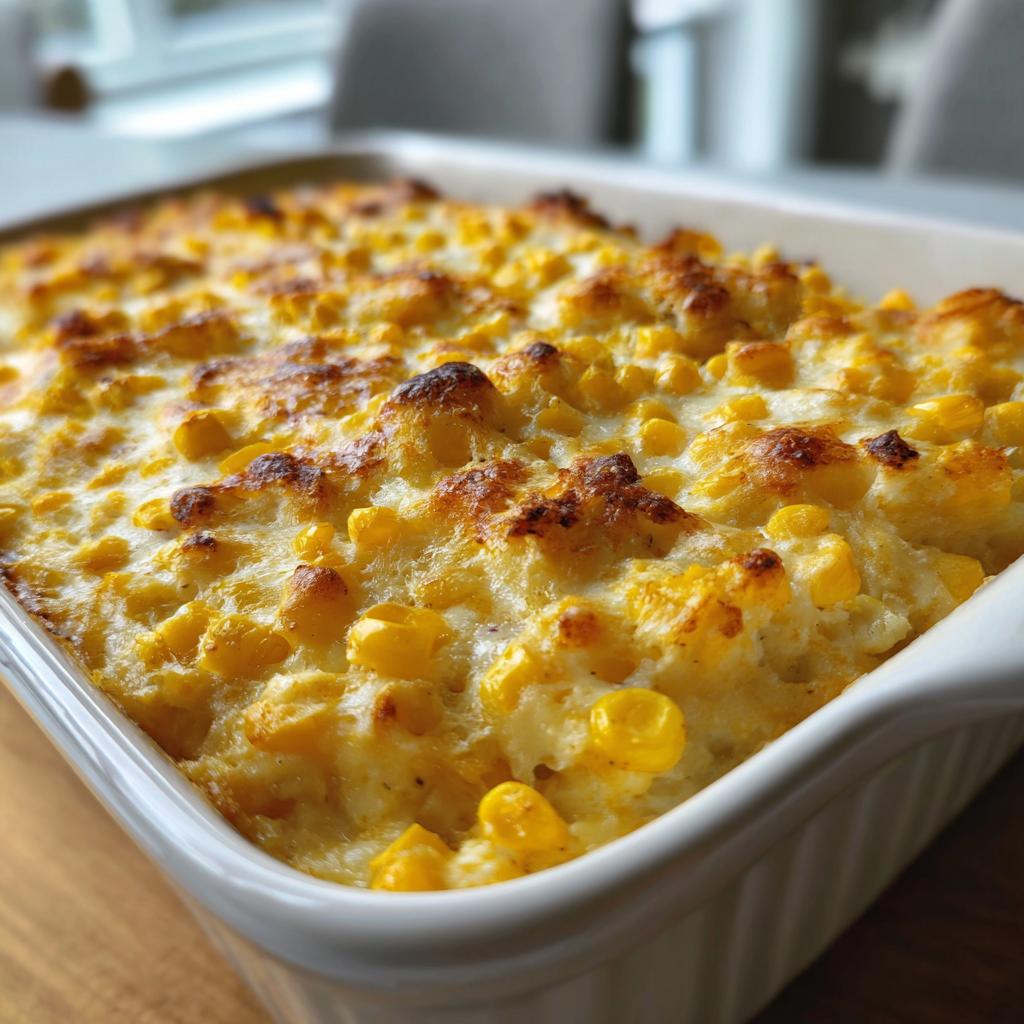
Take the saucepan off the heat and stir in that glorious butter until it melts completely. Meanwhile, grab your baking dish – I use an 8×8 inch one – and give it a quick grease with butter or cooking spray. Pour in your creamy corn mixture and pop it into a 350°F oven for 30 minutes. You’ll know it’s done when the edges are bubbly and the top has those beautiful golden spots. Let it cool for about 5 minutes before serving – I know it’s tempting to dive right in, but this helps the texture set perfectly!
Tips for the Best Corn Pudding Recipe
After making this corn pudding more times than I can count, I’ve picked up some tricks that take it from good to « oh my goodness, can I have the recipe? » good. First, if you can get fresh corn in season, do it – the flavor is unbeatable. Just cut the kernels off the cob and use the back of your knife to scrape out all that milky goodness too. Frozen corn works great too though – no thawing needed! Want to play with sweetness? Start with 1 tablespoon of sugar, then taste and add more if you like. The biggest mistake? Walking away while it’s thickening on the stove – stay put and keep stirring! And don’t skip letting it rest after baking – those 5 minutes make all the difference for the perfect creamy texture.

Variations for Your Corn Pudding Recipe
One of the best things about this corn pudding recipe is how easily you can jazz it up! Here are some of my favorite twists that always get rave reviews:
- Cheesy delight: Stir in 1/2 cup shredded cheddar or pepper jack when you add the butter – it melts into the most glorious golden pockets
- Spicy kick: Add a diced jalapeño (seeds removed if you’re not into heat) for a little fiesta in every bite
- Herb garden: Mix in 2 tablespoons of fresh chopped chives or thyme for a fresh, aromatic note
- Bacon lover’s dream: Crumble in 3 strips of cooked bacon – because bacon makes everything better
- Southwest style: Swap the sugar for 1 teaspoon chili powder and add a handful of diced red bell pepper
The possibilities are endless – have fun making it your own! Just remember to keep the base recipe the same and add these extras before baking.
Serving Suggestions for Corn Pudding
Oh, this creamy corn pudding plays so nicely with so many dishes! It’s my absolute must-have alongside holiday ham – the sweetness balances the saltiness perfectly. Weeknight dinner? Try it with simple roasted chicken or juicy pork chops. Barbecue? It’s heavenly with smoky ribs or pulled pork. Honestly, I’ve even served it with breakfast eggs when we’re feeling fancy. The only rule? Make extra – people always come back for seconds!
Storing and Reheating Corn Pudding
Now, let’s talk leftovers – not that you’ll have many with this corn pudding! If you do manage to save some, here’s how to keep it tasting fresh. Cover it tightly with plastic wrap or transfer to an airtight container, and it’ll keep in the fridge for 3-4 days. When reheating, I like to add a splash of milk and warm it gently in the oven at 300°F until heated through – about 15-20 minutes. The texture might thicken a bit in the fridge, but that extra milk brings back the creaminess. Microwave works in a pinch too – just stir every 30 seconds to prevent hot spots. Pro tip: leftovers make an amazing next-day breakfast with a fried egg on top!
Corn Pudding Recipe FAQs
Over the years, I’ve gotten all sorts of questions about this corn pudding recipe – and I love helping people get it just right! Here are the ones that come up most often with my tried-and-true answers:
Can I use canned corn instead of fresh or frozen?
You can, but drain it really well first! Canned corn tends to be softer and more watery, so you might want to reduce the milk by a tablespoon or two. Personally, I think frozen corn gives the best texture when fresh isn’t available – it holds up better during cooking.
How do I prevent lumps in my corn pudding?
Oh, lumpy pudding is the worst! My trick is to whisk the cornstarch with a bit of the cold milk first until it’s completely smooth before adding it to the saucepan. And keep stirring constantly while it cooks – no multitasking during this step!
Can I make this ahead of time?
Absolutely! Prepare it up to the baking step, cover tightly, and refrigerate for up to 24 hours. When you’re ready, just pop it in the oven – you might need to add 5-10 minutes to the baking time since it’s going in cold. The texture actually improves with this little rest!
Why is my pudding too runny?
Usually this means it didn’t thicken enough on the stove before baking. Next time, cook the mixture a bit longer until it really coats the back of your spoon. And make sure your cornstarch is fresh – old starch loses its thickening power.
Can I freeze leftover corn pudding?
Honestly, I don’t recommend it. The texture gets grainy when thawed. But it keeps beautifully in the fridge for 3-4 days, and reheats like a dream with that splash of milk I mentioned earlier!
Nutritional Information
Just a quick note – I don’t calculate exact nutrition info because ingredients vary so much by brand and personal tweaks. Your corn pudding’s nutrition will depend on the milk you use, butter amounts, and whether you add any extras like cheese or bacon. It’s definitely a comfort food, so enjoy it as part of a balanced meal!
Corn Pudding
Ingrédients
Method
- In a saucepan, combine corn, milk, sugar, cornstarch, and salt.
- Cook over medium heat, stirring constantly, until the mixture thickens.
- Remove from heat and stir in butter until melted.
- Pour into a greased baking dish and bake at 350°F (175°C) for 30 minutes.