I can still remember my first attempt at Easter chocolate bark recipes – it was during one of those chaotic family gatherings where my niece absolutely insisted we make « something pretty with chocolate. » What started as a last-minute kitchen experiment became our favorite Easter tradition. Now, every spring, we raid my pantry for chocolate chips and whatever festive toppings we can find. This simple dessert never fails to delight kids and adults alike with its colorful cheer. The best part? You don’t need any fancy skills – just a microwave, a bakingpour these together in colored bowls and let the kids go wild decorating. There’s something magical about watching marshmallows and rainbow sprinkles rain down on that smooth chocolate canvas. Trust me, once you try this fuss-free Easter chocolate bark recipe, you’ll understand why it’s become my go-to for holiday parties and neighbor gifts alike.
Why You’ll Love These Easter Chocolate Bark Recipes
Oh my goodness, where do I even start with why this Easter chocolate bark recipe is absolutely perfect? First off, it’s ridiculously easy – we’re talking 15 minutes of active time, people! No fancy equipment, no complicated techniques, just pure chocolatey joy. Here’s why it’s become my Easter staple:
- Quick prep magic: From pantry to pretty in under 20 minutes (plus chilling time, but who’s counting?)
- Minimal ingredients: Chocolate chips + whatever festive toppings you’ve got lying around = instant holiday cheer
- Kid-approved: My niece calls it « edible confetti art » – need I say more?
- Endless customization: Swap toppings based on what’s in your pantry or what colors make you happy
- Gift-worthy: Package it in cellophane bags with ribbon for the cutest homemade Easter presents
Seriously, this recipe is the edible equivalent of a happy little Easter basket – simple, colorful, and guaranteed to bring smiles!
Ingredients for Easter Chocolate Bark Recipes
You’re gonna love how simple these ingredients are! I’ve made this Easter chocolate bark with whatever odds and ends I had in my pantry – that’s the beauty of it. But here’s what works perfectly every single time:
For the Chocolate Base
12 oz semisweet chocolate chips – I swear by the good quality ones; they melt smoother and taste richer. One Easter,ricts!
For the Toppings
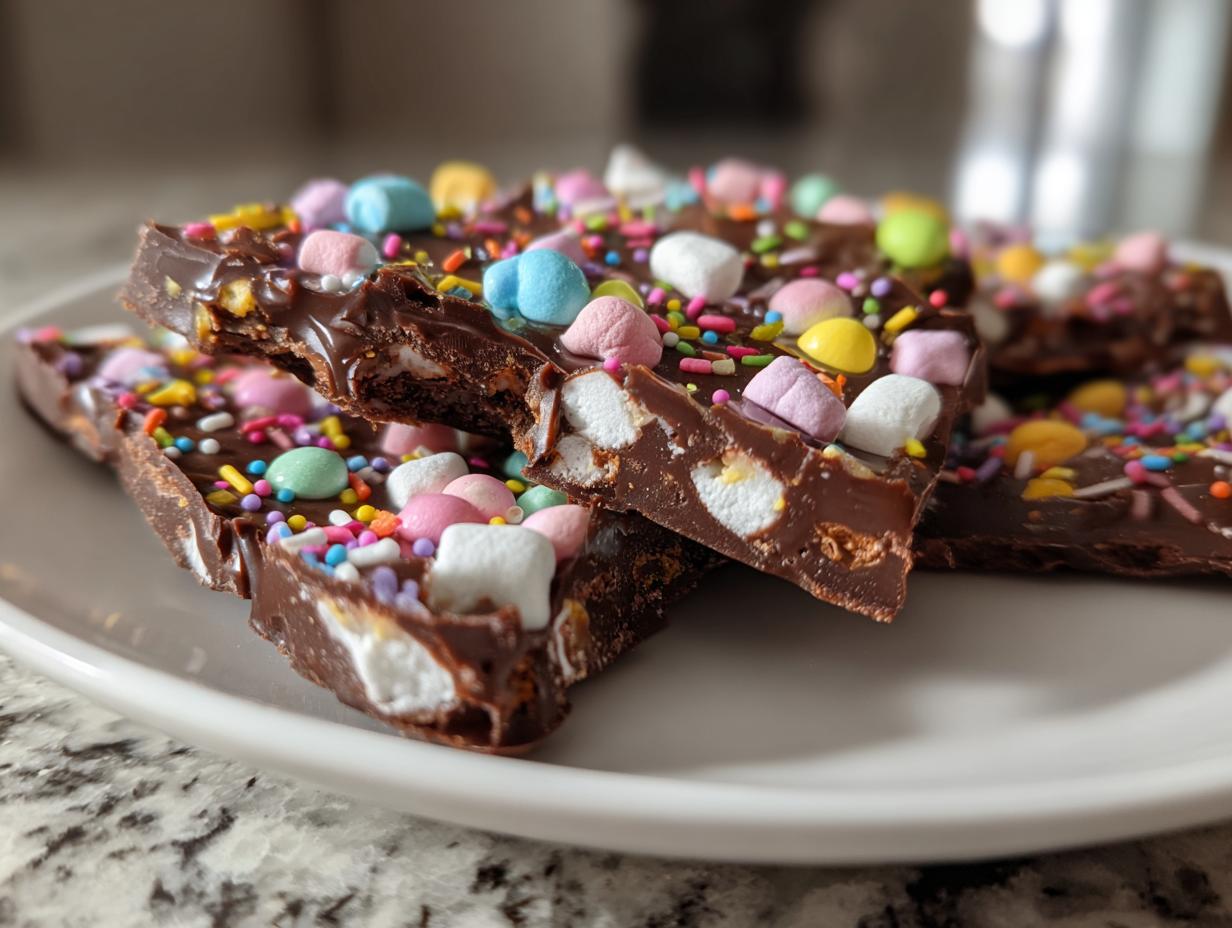
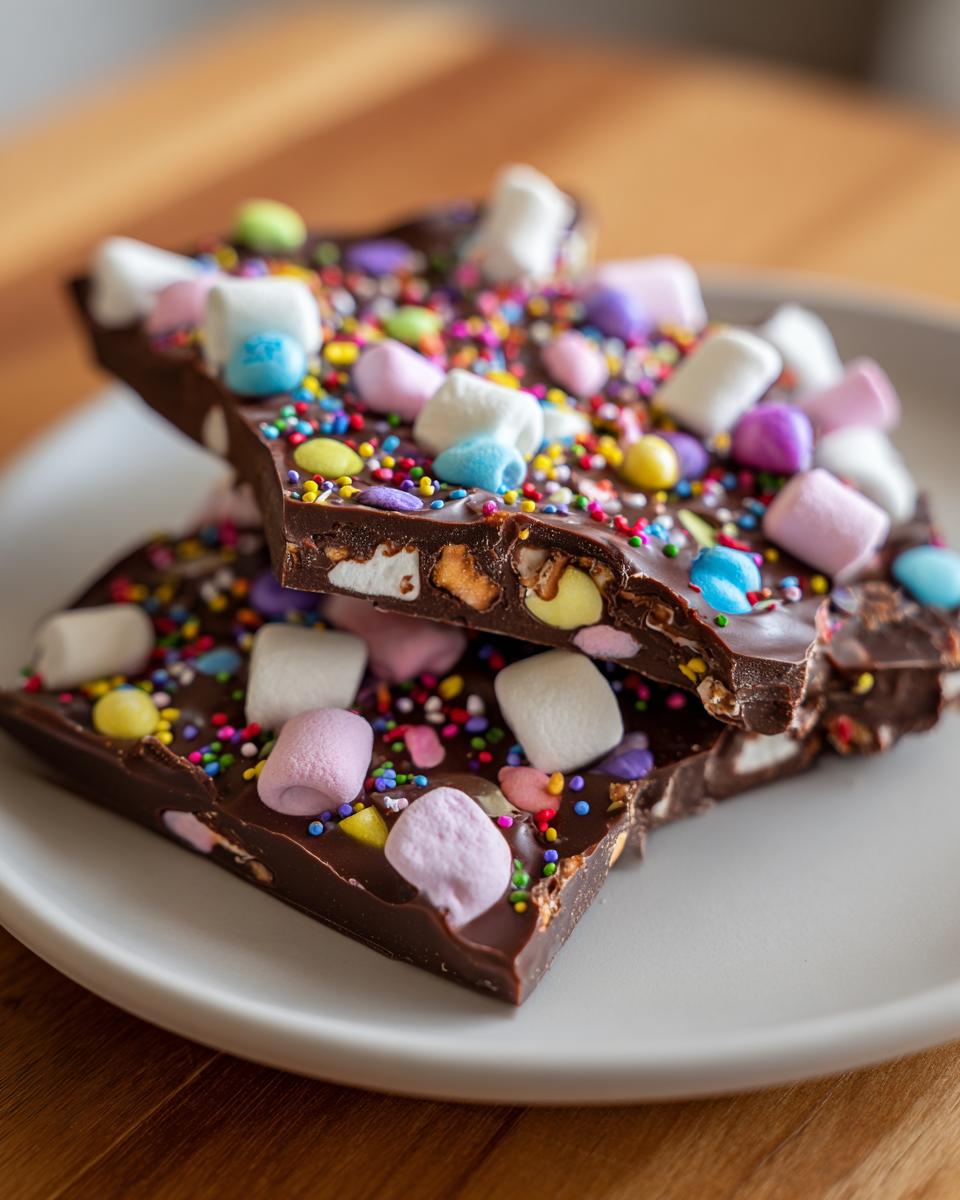
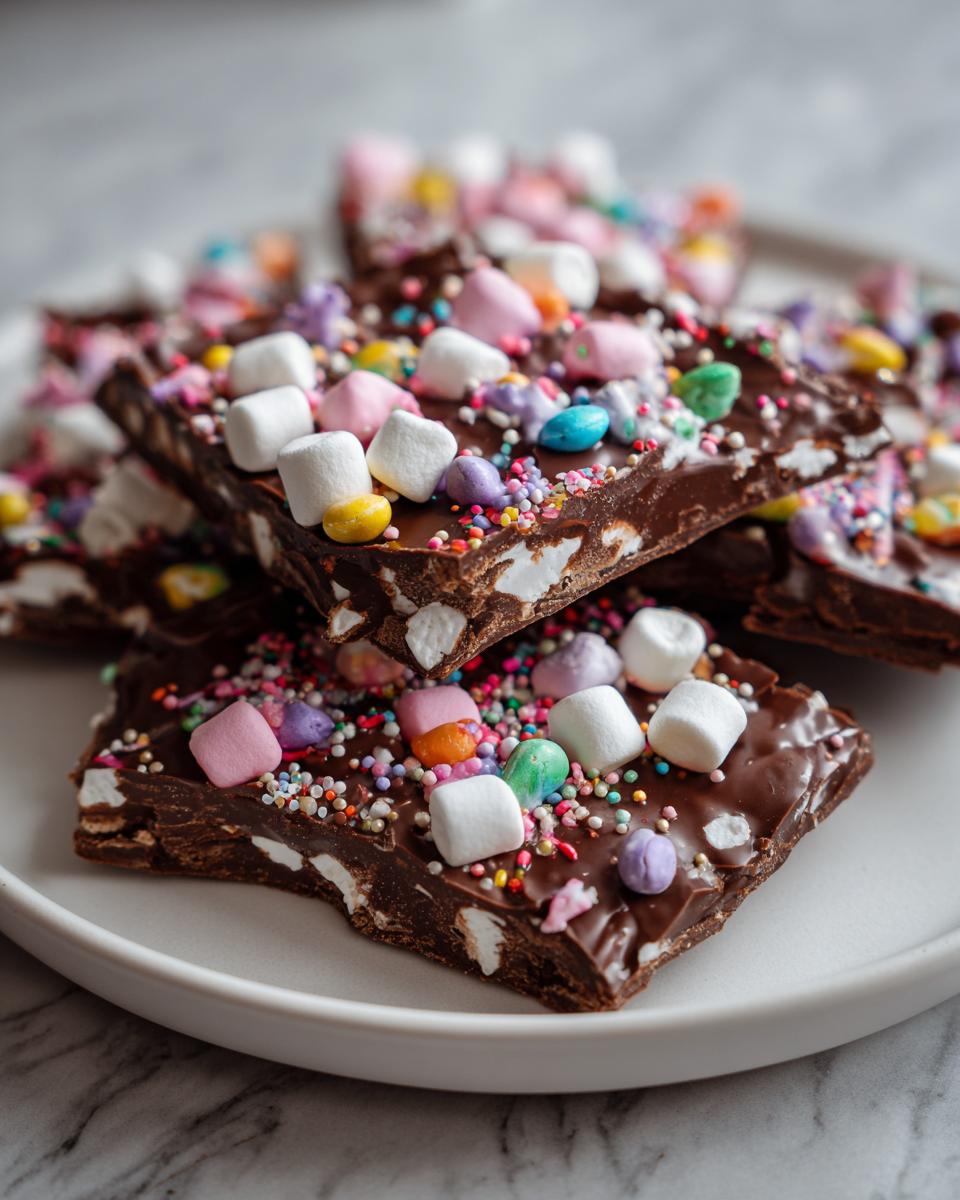
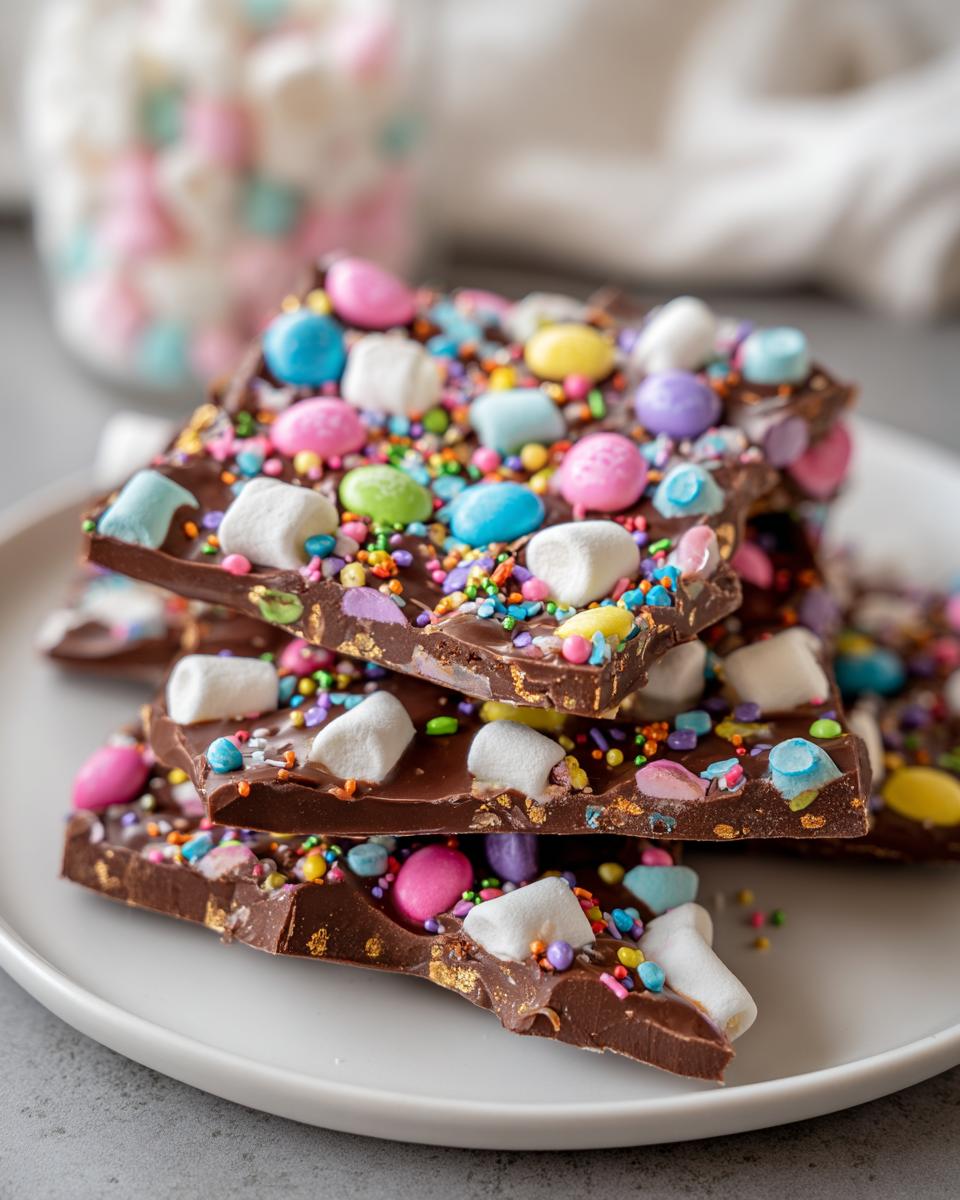
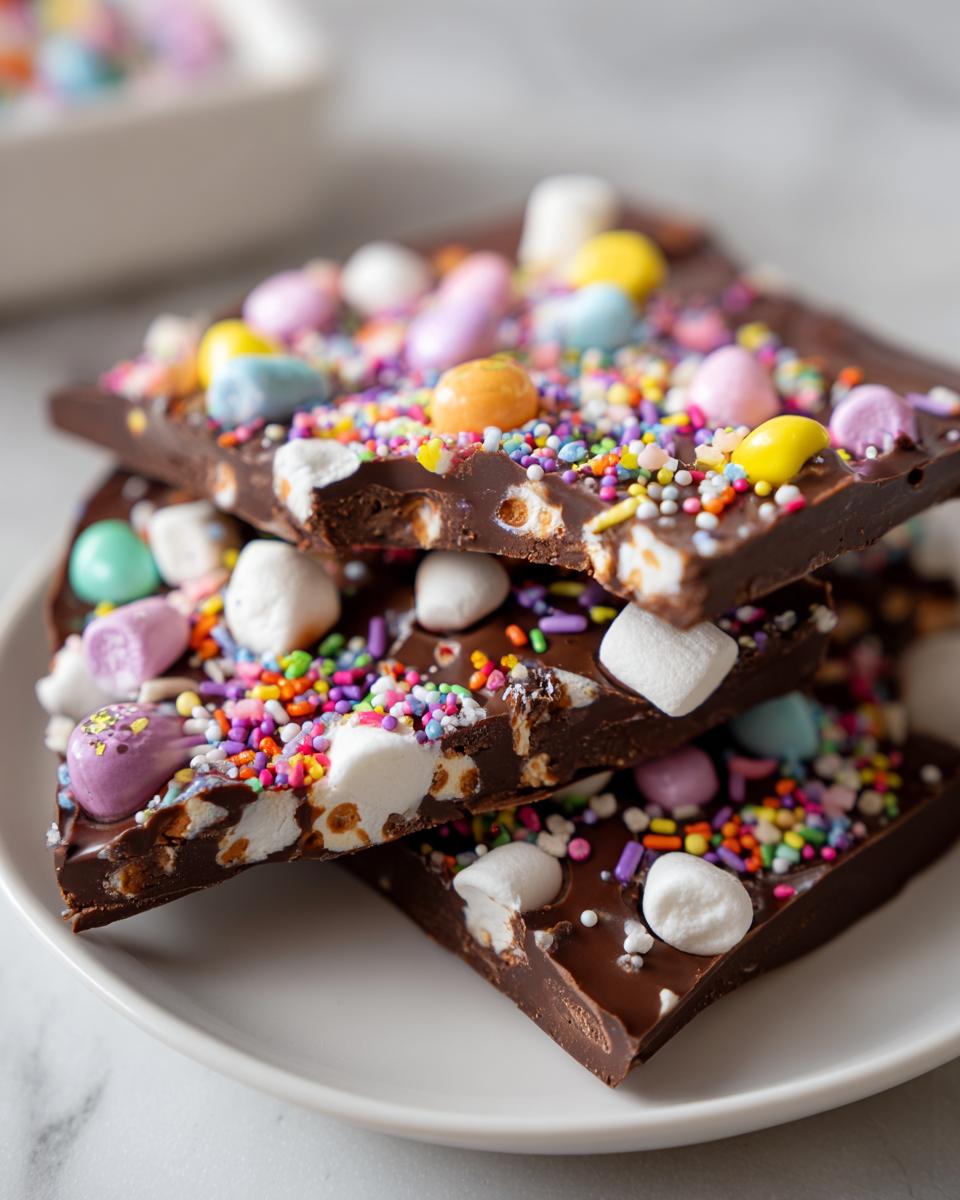
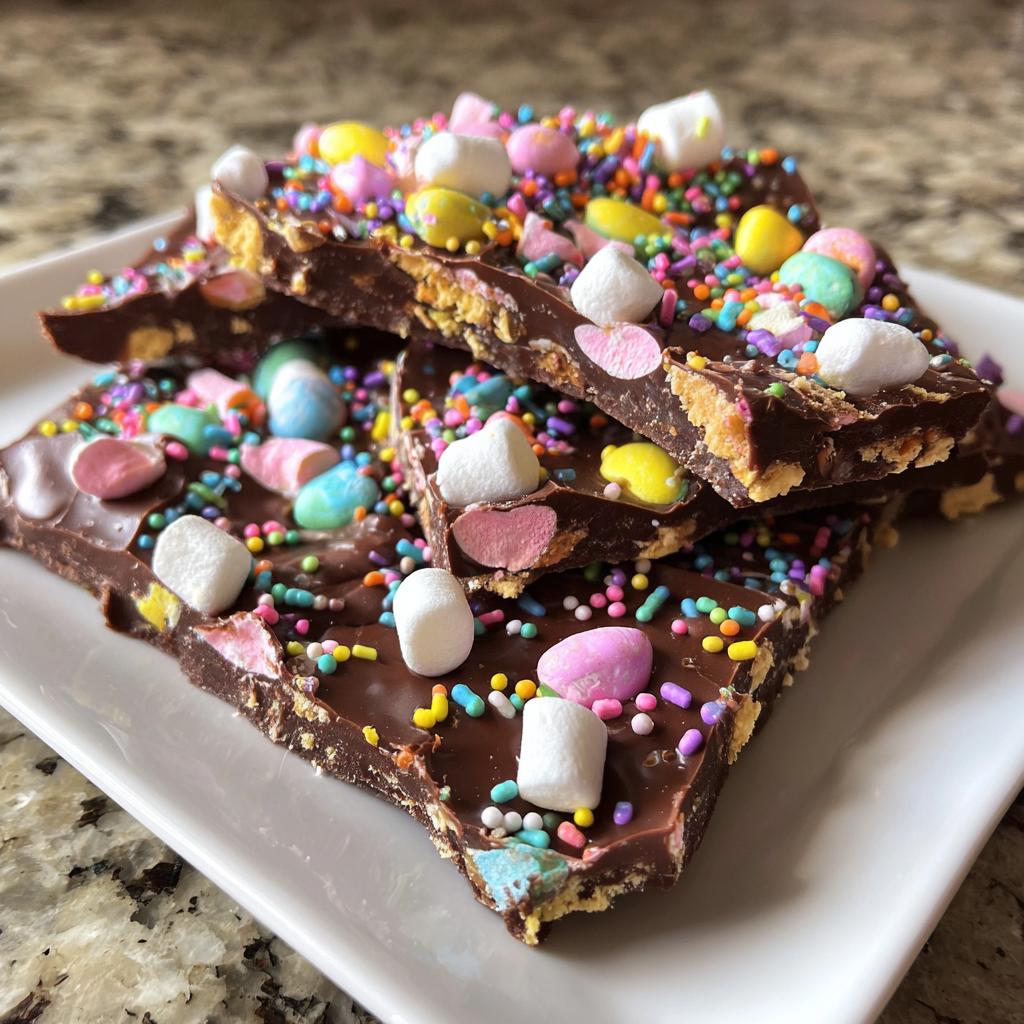
- 1/2 cup mini marshmallows – These puff up slightly when they hit the warm chocolate and create such a fun texture
- 1/2 cup pastel-colored M&M’s – The spring colors make it feel instantly festive
- 1/4 cup Easter-themed sprinkles – Look for onesElsewhoppers cír a mix of shapes like bunnies and eggories
See? Nothing fussy here. The best part is you can raid your baking cabinet and throw in whatever makes you happy – crushed graham crackers, pretzel bits, dried fruit… let your Easter spirit guide you!
Equipment Needed for Easter Chocolate Bark Recipes
Okay, confession time – I’ve made this Easter chocolate bark with some truly questionable kitchen setups (once used a dinner plate lined with aluminum foil in a pinch!). But here’s what you’ll want for foolproof results every time:
- Baking sheet – Any size works, but I love using a quarter sheet pan because it makes the perfect thickness
- Parchment paper – Non-negotiable! It keeps the bark from sticking and makes cleanup a breeze
- Microwave-safe bowl – My trusty glass mixing bowl has seen more chocolate melts than I can count
That’s seriously it! No fancy gadgets needed – just these basics and you’re ready to create some Easter magic.
How to Make Easter Chocolate Bark Recipes
Okay, my favorite part – let’s make some chocolate magic happen! This Easter chocolate bark comes together so easily, but I’ve picked up a few tricks over the years to make it foolproof. Grab your ingredients and follow along—I promise it’s easier than dyeing Easter eggs (and way less messy!).
Step-by-Step Instructions
1. Prep your baking sheet: Line that baking sheet with parchment paper—don’t skip this! It keeps your bark from sticking and makes cleanup a breeze. I like to leave a little overhang on the sides for easy lifting later.
2. Melt the chocolate: Here’s where patience pays off. Dump those chocolate chips into your microwave-safe bowl and heat in 30-second bursts, stirring between each one. When it’s almost melted but still has a few lumps? Stop! The residual heat will finish the job—this prevents overheating. I learned this the hard way after one too many batches of seized chocolate.
3. Spread it out: Pour that glorious melted chocolate onto your prepared sheet and use a spatula to spread it evenly. Aim for about 1/4-inch thickness—thick enough to hold toppings but thin enough to snap beautifully later.
4. Add your toppings: Now the fun begins! Sprinkle your marshmallows, M&M’s, and sprinkles over the chocolate while it’s still warm. I like to drop handfuls from high up—it distributes everything more evenly and looks super festive. Work quickly before the chocolate sets!
5. Chill out: Pop your masterpiece into the fridge for at least an hour. This batch is ready when you can gently press the top without leaving fingerprints. The waiting is the hardest part—I may or may not have sampled toppings while waiting.
6. Break it up: Once firm, lift the bark using the parchment overhang and place it on a cutting board. Break into rustic pieces with your hands (my preferred method—so satisfying!) or cut with a knife for cleaner edges.
Tips for Perfect Easter Chocolate Bark Recipes
Want pro-level results? Here’s what I’ve learned through trial and (many) errors:
Tempering trick: For extra-shiny bark, temper your chocolate by stirring in a handful of unmelted chips after microwaving. The residual heat melts them perfectly for that professional snap.
Temperature matters: Let your toppings come to room temperature first—cold marshmallows can make the chocolate seize up. Learned that one the messy way!
Press gently: After sprinkling toppings, lightly press them in with clean hands. This helps them adhere without sinking completely into the chocolate.
Work fast: Chocolate starts setting quickly—have all your toppings ready before melting/dt begins. I like to measure mine out in little bowls ahead of time, just like on cooking shows!
Texture contrast: For added interest, mix soft toppings (like marshmallows) with crunchy ones (pretzels work great). The play of textures makes each bite exciting.
Variations for Easter Chocolate Bark Recipes
Oh friends, once you’ve mastered the basic Easter chocolate bark recipe, the real fun begins! I’ve spent countless Easters experimenting with different combinations, and here are my absolute favorite twists to keep things exciting:
White chocolate pastel paradise: Swap the semisweet for white chocolate (I like to add a teaspoon of vanilla for extra flavor). Top with freeze-dried strawberries, chopped pistachios, and those pretty pearlescent sprinkles – it looks like a spring garden!
Salted pretzel crunch: Crush up some pretzel sticks and mix them right into the melted chocolate along with mini peanut butter cups. The sweet-salty combo is dangerously addictive. For extra flair, sprinkle sea salt on top before chilling.
Fruity delight: Dried cranberries (the pastel-colored ones!), chopped apricots, and coconut flakes make a gorgeous tropical version. I call this my « Easter sunrise » bark when I arrange the toppings in color gradients.
Allergy-friendly option: Use allergy-safe chocolate and sunflower seed butter cups instead of peanut products. Crushed gluten-free cereal or Enjoy Life chocolate chips work beautifully too. My neighbor’s daughter has food allergies, and this version always makes her face light up!
The possibilities are truly endless – let your creativity run wild! The important thing is to have fun with it. After all, isn’t that what Easter treats are all about?
Storage Tips for Easter Chocolate Bark Recipes
Okay, let’s talk about keeping your Easter chocolate bark fresh – because trust me, you’ll want to savor every last bite! Here’s what I’ve learned after years of making (and hoarding) this delicious treat:
The bark stays perfect at room temperature for about a week when stored in an airtight container with parchment between layers. I like using those cute Easter-themed tins – they keep the bark safe and make for adorable gifts. If you’re like me and tend to over-make (whoops!), you can freeze the bark for up to 2 months. Just wrap it well in parchment and pop it in a freezer bag. When you’re ready to enjoy, let it come to room temperature for that perfect snap!
One important note – don’t refrigerate it unless your kitchen gets super warm. Chocolate can develop that weird white bloom (still safe to eat, just not as pretty) from temperature changes. Learned that lesson the hard way before Easter brunch one year!
Nutritional Information for Easter Chocolate Bark Recipes
Alright, let’s talk numbers – but don’t worry, I promise this won’t ruin the fun of eating your Easter chocolate bark! Here’s the scoop on what you’re getting in each delicious piece (based on cutting it into 12 servings):
Calories: About 180 per serving
Fat: 10g (6g saturated – hey, it’s chocolate!)
Carbs: 22g (18g sugars – it’s a treat, after all)
Protein: 2g (mostly from the chocolate)
Fiber: 2g (thank those chocolate chips!)
Now here’s my little disclaimer – these numbers can wiggle a bit depending on which brand of chocolate chips you use or if you go wild with extra toppings (no judgment here!). I’ve found that different sprinkles or mix-ins can change things slightly, so consider this your ballpark guide to enjoying your homemade Easter goodness.
FAQs About Easter Chocolate Bark Recipes
Can I use dark chocolate instead of semisweet?
Absolutely! Dark chocolate makes a fantastic base – I actually prefer it for a more sophisticated Easter treat. Just be aware that higher cocoa percentages (70%+) set firmer and have less sweetness to balance the toppings. My sweet spot? Around 60% dark chocolate chips – rich but still kid-friendly!
How long does Easter chocolate bark take to set?
In the fridge, it usually firms up in about an hour. But if you’re impatient like me, pop it in the freezer for 20 minutes instead! Just don’t leave it too long or the toppings might get frosty. Room temperature setting takes closer to 2 hours – perfect timing if you’re prepping it before Easter brunch.
Can I add coconut to my Easter bark?
Oh my goodness, yes! Toasted coconut flakes are one of my favorite additions – they add such a lovely texture and tropical vibe. For extra Easter flair, toss the coconut with a drop of food coloring before sprinkling. Pink coconut « nests » with jellybean « eggs »? Adorable!
Why does my chocolate get cloudy sometimes?
Ah, chocolate bloom – my old nemesis! This happens when moisture gets into the chocolate or it experiences temperature swings. To prevent it, make sure your bowl is completely dry when melting, and avoid refrigerating unless absolutely necessary. But hey, it still tastes amazing – just tell everyone it’s « Easter morning dew »!
Can kids help make this?
This is practically the perfect kid-friendly Easter project! Little hands love sprinkling toppings (though you might want to melt the chocolate yourself). Pro tip: give them plastic tweezers for precise placement of small decorations – it keeps sticky fingers at bay and makes them feel like pastry chefs!
Easter Chocolate Bark
Ingrédients
Equipment
Method
- Line a baking sheet with parchment paper.
- Melt the chocolate chips in a microwave-safe bowl, stirring every 30 seconds until smooth.
- Spread the melted chocolate evenly onto the prepared baking sheet.
- Sprinkle the marshmallows, M&M’s, and sprinkles over the chocolate.
- Chill in the refrigerator for at least 1 hour or until firm.
- Break into pieces and serve.