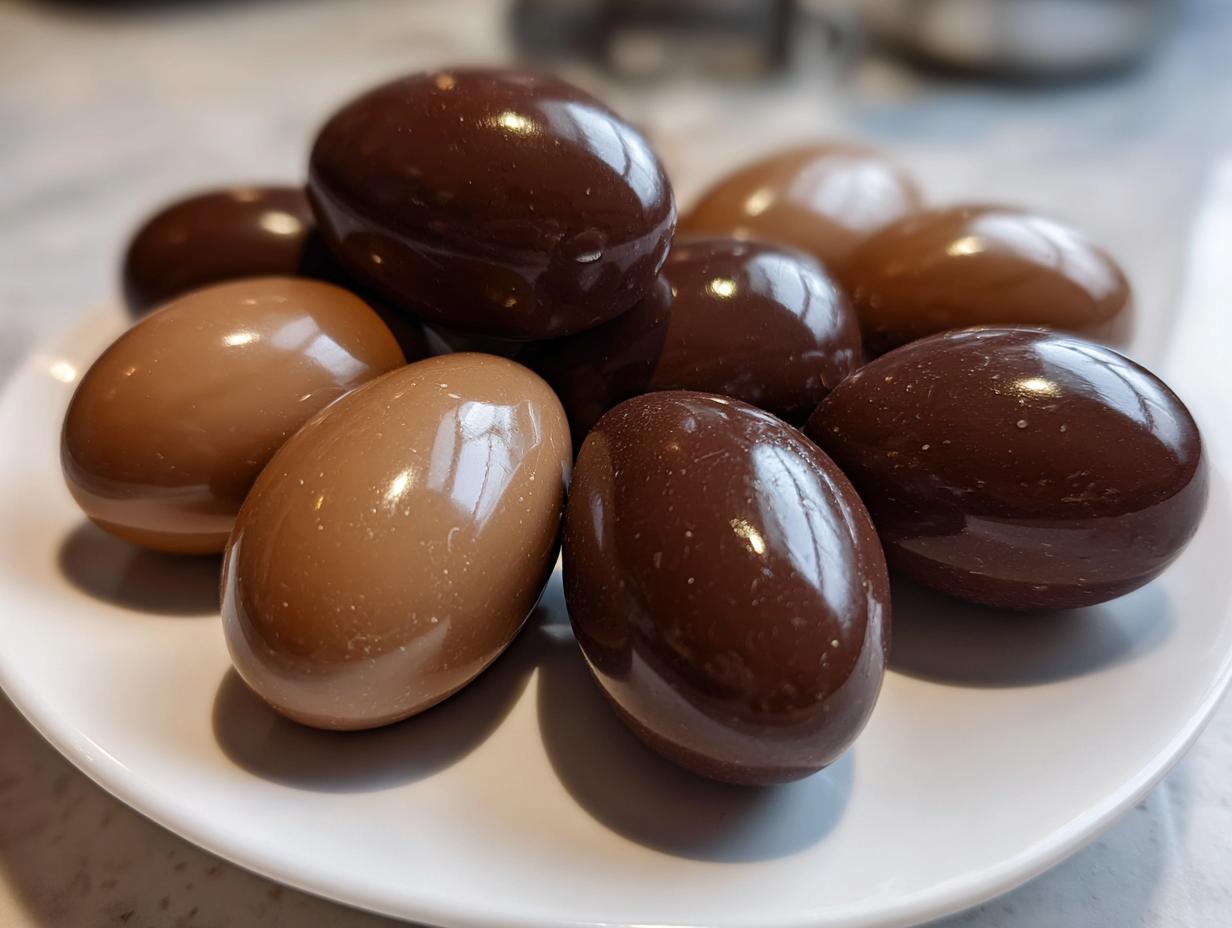
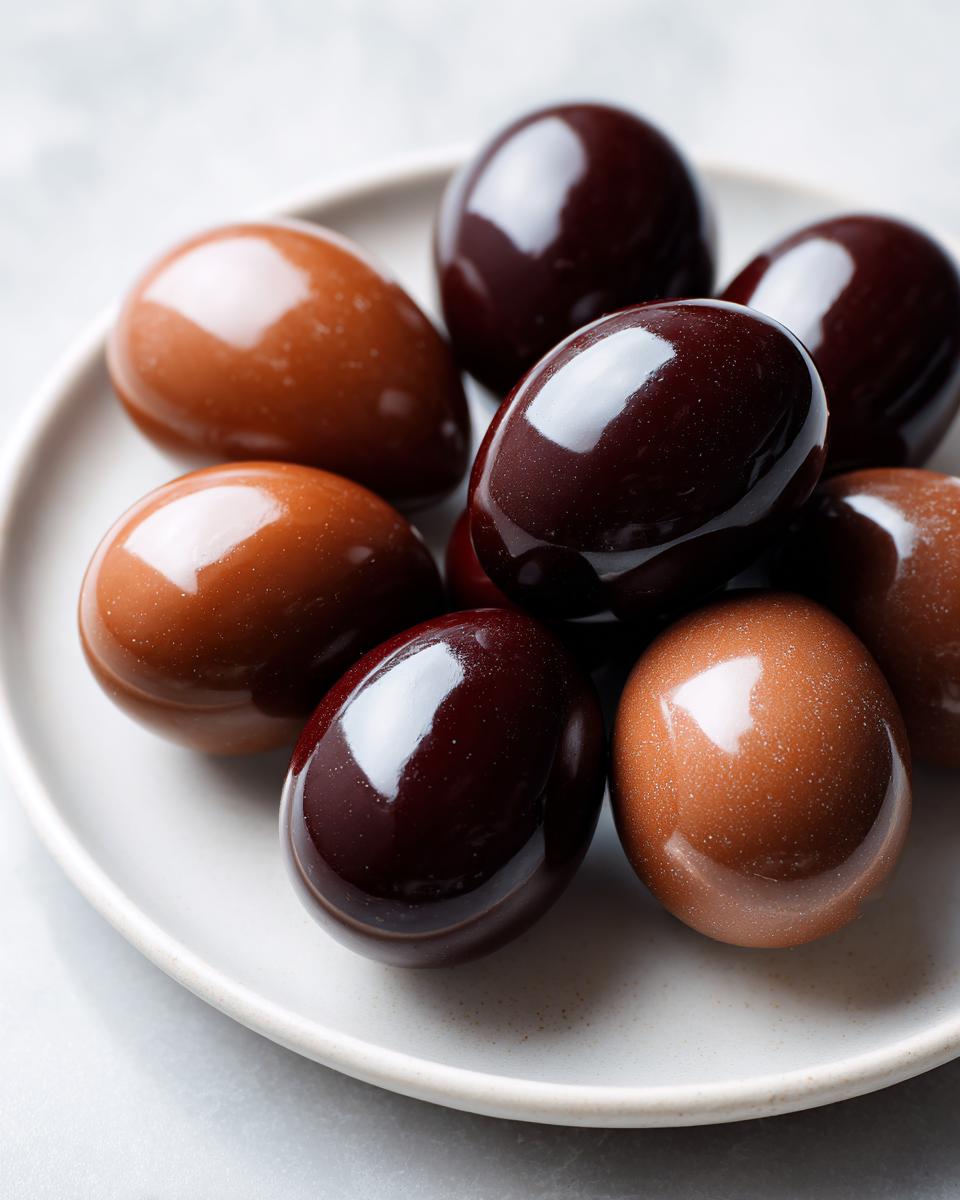
There’s something magical about making your own Easter chocolate recipes at home – especially when they come out as adorable little eggs that look like they jumped straight off a candy shop shelf! I still remember the first time my niece and I tried making these together. We had chocolate everywhere – on our hands, the counter, even a little smudge on her nose – but the pure joy when we popped those first eggs out of the molds? Priceless. These homemade chocolate eggs are so much more special than store-bought ones because you can make them exactly how you like – extra dark, milky sweet, or swirled with both. And the best part? They’re surprisingly simple to make, even if you’ve never worked with chocolate before.
Why You’ll Love These Easter Chocolate Eggs
Listen, I know store-bought Easter candy is tempting, but once you try making these chocolate eggs at home, you’ll never go back! Here’s why this recipe’s a total game-changer:
First off, they’re ridiculously easy. If you can melt chocolate (and trust me, even my 8-year-old nephew can do that), you’re 90% there. The coconut oil keeps everything silky smooth, so no messy tempering or fancy skills required.
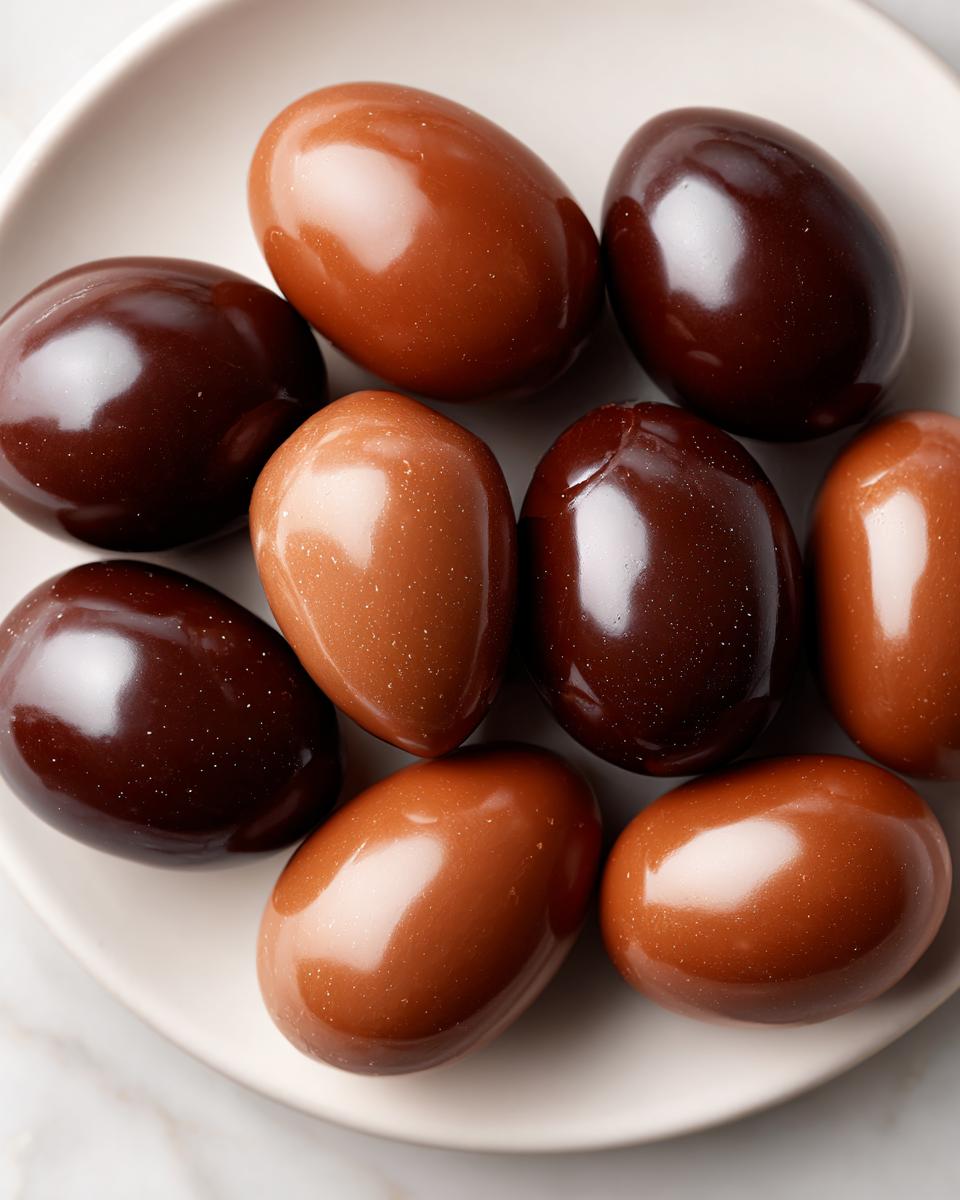
Want to get creative? Go wild! Mix dark and milk chocolate for a fancy marbled effect, or throw in some crushed peppermint. Last year, I even hid tiny jellybeans inside some eggs for a fun surprise.
Kids absolutely adore helping with these – pouring the chocolate into molds feels like a delicious science experiment. And wrapped in pretty cellophane with a ribbon? Instant homemade Easter gifts that’ll make you look like a chocolatier pro!
Ingredients for Easter Chocolate Eggs
Okay, let’s talk chocolate! Here’s what you’ll need to make these adorable Easter treats. Pro tip from my many chocolate-covered mistakes: splurge on good quality chocolate chips – it makes all the difference in taste and how smoothly they melt.
For the Chocolate Eggs
- 2 cups dark chocolate chips – I like the bittersweet ones around 60% cacao
- 1 cup milk chocolate chips – This balances the dark chocolate perfectly
- 1 tbsp coconut oil – The secret weapon for that gorgeous glossy finish
See? Just three simple ingredients! The coconut oil might seem odd, but it gives the chocolate that perfect snap when you bite into it. I’ve tried skipping it before – big mistake. The eggs turned out dull and didn’t release from the molds cleanly. Lesson learned!
Equipment Needed for Easter Chocolate Recipes
Now let’s talk tools! You really only need two things to make these Easter chocolate eggs, but they’re non-negotiables. After my first attempt using a makeshift coffee mug as a mold (spoiler – didn’t work), I learned to keep it simple but smart.
First up, egg-shaped molds. I like silicone ones – they’re flexible so the eggs pop right out without breaking. Plastic works too, but you’ve gotta be more gentle when unmolding. Pro tip: Look for molds with detailed designs if you want those pretty patterns!
And for melting? A double boiler is ideal – just a heatproof bowl over simmering water. No fancy gadget needed! But if you’re impatient like me, a microwave-safe bowl works in a pinch. Just zap in 30-second bursts and stir like crazy in between. Burnt chocolate? Been there – not fun!
How to Make Easter Chocolate Eggs
Ready to dive into the fun part? Making these Easter chocolate eggs is like a little kitchen magic show – you start with messy melted chocolate and end up with shiny little treasures! Don’t worry if you’ve never done this before – my first batch looked more like chocolate pancakes than eggs. But now I’ve got the process down pat, and I’ll walk you through every step.
Step 1: Melt the Chocolate
First rule of chocolate club: low and slow wins the race! If you’re using a double boiler (my preferred method), keep the water at a gentle simmer – you should see lazy bubbles, not a rolling boil. The bowl shouldn’t touch the water; we’re melting, not cooking. Stir constantly with a dry spoon – any water sneaking in will make your chocolate seize up into a grainy mess (been there, cried over that). For microwave fans, start with 30 seconds at 50% power, then stir like crazy. Repeat in 15-second bursts until just melted – the residual heat will finish the job as you stir.
Step 2: Fill the Molds
Now for the satisfying part! Use a small spoon or pouring spout to fill each cavity about 3/4 full – trust me, it’s easier to add more than clean up overflow. Immediately tap the mold firmly (but not too hard!) against the counter a few times. Those little bubbles surfacing are air pockets escaping – this step gives you smooth, professional-looking eggs. You’ll feel like a chocolatier already!
Step 3: Set and Unmold
Pop those beauties in the fridge for at least an hour – I know it’s tempting to peek, but patience pays off here. When time’s up, test one egg by gently pushing up from the bottom of the mold. If it resists, give it 15 more minutes. When ready, they’ll pop out cleanly with just a little encouragement. If they’re stubborn, let them sit at room temperature for 5 minutes – sometimes they just need to wake up a bit!
Tips for Perfect Easter Chocolate Recipes
Want your Easter chocolate eggs to look and taste like they came from a fancy chocolatier? Here are my hard-earned tips from years of delicious (and sometimes disastrous) experiments in my kitchen.
First, if you want that professional shine on your eggs, bring your melted chocolate to about 90°F before pouring – just warm to the touch. I use an instant-read thermometer, but the lip test works too (if it feels barely warm, you’re golden).
Always use room-temperature molds – cold ones make the chocolate set too fast and lose its sheen. I learned this the hard way with my first dull, streaky batch. Now I just wipe my molds with a dry cloth right before using to take off any chill.
Want to add some pizzazz? Sprinkle in your decorations right after pouring while the chocolate’s still wet – those sprinkles and edible glitter will stick perfectly without messy glues. My niece’s favorite? Crushed freeze-dried raspberries for a pop of color and tartness.
And here’s my secret weapon – when melting chocolate, keep a bowl of hot water nearby to dunk your spoon in before stirring. The warm metal helps prevent any chocolate from seizing up. You’re welcome!
Variations for Easter Chocolate Eggs
Oh my gosh, this is where the fun really begins! Once you’ve mastered the basic Easter chocolate eggs, it’s time to play with flavors and decorations. I always feel like a mad scientist in the kitchen when I start experimenting – except everything tastes amazing, even the ‘failures’. Here are some of my favorite ways to mix things up!
Try going all white chocolate for a snowy Easter look – just swap the dark and milk chips for white chocolate. These look especially gorgeous with freeze-dried strawberry pieces pressed into them. Last year I made a batch with crushed Oreos mixed right into the melted chocolate – trust me, it’s life-changing!
Feeling fancy? After unmolding, drizzle your eggs with contrasting chocolate – melt a handful of chocolate chips with 1/2 tsp coconut oil, then zigzag it over the set eggs with a fork. It looks professional but takes about 30 seconds. My niece loves helping me sprinkle mini marshmallows or colorful nonpareils on top while the chocolate’s still wet.
The possibilities are endless – that’s the beauty of homemade Easter chocolate recipes! Just remember to write down what you try if you stumble upon something magical. (Salted caramel filling in dark chocolate eggs? Yes, that notebook page is now a permanent fixture in my kitchen.)
Storing Your Easter Chocolate Recipes
Okay, confession time – I’ve definitely hidden a stash of these chocolate eggs in my nightstand drawer before (what? They’re small!). But if you want them to actually last beyond Easter Sunday, here’s how to store them right. Pop them in an airtight container – I love using those cute Easter-themed tins – and keep them in a cool, dry spot away from sunlight. My pantry works perfectly!
They’ll stay fresh for about 2 weeks this way, though let’s be real – they never last that long in my house! Just whatever you do, don’t refrigerate them unless your kitchen gets super warm. The fridge can cause condensation that makes the chocolate bloom (those weird white streaks). And humidity? Chocolate’s worst enemy! If you live somewhere humid like I do, toss in a silica packet to keep things dry. Happy storing!
Nutritional Information
Okay, let’s talk numbers – but remember, these are just estimates since your favorite chocolate brand might have slightly different stats than mine! Each of these adorable Easter chocolate eggs comes in at about 150 calories, with 9g fat (5g saturated), 16g carbs, and 2g protein. Not bad for something that tastes like a little piece of heaven, right?
The dark chocolate gives you a nice little iron boost too – 1mg per egg. I always joke that makes them practically health food! Just don’t go eating the whole batch at once (though I won’t judge if you sneak an extra one or two).
FAQs About Easter Chocolate Eggs
Can I use chocolate bars instead of chips?
Absolutely! In fact, some of my best batches used chopped-up chocolate bars instead of chips. Just make sure you’re chopping them into small, even pieces so everything melts evenly. The bonus? You can mix fun flavors – my personal favorite is throwing in some chopped-up orange chocolate bars for a citrusy twist!
How do I fix seized chocolate?
Oh no – the dreaded grainy, lumpy seized chocolate! Don’t panic. Here’s my go-to fix: whisk in about 1 teaspoon of vegetable oil or coconut oil (not butter!) at a time until it smooths out again. Heating it too much will make things worse, so go slow. And next time? Make sure all your tools and bowls are completely dry – even a drop of water can cause seizure!
Can I freeze these chocolate eggs?
You sure can, but there’s a trick to it! Wrap them snugly in plastic wrap first, then place in an airtight container. When you’re ready to enjoy, let them thaw in the fridge for a few hours before moving to room temperature. This prevents condensation from ruining that beautiful shiny surface. They’ll keep beautifully for up to 2 months frozen – not that they’ll last that long!
Why did my chocolate eggs turn white?
Ah, chocolate bloom – the bane of every home chocolatier’s existence! Those white streaks happen when the chocolate gets too warm and the cocoa butter separates. Still totally edible, just not as pretty. To prevent it, avoid temperature swings (no fast trips from fridge to warm room!) and store them properly. If it does happen, give them a quick second dip in melted chocolate to restore the shine!
Can kids help make these?
Are you kidding? Kids make the BEST chocolate egg helpers! Mine love pouring the melted chocolate and adding sprinkles (though I usually take over the hot parts). Just set up a decorating station with bowls of toppings and let them go wild. Warning: you may end up with some very… interesting color combinations, but that’s part of the fun!
Easter Chocolate Eggs
Ingrédients
Equipment
Method
- Melt the dark chocolate chips, milk chocolate chips, and coconut oil together in a double boiler.
- Pour the melted chocolate into egg-shaped molds.
- Tap the molds gently to remove air bubbles.
- Place the molds in the refrigerator for 1 hour to set.
- Carefully remove the chocolate eggs from the molds.