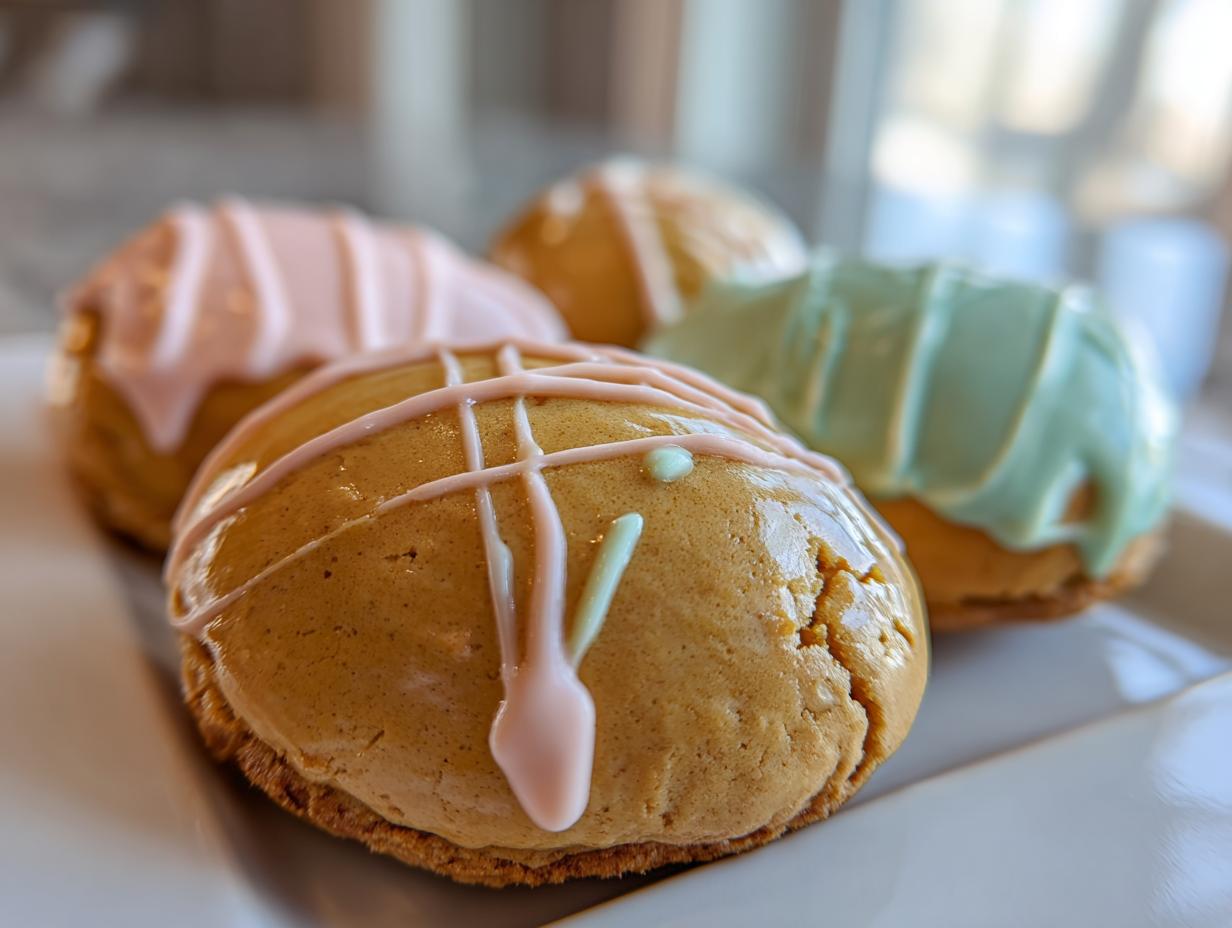
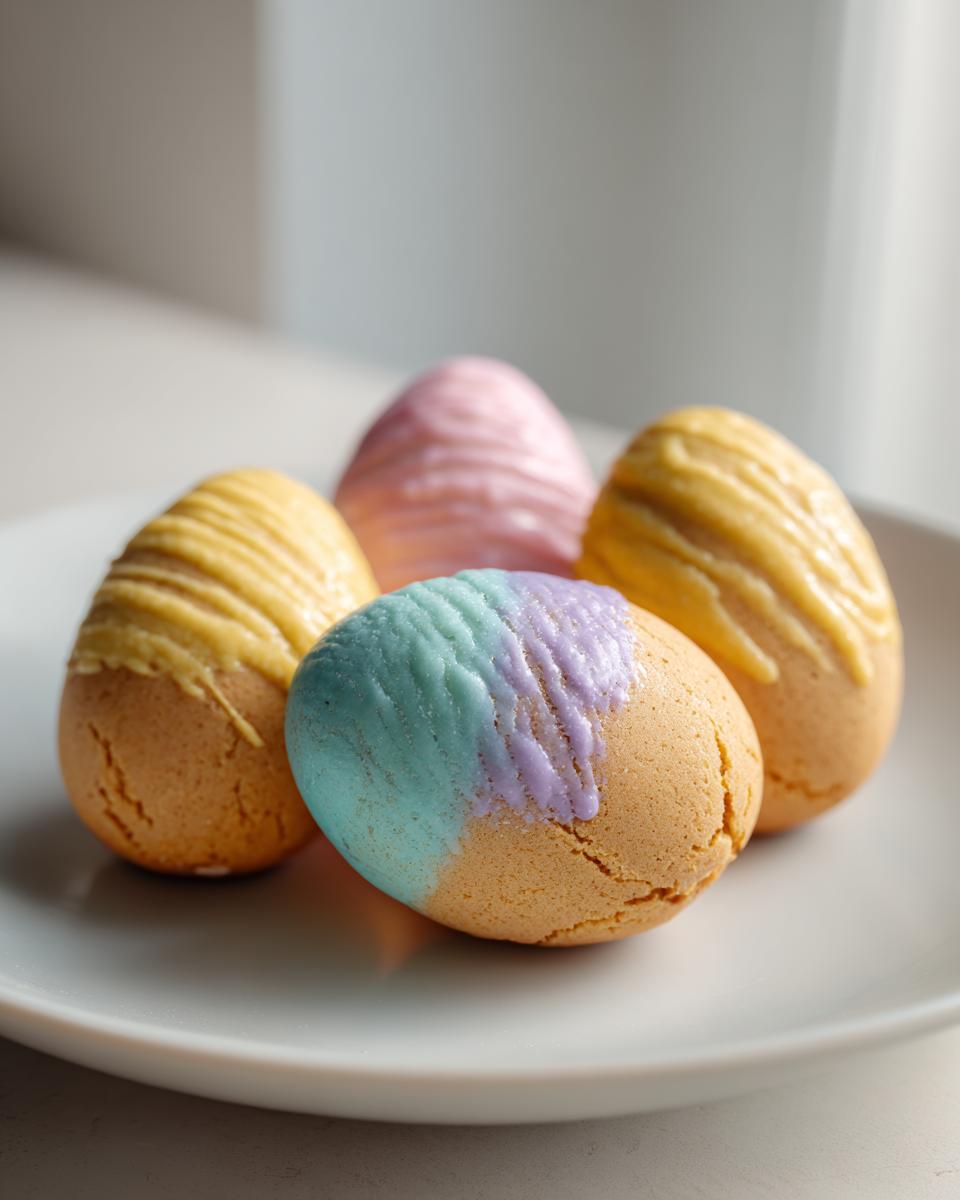
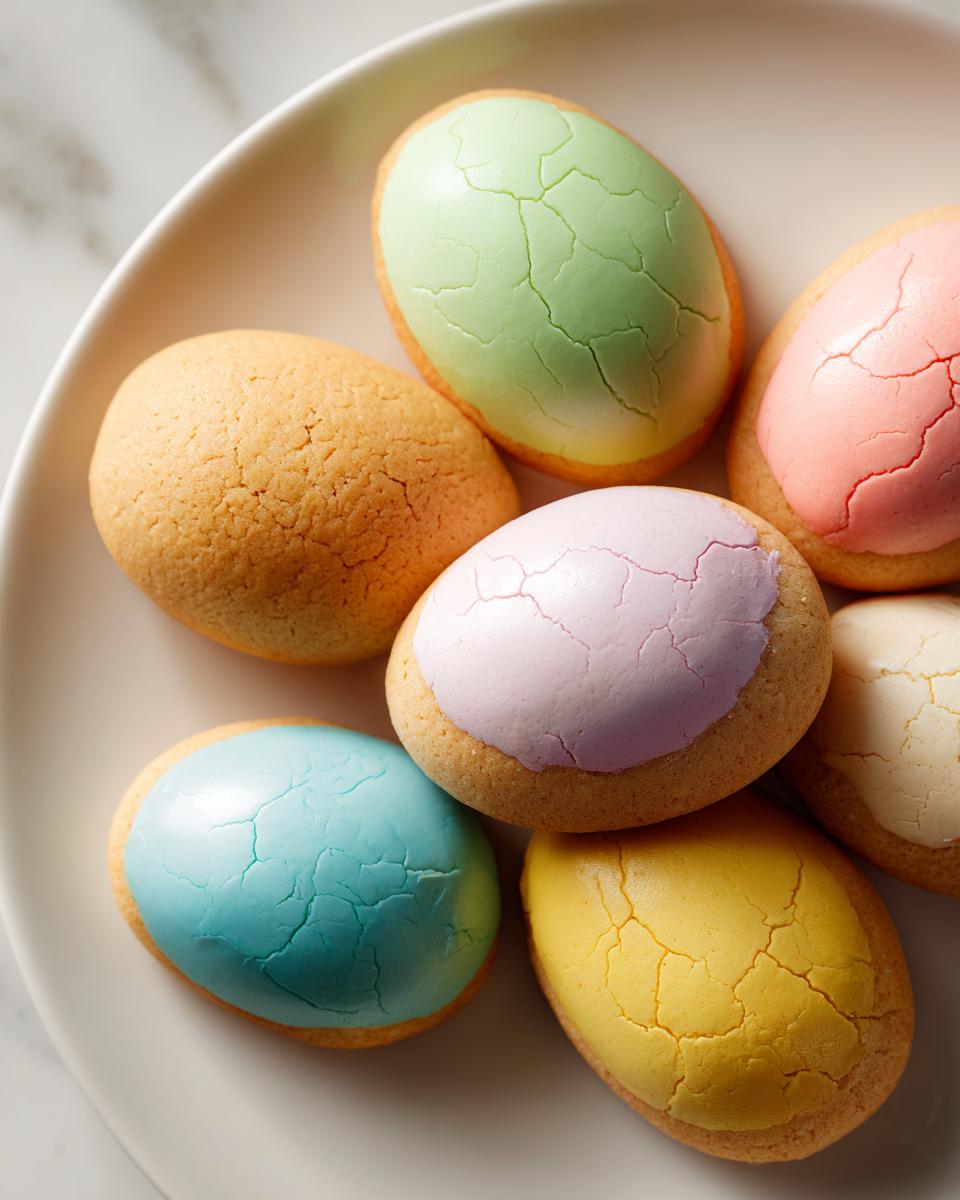
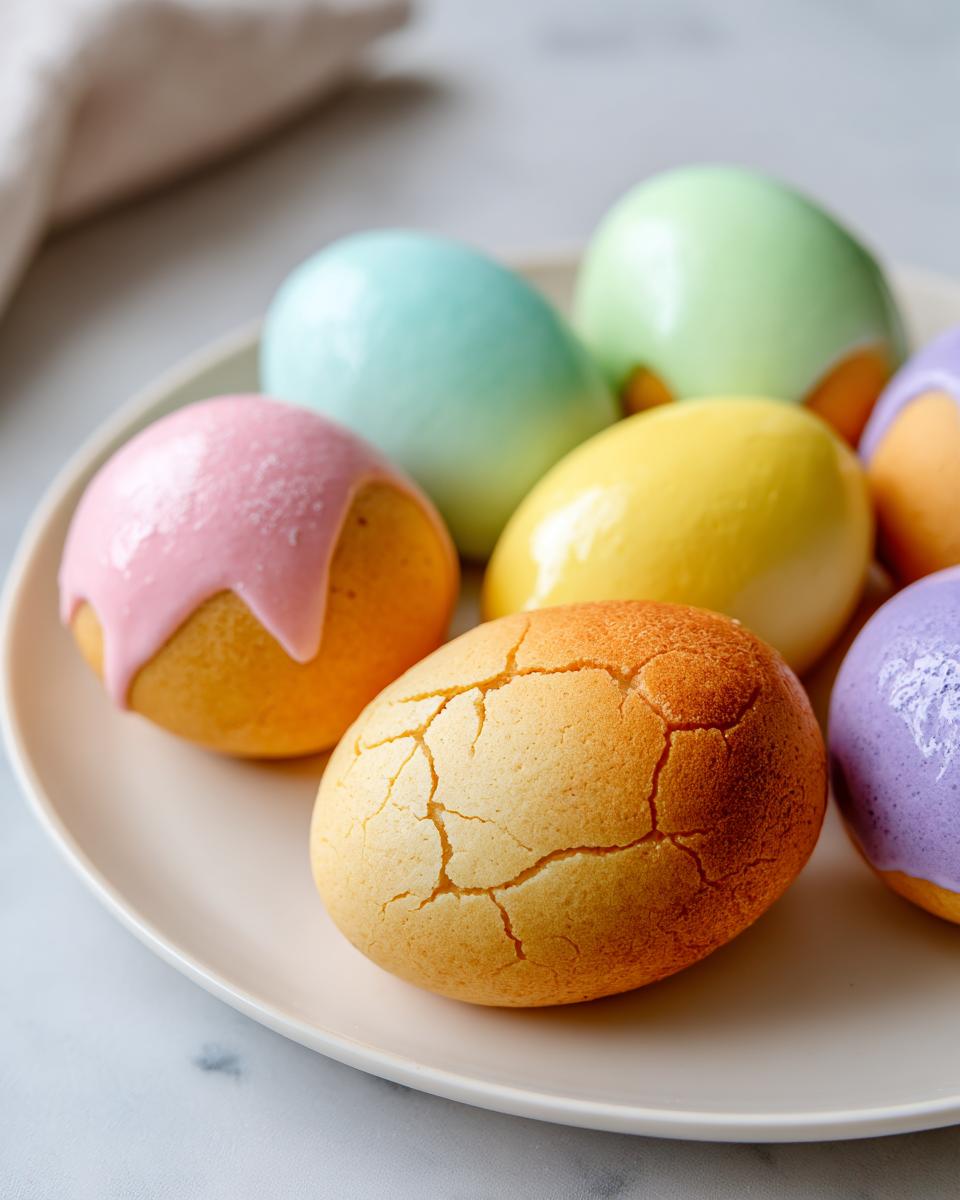
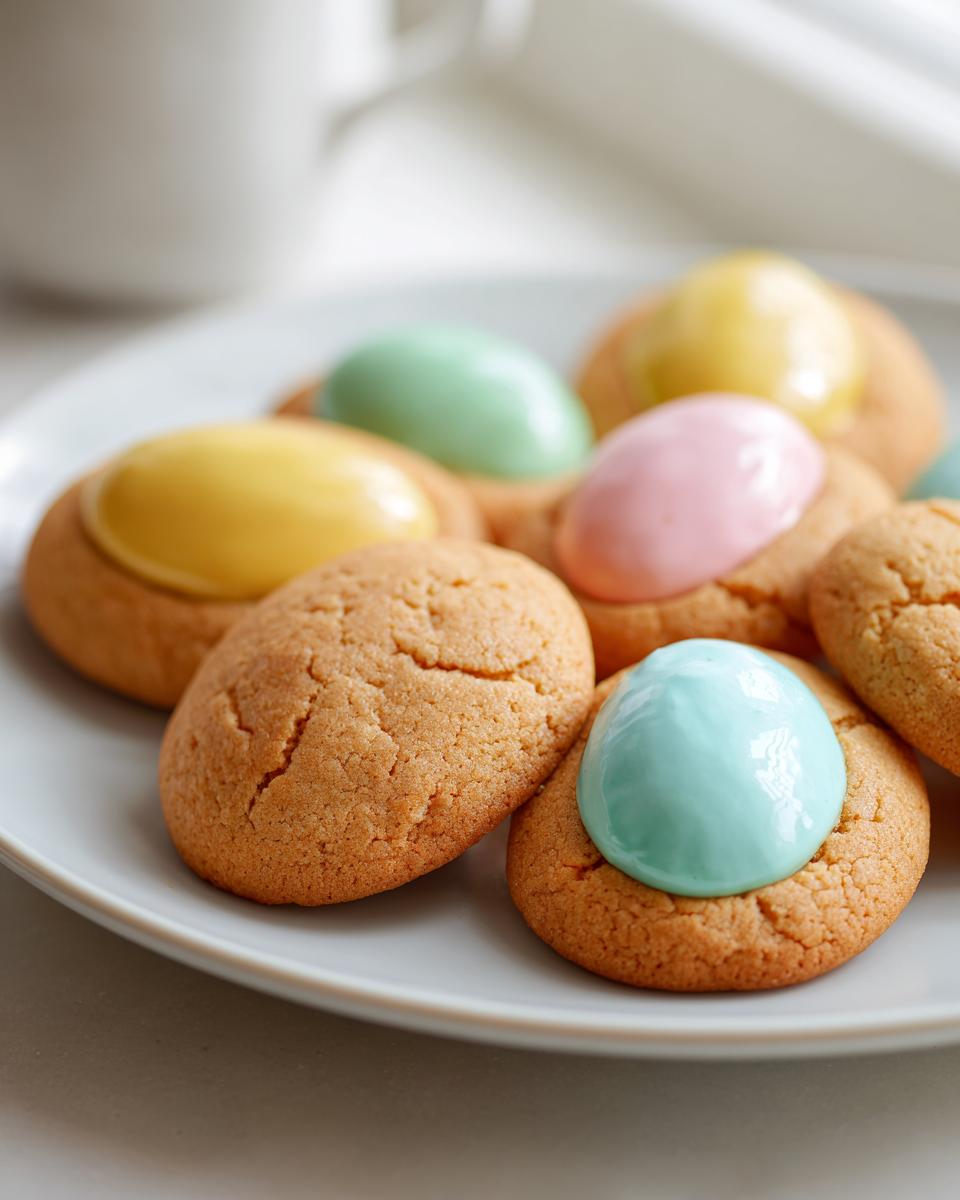
Easter just isn’t Easter in our house without a batch of these adorable Easter cookie dough eggs! I still remember the first year my niece and I made them together—her little hands covered in powdered sugar glaze, giggling as we decorated each egg with rainbow sprinkles. What I love most is how these no-bake treats bring everyone together. Kids go wild for the decorating part (let’s be honest, adults do too!), and you don’t even need to turn on the oven. Just mix, shape, and let the creativity flow!
Why You’ll Love These Easter Cookie Dough Eggs
Trust me, once you try these adorable Easter cookie dough eggs, they’ll become your go-to holiday treat—just like they’ve become mine! Here’s why you’re going to fall head over heels for them:
- No-bake magic: Perfect for those busy busy Easter weekends when oven space is precious (or when little hands are too impatient to wait!). No heating up the kitchen—just mix, shape, and decorate.
- Kid-approved fun: Even my niece calls them « playdough cookies »—the rolling, cutting, and decorating keeps kids entertained for hours. Bonus: they make excellent edible Easter basket stuffers!
- Endless creativity: Pastel glazes, edible glitter, sprinkles galore—you can customize these eggs different each year. Some years I go elegant with piped designs, other years we do wild rainbow splatter paint!
- Instant holiday-ready: They look stunning on dessert tables at Easter brunch or tucked into treat bags for guests. Last year I even made mini versions as place cards for our Easter dinner!
Best part? Even if your decorations get messy (like my disastrous first attempt with liquid food coloring!), they always taste amazing—buttery, slightly caramel-like from the brown sugar, with that classic nostalgic cookie dough flavor we all love.
Ingredients for Easter Cookie Dough Eggs
Gathering the right ingredients is the first step to making these Easter cookie dough eggs as magical as they should be! Here’s everything you’ll need, divided neatly into two parts—because let’s be real, the cookie dough and the decorations each have their own starring roles.
For the Cookie Dough
- 1 cup unsalted butter, softened – This is key. If your butter isn’t soft enough, you’ll end up with lumpy dough. Leave it out for about 30 minutes before starting—but don’t let it melt!
- 1 cup granulated sugar – Just plain white sugar works here. No need to overcomplicate things.
- 1 cup brown sugar – This gives that lovely caramel-like depth to the dough. I always use light brown, but dark brown works too if you want richer flavor.
- 2 tsp vanilla extract – The good stuff, please! Imitation vanilla just doesn’t bring the same warmth to the party.
- 3 cups all-purpose flour – No need to sift, but I like to fluff it up with a fork so it incorporates evenly.
- 1 tsp salt – Don’t skip this! It balances all that sweetness perfectly.
For Decoration
- 1 cup powdered sugar – Also known as confectioners’ sugar. A lump-free batch makes the smoothest glaze.
- 2 tbsp milk – Whole milk gives the best texture, but any kind works in a pinch.
- 1 drop food coloring (optional) – I always keep pastel shades on hand for Easter! Gel coloring gives vibrant colors without thinning the glaze.
Pro tip: Want to jazz things up? Keep sprinkles, edible glitter, or even mini chocolate chips nearby for extra fun decorating! Some years, I’ve even stirred in a little lemon zest or almond extract to the glaze—just because.
Equipment Needed for Easter Cookie Dough Eggs
Okay, let’s talk tools! You don’t need anything fancy to make these Easter cookie dough eggs—just a few basics that you probably already have in your kitchen. Here’s what I always grab:
- A big mixing bowl – Mine’s got a few battle scars from years of cookie dough adventures, but it gets the job done!
- An electric mixer – Trust me, your arms will thank you. If you don’t have one, a sturdy wooden spoon and some elbow grease work too—just be ready for a workout!
- Egg-shaped cookie cutter – This is the star of the show! Mine’s a simple metal one I found at the dollar store years ago. No fancy cutter? A knife and some patience will do—just trace and cut freehand.
That’s seriously it! Well, besides a baking sheet for chilling the dough eggs—but any flat surface will do in a pinch. See? Easy peasy!
How to Make Easter Cookie Dough Eggs
Alright, let’s get our hands dough-y! Making these Easter cookie dough eggs is seriously fun—and easier than you might think. I’ve made this recipe dozens of times (sometimes with flour in my hair and always with a big smile), so follow these steps and you’ll have perfect edible eggs in no time!
Preparing the Cookie Dough
First things first—that butter better be soft! I can’t tell you how many times I’ve rushed this step and ended up with lumpy dough. Toss your butter and both sugars into the bowl and beat them until they’re light and fluffy—about 2 minutes with a mixer. You’ll know it’s ready when it looks like pale, creamy clouds. Then, splash in that vanilla and give it another quick mix.
Now, add your flour and salt gradually—I usually do it in three parts. This keeps the dough from becoming tough. Mix just until combined—no more! The dough should hold together when you pinch it but not feel sticky. If it’s too soft, add a tablespoon more flour. Too dry? A teaspoon of milk will save the day.
Shaping and Chilling the Eggs
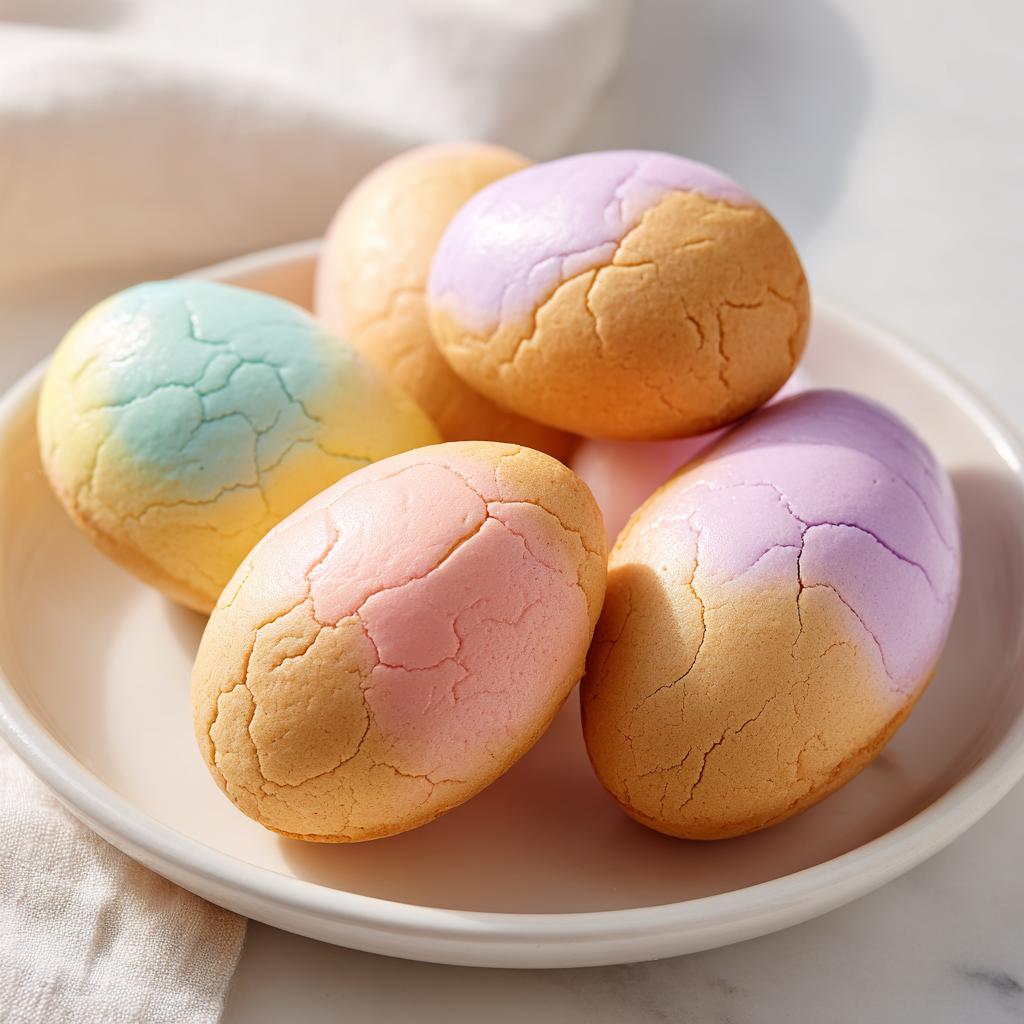
Here’s where the magic happens! Roll your dough out between two sheets of parchment paper—about ½ inch thick is perfect. (No rolling pin? A wine bottle works in a pinch!) Use that egg cutter firmly—press straight down without twisting for clean edges. If the dough sticks, dip the cutter in flour first.
Now, the waiting game: chill those beauties for at least 30 minutes. I know, I know—it’s hard to resist! But this step keeps them from spreading and makes decorating way easier. Pro tip: pop them in the freezer for 15 minutes if you’re really impatient!
Decorating Your Easter Cookie Dough Eggs
Time for the fun part! Whisk powdered sugar and milk together until smooth—you want it thick enough to coat the back of a spoon. Divide it into small bowls and tint with food coloring if you’re feeling fancy. Now, go wild! Use spoons, piping bags, or even just your fingers to decorate. Sprinkles? Yes! Edible glitter? Absolutely! Last year, I used a toothpick to make little zig-zag designs that looked like Easter egg dye.
Let them dry completely before stacking—about an hour should do it. Then watch them disappear faster than you can say « Happy Easter! »
Tips for Perfect Easter Cookie Dough Eggs
After making these Easter cookie dough eggs more times than I can count (and yes, learning from plenty of happy accidents!), I’ve picked up a few tricks that make all the difference. Here’s how to nail them every single time:
- Dough thickness is key: Roll it to about ½ inch—too thin, and your eggs might break; too thick, and they’ll feel doughy. I use two wooden skewers as guides—so handy!
- Don’t skimp on chilling: That 30-minute rest isn’t just a suggestion! Cold dough holds its shape beautifully when decorated. In a rush? The freezer’s your friend—15 minutes does the trick.
- Glaze like a pro: Aim for a honey-like consistency—thick enough to cling but thin enough to drizzle. Too runny? Add more powdered sugar. Too thick? A drop of milk saves the day.
- Flour your cutter: A quick dip in flour before each cut prevents sticking. Trust me, it beats wrestling with dough that won’t let go!
Bonus tip from my niece: If your glaze colors bleed, let each layer dry for 5 minutes before adding the next. Kid wisdom is the best wisdom!
Storage and Serving Suggestions
Okay, let’s talk about keeping these Easter cookie dough eggs fresh and fabulous! I always stash mine in an airtight container—those cute glass ones with the clamps work perfectly. They’ll stay delicious for about 3 days at room temperature (if they last that long!). Just pop a sheet of parchment between layers if you’re stacking them to keep the decorations intact.
Now, for the fun part—serving! These little eggs are basically edible Easter decor. Tuck them into Easter baskets (way better than plastic grass!), arrange them on a pastel platter for brunch, or tie them up in cellophane bags as sweet favors. My personal favorite? Hiding them around the house for an edible egg hunt—the kids go wild when they find the « special » eggs they helped decorate!
FAQ About Easter Cookie Dough Eggs
I get asked about these Easter cookie dough eggs all the time—so here are the answers to the questions that always pop up! Trust me, I’ve made every mistake possible with these over the years, so I’ve got the solutions down pat.
Can I freeze Easter cookie dough eggs?
Absolutely! Freeze them before decorating for best results. Just pop the plain dough eggs in a single layer on a baking sheet until firm (about 1 hour), then transfer to a freezer bag. They’ll keep for up to 2 months. Thaw in the fridge overnight when you’re ready to decorate—easy peasy!
What can I use instead of powdered sugar for the glaze?
No powdered sugar? No problem! Blend regular granulated sugar in a blender until super fine (about 1 minute). Or—my favorite hack—use melted white chocolate thinned with a bit of coconut oil. It hardens beautifully and tastes amazing!
How do I make gluten-free Easter cookie dough eggs?
Simple swap! Use a 1:1 gluten-free flour blend instead of all-purpose. My niece has celiac disease, so we do this all the time—just check that your blend contains xanthan gum for the best texture. The dough might be a tad stickier, so chill it for an extra 10 minutes before rolling.
Can I add mix-ins to the dough?
Ohhh yes! Mini chocolate chips, sprinkles, or even crushed freeze-dried strawberries are fantastic. Just fold in about ½ cup after mixing the dough. Pro tip: If adding chunky mix-ins, roll the dough slightly thicker so your eggs don’t crack when cutting.
Why did my glaze turn out lumpy?
Been there! Always sift powdered sugar first—those little lumps hide until it’s too late. If you’re stuck with lumpy glaze, whisk in a teaspoon of warm water and strain through a fine mesh sieve. Or embrace the « speckled egg » look and call it artistic!
Nutritional Information
Just a quick heads up—nutritional info varies depending on ingredients and brands used, so I don’t provide precise numbers. These Easter cookie dough eggs are definitely a treat meant for enjoying in moderation (though I won’t judge if you sneak an extra one… or three!).
Easter Cookie Dough Eggs
Ingrédients
Equipment
Method
- In a large mixing bowl, cream together the butter, granulated sugar, and brown sugar until light and fluffy.
- Add the vanilla extract and mix until combined.
- Gradually add the flour and salt, mixing until a dough forms.
- Roll out the dough to about 1/2-inch thickness and cut into egg shapes using the cookie cutter.
- Place the cut-out dough eggs on a baking sheet and refrigerate for at least 30 minutes.
- Mix the powdered sugar and milk to make a glaze. Add food coloring if desired.
- Decorate the chilled cookie dough eggs with the glaze and let set before serving.