
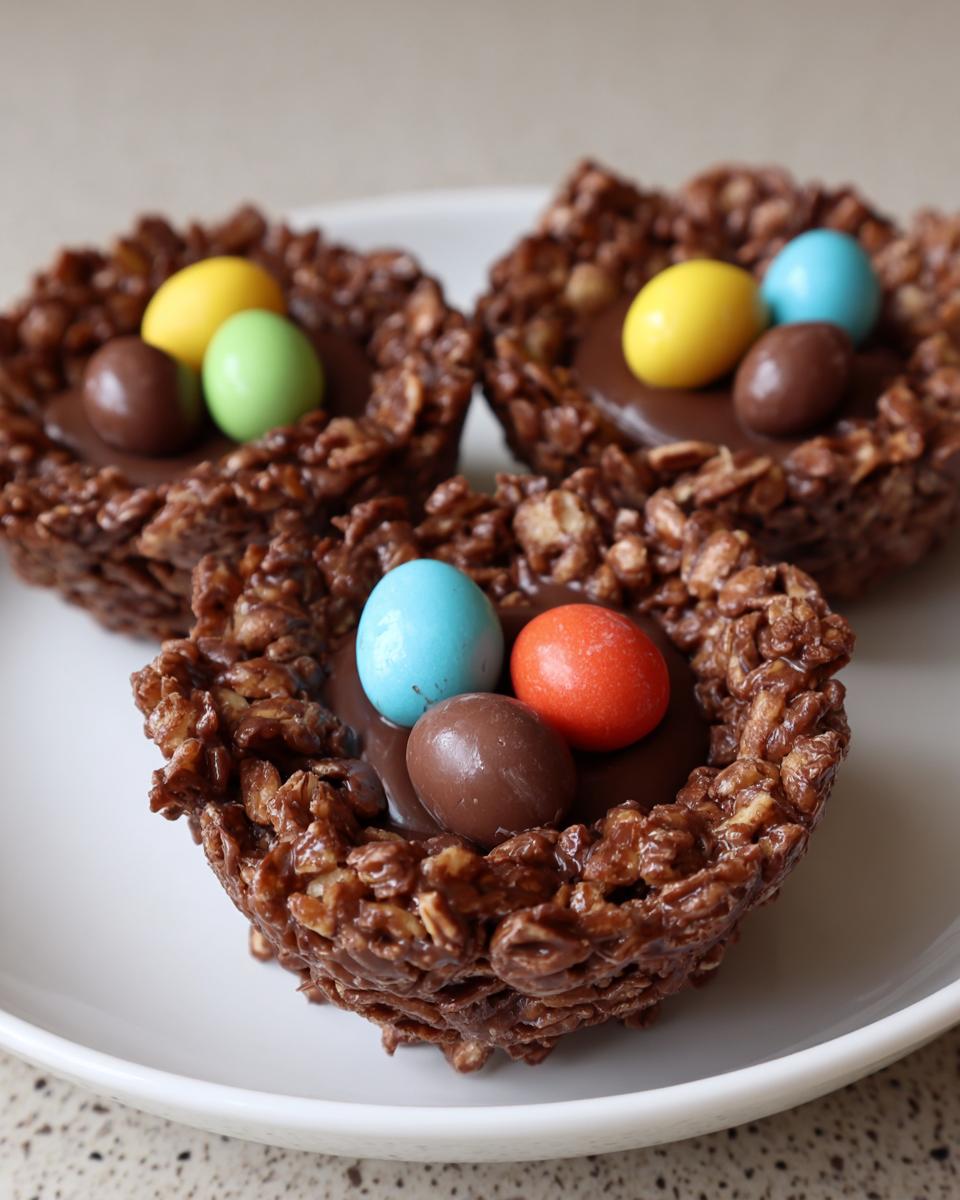
Easter just isn’t complete without a basket full of sweet treats, and these crispy chocolate nests have been my family’s favorite tradition for years! I still remember the first time my niece and I made them together—her little hands carefully shaping each nest while sneaking bites of chocolate. The best part? They’re ridiculously easy to whip up with just three main ingredients. Whether you’re hosting an Easter brunch or need a last-minute dessert, these adorable nests filled with mini eggs always steal the show. Trust me, once you try this simple recipe, you’ll want to make them every spring!
Why You’ll Love These Easter Crispy Chocolate Nests
Oh my goodness, where do I even start? These little nests are pure magic—they disappear faster than you can say « Easter bunny » at our family gatherings! Here’s why they’re absolutely irresistible:
- Super quick: You’re literally 20 minutes away from chocolatey goodness (and 15 of those are just chilling time!)
- Kid-approved: My niece calls them « edible craft projects » – perfect for little hands to help shape
- Endlessly customizable: Swap cereals, use different chocolates, or get creative with decorations
- Easter showstoppers: They look adorable on dessert tables and make the cutest edible gifts
The best part? Even if you’re not usually a baker, these foolproof nests will make you look like a pastry pro. Just try not to eat all the mini eggs before they make it into the nests—I speak from experience!
Ingredients for Easter Crispy Chocolate Nests
Okay, let’s talk ingredients – and I promise you probably have most of this stuff in your pantry right now! The beauty of these nests is their simplicity. I’m a stickler for good chocolate though – don’t skimp on that. Here’s everything you’ll need to make about a dozen adorable edible nests:
For the Nests
- 200g milk chocolate: Chopped nice and fine so it melts evenly. I use the good stuff – you’ll taste the difference!
- 2 tbsp butter: Just a knob makes everything creamier and helps set properly
- 100g crispy cereal: Cornflakes are classic, but any light cereal like rice crispies works too
For Decoration
- 36 mini chocolate eggs: That’s 3 per nest – though we all know you’ll sneak extras on some!
See? Told you it was simple! Now let’s get to the fun part – making them!
Equipment Needed for Easter Crispy Chocolate Nests
You won’t need fancy gadgets for these nests, promise! Just grab your trusty muffin tin (I like using my old metal one with the slightly warped edges – it’s got character!), a big mixing bowl that’s seen its fair share of chocolate disasters, and either your microwave or a simple double boiler setup. That’s it! No stand mixers, no special piping bags – just good old-fashioned chocolate fun. Oh, and don’t forget your favorite spoon for sneaking tastes as you go – that’s mandatory equipment in my kitchen!
How to Make Easter Crispy Chocolate Nests
Alright, let’s get our hands chocolatey! Making these adorable nests is seriously so easy – I’ve burned way more complicated recipes (ask my husband about the infamous « charcoal cupcakes » incident). The key here is working quickly while the chocolate’s still warm and having fun shaping your nests!
Step 1: Prepare the Muffin Tin
First things first – grab your muffin tin and line each cup with paper cases. I like using colorful ones to make the nests extra festive! This prevents sticking and makes cleanup a breeze. Trust me, you don’t want to skip this – scraping chocolate off metal tins is no one’s idea of a good time.
Step 2: Melt the Chocolate and Butter
Now for the best part – melting chocolate! Chop your chocolate into small chunks and melt it with the butter in short bursts in the microwave (30 seconds at a time, stirring in between). Or, if you’re fancy like my grandma, use a double boiler. Stop when it’s silky smooth – overmelted chocolate gets weird and grainy. Learned that the hard way during my « let’s microwave it for five minutes straight » phase.
Step 3: Mix in the Crispy Cereal
Dump your crispy cereal into the melted chocolate and gently fold it in with a spatula. You want every flake coated, but don’t overmix or it’ll lose its crunch. I like leaving some bigger cereal clusters for texture – it makes the nests look more, well, nest-y!
Step 4: Shape the Nests
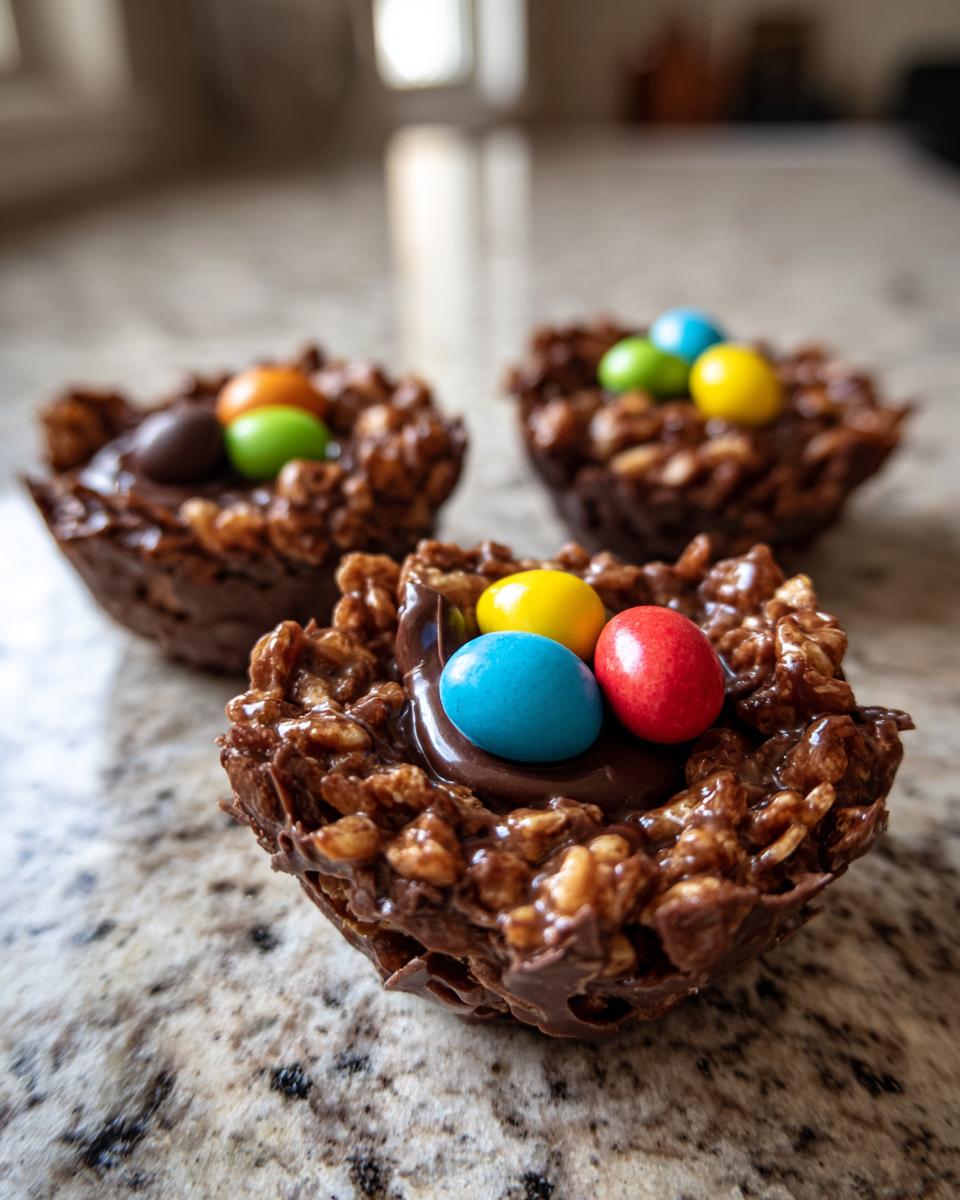
Working quickly before the chocolate sets, spoon the mixture into your lined muffin cups. Here’s my trick: use the back of a teaspoon to press down the center and build up the sides, creating little wells for the eggs. They don’t have to be perfect – real bird nests are messy too! If the mixture sticks to your spoon, lick it off (chef’s privilege).
Step 5: Add the Chocolate Eggs
Now for the crowning glory! Place three mini eggs in each nest’s center. Or be a rebel like me and sneak in an extra egg – no one’s counting! Press them gently so they stay put.

Step 6: Chill Until Set
Pop your tray in the fridge for at least 30 minutes. I know it’s tempting to sneak one early (been there), but they need time to firm up properly. When the chocolate turns matte and doesn’t dent when you poke it, they’re ready to be devoured!
Tips for Perfect Easter Crispy Chocolate Nests
Okay, after making approximately a zillion of these nests (and eating half of them), I’ve learned a few tricks for absolute perfection every time! First off – splurge on good chocolate. That cheap baking stuff just doesn’t melt right. And when coating your cereal, gentle folds are key – overmixing turns your crispy nests into sad little lumps. Oh, and don’t skip the full chill time! I know it’s tempting, but that extra 10 minutes makes all the difference in getting picture-perfect nests that hold their shape (instead of chocolatey disaster).
Variations for Easter Crispy Chocolate Nests
Oh, the fun we’ve had playing with this recipe over the years! My niece once insisted we make « rainbow nests » (spoiler: sprinkles everywhere). Want to mix it up? Try dark chocolate for a richer flavor – just add an extra teaspoon of butter to keep it smooth. Crushed nuts or coconut flakes make great nest textures too. And for the cereal? Swap cornflakes for rice krispies, cheerios, or even crushed pretzels for a salty-sweet twist. The possibilities are as endless as a rabbit’s energy on Easter morning!

Storage and Serving Suggestions
Here’s the best part about these nests—they stay perfectly crisp for days! Just pop them in an airtight container (if you can resist snacking) and keep them in a cool spot. No fridge needed unless your kitchen turns into a sauna. They’re fantastic lined up on an Easter brunch table or wrapped in cute cellophane as party favors. Pro tip: Make extra batches – they disappear faster than chocolate bunnies when company arrives!
Nutritional Information
Each adorable Easter crispy chocolate nest clocks in at about 150 calories – not bad for such a decadent little treat! You’re looking at 8g of fat (mostly the good chocolate-y kind), 18g carbs, and 2g protein per nest. Keep in mind these are estimates – your exact nutritional values might dance around a bit depending on your chocolate brand or how many extra mini eggs you « accidentally » add!
Frequently Asked Questions
Can I use dark chocolate instead of milk chocolate?
Absolutely! I actually prefer dark chocolate sometimes—it gives a nice grown-up twist. Just add an extra teaspoon of butter to keep it smooth and easy to work with. My husband loves the 70% cocoa version, though the kids still beg for the original milk chocolate nests.
How long do these chocolate nests last?
They’ll stay crisp and delicious for up to 3 days when stored properly in an airtight container. Though between you and me, they’ve never lasted more than a day at our Easter gatherings! Just keep them in a cool spot—no need to refrigerate unless it’s really warm.
Can I make these ahead of time?
You sure can! They’re perfect for prepping the night before—just wait to add the mini eggs until right before serving so they stay shiny and fresh-looking. The nests actually hold their shape better when they’ve had a good long chill. I always make extra batches because—surprise—they disappear fast!
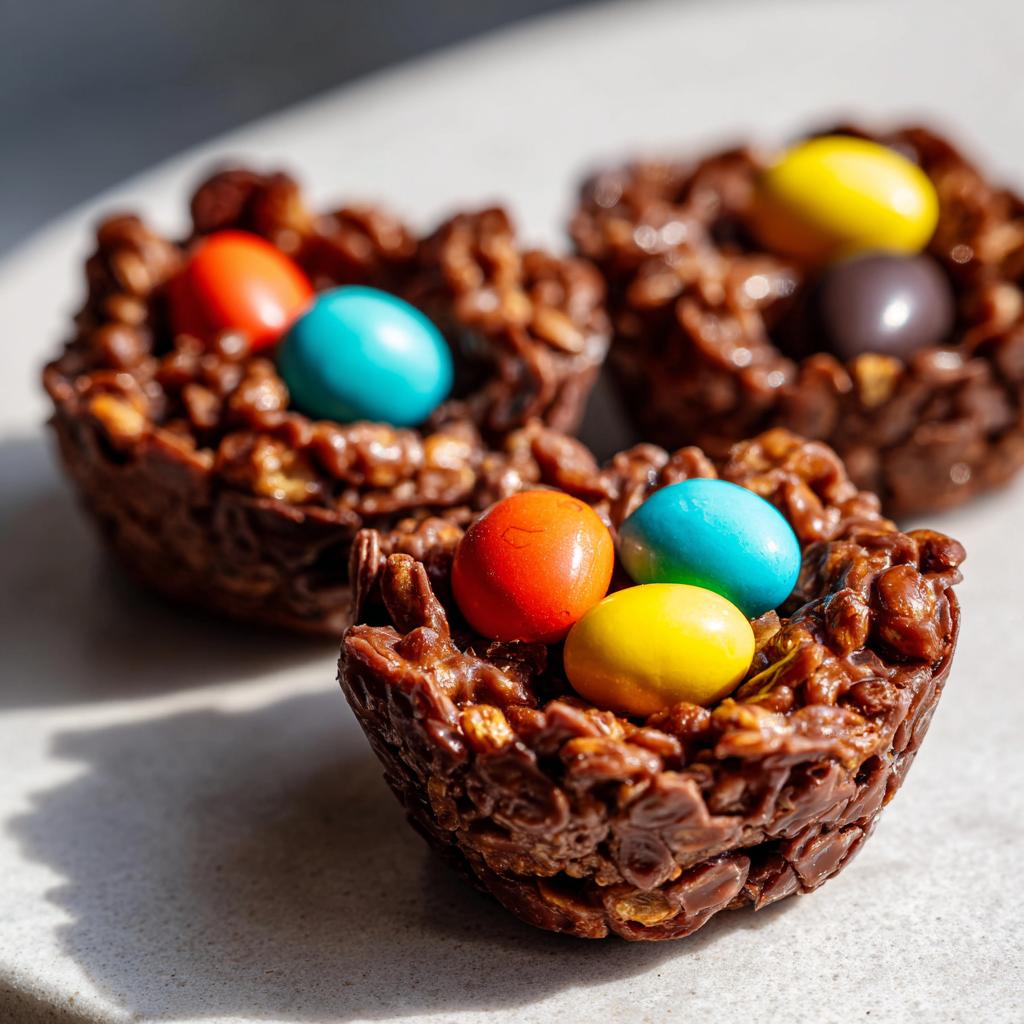
Easter Crispy Chocolate Nests
Ingrédients
Equipment
Method
- Line a muffin tin with paper cases.
- Melt the chocolate and butter together in a microwave or double boiler until smooth.
- Stir in the crispy cereal until fully coated.
- Spoon the mixture into the muffin cases, shaping into nests with a small well in the center.
- Place 3 mini chocolate eggs in each nest.
- Chill in the refrigerator for at least 30 minutes until set.