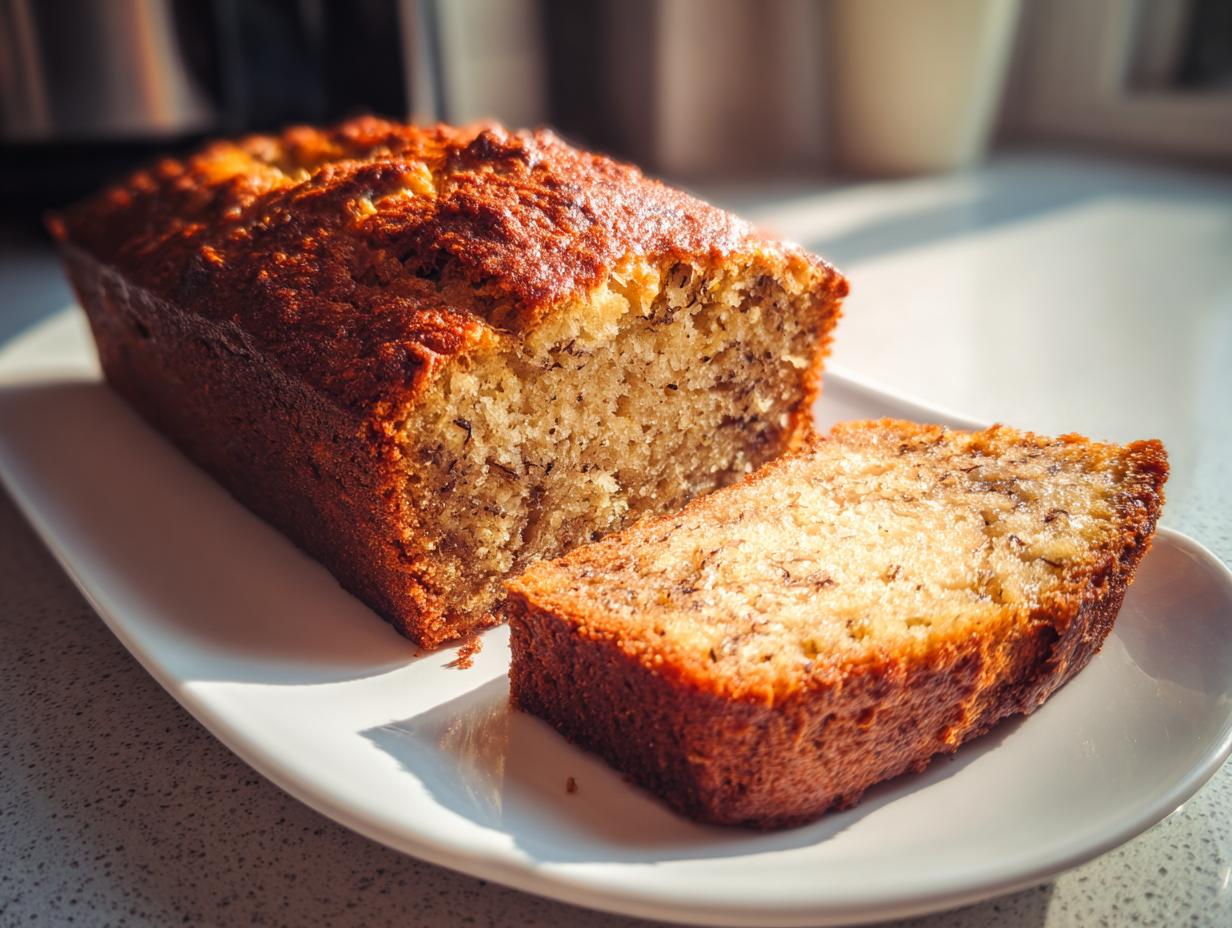
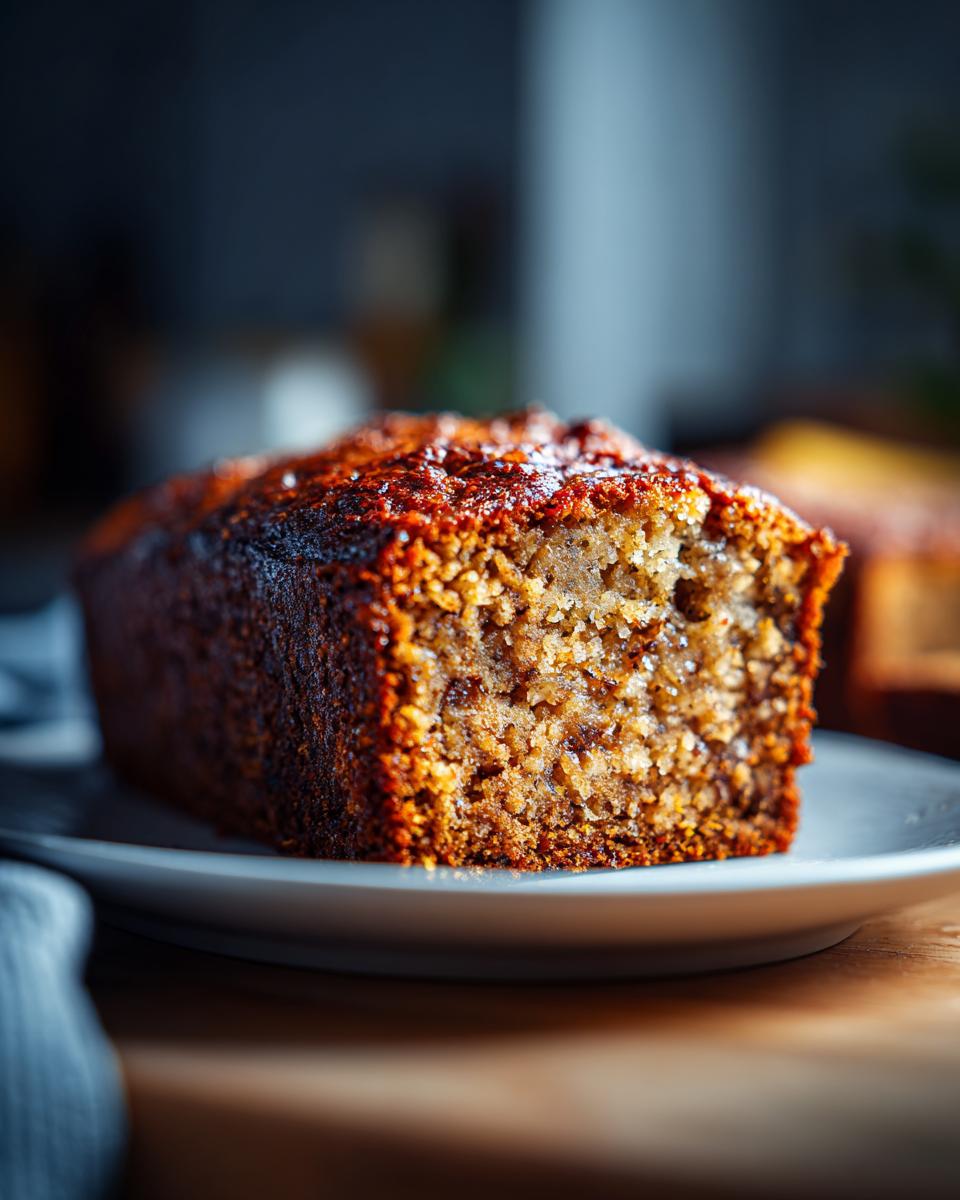
There’s nothing quite like the smell of banana bread baking in the oven – that warm, comforting aroma that makes the whole house feel like home. I’ve been making this simple banana bread recipe since I was a kid helping my grandma in her tiny kitchen. She taught me the magic of those speckled, overripe bananas – how their natural sweetness means you don’t need much sugar, and how they make the bread so moist it practically melts in your mouth. To this day, whenever I see bananas turning brown on my counter, I get that same excited feeling – it’s banana bread time!
Why You’ll Love This Banana Bread
Okay, let me tell you why this banana bread has been my go-to recipe for years – and why it’ll become yours too! First off, it’s crazy easy – I mean, if you can mash bananas with a fork, you’re halfway there. The batter comes together in one bowl (okay fine, two if we’re being precise) with just basic ingredients. But here’s the real magic: those overripe bananas do all the work for you, giving the bread this incredible natural sweetness and moist texture that store-bought versions can’t touch. My kids actually beg me to let bananas go brown now just so we can bake this!
What really makes it special:
- Turns out perfectly moist every time (no dry bricks here!)
- Uses ingredients you probably have right now
- Smells like heaven while baking (fair warning: neighbors might drop by)
- Tastes even better the next day – if it lasts that long
- Simple enough for weeknights, special enough for brunch
Trust me, once you try this version, you’ll never go back to the mix-in-the-box stuff. It’s that good.
Ingredients for the Best Banana Bread
Now let’s talk ingredients – and I promise, you won’t need anything fancy here! What makes this banana bread so good is how simple it is. Just a handful of basic ingredients you probably already have in your kitchen. I like to separate them into dry and wet groups because it makes the baking process foolproof. Here’s everything you’ll need:
Dry Ingredients
These are your building blocks – and measuring them right makes all the difference:
- 1 1/2 cups all-purpose flour (scoop and level it – no packing!)
- 1 teaspoon baking soda (check that it’s fresh if you haven’t baked in a while)
- 1/2 teaspoon salt (I use fine sea salt, but table salt works too)
Wet Ingredients
This is where the magic happens – these ingredients make our banana bread moist and delicious:
- 3 ripe bananas (they should be really spotty – the browner, the better!), mashed
- 1/2 cup unsalted butter, melted (let it cool slightly so it doesn’t cook the eggs)
- 3/4 cup brown sugar (light or dark both work – dark gives a deeper flavor)
- 1 egg, beaten (room temp blends better)
- 1 teaspoon vanilla extract (the real stuff, not imitation!)
See? Nothing complicated – just good, simple ingredients that come together to make something amazing. The secret’s all in how we use them!
Equipment Needed for Banana Bread
Let’s talk tools – and I promise, you won’t need any fancy gadgets to make killer banana bread. Honestly, my favorite part about this recipe is how little equipment it requires. Here’s all you need:
- A standard loaf pan (mine’s a battered old 9×5 inch that’s seen better days)
- One decent-sized mixing bowl (or two if you want to keep dry and wet separate)
- A trusty whisk or fork (I often use whatever’s clean and nearby!)
That’s it! No stand mixer required unless you’re making a double batch (which, trust me, you’ll want to once you taste this). The beauty of banana bread is how wonderfully low-maintenance it is – just like my favorite pair of Sunday sweatpants.
How to Make Banana Bread Step by Step
Alright, let’s get to the fun part – actually making this glorious banana bread! I’ve made this recipe so many times I could probably do it in my sleep, but I’ll walk you through each step like I’m right there in the kitchen with you. Don’t worry – it’s practically foolproof, and the smell alone is worth every second of effort!
- Preheat and Prep: Start by preheating your oven to 350°F (175°C) – this gives it time to get nice and toasty while we make the batter. While that’s heating up, grease your loaf pan really well (I use butter or a quick spray of cooking oil). Nothing worse than perfect banana bread that sticks to the pan!
- Mix the Dry Stuff: In a medium bowl, whisk together your flour, baking soda and salt. I just use a fork or a small whisk for this – no fancy equipment needed. The key here is making sure everything’s evenly distributed so you don’t get pockets of baking soda in one bite. Takes about 30 seconds – easy!
- Mash and Mix Wet Ingredients: Now for the fun part – smash those bananas! I use a fork and go at them right in a large mixing bowl until they’re mostly smooth with just some small chunks left for texture. Then whisk in the melted (but not hot!) butter, brown sugar, egg and vanilla. It should smell amazing already – that brown sugar and banana combo is heavenly.
- Bring It All Together: Here’s where the magic happens! Pour your dry ingredients into the wet mixture and gently stir with a spatula or wooden spoon. The trick is to mix until just combined – a few flour streaks are better than overmixing! About 10-15 folds should do it. Overmixing makes tough bread, and we want ours perfectly tender.
- Into the Pan: Scrape every last bit of that gorgeous batter into your prepared loaf pan. If you’re like me, you’ll « accidentally » get some batter on your finger – purely for quality control, of course. Smooth the top lightly with your spatula so it bakes evenly.
- Bake to Perfection: Pop it in your preheated oven for about 60 minutes. Start checking at 50 minutes though – a toothpick inserted in the center should come out with just a few moist crumbs, not wet batter. If the top browns too quickly, just loosely tent it with foil.
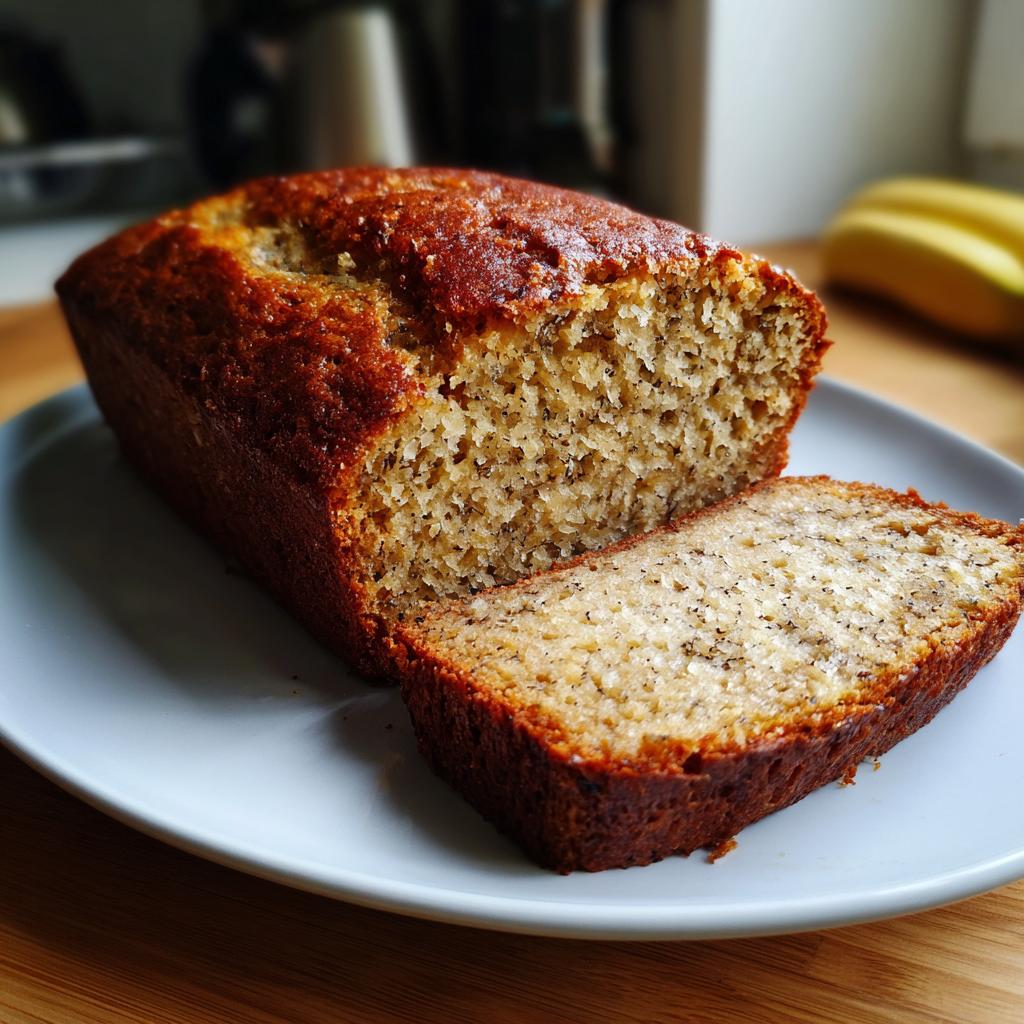
- The Hardest Part – Waiting: Let the bread cool in the pan for 10-15 minutes – I know, torture! This helps it set so it doesn’t fall apart when you take it out. Then run a butter knife around the edges and carefully transfer to a wire rack. Try to wait until it’s at least warm (not piping hot) before slicing… if you can resist!
There you have it – perfect homemade banana bread with minimal fuss. The hardest part now is not eating the entire loaf in one sitting. Not that I’d judge if you did – I’ve been there!
Tips for Perfect Banana Bread
After baking more banana bread loaves than I can count (and eating even more!), I’ve learned a few tricks that make all the difference between good and knock-your-socks-off amazing. First rule: those bananas need to be seriously ripe – I’m talking black-speckled, mushy, « should I throw these out? » ripe. They mash easier and add way more natural sweetness. Second, when mixing the batter, channel your inner zen master – gentle folds only until just combined! Overmixing activates the gluten and turns your bread into a doorstop (learned that the hard way).
Here are my can’t-live-without tips:
- Test doneness with a toothpick – it should come out with moist crumbs, not clean (that means overbaked!)
- Let it cool completely before slicing (I know, torture!) or it’ll fall apart
- Wrap leftovers (ha!) in foil to keep them moist for days
- The riper the bananas, the less sugar you need – taste before adding extra
My biggest « aha » moment? Banana bread actually tastes better the next day as the flavors meld. Try hiding a loaf overnight if you can resist – it’s worth the wait!
Variations to Try with Your Banana Bread
Oh, the fun we can have with banana bread! Once you’ve mastered the basic recipe (which is perfect as-is, don’t get me wrong), it’s time to play around. My favorite part? You can toss in almost anything and it’ll turn out delicious. Last week I added a handful of chocolate chips to half the batter for the kids – they went nuts over it! Here are my go-to mix-ins when I’m feeling fancy:
- Walnuts or pecans: Toast them first for extra crunch – about 1/2 cup does the trick
- Chocolate chips: Semi-sweet or dark chocolate balance the sweetness perfectly
- Cinnamon swirl: Mix 1 tbsp sugar + 1 tsp cinnamon and swirl through the batter
- Dried fruit: Chopped dates or raisins plump up beautifully while baking
The best part? You can customize each loaf to whoever’s eating it – my husband loves nuts, the kids want chocolate, and I’m happy with plain old banana-y perfection!
How to Store and Reheat Banana Bread
Okay, let’s talk about keeping your banana bread as delicious as the day you baked it – if it even lasts that long! My foolproof method? Wrap the cooled loaf tightly in plastic wrap or foil, then pop it in an airtight container at room temperature. It’ll stay moist and tasty for about 4 days this way. If you want to keep it longer (who are you, with this self-control?), slice and freeze it in a freezer bag for up to 3 months.
When you’re ready to enjoy, here’s my favorite trick: microwave a slice for 10-15 seconds until just warm – it’ll taste freshly baked! For a crispier edge, toast it lightly. And if you’re reheating a whole loaf, wrap it in foil and warm at 300°F for 10 minutes. Trust me, nothing beats warm banana bread with a little butter melting into it… excuse me while I go slice myself another piece!
Nutritional Information for Banana Bread
Okay, let’s talk numbers – but don’t worry, we’re keeping it simple! One slice of this heavenly banana bread (about 1/8th of the loaf) comes out to roughly:
- 220 calories – perfect for a satisfying snack
- 38g carbs (with 2g fiber and 20g natural sugars from those bananas)
- 3g protein – hey, it’s not just empty calories!
- 7g fat (4g saturated from that glorious butter)
Now, here’s my baker’s disclaimer – these numbers can wiggle a bit depending on your exact bananas’ ripeness, whether you add nuts or chocolate, and if you « accidentally » slice yourself an extra-thick piece (no judgment here!). But overall, it’s a pretty decent treat that won’t wreck your day.
Frequently Asked Questions About Banana Bread
I get asked about banana bread all the time – and hey, I don’t blame people for having questions! Here are the answers to the ones I hear most often:
Can I use frozen bananas?
Absolutely! Thaw them first (they’ll be super mushy – perfect!) and drain any excess liquid. Actually, freezing overripe bananas is my secret trick for always having « ready » bananas on hand!
How long does banana bread last?
At room temp, about 4 days if wrapped well. But let’s be real – in my house, it’s lucky to last 24 hours! Freeze slices for up to 3 months – just pop one in the toaster when the craving hits.
Can I make it gluten-free?
You bet! Swap the all-purpose flour for a 1:1 gluten-free blend. I’ve had great results with Bob’s Red Mill – just don’t overmix the batter.
Why did my bread sink in the middle?
Usually means it needed a few more minutes in the oven – or your baking soda might be old. Test doneness with a toothpick before pulling it out!
Can I reduce the sugar?
With super ripe bananas, you can cut the sugar by 1/4 cup easily. The bananas bring plenty of natural sweetness!
Banana Bread
Ingrédients
Equipment
Method
- Preheat the oven to 350°F (175°C). Grease a loaf pan.
- In a bowl, whisk together the flour, baking soda, and salt.
- In another bowl, mix the mashed bananas, melted butter, brown sugar, egg, and vanilla extract.
- Combine the wet and dry ingredients, stirring until just mixed.
- Pour the batter into the prepared loaf pan.
- Bake for 60 minutes or until a toothpick inserted comes out clean.
- Let cool in the pan for 10 minutes before transferring to a wire rack.