You know what changed everything for me? The day I realized I didn’t need fancy equipment or years of experience to make delicious candy at home. I’ll never forget my first batch – I was 15, out of ideas for a last-minute gift, and armed with just sugar, butter, and a saucepan. Those wobbly little squares of homemade candy tasted better than anything store-bought! That’s the magic of these easy candy recipes – ordinary ingredients turn into something extraordinary in minutes. No intimidation, just sweet results that’ll have everyone begging for your secret. Trust me, once you see how simple it is, you’ll be hooked.
Why You’ll Love These Easy Candy Recipes
Oh my goodness, where do I even start? These little candies are my go-to when I need something sweet in a pinch. Here’s why they’re absolutely magical:
- Lightning fast – From pantry to plate in 15 minutes flat (I’ve timed it while chasing my toddler around the kitchen!)
- Pantry staples only – Just sugar, butter, milk and vanilla – no fancy ingredients hiding in the back of your spice cabinet
- No fancy equipment – One saucepan and a baking sheet are all you need (though I won’t judge if you lick the spoon too)
- Beginner-proof – My 8-year-old niece mastered this on her first try – if she can do it between dance recitals, so can you!
Seriously, this recipe is the culinary equivalent of a warm hug – simple, comforting, and impossible to mess up. The hardest part? Waiting for it to cool before digging in!
Ingredients for Easy Candy Recipes
Okay, let’s gather our magic makers! Here’s what you’ll need for these foolproof candies (measurements matter, but don’t stress – I’ve eyeballed this recipe more times than I can count):
- 1 cup sugar – Plain white granulated works best here
- 1/2 cup butter – Real butter only, please! Cold or room temp both work
- 1/4 cup milk – Whole milk gives the creamiest results
- 1 tsp vanilla extract – The good stuff makes all the difference
See? I told you it was simple! These are probably already in your kitchen right now. The vanilla’s my secret weapon – it adds that « what IS that amazing flavor? » depth that’ll have people guessing your recipe for years.
Equipment Needed for Easy Candy Recipes
Don’t worry – you won’t need any fancy gadgets for these candies! Here’s what I always grab from my kitchen:
- Medium saucepan – Nothing fancy, just something sturdy that won’t scorch your sugar
- Baking sheet – Or a silicone mat if you’re fancy (I’ve used a buttered plate in a pinch!)
That’s seriously it! The saucepan does all the heavy lifting, and the baking sheet just catches the sweet, sticky goodness. Pro tip: Use a light-colored pan so you can see when your sugar mixture turns that perfect golden color.
Step-by-Step Instructions for Easy Candy Recipes
Alright, let’s get to the fun part! I’ve made this recipe so many times I could probably do it in my sleep, but I’ll walk you through every step so yours turns out perfect on the first try. Don’t worry – it’s easier than tying your shoes (and way more delicious)!
Preparing the Mixture
First things first – grab that saucepan and let’s make some magic happen! Combine your sugar, butter, and milk over medium heat. Now here’s my golden rule: don’t stop stirring. Seriously, pretend your spoon is glued to your hand for these next few minutes. You’ll see the mixture go from grainy to smooth to bubbly – that’s when you know it’s working! It usually takes about 5 minutes to reach a rolling boil. Watch for tiny bubbles covering the entire surface – that’s your cue that it’s ready for the next step.
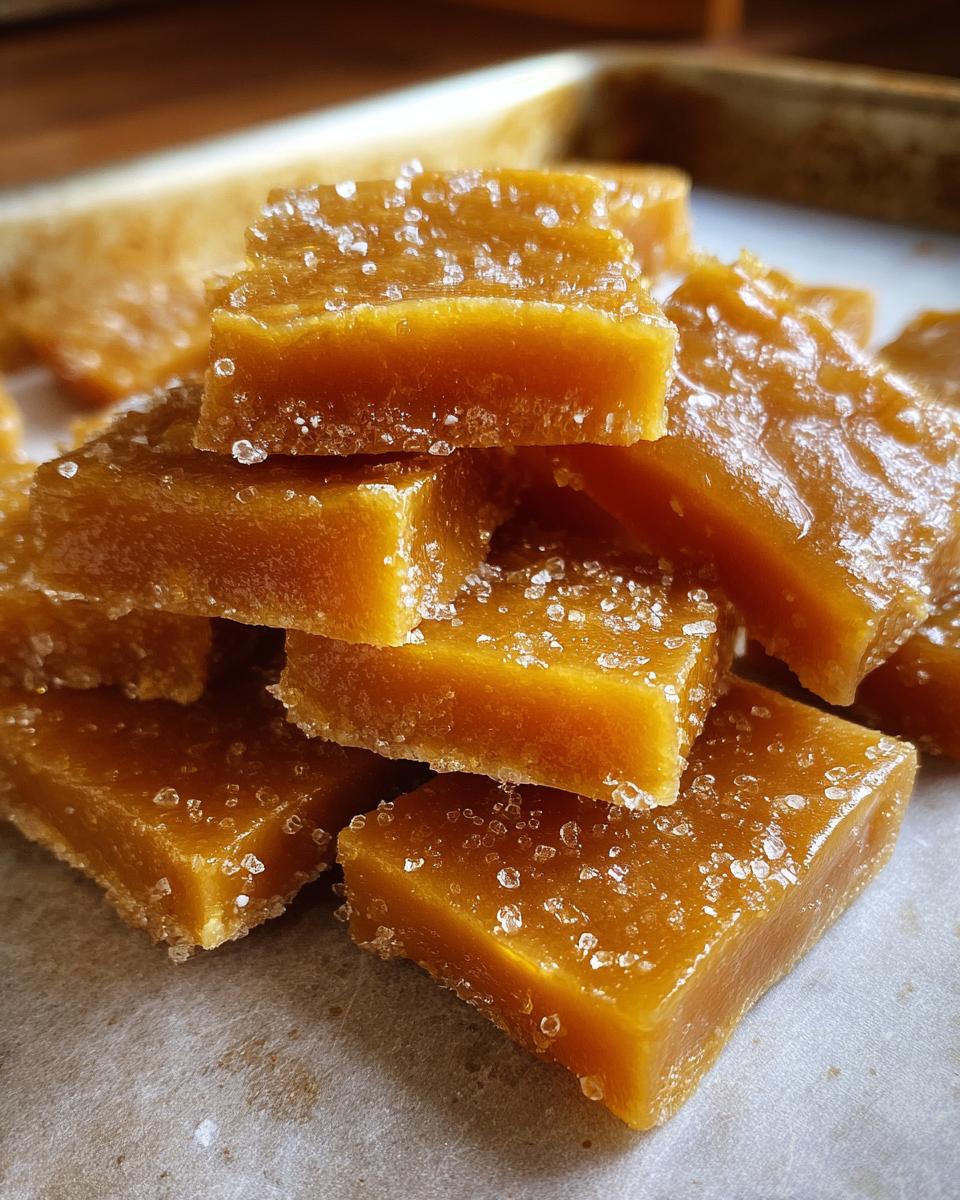
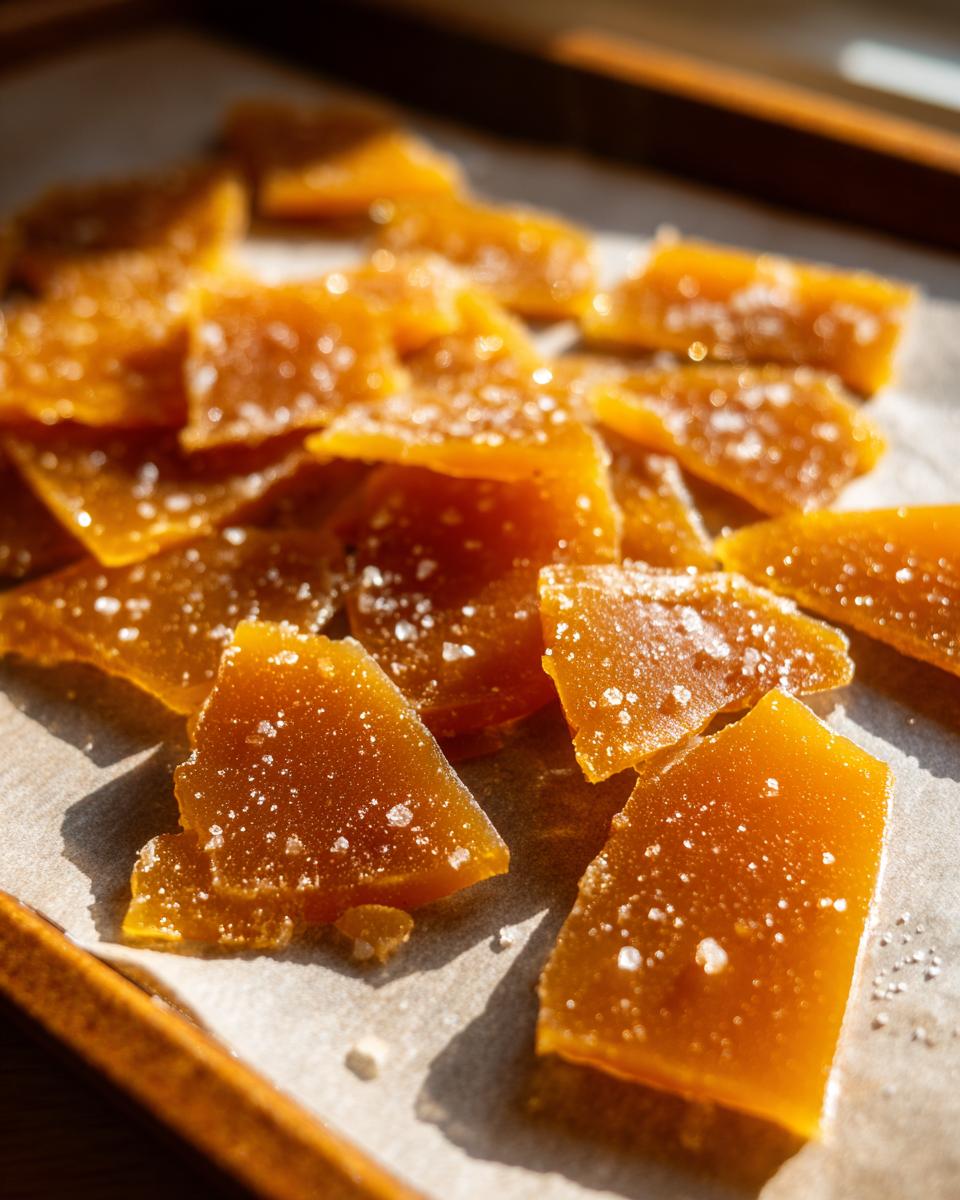
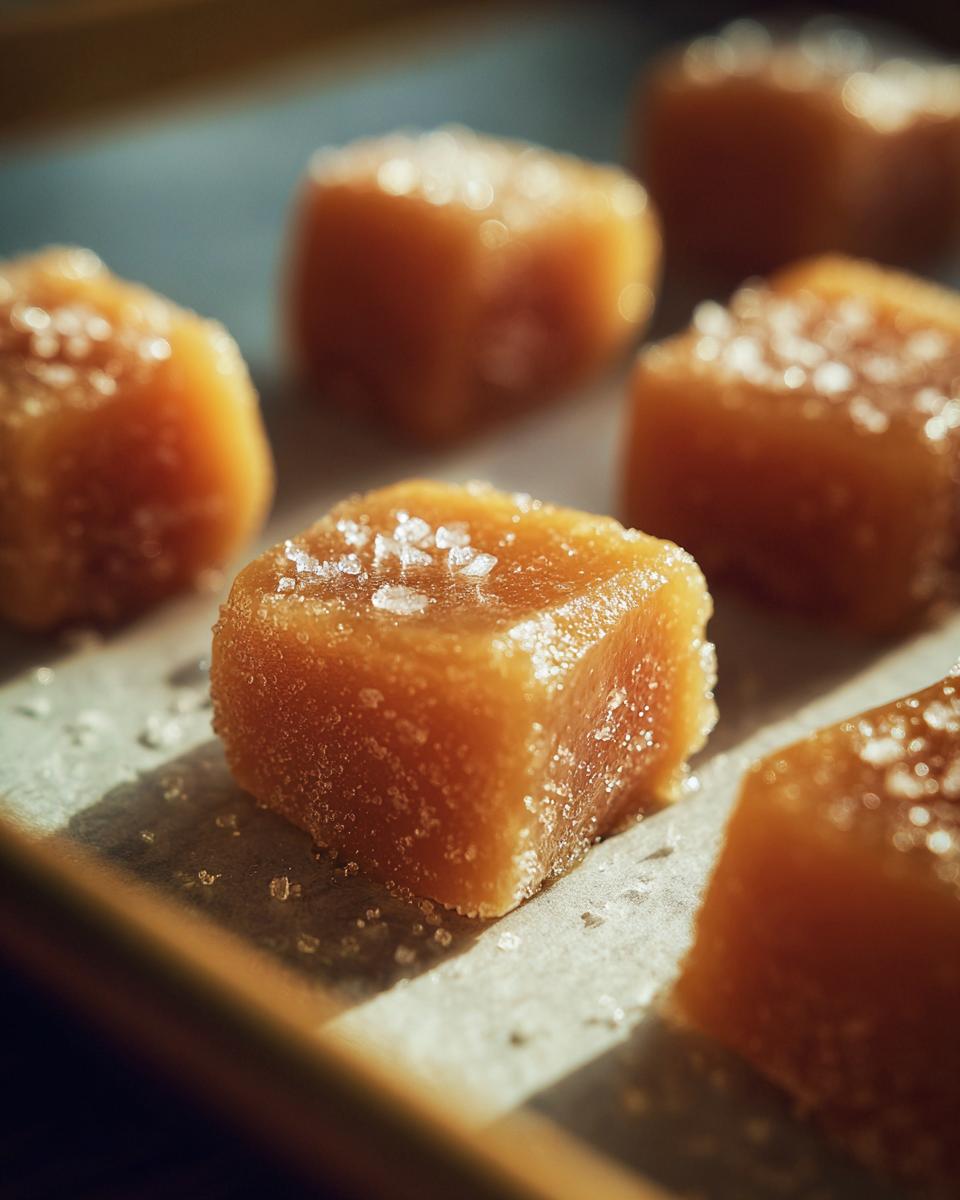
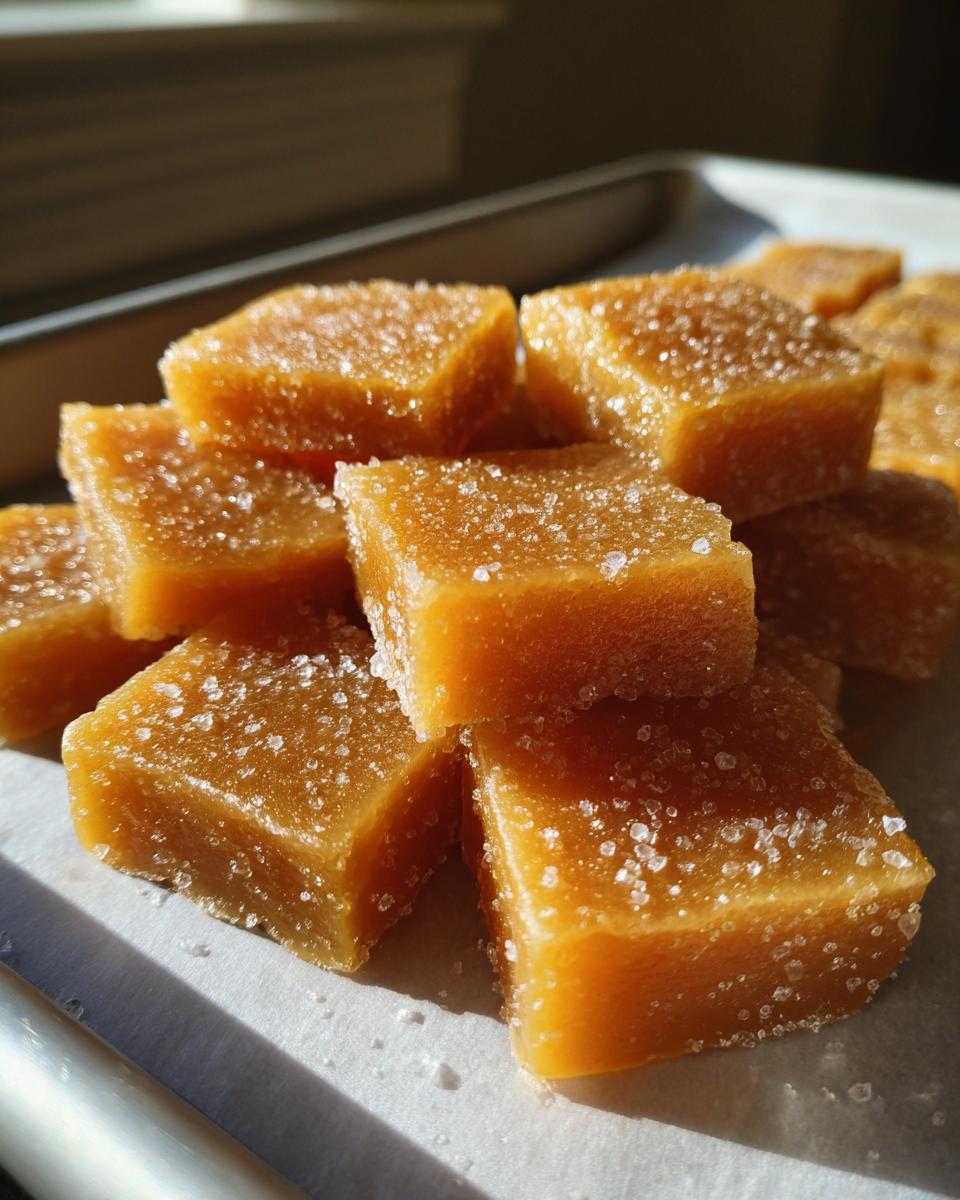
Cooling and Cutting the Candy
Okay, deep breath – the hard part’s over! Take your saucepan off the heat and stir in that glorious vanilla extract (the smell alone is worth it). Now quickly pour your molten candy onto your prepared baking sheet. Here’s my trick: tilt the sheet to spread it evenly before it starts setting. Let it cool completely – I know, the waiting is torture! Once it’s firm but still slightly soft to the touch (about 30 minutes), use a buttered knife to score lines and cut into squares. Pro tip: wipe your knife clean between cuts for perfect edges!
Tips for Perfect Easy Candy Recipes
After burning more batches than I’d like to admit (hey, we’ve all been there!), I’ve picked up some foolproof tricks for candy-making success. First off – invest in a candy thermometer! That little gadget saves me every time, giving me the confidence to pull my mixture off the heat at exactly 235°F (that’s the soft ball stage for perfect texture). But if you’re thermometer-less like I was at first, here’s my emergency test: drop a bit of syrup in cold water – if it forms a soft ball, you’re golden!
For storage, I swear by airtight containers with parchment between layers. And here’s the big one – let your candy cool completely before cutting or touching it. I know it’s tempting, but trust me, waiting means perfect squares instead of sticky fingers and tears. These candies keep like a dream for a week… if they last that long in your house!
Variations for Easy Candy Recipes
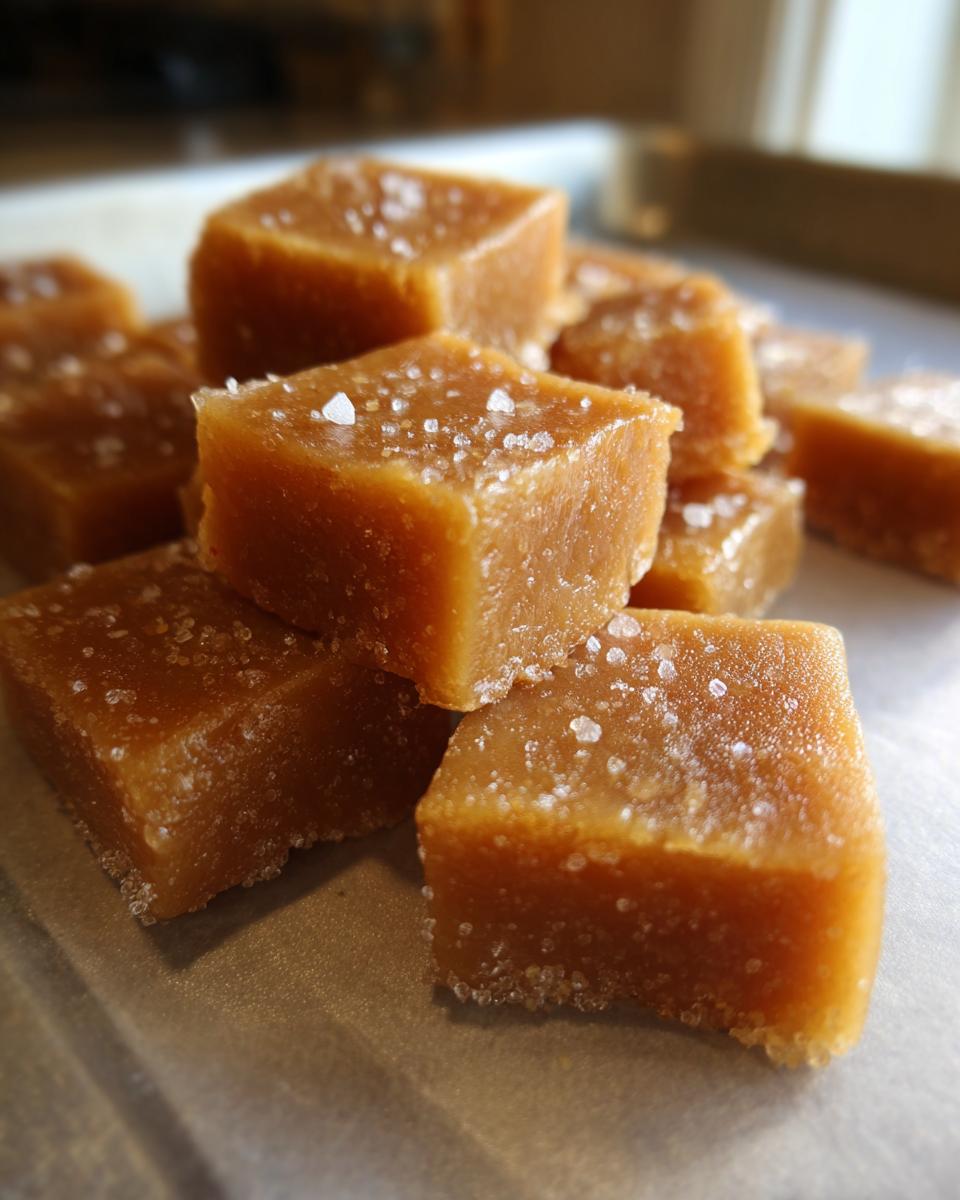
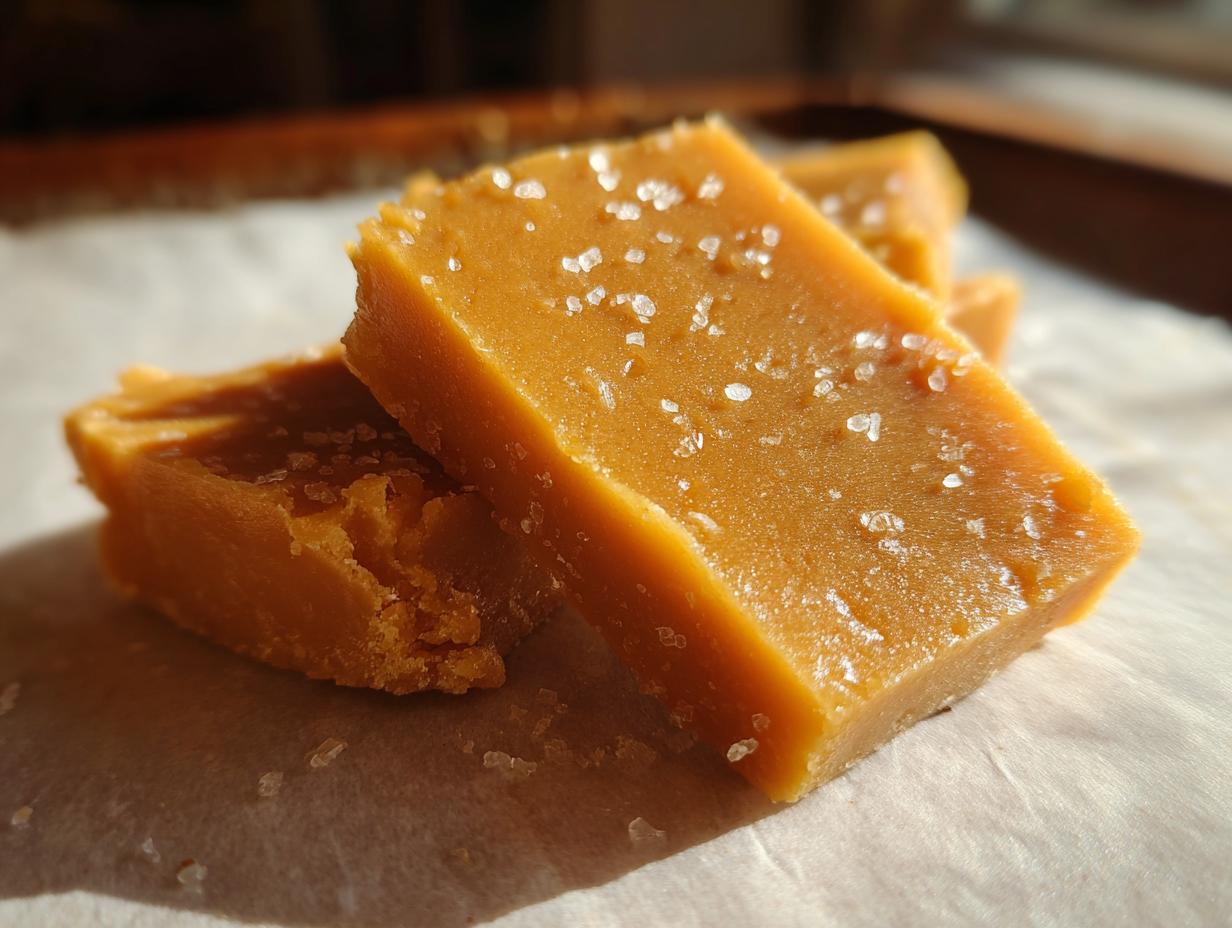
Oh, the fun begins once you’ve mastered the basic recipe! My kitchen turns into a candy lab when I start playing with variations. Toss in a handful of chopped pecans or walnuts right after removing from heat – the crunch is heavenly. Chocolate lovers? Stir in mini chocolate chips as the mixture cools slightly (they’ll melt just enough). And don’t get me started on extracts – swap vanilla for almond, peppermint, or even orange for holiday twists. My neighbor swears by adding a pinch of sea salt on top before it sets. The possibilities are endless!
Storage and Serving Suggestions for Easy Candy Recipes
Okay, here’s the deal – these candies disappear fast in my house, but when I do manage to save some (miracle of miracles!), I stash them in an airtight container with parchment paper between layers. They’ll stay fresh and dreamy for up to a week… if you can resist them that long! For parties, I wrap them in little wax paper squares tied with baker’s twine – makes the simplest homemade gift look fancy. Pro tip: Keep them away from heat (learned that the hard way when my summer picnic turned into a sticky mess!). They’re perfect with coffee, packed in lunchboxes, or just sneaked straight from the container when no one’s looking!
Nutritional Information for Easy Candy Recipes
Okay, let’s be real – we’re not eating candy for its health benefits! But here’s the scoop on what’s in each delicious piece (based on my trusty kitchen scale and calculator):
- 120 calories – Perfect little treat-sized indulgence
- 15g carbs – Mostly from that glorious sugar
- 7g fat – Thank the butter for that melt-in-your-mouth texture
Now, full disclosure – these numbers can wiggle a bit depending on your exact ingredients. My grandma’s butter might be richer than yours, or maybe you went heavy on the vanilla (no judgment!). The important thing? Every bite tastes like happiness!
Frequently Asked Questions About Easy Candy Recipes
Over the years, I’ve gotten all sorts of questions about these simple candies – and I love helping new candy makers avoid the mistakes I made early on! Here are the ones I hear most often:
Can I use margarine instead of butter?
Oh honey, I know margarine seems tempting, but trust me – real butter makes ALL the difference! Margarine has extra water that can make your candy grainy or too soft. That rich, creamy taste only comes from the real deal. If you’re dairy-free, try a high-quality plant butter with at least 80% fat content.
How do I know when the mixture is ready?
This was my biggest struggle starting out! Look for three signs: 1) The bubbles get smaller and cover the whole surface, 2) The mixture pulls slightly away from the pan’s sides when you stir, and 3) It coats the back of your spoon. If you’ve got a candy thermometer, 235°F is your magic number!
Can I double the recipe?
Absolutely! Just use a bigger saucepan (trust me, you don’t want boiling sugar overflowing – messy lesson learned!). The cooking time might increase by 2-3 minutes. My Christmas batches are always doubled – they disappear twice as fast!
Why did my candy turn out grainy?
Ah, the dreaded graininess! Usually means the sugar didn’t dissolve completely. Next time, stir constantly at the beginning and make sure your heat isn’t too high. And never – I repeat NEVER – walk away from bubbling sugar. It’s like a toddler – needs constant supervision!
Easy Candy Recipes
Ingrédients
Equipment
Method
- Combine sugar, butter, and milk in a saucepan over medium heat.
- Stir continuously until the mixture reaches a boil.
- Remove from heat and stir in vanilla extract.
- Pour onto a baking sheet and let cool before cutting into pieces.