
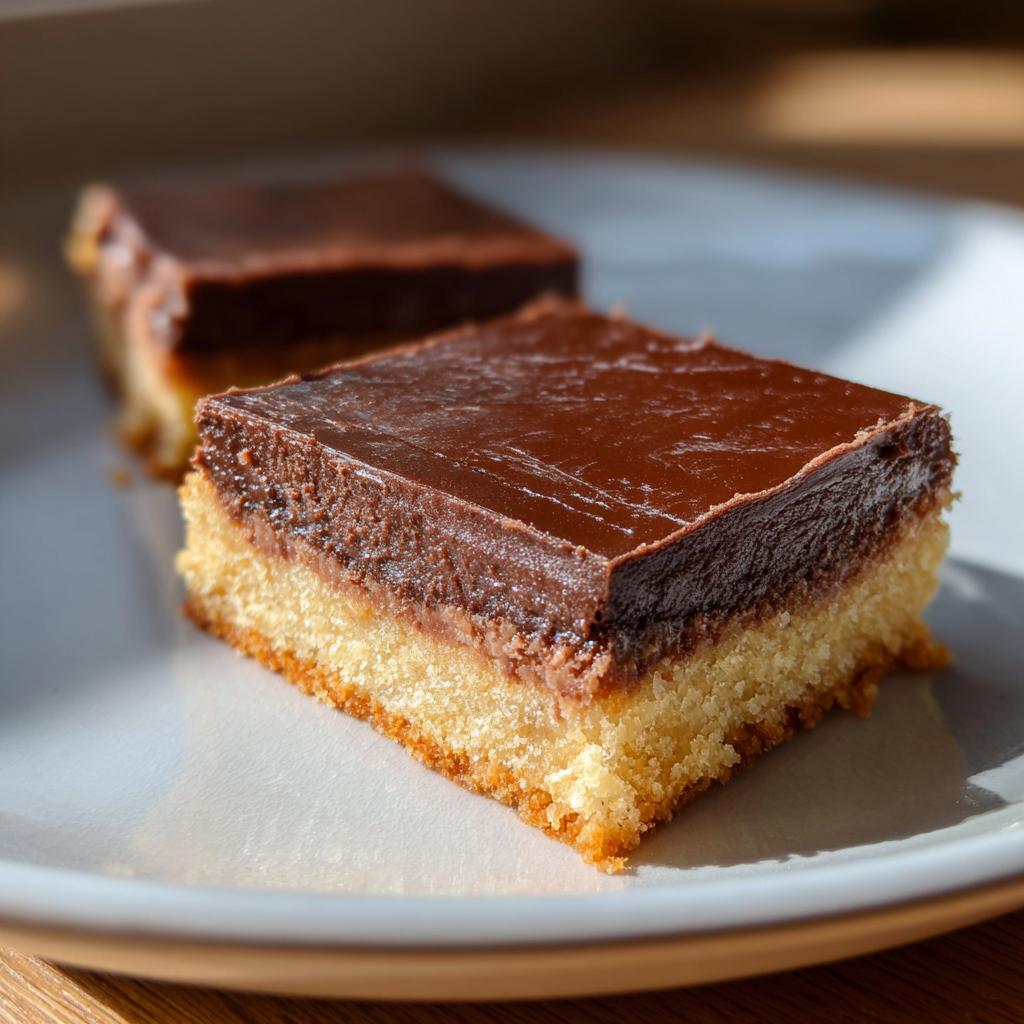
Oh my goodness, you have to try these chocolate dessert bars! They’re my go-to treat when I need something rich, decadent, and oh-so-easy to whip up. I first made them for my niece’s birthday party last summer when I realized – oops! – I’d forgotten to bake her favorite cake. These bars saved the day with their fudgy chocolate filling and buttery shortbread-like base. Now they’re requested at every family gathering!
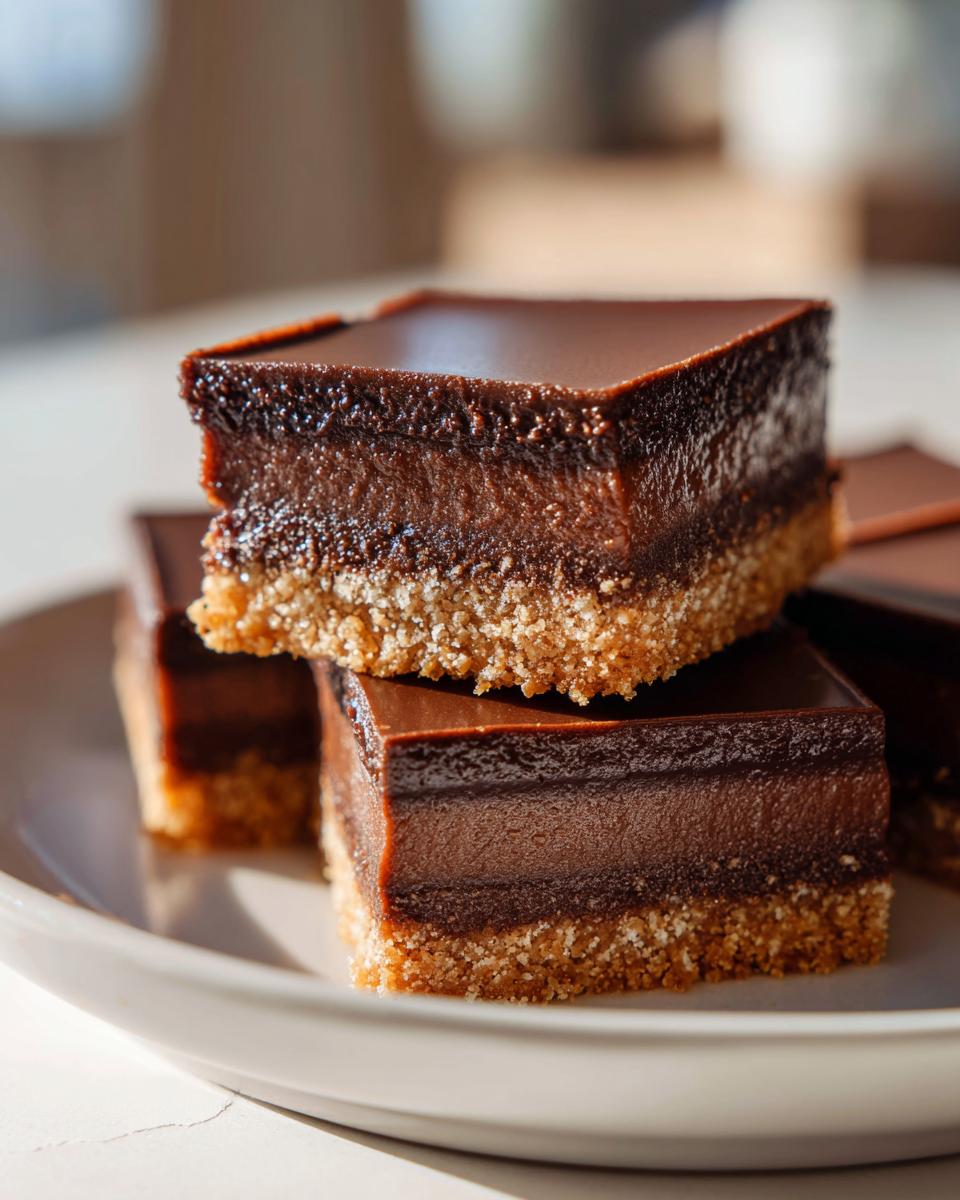
What I love most is how simple they are. Just a handful of pantry staples transforms into these luxurious chocolate dessert bars that taste like you spent hours in the kitchen. The chocolate filling is silky smooth, while the base gives that perfect little crunch. Trust me, one bite and you’ll understand why I keep this recipe on speed dial for last-minute dessert emergencies and special occasions alike.
Why You’ll Love These Chocolate Dessert Bars
Oh honey, let me tell you why these beauties have become my signature dessert – they’ve got everything you could want in a treat!
- Quick to make – Honestly, 99% of the work is just melting chocolate and stirring. I’ve whipped these up during commercial breaks!
- Simple ingredients – Nothing fancy here – just pantry staples that create pure magic.
- The chocolate! That silky ganache-like filling will make your eyes roll back in happiness.
- Foolproof – Even beginner bakers nail this recipe on their first try. I promise!
- Always a crowd-pleaser – These disappear fast at parties. Last time I doubled the batch and still ran out!
zębie
Юрист
Really, what’s not to love? They’re like little squares of chocolate heaven that happen to be rid speeds easy to make.
Ingredients for Chocolate Dessert Bars
Okay, let’s gather our goodies! One of the best things about these chocolate dessert bars is how simple the ingredients are. I bet you already have most of them in your pantry right now. Here’s everything you’ll need, separated into the base and that dreamy chocolate filling.
For the Base
This buttery crust is what makes these bars so irresistible – it’s like the perfect little throne for all that chocolate goodness:
- 1 cup all-purpose flour – Just regular flour, nothing fancy needed
- 1/4 cup granulated sugar – Not packed, just lightly spooned into the measuring cup
- 1/2 cup unsalted butter, melted – I always use real butter for that rich flavor
For the Filling
Now for the star of the show – that luscious chocolate layer that’ll make you weak in the knees:
- 1 cup semi-sweet chocolate chips – My favorite brand works best, but use what you love
- 1/2 cup heavy cream – Trust me, don’t skimp here – it makes the filling silky smooth
- 1 tsp vanilla extract – The real stuff, please! It makes all the difference
See? Told you it was simple! Now let’s turn these basic ingredients into something magical.
How to Make Chocolate Dessert Bars
Alright, let’s get baking! These chocolate dessert bars come together so easily – I swear you’ll be amazed at how simple it is to create something this decadent. Just follow these steps, and you’ll have perfect bars every time. Don’t worry if you’re not an experienced baker – this recipe is practically foolproof!
Preparing the Base
First things first – preheat that oven to 350°F (175°C). While it’s heating up, line your 9×9 inch baking pan with parchment paper – trust me, this makes cleanup a breeze!
Now for the fun part: grab a mixing bowl and toss in your flour, sugar, and that glorious melted butter. Mix it up until it looks like wet sand – you’ll know it’s right when you can press it together between your fingers. Then, dump it into your prepared pan and press it down evenly with your hands or the back of a spoon. You want it nice and compact so it holds together when you cut the bars later.
Pop it in the oven for about 15 minutes – you’ll know it’s done when the edges just start turning golden brown. Pro tip: don’t overbake it! We want it lightly golden, not dark brown.
Making the Chocolate Filling
While the base is baking, let’s make that heavenly chocolate filling. Here’s my secret for perfect chocolate every time: heat your heavy cream in a small saucepan until you see little bubbles around the edges – but don’t let it boil! Then pour it over your chocolate chips in a heatproof bowl and let it sit for 2 minutes. This is crucial – it gives the chocolate time to soften properly.
After those 2 minutes, stir gently until it’s completely smooth and glossy. Add your vanilla extract and give it one more stir – oh my, that smell is incredible! If you hit any stubborn chocolate bits, you can zap it in the microwave for 10-second bursts, stirring between each one.
Assembling and Chilling
Once your base is out of the oven and slightly cooled (just 5 minutes is enough), pour that luscious chocolate filling right over the top. Use a spatula to spread it evenly – try not to lick the spatula yet!
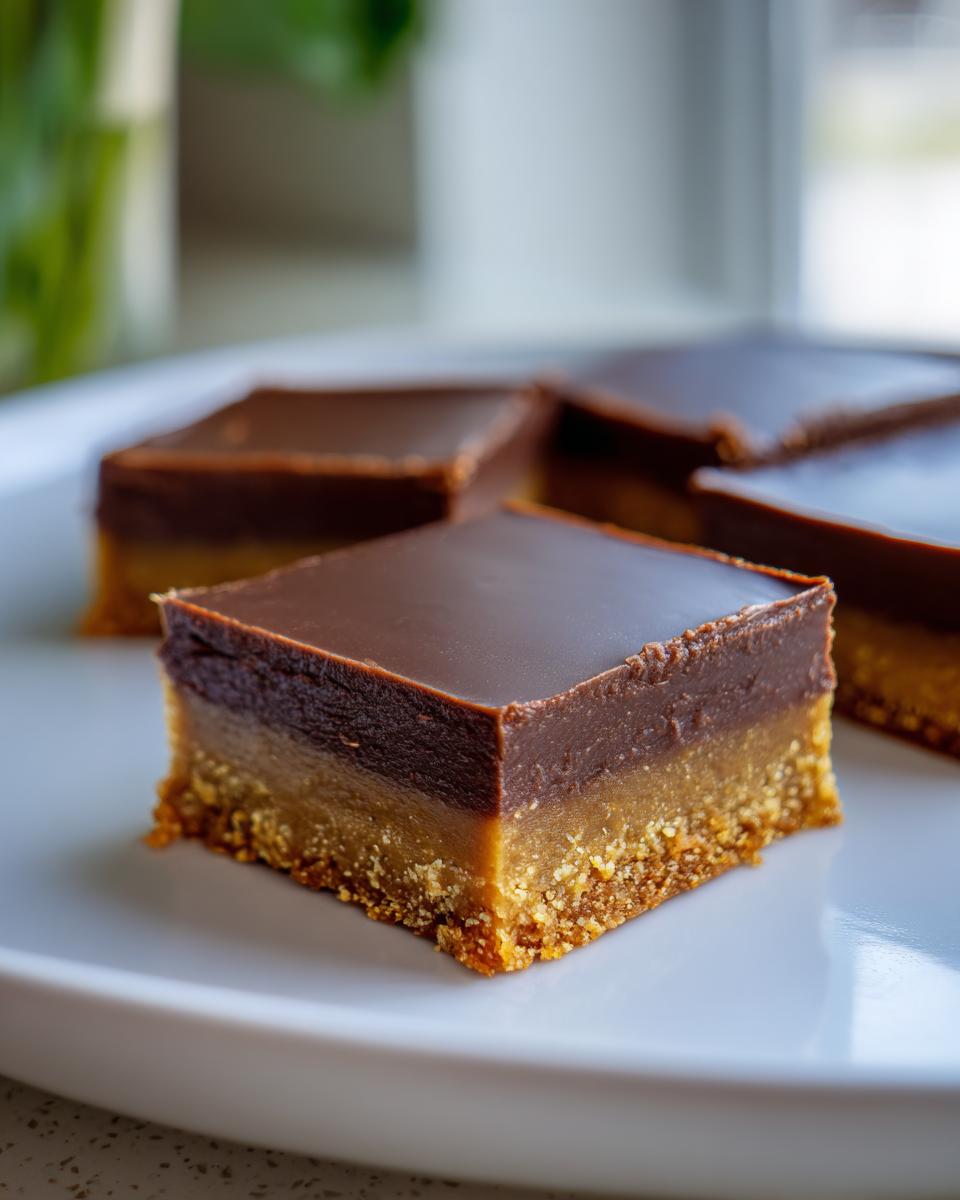
Now comes the hardest part: waiting. Pop the pan in the fridge for at least 2 hours to set. I know, I know – the temptation is real! But trust me, letting it chill completely makes all the difference when you cut into those perfect little squares. When you’re ready to serve, lift the bars out using the parchment paper and slice them with a warm knife for clean edges.
Tips for Perfect Chocolate Dessert Bars
After making these chocolate dessert bars more times than I can count (seriously, my neighbors know to come running when they smell them baking), I’ve picked up some foolproof tricks to guarantee perfection every time:
- Parchment paper is your best friend – Line that pan with it, letting the edges hang over. When your bars are set, you can lift them out in one glorious chocolatey slab!
- Cool the base just right – About 5 minutes is perfect. Too hot and your filling will melt into it, too cold and it won’t stick properly.
- Warm knife magic – Dip your knife in hot water and wipe dry before each cut. Those clean edges will make your bars look bakery-perfect.
- Chill patience – I know it’s tempting, but let them set fully! Two hours minimum in the fridge makes all the difference.
- Room temp cream – Let your heavy cream sit out for 15 minutes before heating – it prevents the chocolate from seizing up.
Follow these simple tips and you’ll have chocolate dessert bars that look and taste absolutely professional every single time!
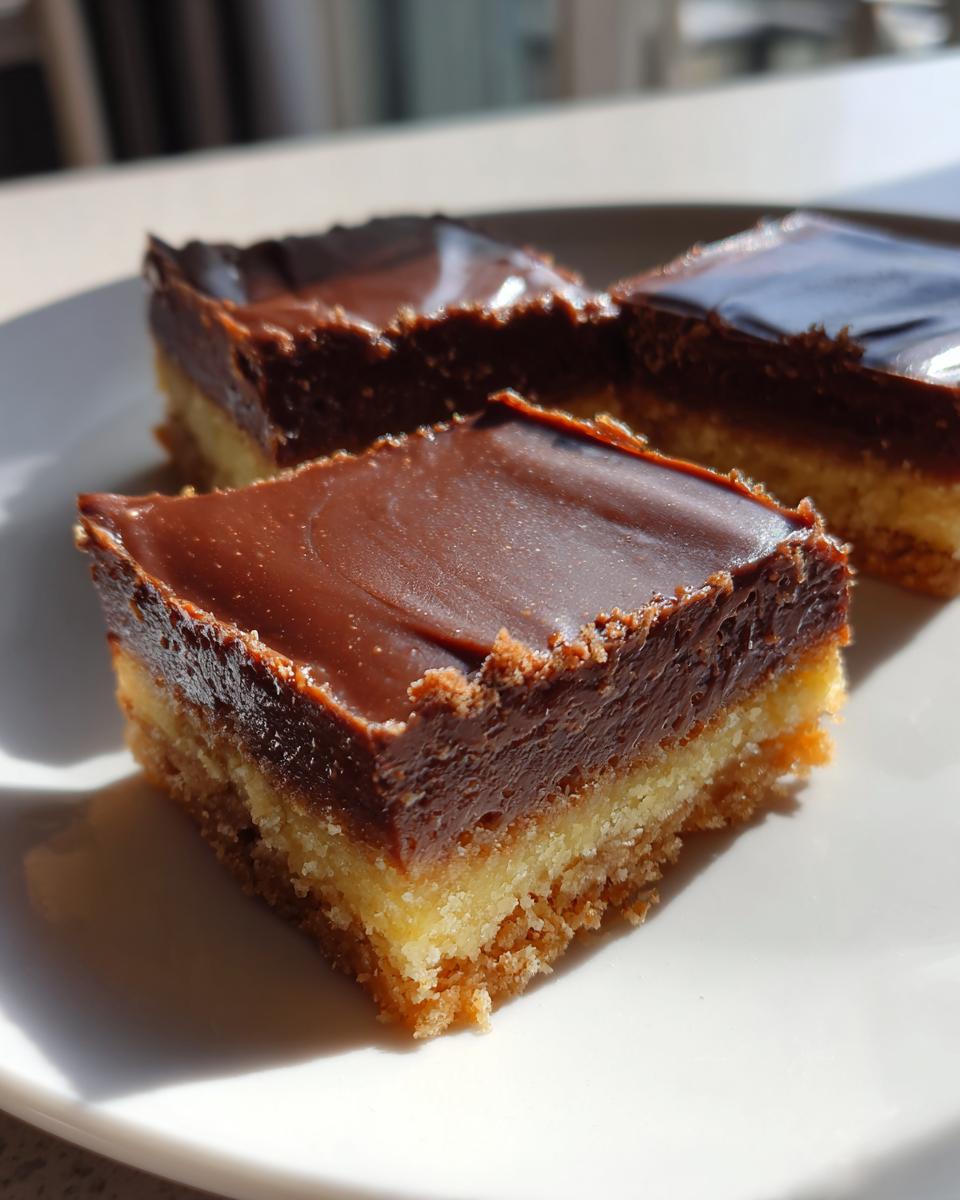
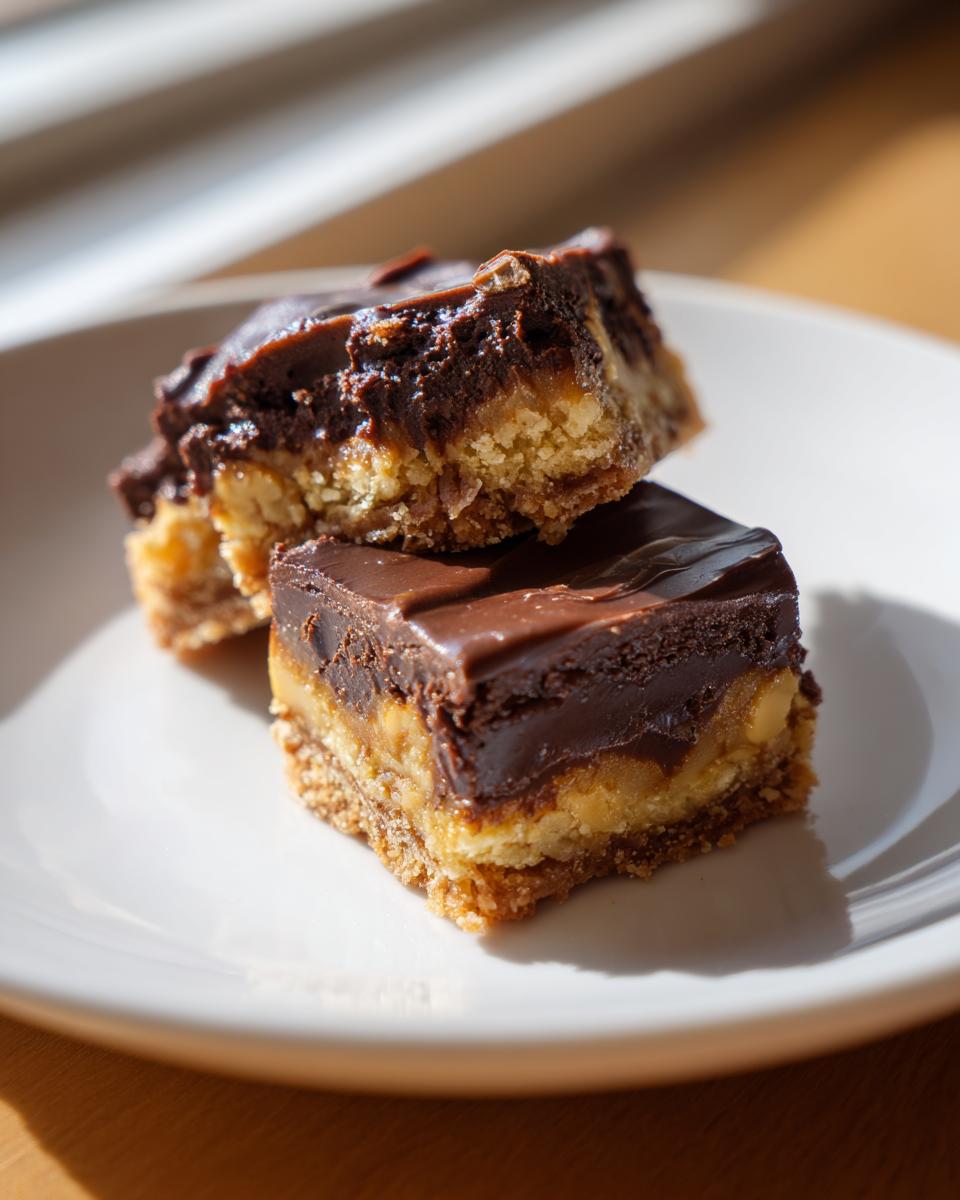
Variations for Chocolate Dessert Bars
Oh, the fun part – playing with flavors! These chocolate dessert bars are like a blank canvas just begging for your creative touches. Here are some of my favorite ways to mix things up when I’m feeling adventurous:
- Nutty delight – Stir 1/2 cup chopped pecans or walnuts into the base for a lovely crunch
- Chocolate switcheroo – Swap semi-sweet chips for dark chocolate (extra rich!) or white chocolate (so dreamy)
- Salty sweet – Sprinkle flaky sea salt over the chocolate filling before chilling – absolute perfection!
- Minty fresh – Add 1/4 tsp peppermint extract to the filling for a cool twist
- Coconut lover – Mix 1/4 cup toasted coconut into the base or sprinkle on top
The possibilities are endless – have fun making these bars your own signature treat!
Storing and Serving Chocolate Dessert Bars
Okay, let’s talk about keeping these beauties fresh and how to serve them up in style! First things first – these chocolate dessert bars absolutely must be stored in the fridge. I pop them in an airtight container with parchment between layers (if I’m stacking them) to keep them perfect. They’ll stay dreamy and delicious for up to 5 days this way – if they last that long in your house!
Now for the fun part – serving! My favorite way is slightly chilled with a scoop of vanilla ice cream melting over the top. The warm-cold contrast is heavenly. For parties, I’ll cut them into smaller squares and arrange them on a pretty platter with fresh berries. And here’s a secret – they’re amazing slightly warmed in the microwave for 10 seconds if you want that just-baked feel again!
Nutritional Information for Chocolate Dessert Bars
Now, let’s talk nutrition – but keep in mind I’m a home cook, not a dietitian! The exact numbers in these chocolate dessert bars can vary depending on the brands you use and how big you cut your squares (though let’s be honest – mine are always generous portions!).
What I can tell you is that these are definitely an indulgent treat meant to be enjoyed in moderation. Between the butter, chocolate, and cream, they’re rich and satisfying – which means a little goes a long way! If you’re watching specific dietary needs, you might want to adjust ingredients accordingly.
Remember, life’s too short not to enjoy delicious homemade treats sometimes – just balance it out with some veggies at dinner!
Frequently Asked Questions
I get asked about these chocolate dessert bars all the time – and I love sharing my hard-earned baking wisdom! Here are the questions that pop up most often from friends and family (and sometimes random neighbors who smell them baking!).
Can I use milk chocolate instead of semi-sweet?
Absolutely! While I adore the rich depth of semi-sweet, milk chocolate makes these bars wonderfully sweet and creamy. Just keep in mind it’ll set a bit softer, so you might need to chill them longer. Dark chocolate lovers – go for it! The higher cocoa content gives an intense chocolate experience.
How long do these bars last in the fridge?
In my house? Maybe 24 hours if I hide them well! But seriously, stored properly in an airtight container, they’ll stay perfect for 4-5 days. The chocolate might develop those pretty little bloom spots after that, but they’re still totally safe to eat.
Can I freeze chocolate dessert bars?
You bet! These freeze like a dream. Just wrap them tightly in plastic wrap then foil, and they’ll keep for 2-3 months. Thaw overnight in the fridge – though I confess to nibbling them slightly frozen sometimes. That cold, fudgy texture is amazing!
My filling seems too thin – what did I do wrong?
Don’t panic! This usually happens if the cream was too hot or you didn’t let the chocolate sit long enough before stirring. Pop the whole pan in the fridge – it’ll firm up beautifully. Next time, try letting your cream cool slightly before pouring over the chocolate.
Can I make these gluten-free?
Of course! Swap the all-purpose flour for your favorite gluten-free blend (I like the 1:1 substitutes). The texture might be slightly different, but you’ll still get delicious results. Just be sure your chocolate chips are GF too!
Chocolate Dessert Bars
Ingrédients
Equipment
Method
- Preheat your oven to 350°F (175°C). Line a 9×9 inch baking pan with parchment paper.
- In a mixing bowl, combine the flour, sugar, and melted butter for the base. Press the mixture into the prepared pan.
- Bake the base for 15 minutes, or until lightly golden. Remove from the oven and let cool slightly.
- In a saucepan, heat the heavy cream until just simmering. Pour over the chocolate chips and let sit for 2 minutes. Stir until smooth, then add the vanilla extract.
- Pour the chocolate filling over the baked base. Refrigerate for at least 2 hours before cutting into bars.