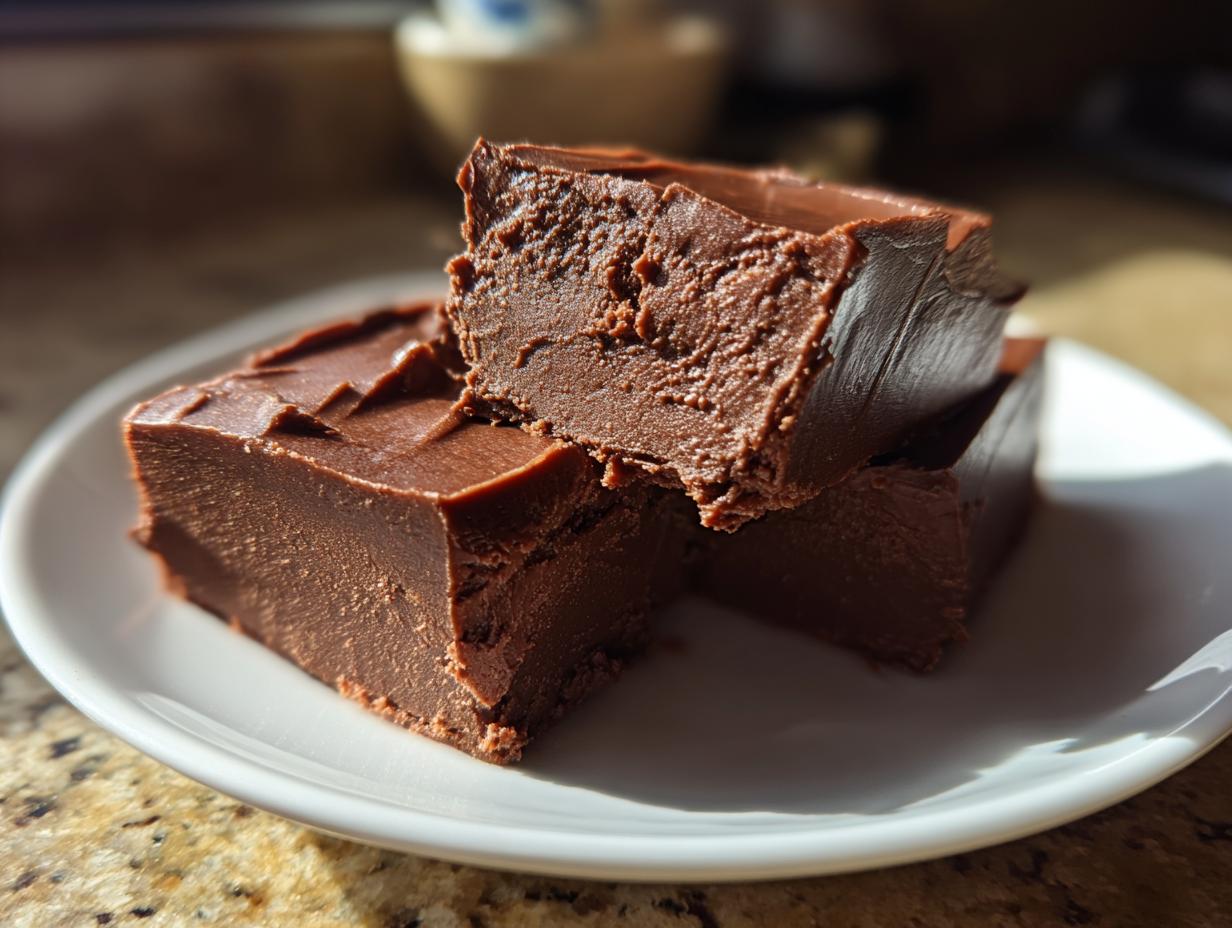
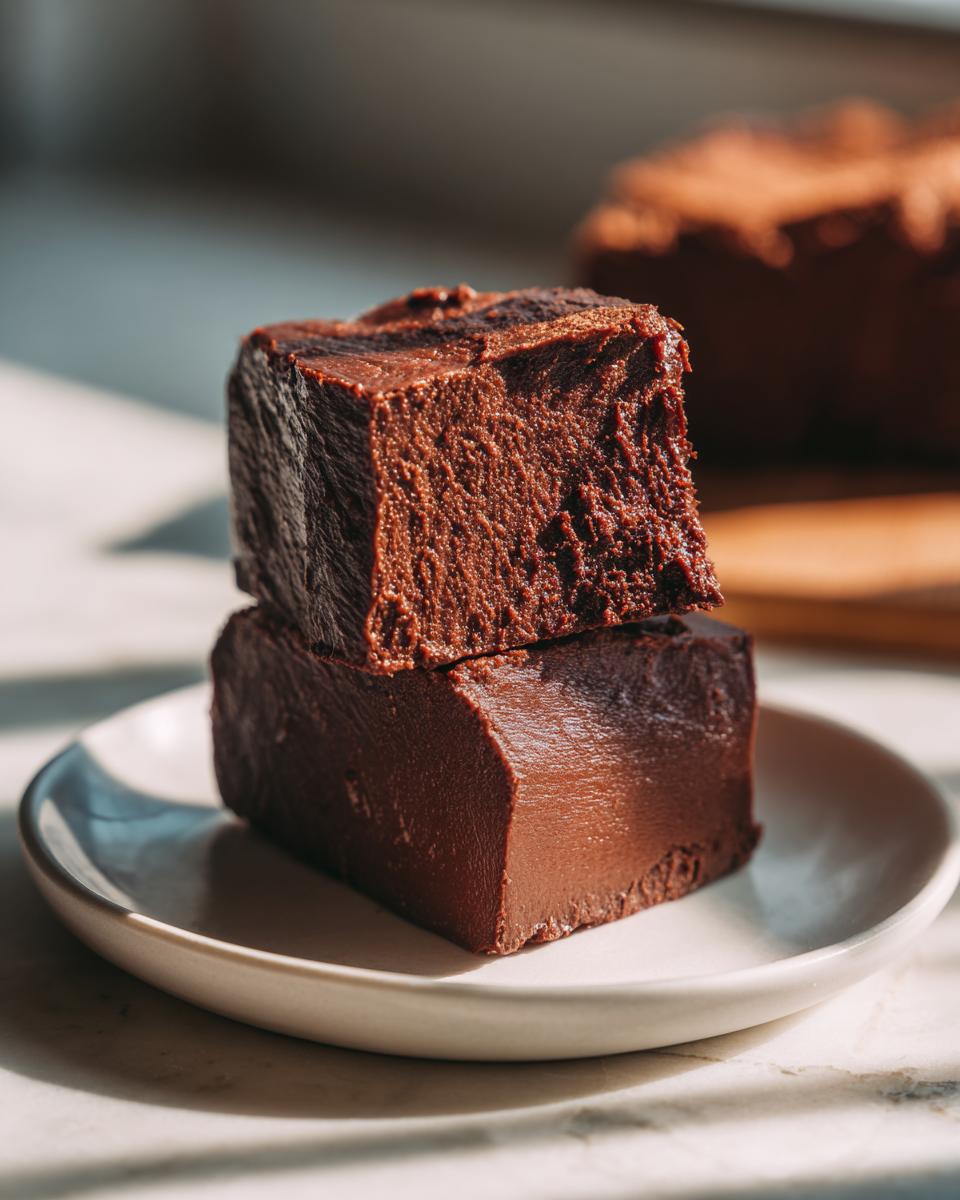
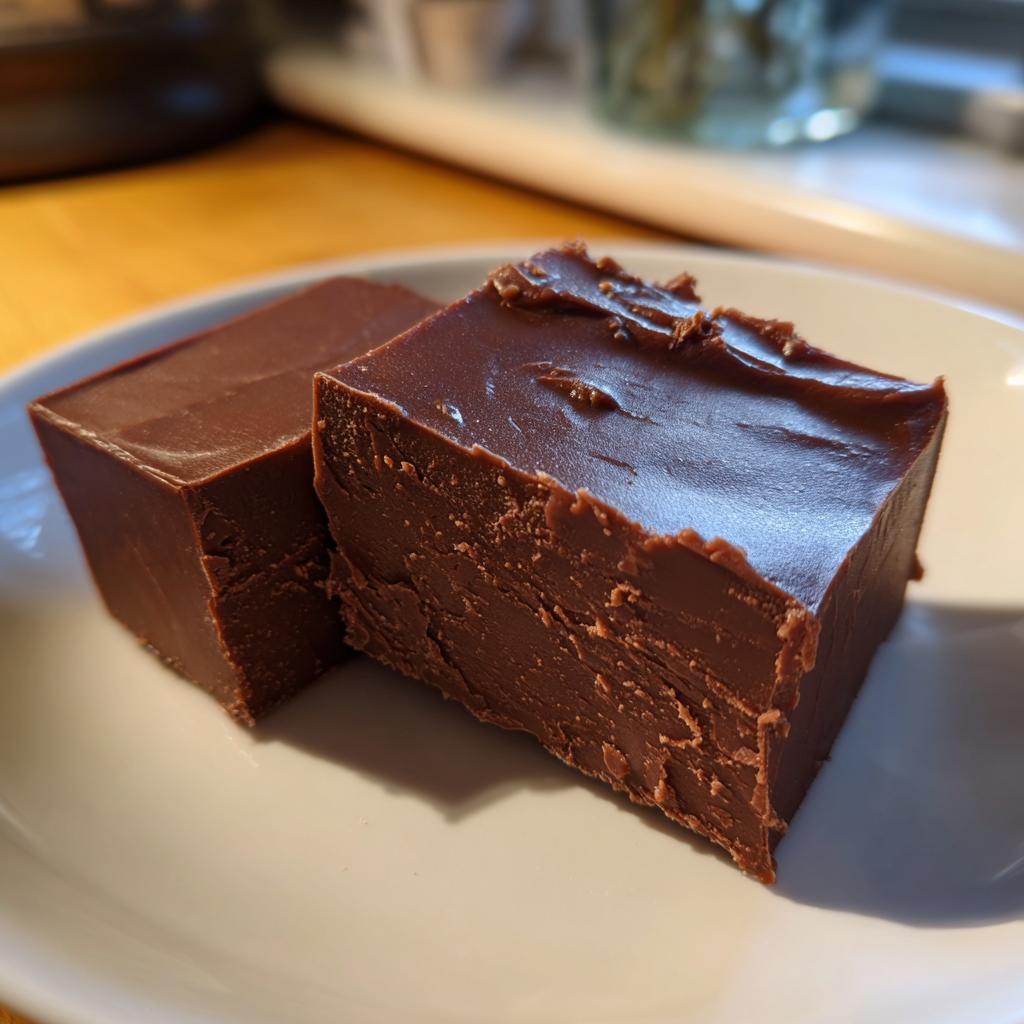
There’s something magical about homemade chocolate fudge that takes me right back to my grandma’s kitchen. The rich, velvety texture, the deep chocolate flavor that melts on your tongue – it’s pure nostalgia in every bite. This chocolate fudge recipe is my go-to when I need a quick dessert that feels special, whether I’m surprising my kids after school or bringing treats to book club.
I remember the first time I made this fudge with my cousin Sarah. We were convinced we’d mess it up, but the recipe is so forgiving! Just five simple ingredients transform into this decadent treat that looks like you spent hours in the kitchen. The secret? Good-quality chocolate chips and that sweetened condensed milk that makes everything creamy and dreamy. Now it’s our tradition to make a double batch every Christmas – half for gifting, half for sneaking pieces when no one’s looking!
Why You’ll Love This Chocolate Fudge Recipe
Oh my goodness, where do I even start? This chocolate fudge recipe is my absolute favorite for so many reasons:
- Quick as a wink: You’ll be done prepping in just 10 minutes – perfect for when those chocolate cravings hit hard!
- Simple ingredients: Just five pantry staples you probably have right now. No fancy equipment needed.
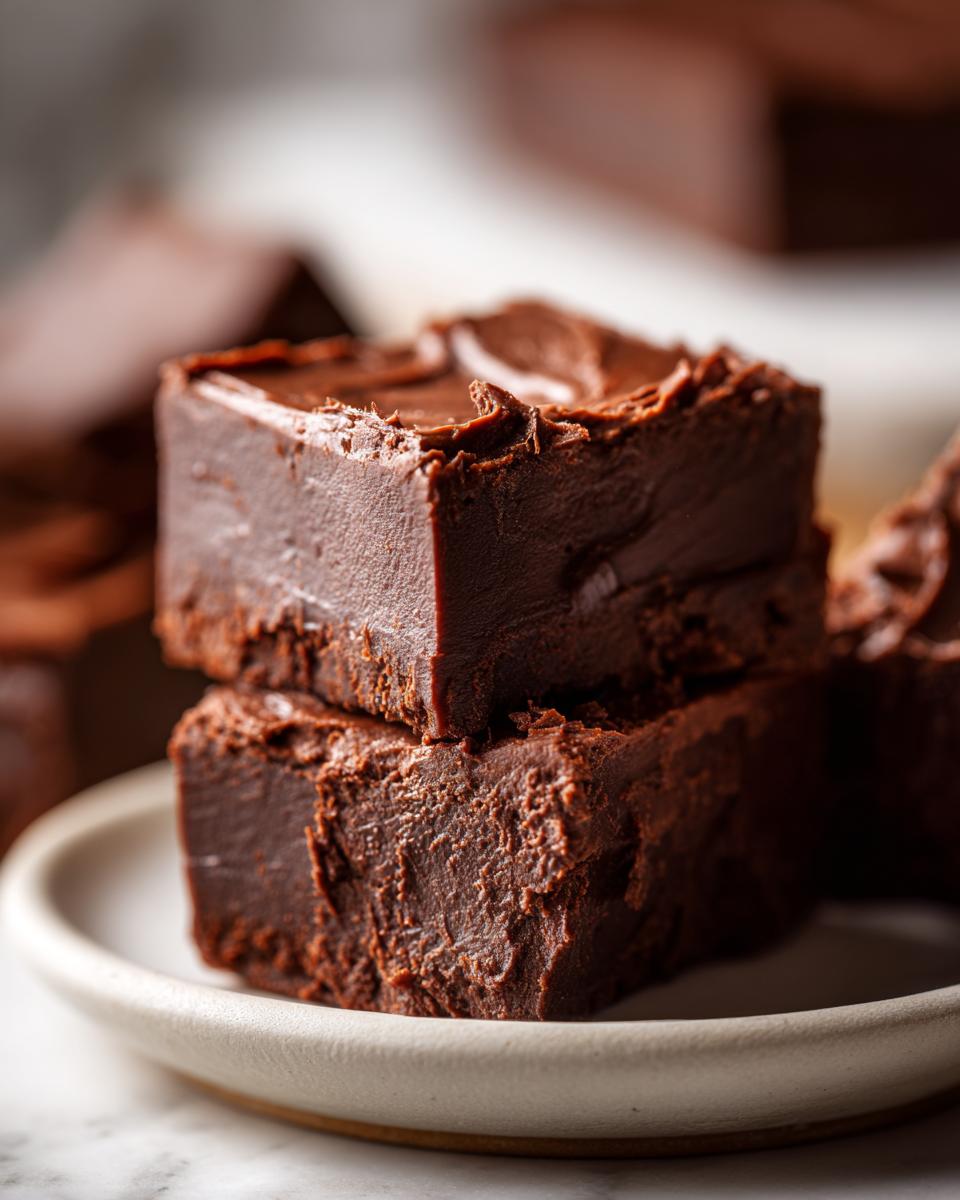
- Rich chocolate flavor: That first bite melts in your mouth with such deep chocolatey goodness.
- Foolproof: Even my most kitchen-challenged friends can’t mess this one up.
- Perfect for gifting: Wrap it up pretty and watch people’s faces light up – homemade gifts always taste better.
Trust me, once you try this fudge, you’ll never go back to store-bought again. It’s that good!
Ingredients for Chocolate Fudge Recipe
Okay, let’s gather our chocolatey treasures! Here’s everything you’ll need for this dreamy fudge – I promise it’s all simple stuff you might already have in your pantry. The magic happens when these five ingredients come together:
For the Fudge:
- 3 cups semi-sweet chocolate chips – I always use good quality ones because, well, they’re the star of the show!
- 1 can (14 oz) sweetened condensed milk – That magical sticky stuff that makes everything creamy.
- 1/4 cup butter – Real butter, please! It gives that melt-in-your-mouth texture.
- 1 tsp vanilla extract – Just a splash to make the chocolate flavor sing.
- 1/8 tsp salt – Trust me, this tiny bit balances all the sweetness perfectly.
See? Nothing fancy – just pure, simple ingredients that transform into something extraordinary. Now let’s get melting!
Equipment Needed for Chocolate Fudge Recipe
You won’t believe how little equipment this chocolate fudge recipe needs! I’ve made it with just these three trusty tools for years:
- 8-inch square baking pan – My grandma’s old metal one works perfectly, but glass works too. Just line it with parchment paper so the fudge pops right out!
- Medium saucepan – Nothing fancy, just something sturdy enough to melt all that chocolatey goodness without scorching.
- Wooden spoon – My favorite for stirring – it doesn’t scratch pans and feels so homey. A silicone spatula works in a pinch too.
That’s it! No mixers, no thermometers – just simple tools for simple, delicious fudge.
Step-by-Step Chocolate Fudge Recipe Instructions
Alright, let’s dive into making this dreamy chocolate fudge! I’ve made this recipe more times than I can count, and I’ve learned all the little tricks to get it perfect every single time. Follow these steps carefully, and you’ll have fudge that’ll make everyone think you’re a professional chocolatier!
Preparing the Pan
First things first – let’s get our pan ready! Grab that 8-inch square baking pan and line it with parchment paper. Here’s my little secret: leave some extra paper hanging over the edges – it’ll make lifting the fudge out so much easier later. Smooth out any wrinkles (I use the back of a spoon for this) so your fudge has a nice, even surface. Trust me, this step saves so much frustration when it’s time to cut!
Melting the Ingredients
Now for the fun part – melting everything together! Combine your chocolate chips, sweetened condensed milk, and butter in that medium saucepan. Turn the heat to low – and I mean LOW. Chocolate burns faster than you’d think! Stir constantly with your wooden spoon for about 5 minutes until everything is melted and smooth as silk. If you see tiny lumps, just keep stirring – they’ll melt eventually. The mixture should look glossy and pour easily off the spoon when it’s ready.
Adding Flavor and Setting
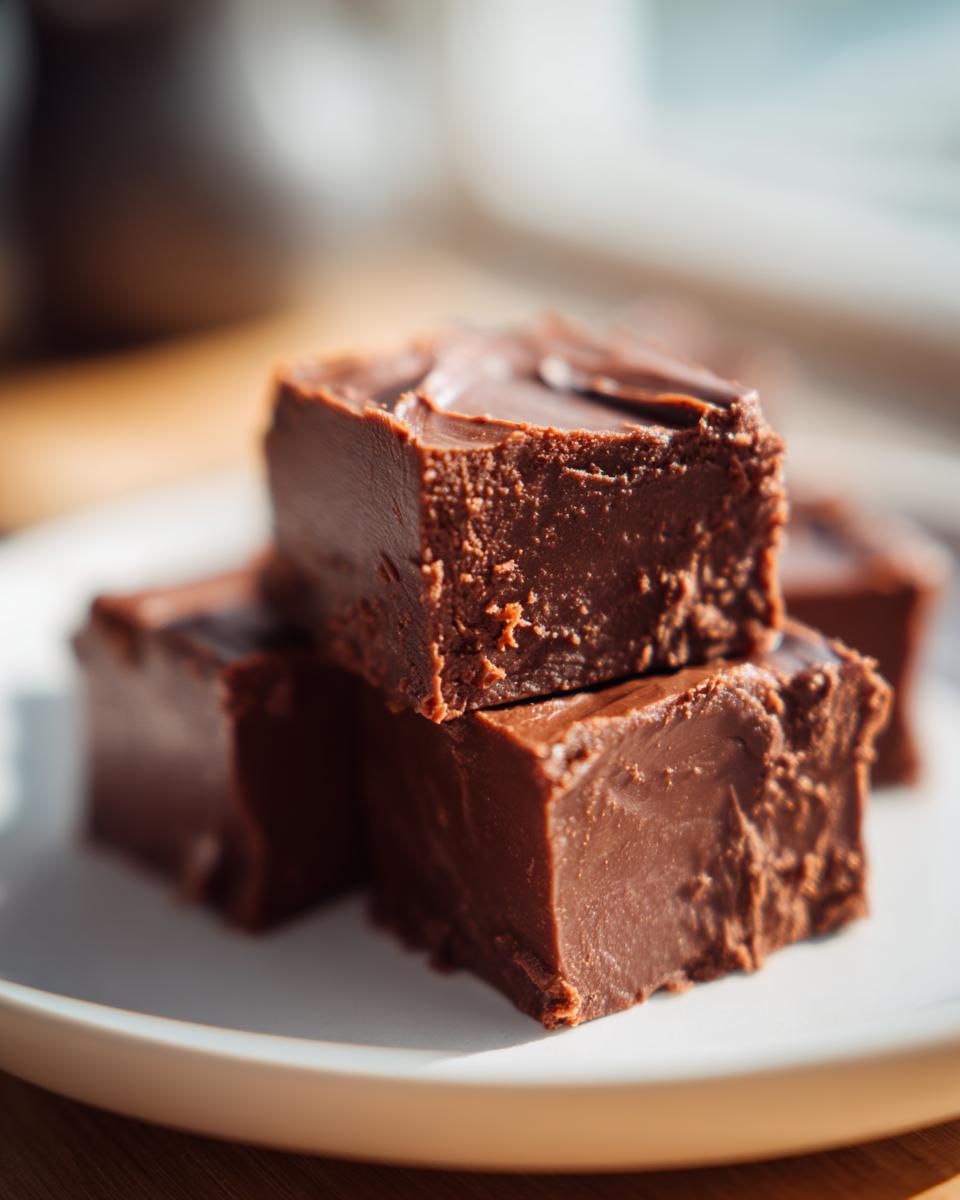
Remove the pan from heat – this is important! Now stir in that vanilla extract and salt. The vanilla makes the chocolate flavor pop, and the salt cuts through the sweetness perfectly. Pour this heavenly mixture into your prepared pan and smooth the top with your spoon or spatula. Now comes the hard part – waiting! Pop it in the fridge for at least 2 hours until it’s completely firm. I know it’s tempting, but don’t peek too soon – good things come to those who wait!
Tips for Perfect Chocolate Fudge Recipe
After making this chocolate fudge recipe more times than I can count (and eating way too many « test » pieces), I’ve learned all the little tricks that make it foolproof. First – splurge on good chocolate chips! Those cheap ones just don’t melt as smoothly. And keep that heat LOW – I once got distracted and ended up with chocolate cement instead of fudge. Oops!
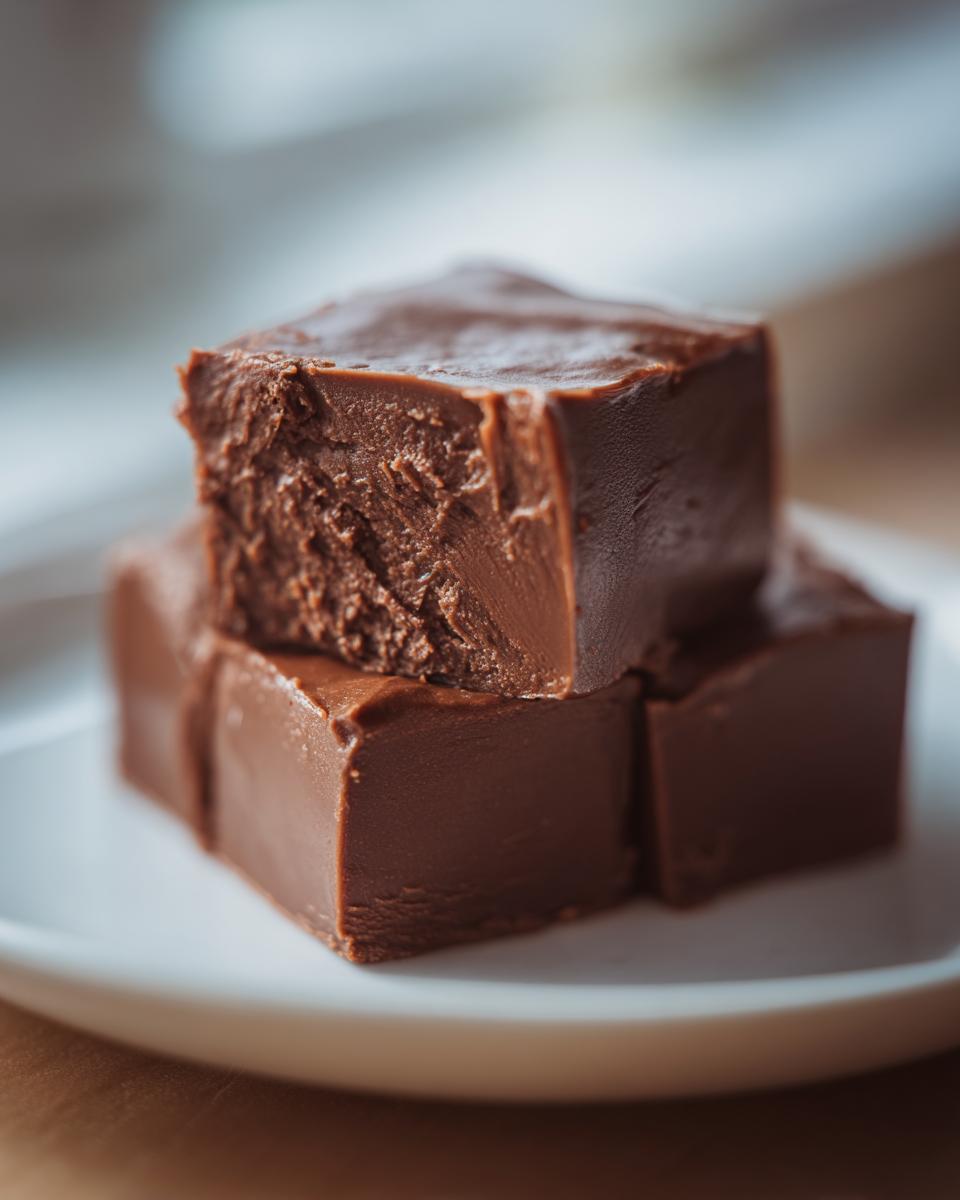
Here’s my golden rule: let it chill completely before cutting. I know it’s tempting, but rushing leads to messy squares. For clean cuts, run your knife under hot water between slices. And if you’re gifting it? Make an extra batch – trust me, you’ll want some for yourself!
Storing and Serving Chocolate Fudge Recipe
Okay, let’s talk about keeping this chocolate fudge perfect and all the fun ways to share it! First – storage is super easy. Just pop those delicious squares in an airtight container (I love using my grandma’s old cookie tins for this) and keep them in the fridge. They’ll stay fresh and dreamy for up to 2 weeks – if they last that long in your house!
Now for the best part – serving ideas! This fudge makes the most wonderful holiday gifts. I wrap individual pieces in pretty wax paper and tie them with ribbon – instant edible presents that always impress. For parties, arrange the squares on a vintage cake stand with some fresh berries. Or, my personal favorite – sneak a piece with your afternoon coffee when no one’s looking. Pure bliss!
Nutritional Information for Chocolate Fudge Recipe
Let’s be real – we’re not eating fudge for its health benefits! But since you’re curious, here’s the scoop on what’s in each delicious square. One piece (about 1/16th of the pan) has roughly:
- 220 calories – Totally worth every one!
- 12g fat (7g saturated) – That’s what makes it so creamy.
- 28g carbs (24g sugar) – Pure chocolatey sweetness.
- 3g protein – A little bonus from the milk.
Remember, these numbers can change depending on your exact ingredients. I use dark chocolate chips, which might have slightly different values than milk chocolate. But honestly? When that rich chocolate hits your tongue, numbers are the last thing on your mind!
Frequently Asked Questions About Chocolate Fudge Recipe
I get so many questions about this chocolate fudge recipe – let me answer the ones I hear most often! First up: Can I use milk chocolate? Absolutely! Just know it’ll be sweeter than the semi-sweet version. My cousin Sarah swears by dark chocolate chips for a richer taste. Help, my fudge turned grainy! Don’t panic – you probably heated it too fast. Next time, keep the heat super low and stir constantly. For now? Crumble it over ice cream – problem solved!
Can you freeze fudge? Oh yes, and it’s a game-changer! Wrap individual pieces tightly in wax paper, then pop them in a freezer bag. They’ll keep for 3 months – not that they’ll last that long! Thaw overnight in the fridge when you’re ready to indulge. Any other questions? Just ask – I’ve made every fudge mistake so you don’t have to!
Share Your Chocolate Fudge Recipe Experience
I’d love to hear how your chocolate fudge turns out! Did you add any fun twists like nuts or sea salt? Snap a photo of your beautiful creation and share it with me – there’s nothing I love more than seeing your kitchen successes. Leave a comment below telling me who you made it for (or if you ate it all yourself – no judgment here!). And if you loved this recipe as much as I do, give it a rating so others can find this chocolatey magic too!
Chocolate Fudge
Ingrédients
Equipment
Method
- Line an 8-inch square baking pan with parchment paper.
- In a medium saucepan, combine chocolate chips, sweetened condensed milk, and butter. Heat over low heat, stirring constantly, until melted and smooth.
- Remove from heat and stir in vanilla extract and salt.
- Pour the mixture into the prepared pan and spread evenly.
- Refrigerate for at least 2 hours or until firm.
- Cut into squares before serving.