
You know those days when you’re craving something sweet but the thought of turning on the oven makes you sweat? That’s when this easy icebox cake comes to the rescue! I first made it for my niece’s impromptu birthday party when I realized I’d forgotten to bake her cake – total lifesaver. Just graham crackers and whipped cream turn into magic with zero baking required. The beauty of this dessert is that it’s nearly impossible to mess up (I’ve tried!) and always gets rave reviews. My secret? Always making it the night before – those graham crackers transform into cake-like layers that’ll have everyone asking for seconds.
Why You’ll Love This Easy Icebox Cake
Oh honey, let me count the ways this dessert will become your new best friend! First off, it’s perfect for those « I need dessert NOW » emergencies. Here’s why you’ll adore it:
- No oven required – Seriously, who wants to heat up the kitchen when you can just whip and chill?
- 4 simple ingredients – Probably already in your pantry right this minute
- Foolproof – My 8-year-old niece could make this (and basically has!)
- Crowd-pleaser – I’ve never brought leftovers home from a potluck
- Make-ahead magic – Actually tastes better after chilling overnight
The best part? It looks fancy but takes less effort than making a sandwich. Trust me, once you try this easy icebox cake, you’ll be making excuses to serve it all summer long!
Ingredients for Easy Icebox Cake
Okay, let’s gather our simple but magical ingredients! Here’s what you’ll need to make this dreamy no-bake dessert:
- 3 cups heavy whipping cream – Cold straight from the fridge is best. Don’t even think about that canned stuff – we’re making real whipped cream here!
- 1/4 cup powdered sugar – This sweetens the cream just right without making it grainy
- 1 teaspoon vanilla extract – Pure vanilla makes all the difference, but in a pinch, imitation will do
- 14 oz graham crackers (about 24 full sheets) – The honey kind are my favorite, but cinnamon works great too
See? I told you it was simple! Now, a little pro tip from me to you – measure everything out before you start. That way when the whipping frenzy begins, you won’t be scrambling to find the vanilla like I did that one embarrassing time…
How to Make Easy Icebox Cake
Alright, let’s get to the fun part – assembling this beauty! I’ve made this easy icebox cake more times than I can count, and I’ve learned a few tricks along the way. The process is simple, but there are a couple key things to watch for to make sure your cake turns out perfect every time.
Step 1: Whip the Cream
First things first – let’s make that whipped cream dreamy! Use a chilled bowl (I pop mine in the freezer for 10 minutes) and cold cream straight from the fridge. Start mixing on low, then gradually increase speed as it thickens. Add the powdered sugar and vanilla when it starts to get frothy. Watch closely – you want stiff peaks that hold their shape when you lift the beaters, but don’t go too far or you’ll end up with butter (been there, cried over that!).
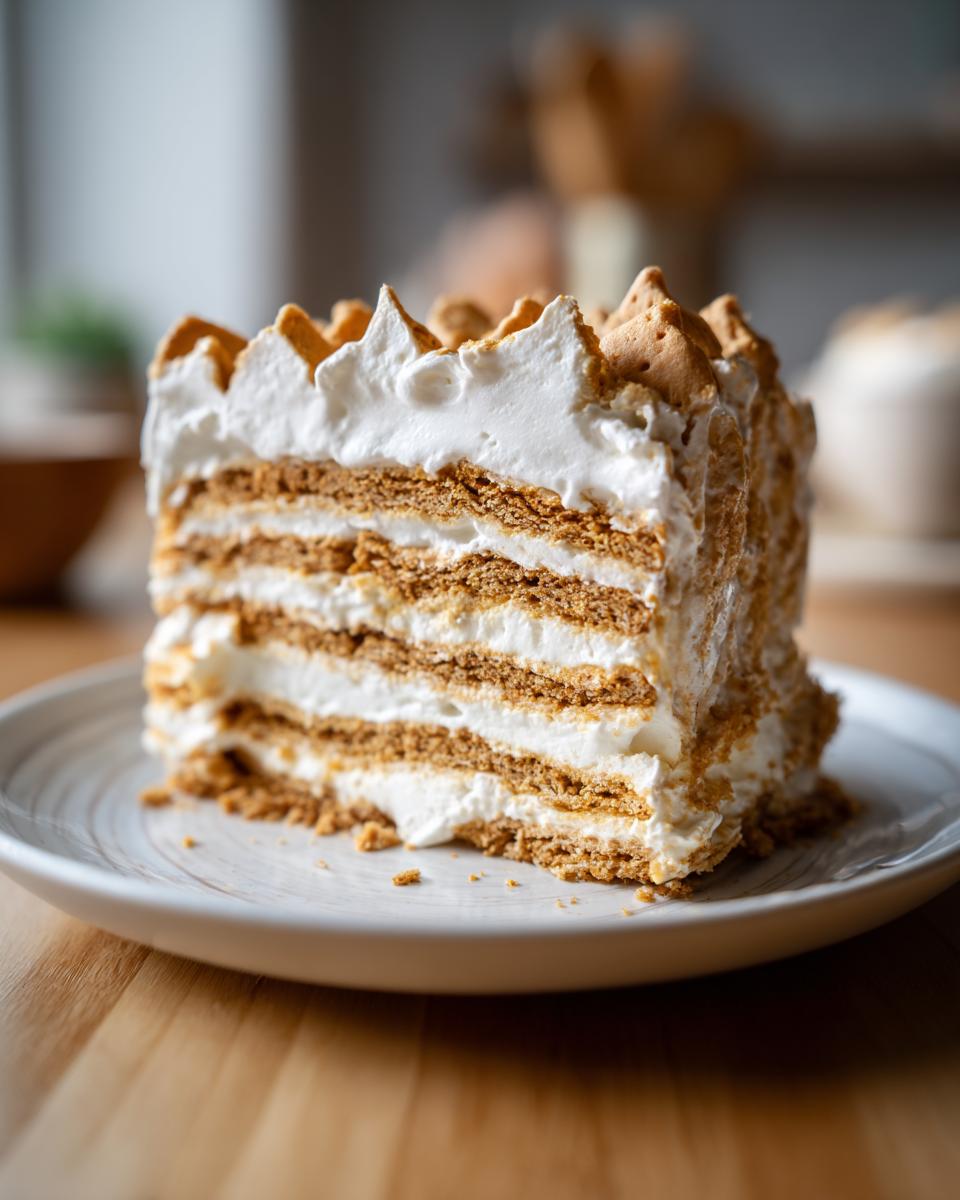
Step 2: Layer the Graham Crackers and Cream
Now for the fun part – layering! Spread just enough whipped cream to coat the bottom of your dish (about 1/4 inch). This « glue » keeps everything in place. Break graham crackers to fit – I like to keep some whole and break others for better coverage. Alternate cream and crackers, pressing gently so they’re snug but not crushed. Pro tip: spread the cream to the edges to prevent dry spots!
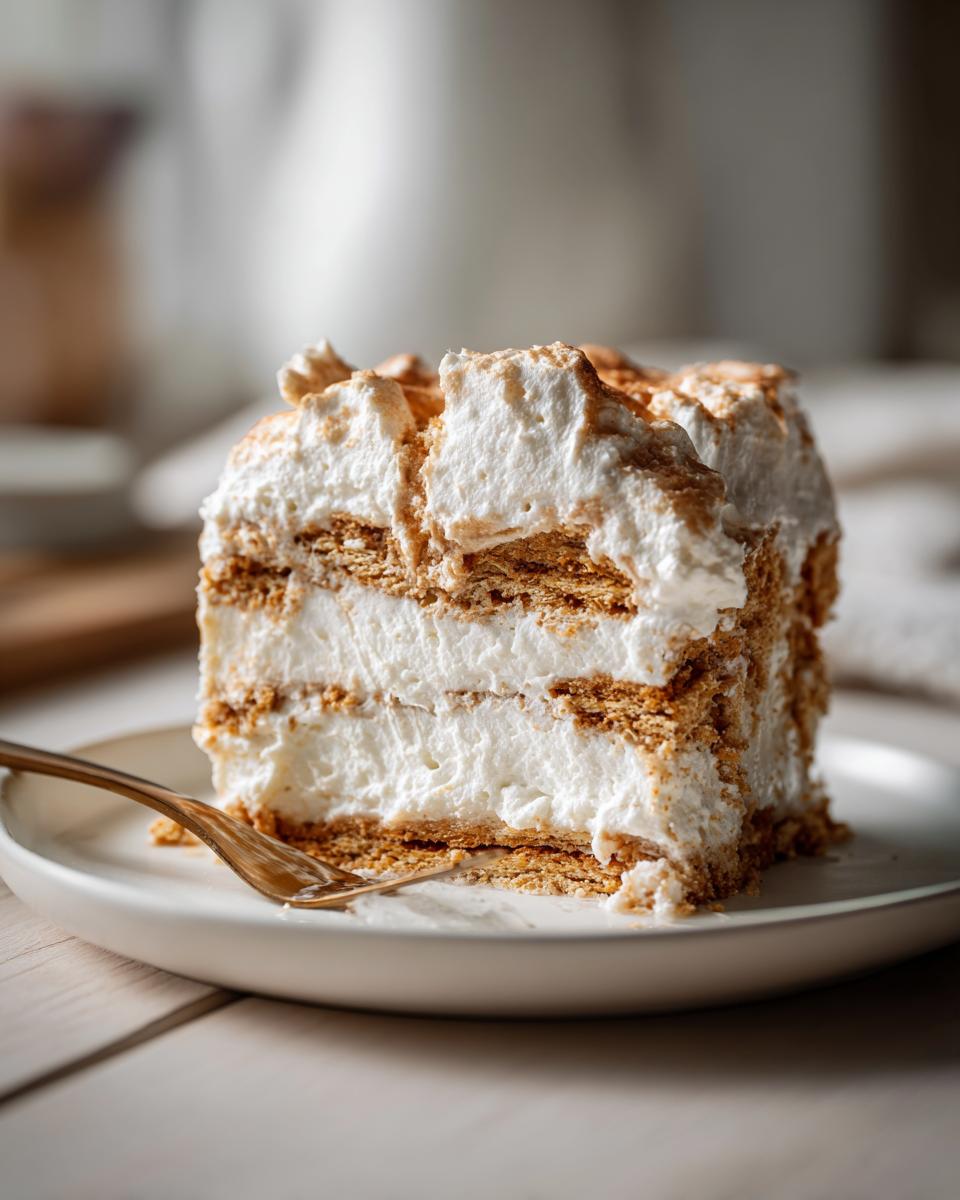
Step 3: Chill the Easy Icebox Cake
Here’s where the magic happens! Cover tightly with plastic wrap and refrigerate for at least 4 hours, but overnight is golden. The graham crackers soften into cake-like layers while the cream sets up perfectly. I know it’s tempting to peek, but trust me – patience pays off with that perfect sliceable texture. The wait will be worth it!
Tips for the Perfect Easy Icebox Cake
Listen up, friend – I’ve made every possible mistake with this easy icebox cake so you don’t have to! Here are my hard-earned secrets for flawless results every single time:
Everything cold, always – Your cream, bowl, even beaters should be chilled. Warm tools make sad, soupy whipped cream. Toss ’em in the freezer for 10 minutes if you forgot (we’ve all been there).
Thinner layers win – Too much cream between crackers makes a soggy mess. Aim for about 1/4 inch – just enough to hold everything together without drowning the poor grahams!
The overnight rule – I know, waiting stinks, but four hours minimum or the crackers won’t soften properly. Overnight chilling gives you that magical cake-like texture. Set a reminder on your phone if you’re impatient like me!
Clean slice trick – Run your knife under hot water and wipe dry between cuts. Boom – perfect Instagram-worthy slices that don’t smush. You’re welcome!
Variations for Easy Icebox Cake
Oh, the possibilities! This easy icebox cake is like a blank canvas just begging for your creative touches. My family has tested every variation imaginable – here are our absolute favorites:
- Berry bliss – Layer fresh strawberries or raspberries between the cream for bursts of fruity goodness
- Chocolate heaven – Sprinkle chocolate shavings between layers or drizzle melted chocolate on top
- Tropical twist – Swap vanilla for coconut extract and add toasted coconut flakes
- PB&J vibes – Spread a thin layer of jam before adding the whipped cream
- Mocha magic – Mix a tablespoon of instant coffee into the powdered sugar
The best part? You can mix and match these ideas – last summer I did chocolate-strawberry layers that disappeared in minutes! What will you try first?
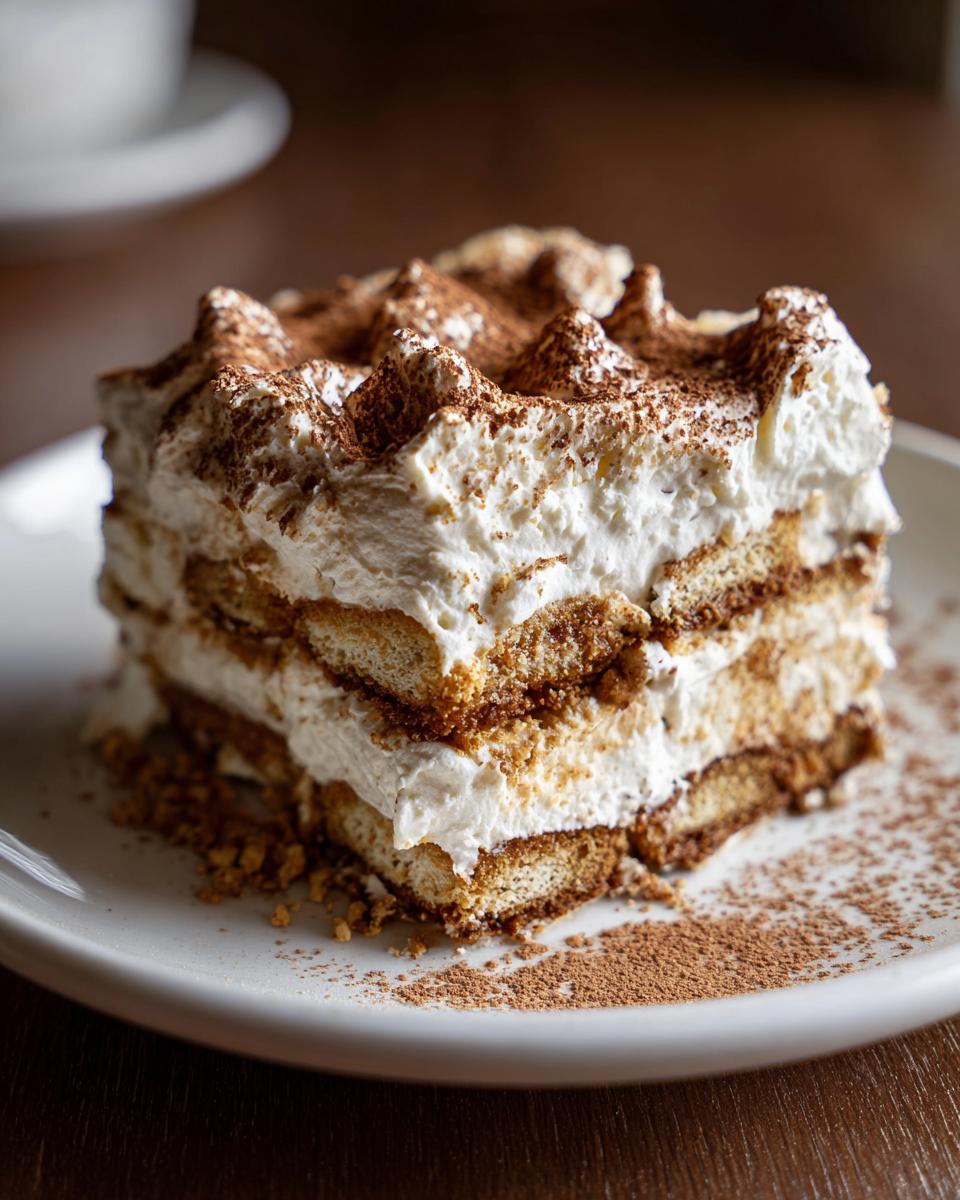
Serving and Storing Easy Icebox Cake
Okay, let’s talk about the best part – eating this glorious creation! I always let my easy icebox cake sit at room temperature for about 10 minutes before serving – just enough to take the chill off without making it too soft. Use a sharp knife dipped in hot water for those picture-perfect slices (wiping it clean between cuts makes all the difference).
Leftovers? Ha! Like there will be any! But if by some miracle you’ve got extra, just cover the dish tightly with plastic wrap or transfer slices to an airtight container. It’ll keep beautifully in the fridge for 3-4 days – though honestly, mine never lasts past day two. Pro tip: don’t freeze it unless you want graham cracker mush (learned that one the hard way).
Nutritional Information
Now, I’m no nutritionist, but here’s the scoop on what’s in this easy icebox cake – take it with a grain of salt (or in this case, a sprinkle of powdered sugar)! These numbers are estimates based on standard ingredients, but they’ll vary depending on your exact brands and any tasty additions you throw in. One slice packs about 320 calories – totally worth every single one if you ask me! Remember, homemade means you control what goes in, unlike those mystery-ingredient store-bought desserts. Now go enjoy your creation without guilt – life’s too short to stress over dessert math!
Frequently Asked Questions
Can I use store-bought whipped cream instead of making my own?
Oh honey, I get it – sometimes you’re in a real hurry! While you technically can use the canned stuff, homemade whipped cream makes all the difference in texture and flavor. The stabilizers in store-bought cream don’t hold up as well during chilling. But if you must, go for the extra creamy variety and maybe add a little extra powdered sugar to help it set. Just promise me you’ll try the real deal next time – it’s seriously life-changing!
How long does easy icebox cake keep in the fridge?
Here’s the scoop – this beauty stays fresh for 3-4 days in the fridge, though in my house it never lasts that long! The graham crackers do continue softening over time, so by day three you’ll have more of a pudding-like texture (still delicious, just different). Pro tip: if you’re making it ahead for a party, I find day two is actually the sweet spot for perfect texture!
Can I use different cookies instead of graham crackers?
Absolutely! I’ve experimented with everything from vanilla wafers to chocolate chip cookies – they all work, but the texture changes. Thin, crisp cookies like grahams soften perfectly into cake-like layers. Thicker cookies might stay a bit crunchy, which isn’t bad, just different. My favorite swap? Those cinnamon-sugar animal crackers – they give the most amazing spice flavor!
Why does my whipped cream keep deflating?
Been there, cried over that bowl of sad cream! Usually it means either your cream wasn’t cold enough, you overmixed it (stop at stiff peaks!), or your bowl had traces of grease. My foolproof method? Chill everything – bowl, beaters, even the cream carton – for 10 minutes before starting. And don’t walk away while mixing – this is one time when multitasking fails spectacularly!
Easy Icebox Cake
Ingrédients
Equipment
Method
- In a large mixing bowl, whip the heavy cream, powdered sugar, and vanilla until stiff peaks form.
- Spread a thin layer of whipped cream on the bottom of a 9×13-inch baking dish.
- Arrange a single layer of graham crackers over the whipped cream.
- Spread another layer of whipped cream over the graham crackers.
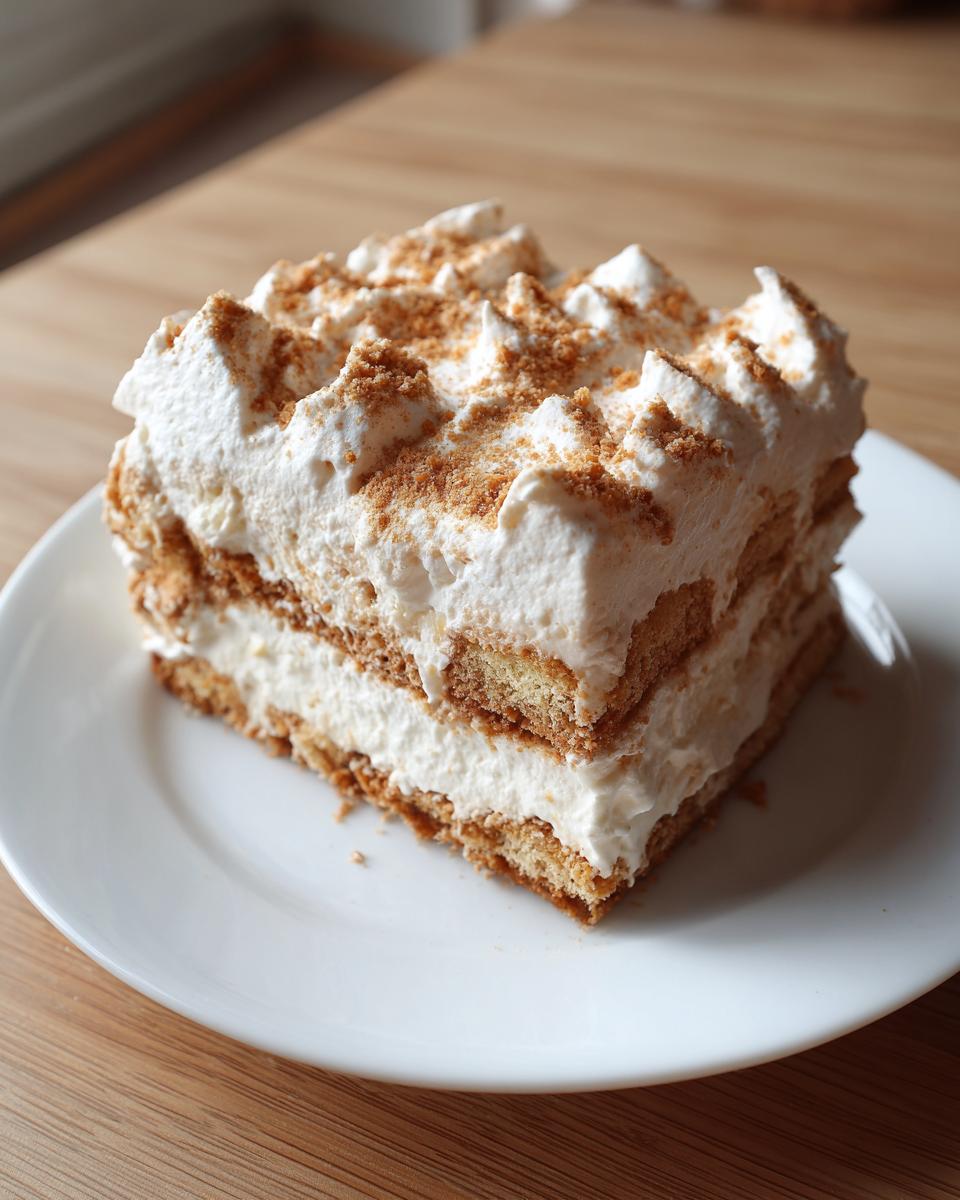
- Repeat the layers, ending with whipped cream on top.
- Cover and refrigerate for at least 4 hours or overnight.