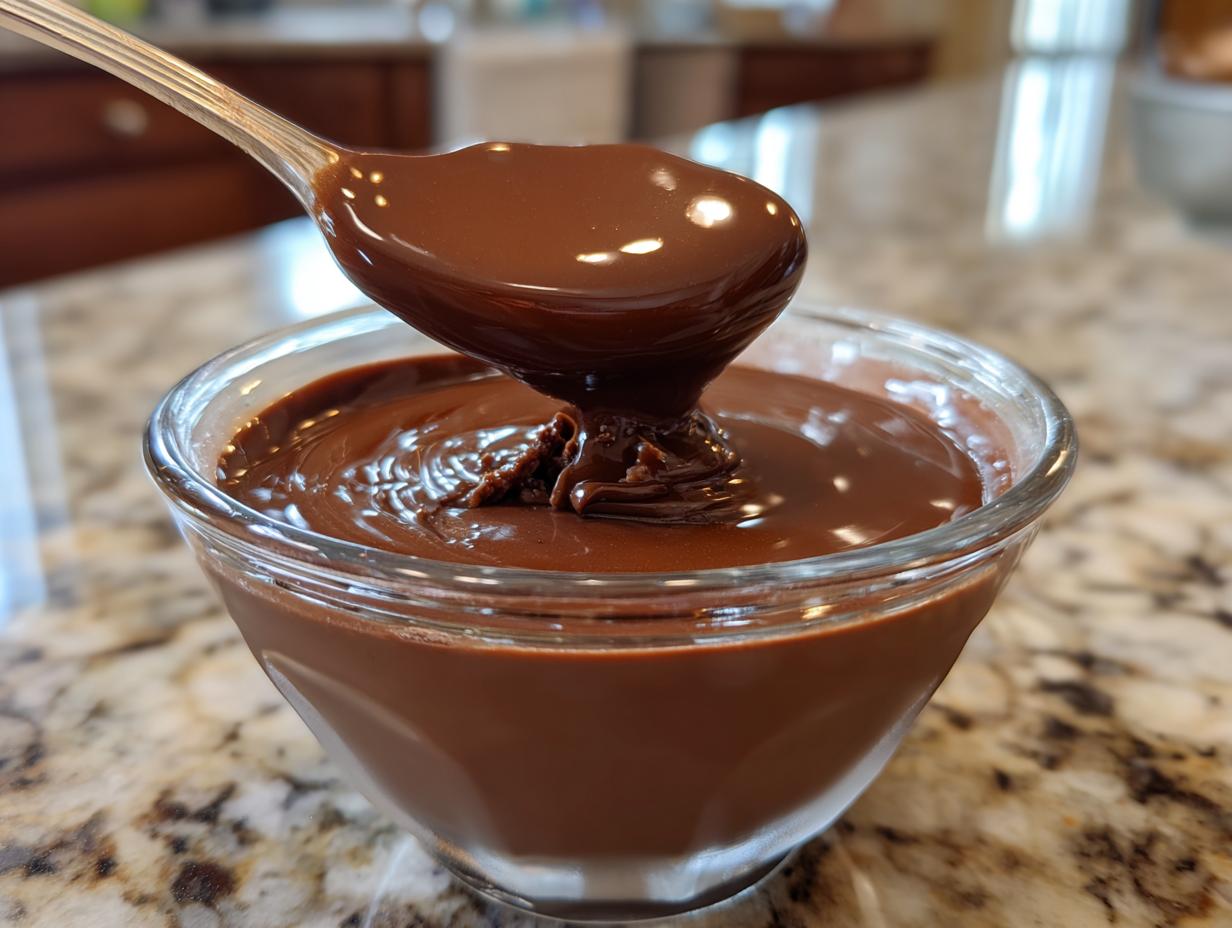
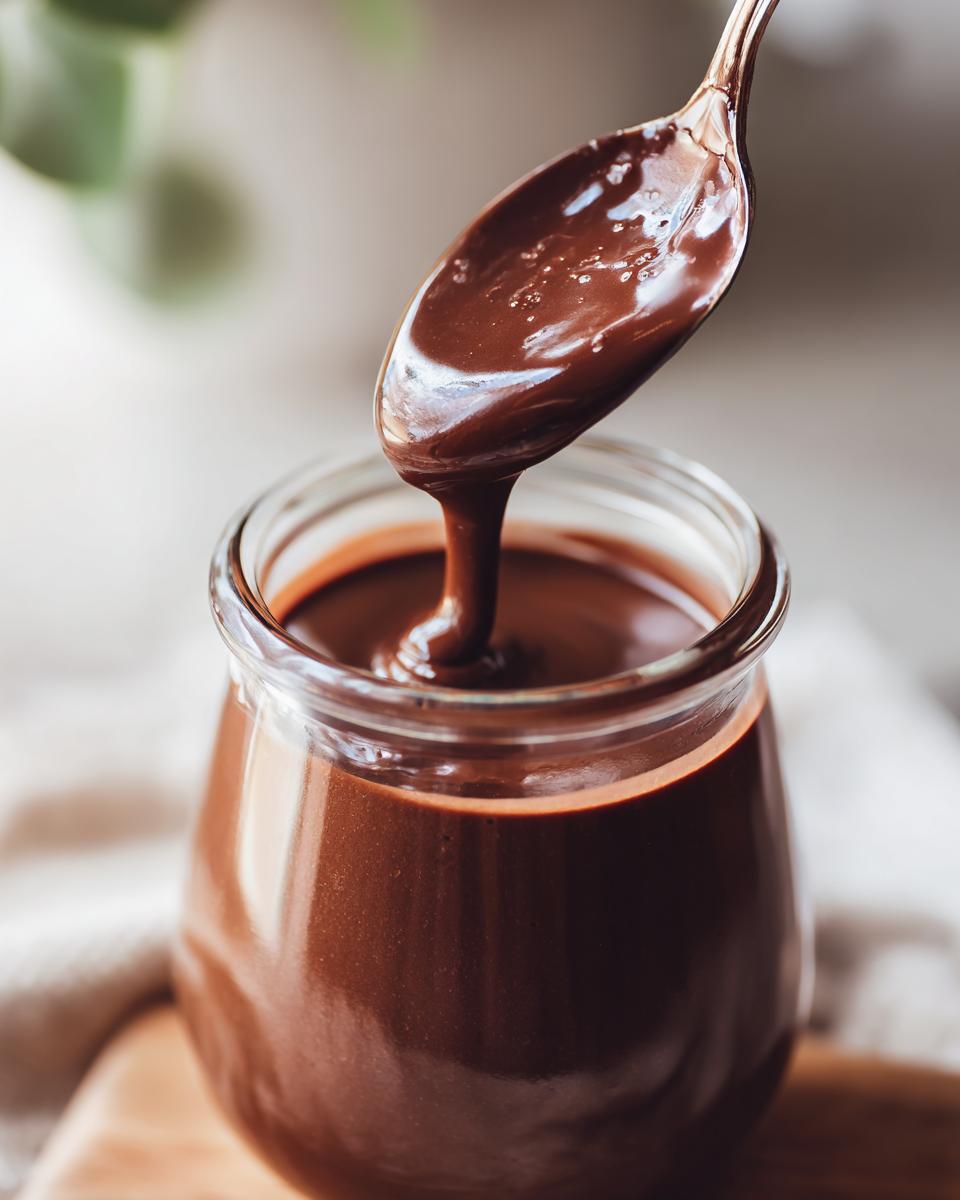
Honestly, what’s more comforting than a bowl of homemade chocolate pudding? I remember sneaking into my grandma’s fridge as a kid just to swipe a fingerful of her silky pudding before dinner (sorry, Grandma!). Now I make this exact same easy pudding recipe for my own family – it’s that simple magic of just 6 pantry staples and 15 minutes of stirring that turns into pure chocolate bliss. Forget those overpriced instant mixes – this from-scratch version has that rich, nostalgic flavor that’ll have everyone licking their bowls clean. Perfect for busy weeknights when you need a quick dessert fix that feels special.
Why You’ll Love These Easy Pudding Recipes
Trust me, this chocolate pudding recipe is about to become your new best friend in the kitchen. Here’s why:
- It’s crazy quick – ready in just 15 minutes of active time (perfect for last-minute dessert emergencies!)
- Only 6 simple ingredients you probably already have in your pantry
- That rich, velvety chocolate flavor puts boxed mixes to shame
- Works for any occasion – from fancy dinner parties to midnight snack attacks
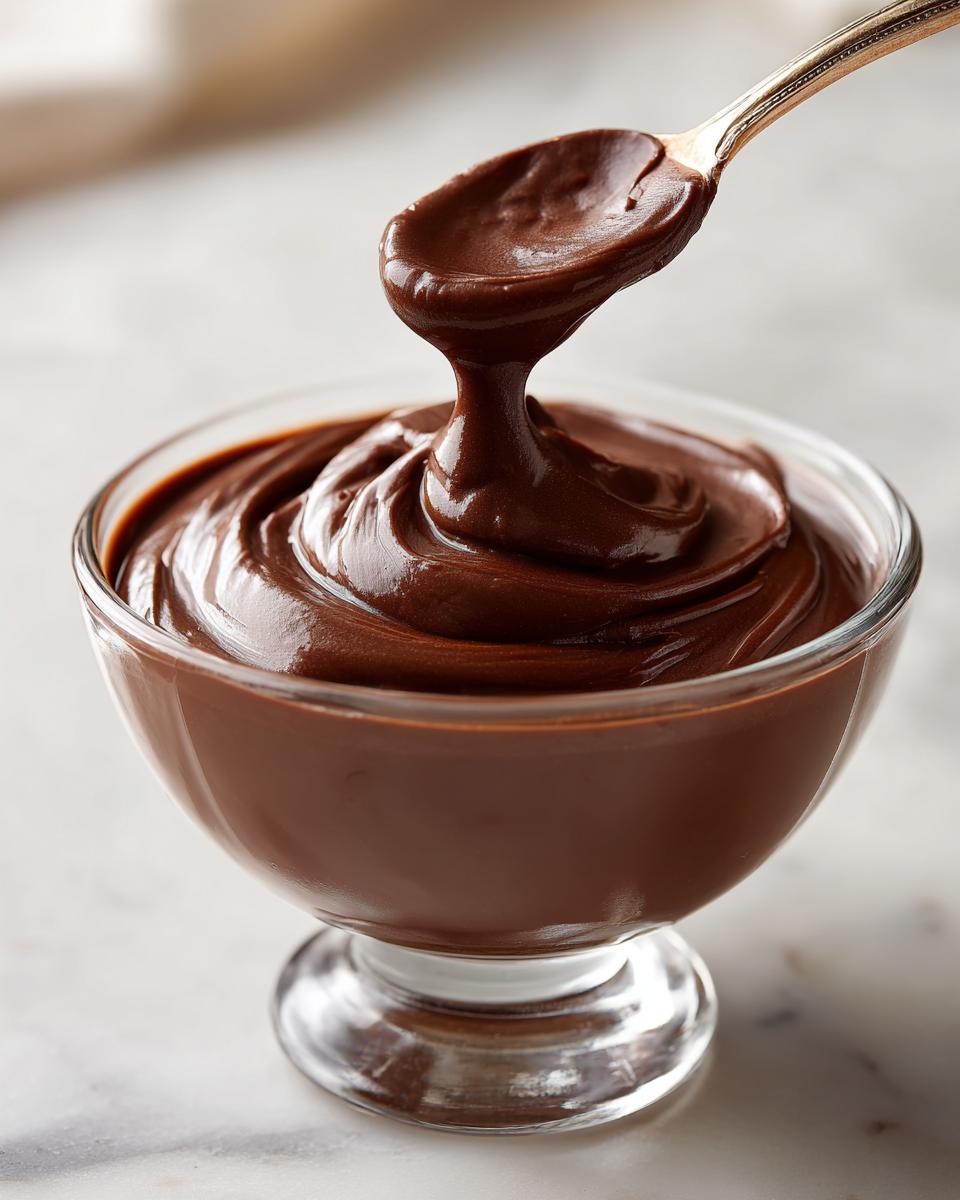
- The silky smooth texture will make you feel like a pastry chef (without the fuss!)
Seriously, once you taste how good homemade pudding can be, you’ll never go back to those sad little plastic cups again.
Ingredients for Easy Chocolate Pudding
Here’s the beautiful part – you likely have everything for this easy pudding recipe sitting in your kitchen right now! Just gather these simple ingredients:
- ½ cup granulated sugar – I know most recipes say « white sugar, » but trust me, the larger crystal size in granulated sugar dissolves perfectly in this pudding
- ¼ cup unsweetened cocoa powder – My secret is using Dutch-processed cocoa when I have it (extra rich flavor!), but regular works great too
- 3 tablespoons cornstarch – This is our magic thickener (you’ll see why soon)
- ¼ teaspoon salt – Just a pinch to balance all that sweetness
- 2 cups whole milk – While you can use lower-fat, whole milk makes the pudding luxuriously creamy
- 1 teaspoon vanilla extract – The finishing touch, added right at the end
That’s it! No fancy ingredients, no weird shopping trips – just pure, simple chocolate delight waiting to happen.
Equipment Needed for Easy Pudding Recipes
Here’s the best part about this easy pudding recipe – you don’t need any fancy gadgets! Just grab:
- A medium saucepan – I’ve used everything from my grandma’s old aluminum pot to my fancy enameled cast iron. As long as it holds about 3 cups, you’re golden.
- A good whisk – That cheap balloon whisk from your first apartment will work just fine, though I splurged on a silicone-coated one that doesn’t scratch my pans.
Don’t have a whisk? A fork will do in a pinch – just whisk extra vigorously to avoid lumps. The beauty of pudding is it forgives imperfect tools!
How to Make Easy Chocolate Pudding
Okay, let’s get to the fun part! Making this easy chocolate pudding is honestly foolproof if you follow these simple steps. I’ve made this recipe countless times (don’t tell my dentist), and trust me – it’s easier than remembering your WiFi password.
Step 1: Combine Dry Ingredients
First, grab your trusty medium saucepan – no need to turn on the heat yet! Whisk together the sugar, cocoa powder, cornstarch, and salt until it looks like a rich chocolate powder. Really whisk it well – this ensures no pesky lumps of cornstarch will surprise you later. The mixture should be uniform in color – think the chocolate version of sand at the beach.
Step 2: Add Milk Gradually
Now, slowly drizzle in the milk while whisking constantly. I mean slowly – imagine pouring maple syrup on pancakes in slow motion! This gradual addition is the secret to silky smooth pudding. If you dump it all in at once, you’ll get lumps. Keep whisking until the mixture becomes satiny smooth.
Step 3: Cook Until Thickened
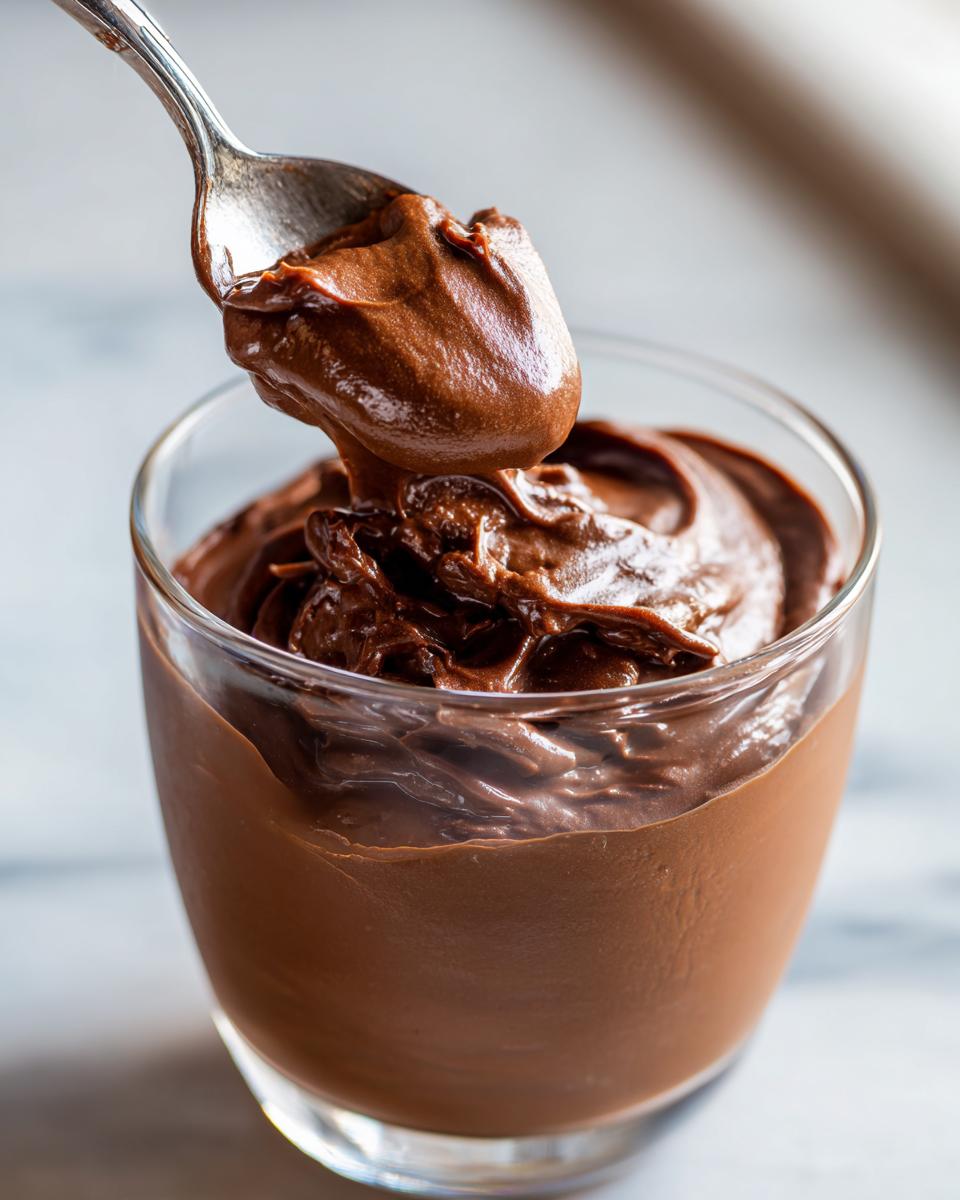
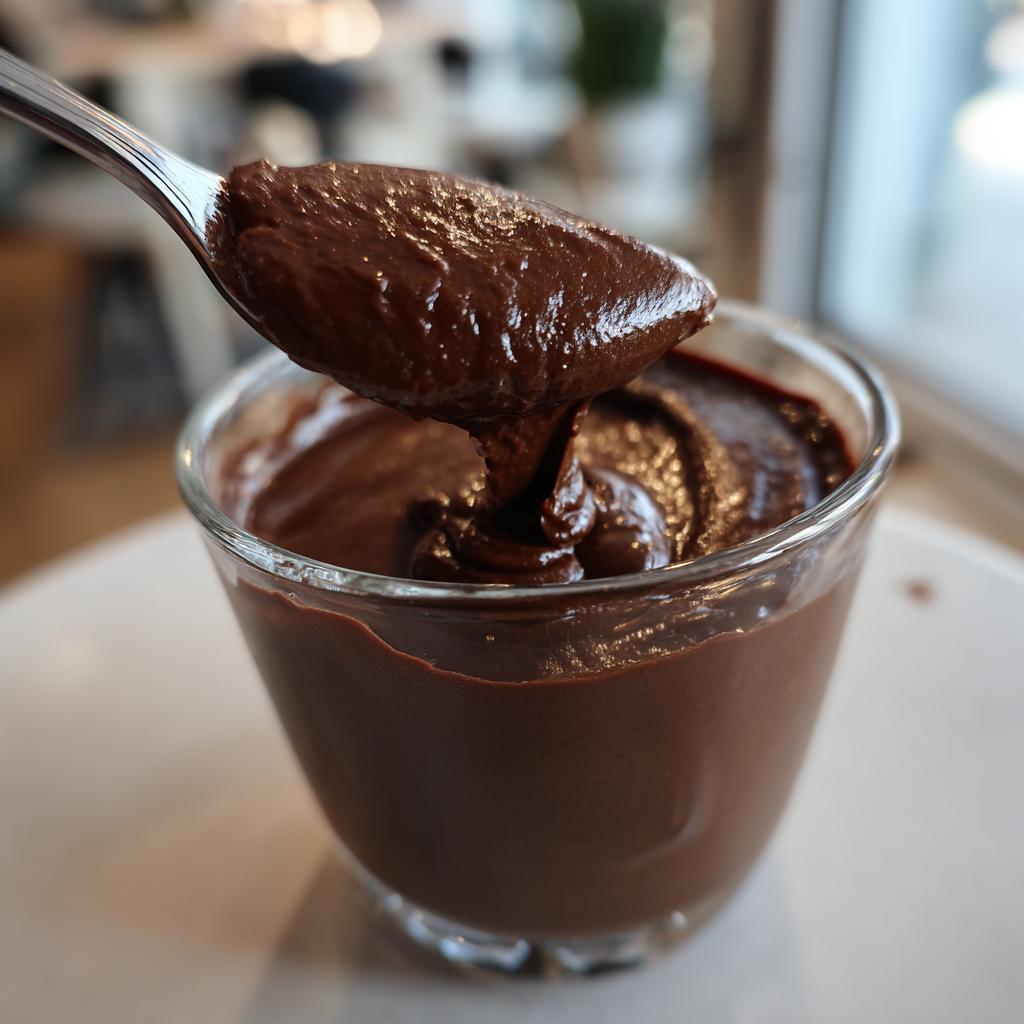
Here’s where the magic happens! Turn the heat to medium and keep whisking like your pudding depends on it (because it does). After about 5-7 minutes, you’ll feel the mixture start to thicken. Don’t stop! Keep whisking until big bubbles lazily rise to the surface – that’s your cue to remove it from heat.
The Finishing Touches
Once off heat, stir in that glorious vanilla extract – the smell alone is worth it! Immediately pour into individual dishes (I use vintage teacups for extra charm). Let them cool completely before covering (about 30 minutes), then chill for at least 1 hour. Pro tip: Press plastic wrap directly onto the surface to prevent a pudding skin if that’s your pet peeve!
See? Easier than arguing with a toddler about bedtime. Now go enjoy your homemade chocolate masterpiece!
Tips for Perfect Easy Pudding Recipes
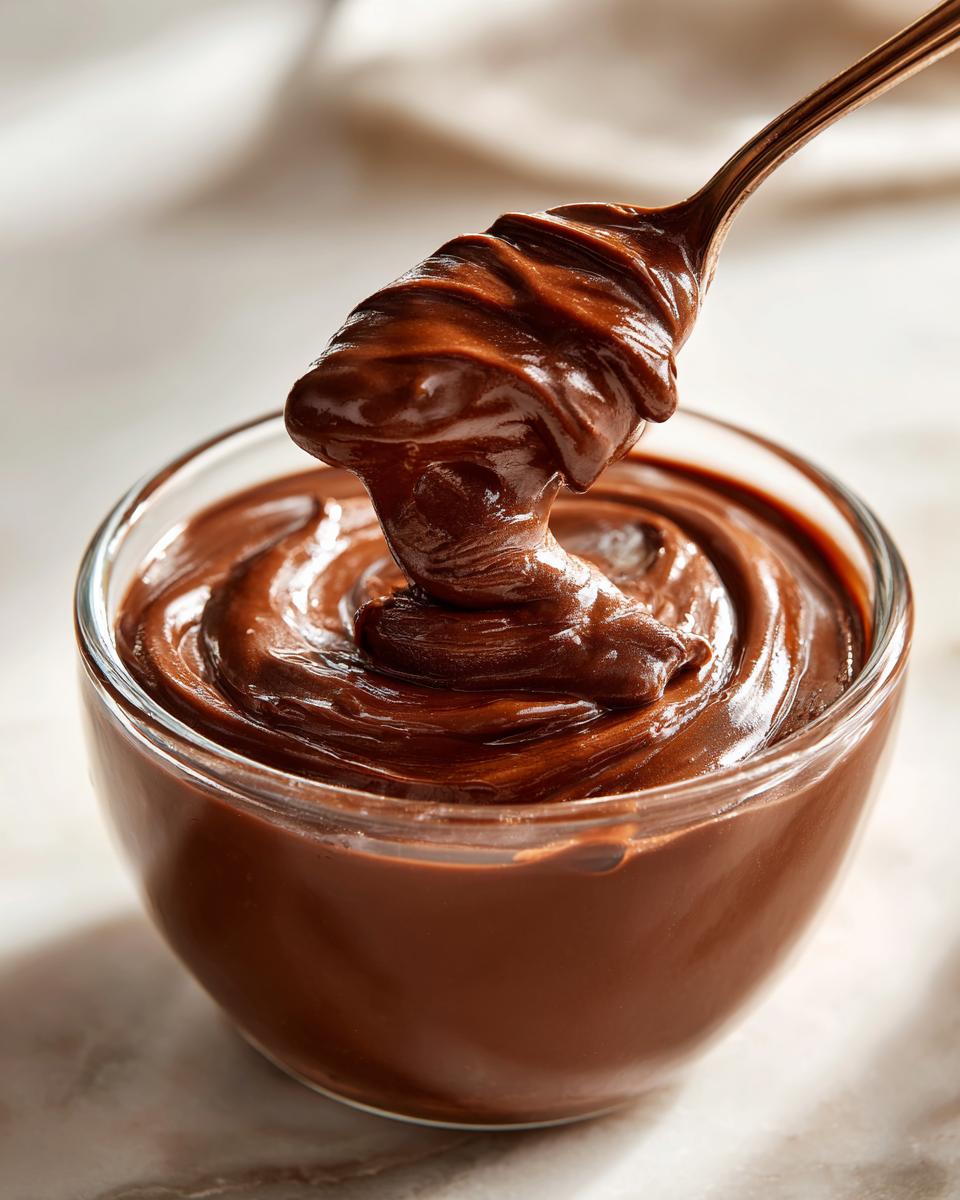
After making this easy chocolate pudding more times than I can count (my kids are obsessed!), I’ve picked up some foolproof tricks to guarantee silky perfection every single time. First – splurge on the good cocoa powder if you can. That deep, rich flavor makes all the difference! And whatever you do, don’t skip the vanilla at the end – it’s like flipping on a flavor spotlight. My biggest lesson? Patience pays off – let it chill the full hour (I know, torture!) for that dreamy, spoon-standing texture. Oh, and here’s my grandma’s secret: if you hate pudding skin (who doesn’t?), just press plastic wrap directly onto the surface before chilling. Works like magic!
Variations for Easy Pudding Recipes
Oh, the fun you can have with this basic pudding recipe! My kids love when I swap the cocoa powder for melted dark chocolate (about 4 oz) – it turns into this decadent dessert that feels fancy. For coffee lovers, a teaspoon of espresso powder makes it taste like a mocha dream. And when my lactose-intolerant friends visit, almond milk works beautifully – just add an extra tablespoon of cornstarch to compensate for the thinner texture. The possibilities are endless!
Serving Suggestions for Easy Chocolate Pudding
Oh, let me tell you about all the fun ways to zhuzh up your homemade chocolate pudding! My absolute favorite is a giant dollop of freshly whipped cream with a sprinkle of chocolate shavings – it’s like a hug in a bowl. When I’m feeling fancy, I’ll top it with raspberries for that perfect sweet-tart combo, or crushed Oreos when the kids beg (who am I kidding, I beg too). And if you really want to take it over the top? Pair it with a strong cup of coffee – the bitterness cuts through all that chocolatey richness in the most heavenly way. Honestly, this pudding is so good it doesn’t need anything else, but where’s the fun in that?
Storage and Reheating Tips
Here’s the good news – this easy chocolate pudding keeps beautifully in the fridge! Just cover those little bowls with plastic wrap or transfer to an airtight container, and it’ll stay silky smooth for up to 3 days (like mine ever lasts that long). If your pudding gets too thick in the fridge, no worries – just stir in a splash of cold milk until it’s back to that perfect spoonable texture. Now, if you’re reheating a whole batch, do it gently on the stovetop over low heat with a little extra milk, whisking constantly. Pro tip from my trial-and-error: microwaving tends to make it rubbery, so stick to the stove for best results!
Nutritional Information
Just a quick note about the nutrition in this easy pudding recipe – these numbers are rough estimates since they’ll change based on your specific ingredients. I like to think of it as a guideline rather than gospel truth. Use your favorite tracking app if you need precise macros, or better yet – just enjoy every chocolatey spoonful without overthinking it!
Frequently Asked Questions
Can I use a sugar substitute in this easy pudding recipe?
Absolutely! I’ve successfully made this with coconut sugar, maple syrup, and even monk fruit sweetener. Just keep in mind that liquid sweeteners might require a tiny bit more cornstarch (start with an extra teaspoon). My diabetic aunt swears by Swerve – it works like magic and doesn’t leave that weird aftertaste some substitutes have. The texture might be slightly different, but the chocolate flavor still shines through!
How can I make dairy-free chocolate pudding?
Oh, I’ve got you covered! My best friend’s lactose intolerant, so we’ve tested every milk alternative under the sun. Almond milk works great (add that extra cornstarch I mentioned), but for the creamiest results, go for full-fat coconut milk. Just imagine – it’s like a chocolate-coconut dream! Oat milk works too, but it tends to make the pudding a bit thinner. Pro tip: use a dairy-free chocolate if you’re doing the melted chocolate variation.
How long does homemade chocolate pudding last in the fridge?
In my house? Maybe 24 hours if I hide it well! But seriously, this easy pudding keeps beautifully for 3-4 days when properly stored. Just press plastic wrap directly on the surface (that skin thing creeps me out too) and pop it in an airtight container. The texture might thicken up a bit over time – just stir in a splash of milk when you’re ready to serve. Though I can’t promise it won’t get eaten straight from the bowl with a spoon before then!
Why does my pudding sometimes get lumpy?
Ah, the dreaded lumps! Usually this happens when we get impatient adding the milk – pouring it all in at once is asking for trouble. My grandma taught me to whisk like my life depends on it while adding the milk in a slow, steady stream. If you do end up with lumps (we’ve all been there!), just strain the pudding through a fine mesh sieve before chilling. Crisis averted! And remember – medium heat is your friend. Too high and the cornstarch can’t do its thickening magic properly.
Can I freeze chocolate pudding?
Technically yes, but I wouldn’t recommend it. Freezing changes the texture completely – it becomes kinda grainy when thawed. Instead, I’ll let you in on my secret: this easy pudding recipe is so quick to make, I just whip up a fresh batch when the craving hits! It takes less time than defrosting anyway. But if you must freeze it, stir vigorously after thawing and maybe blend it briefly to smooth it out. Personally? I say enjoy it fresh – that velvety texture is half the magic!
Easy Chocolate Pudding
Ingrédients
Equipment
Method
- In a medium saucepan, whisk together sugar, cocoa powder, cornstarch, and salt.
- Gradually whisk in milk until smooth.
- Cook over medium heat, stirring constantly, until mixture thickens and boils.
- Remove from heat and stir in vanilla extract.
- Pour pudding into serving dishes and chill for at least 1 hour before serving.