Oh my gosh, do you remember the first time you carved a pumpkin? I sure do! Mine looked more like a lopsided potato than a proper jack-o’-lantern, but I was so proud of that weird little face. That’s why I’m obsessed with making pumpkin carving easy for everyone – especially beginners and families. Trust me, with this simple guide, you’ll go from « oops » to « awesome » in no time. No fancy tools needed, just good old-fashioned fun and a little creativity!
Why You’ll Love This Easy Pumpkin Carving Guide
Listen, I know pumpkin carving can seem intimidating – all those fancy designs you see online! But here’s why this guide is different:
- Quick & simple: We’re talking 30 minutes tops from start to glowing masterpiece
- Minimal tools: Just grab a knife, spoon, and marker from your kitchen – no special equipment needed
- Kid-friendly: Perfect for little hands (with supervision, of course!)
- Halloween magic: Turns basic pumpkins into instant decorations that’ll wow your neighbors
The best part? You don’t need to be an artist. My first attempt was a disaster, but now I can whip up cute jack-o’-lanterns while chatting with friends. If I can do it, you definitely can!
Tools You Need for Easy Pumpkin Carving
Okay, let’s talk tools – and don’t worry, you probably already have everything you need in your kitchen! The beauty of easy pumpkin carving is that it doesn’t require fancy gadgets. Here’s my go-to trio that never lets me down:
- Sharp knife: A good serrated knife is my secret weapon – it glides through pumpkin flesh like butter and gives you way more control than those flimsy carving kits
- Large spoon: Not just any spoon, but one with some heft to really scoop out those stubborn seeds and stringy bits (I use my trusty ice cream scoop!)
- Marker: A simple dry-erase or permanent marker lets you sketch your design first – way better than carving blind and ending up with a surprised-looking pumpkin!
See? Nothing complicated. Just grab these basics and you’re ready to create some Halloween magic!
Ingredients for Easy Pumpkin Carving
Okay, let’s talk pumpkins! You only need one thing for this easy pumpkin carving adventure – 1 medium pumpkin. But here’s my little secret: pick one that feels heavy for its size with smooth, firm skin. That perfect pumpkin will carve like a dream and last longer on your porch. Trust me, I’ve learned the hard way – soft spots mean trouble when you’re carving!
Step-by-Step Guide to Easy Pumpkin Carving
Alright, let’s get carving! I’ve broken this down into foolproof steps that even my 6-year-old niece can follow (with a little help). The key is taking it slow – rushing leads to wonky faces and frustrated carvers. Been there, done that!
Step 1: Prepare the Pumpkin
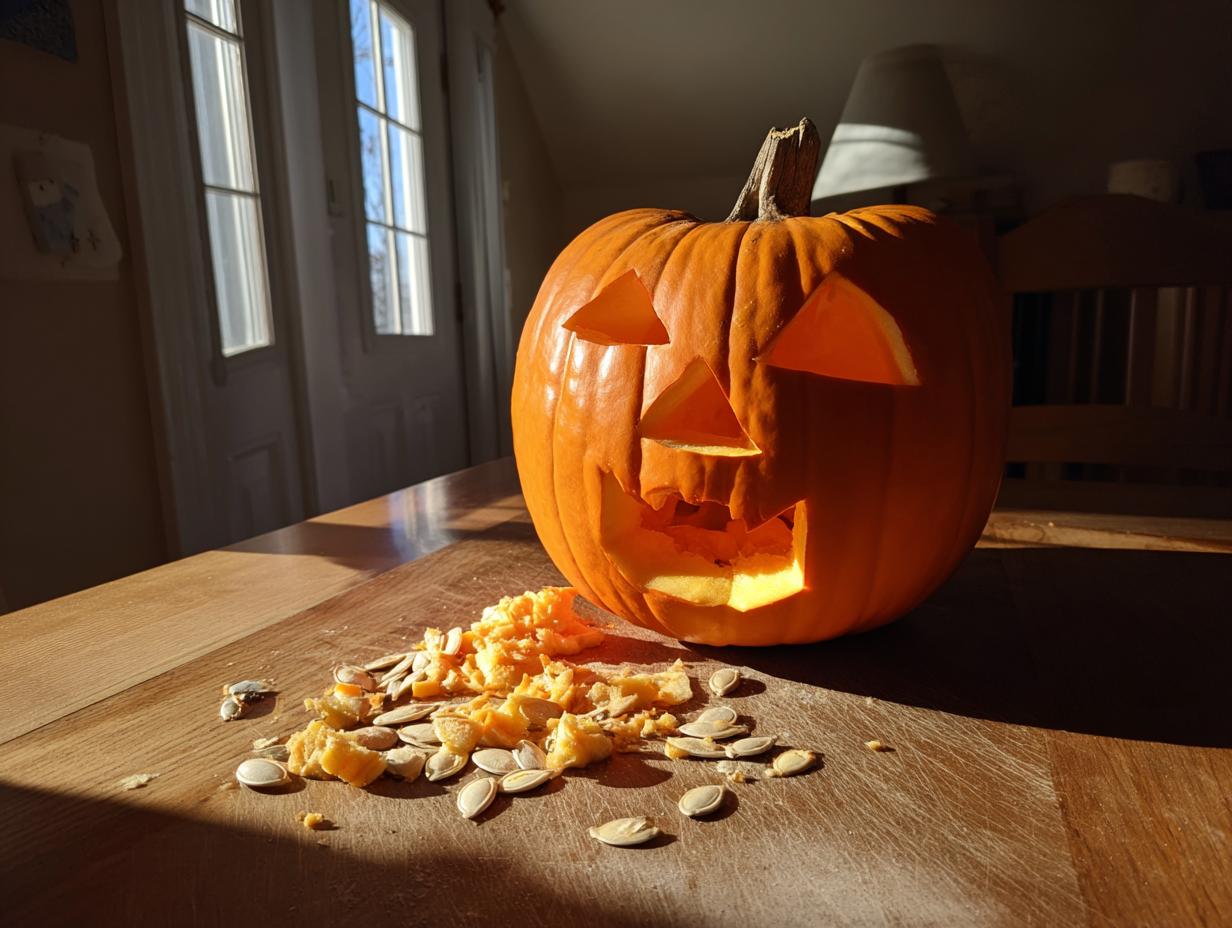
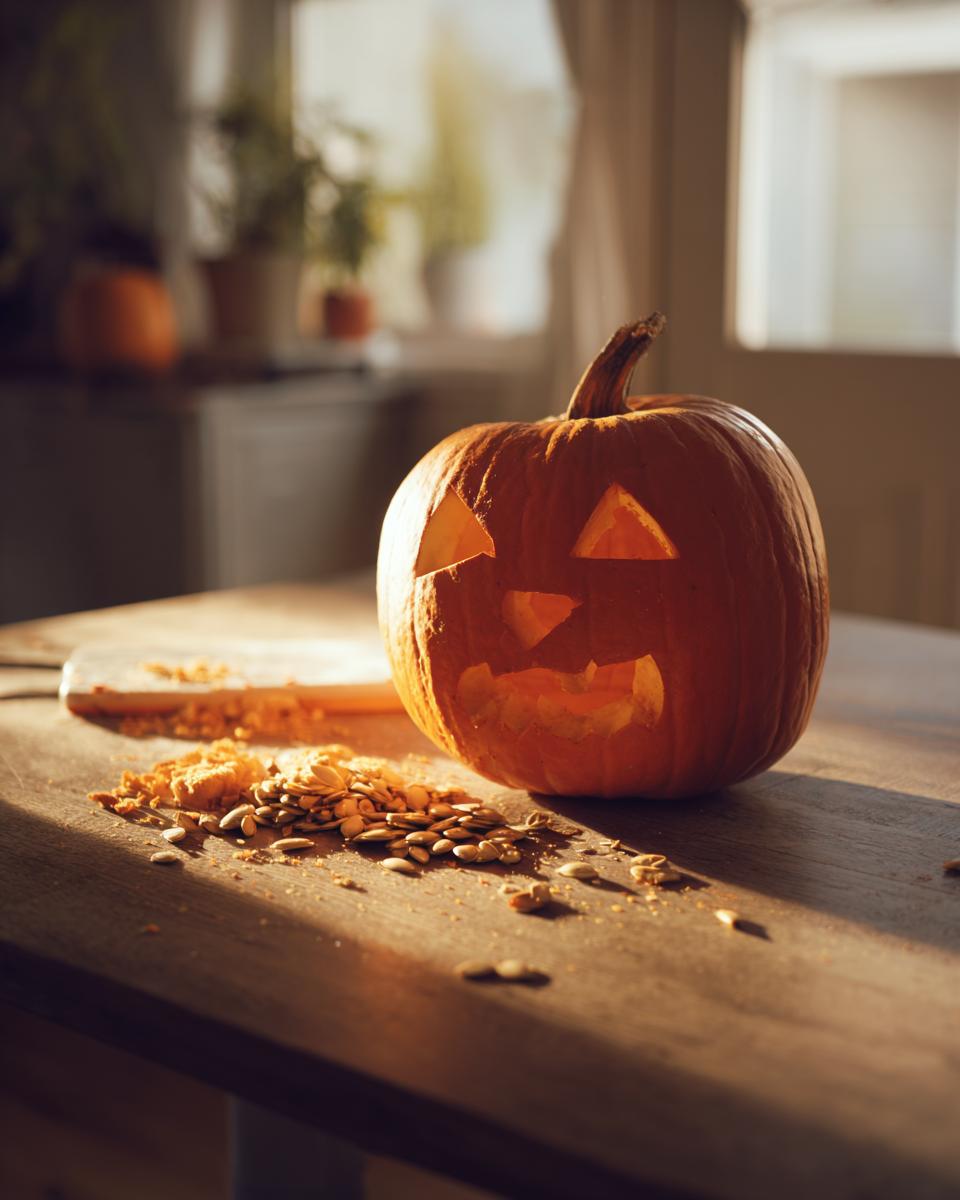
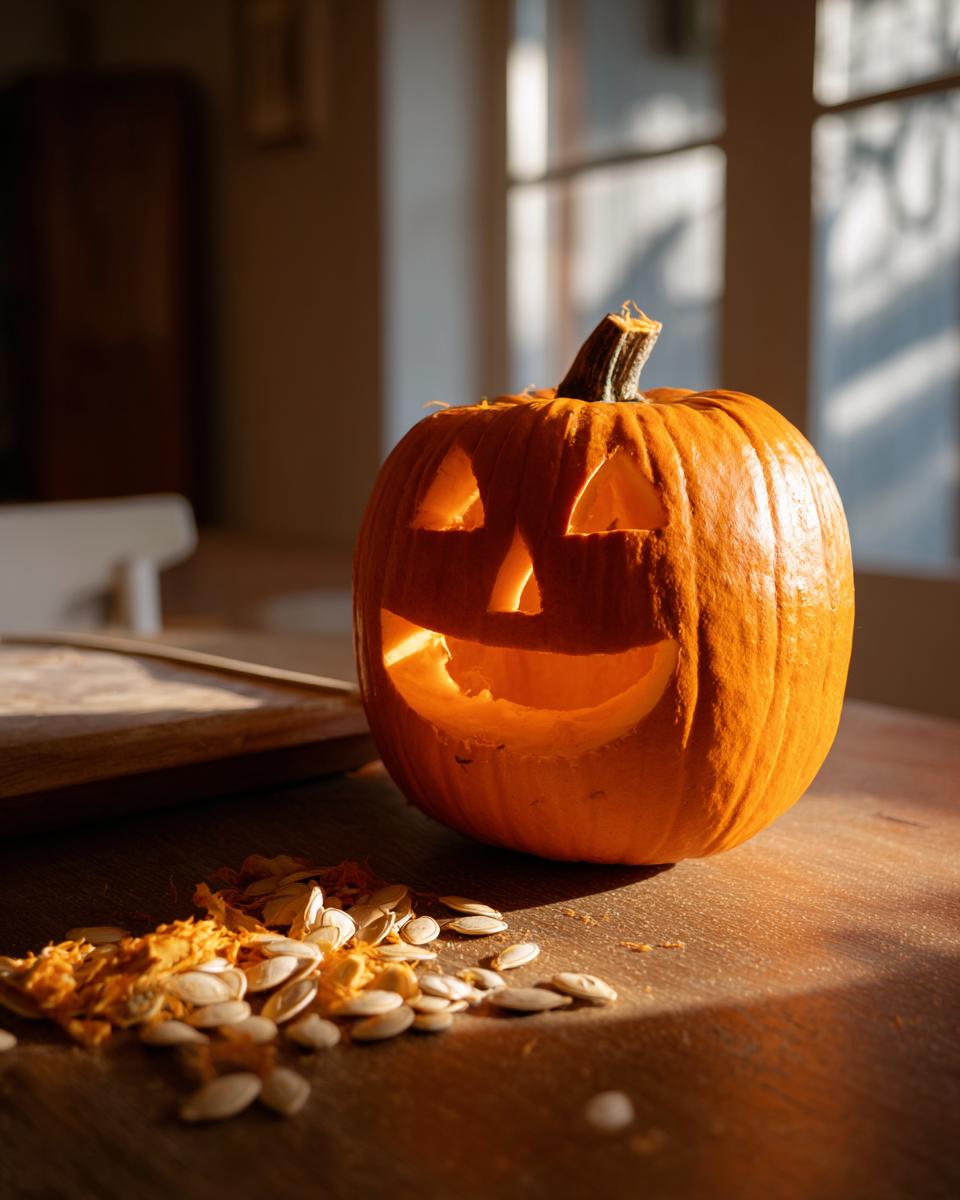
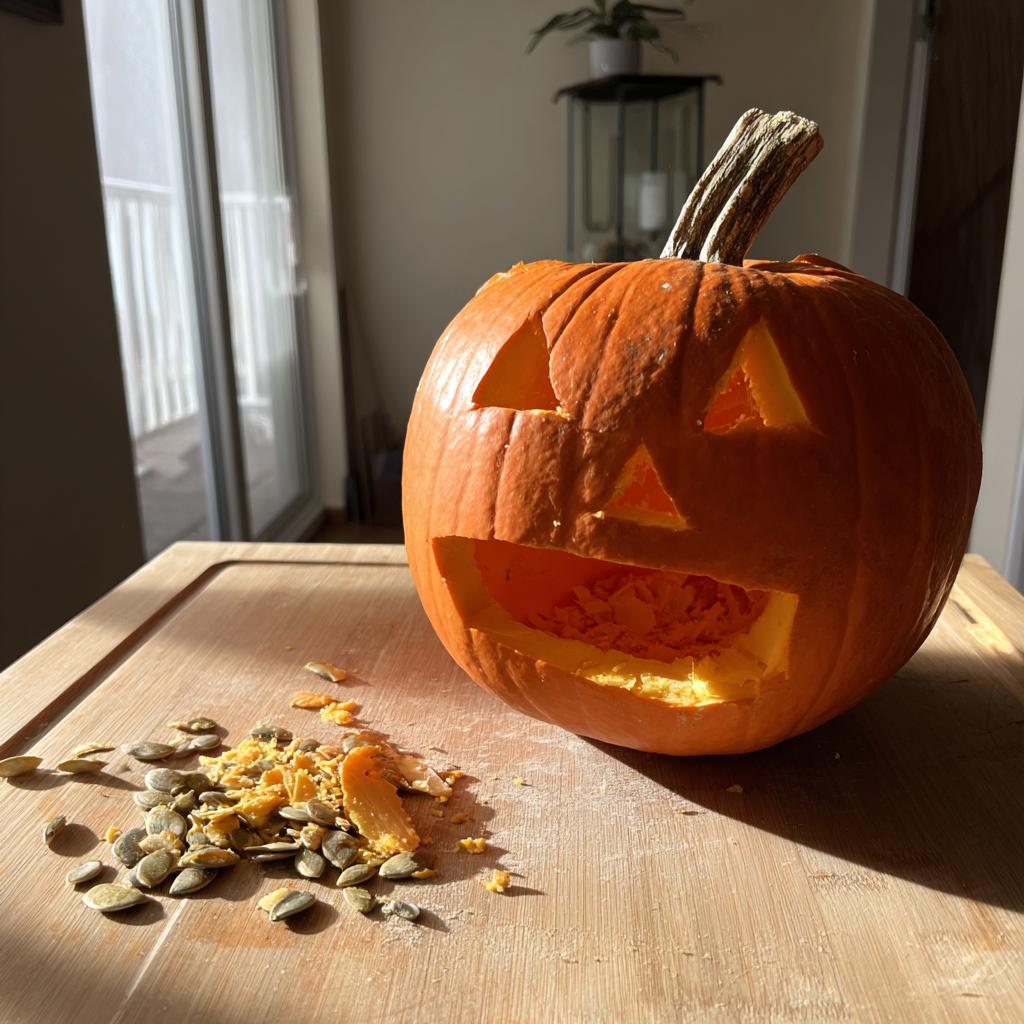
First things first – let’s get that pumpkin ready! Grab your sharp knife and carefully cut a circle around the stem at about a 45-degree angle. Why angled? It creates a little ledge so your lid won’t fall inside later! Pro tip: keep your fingers clear and cut toward yourself – safety first, folks. Now scoop out those seeds with your big spoon. Don’t be shy – really scrape those walls clean. Save the seeds if you want to roast them later (yum!).
Step 2: Draw Your Design
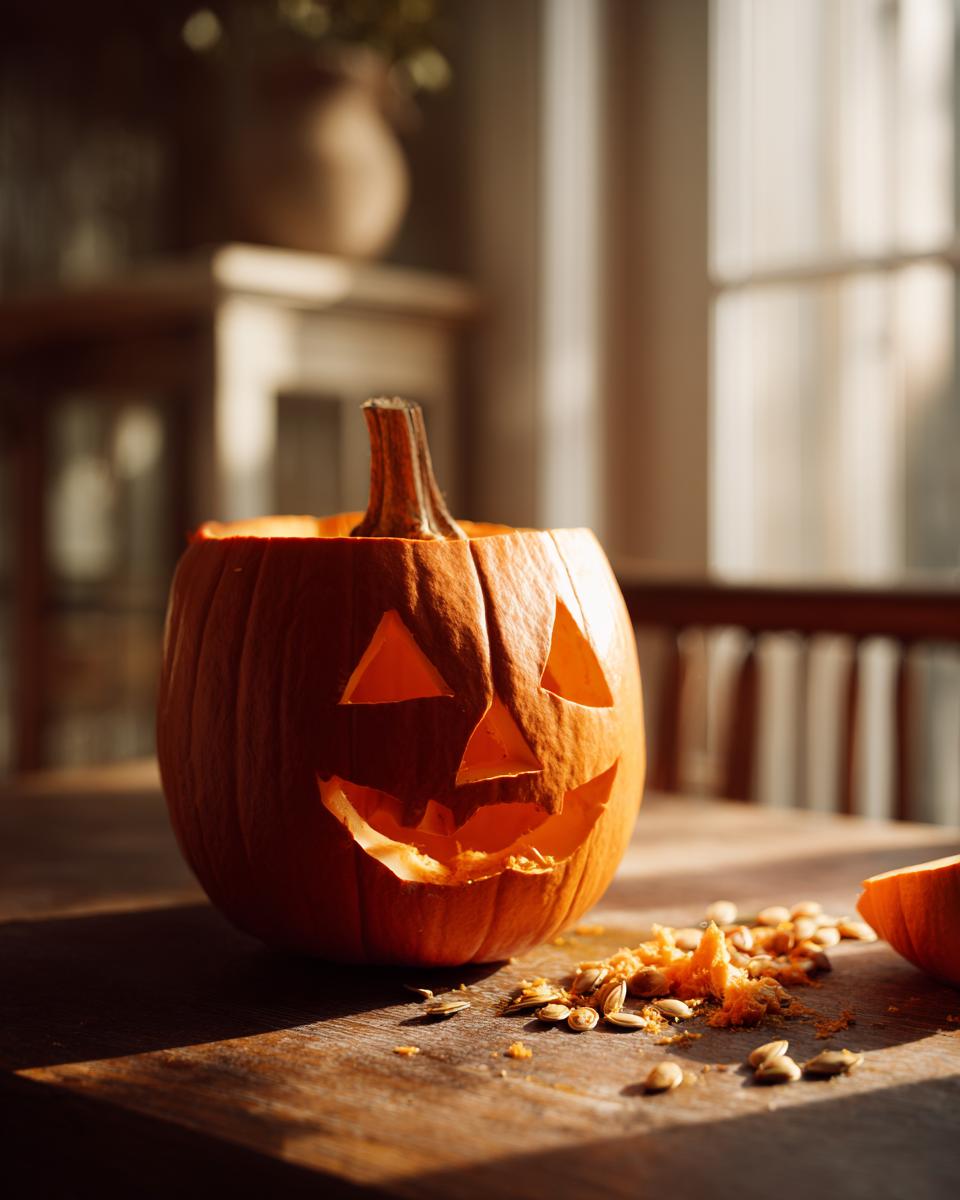
Here’s where the fun begins! Use your marker to sketch your design right on the pumpkin. Start simple – triangles for eyes and a toothy grin never disappoint. Can’t draw? No worries! Print a template and trace it with a toothpick. My first year, I did polka dots – just circles all over! The marker wipes right off if you change your mind, so play around until you’re happy.
Step 3: Carve the Pumpkin
Time to bring your design to life! Take your serrated knife and gently saw along your lines – no need to force it. Work from the center outward for tricky shapes. For small details, try a paring knife or even a pumpkin carving tool if you have one. And here’s my secret: carve the smallest parts first. That way if you slip (we all do!), you haven’t ruined the whole face yet!
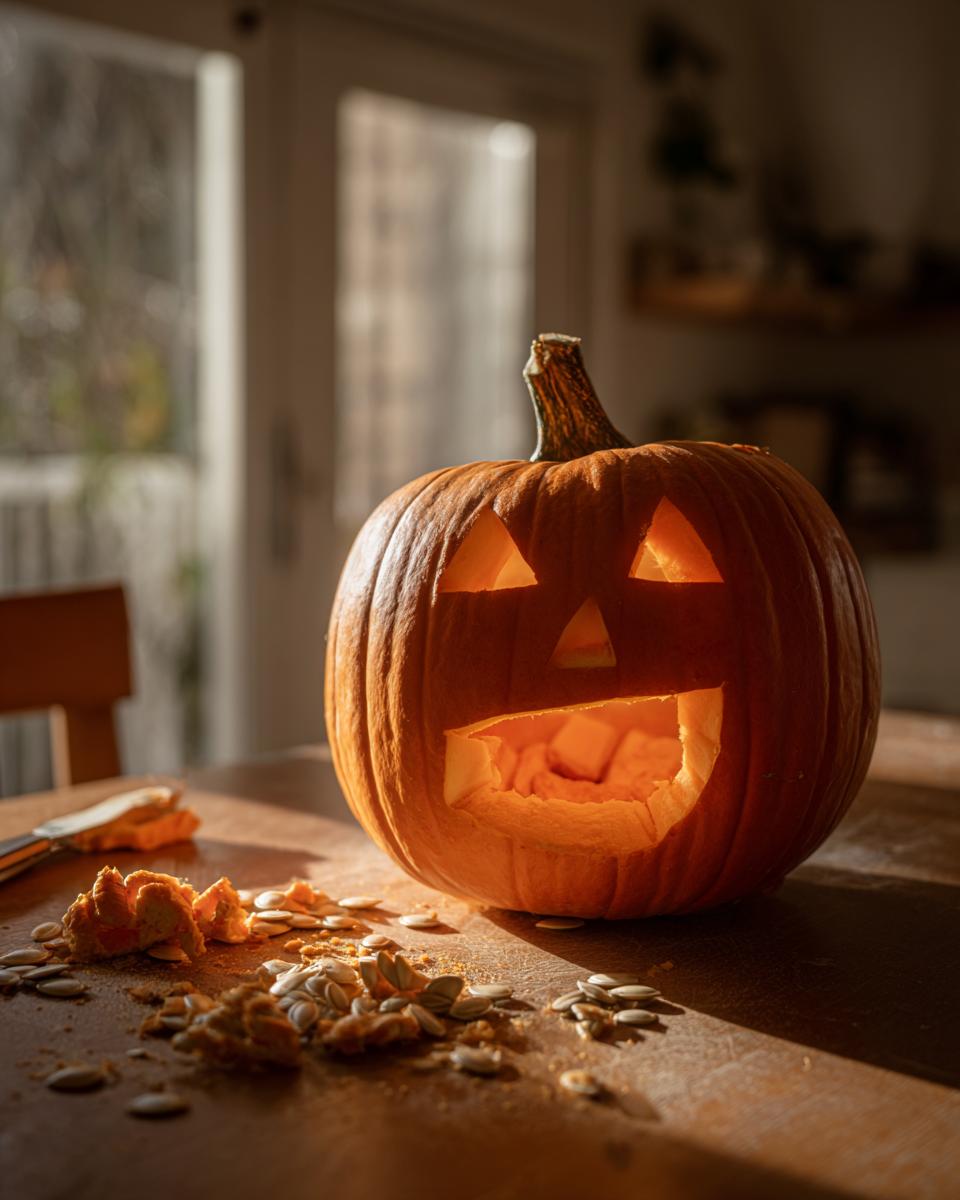
Step 4: Light It Up
The grand finale! Place a tea light candle inside – I use those battery-operated LED ones so I don’t have to worry about flames. Position it toward the back to make the face glow brighter. No candle? Try string lights or even your phone flashlight in a pinch. Step back and admire your handiwork as it lights up the night! Pro tip: rub a little petroleum jelly on the cut edges to keep your masterpiece fresh longer.
Tips for Perfect Easy Pumpkin Carving
Alright, let me share my hard-earned pumpkin wisdom with you! After years of trial and error (and some seriously lopsided jack-o’-lanterns), I’ve nailed down these foolproof tips:
- Keep it cool: Store your carved pumpkin in the fridge when not on display – it’ll last days longer than sitting out in the warm air
- Serrated is superior: That steak knife from your drawer? Perfect! The sawing motion gives you way more control than straight blades
- Start simple: Master the classic triangle eyes before attempting that intricate haunted mansion scene
- Thickness matters: Leave about 1/2 inch of flesh when scraping – too thin and your pumpkin collapses, too thick and light won’t shine through
- Vaseline trick: Rub a thin layer on cut edges to seal in moisture – works like magic!
Remember, even « mistakes » can become happy accidents. That crooked smile? Now it’s a mischievous grin! Have fun with it – that’s what Halloween’s all about.
FAQs About Easy Pumpkin Carving
I get asked these questions every Halloween season – let me save you some trial and error with my pumpkin carving wisdom!
How long does a carved pumpkin last?
Oh boy, I wish they lasted forever! Typically 3-5 days if you keep them cool. My secret? Give them a nightly « spa treatment » – spritz with water and pop them in the fridge. The Vaseline trick I mentioned earlier helps too. If it starts looking sad, just say it’s going for that « zombie » look!
Can kids carve pumpkins?
Absolutely! My niece has been helping since she was 4. Little ones can draw designs and scoop seeds (their favorite messy part!). For carving, let them use plastic pumpkin tools or supervise closely with a butter knife. Better yet – have them poke holes with skewers to make dotted designs. Safety first, fun always!
What if my design is too complex?
Been there! When my elaborate witch face turned into a blob, I learned to embrace simplicity. Here’s my fix: carve just the eyes, then use push pins or toothpicks to attach cut-out shapes for the mouth. Or – my favorite cheat – carve simple triangles and call it « abstract art. » Nobody needs to know it wasn’t intentional!
Can I carve a pumpkin days before Halloween?
You can, but it’ll be pretty sad by the 31st. I carve mine 2 days before max. Pro tip: Wait to carve until the night before, then preserve it with that fridge/Vaseline combo. Your masterpiece will look fresh when trick-or-treaters arrive!
What’s the easiest design for beginners?
Classic triangle eyes and a jagged mouth never fail! Or go for « no carve » options – paint faces, stick on googly eyes, or make polka dots with a drill. My first successful carve was just two circles and a smile – basic but adorable. Remember: simple often looks best glowing on the porch!
Share Your Easy Pumpkin Carving Creations
I’d love to see what spooky (or silly!) masterpieces you create! Snap a pic of your pumpkin and tag me on Instagram – I’ll feature my favorites in my stories. Or leave a comment below telling me about your carving adventure. Did you go classic jack-o’-lantern or try something wild? Either way, I’m cheering you on!
Easy Pumpkin Carving
Ingrédients
Equipment
Method
- Cut a circle around the stem of the pumpkin and remove the top.
- Scoop out the seeds and pulp with a large spoon.
- Draw your design on the pumpkin with a marker.
- Carve along the lines of your design with a sharp knife.
- Place a candle or light inside the pumpkin to illuminate your design.