Oh my gosh, do I have the perfect white chocolate bark recipe for you! It’s seriously the easiest, most foolproof dessert you’ll ever make – I’ve been whipping up batches for years whenever I need a quick holiday gift or just want something sweet in the house. The best part? You can totally make it your own with whatever toppings you love. Last Christmas, I made three different versions in one afternoon – cranberry-pistachio for my neighbor, peppermint-crushed candy cane for my niece, and one loaded with pretzels and sea salt for my husband (who ate half the tray before I could package it up!). White chocolate bark recipes are my secret weapon – elegant enough for parties but so simple even my 8-year-old can help with the toppings.
Why You’ll Love These White Chocolate Bark Recipes
Oh honey, let me count the ways! First off, it’s ridiculously easy – we’re talking 5 minutes of active work and your microwave does most of the heavy lifting. No fancy skills required, promise! But here’s why I’m obsessed:
- Quick magic: From melting to munching in under an hour (most of that’s hands-off chilling time!)
- Totally you: Toss on whatever makes your heart sing – pistachios today, crushed Oreos tomorrow
- Gift goldmine: Package in cute bags and suddenly you’re the most thoughtful friend on the block
- Holiday hero: Festive colors? Done. Christmas crunch? Easy. Valentine’s pink? Just add sprinkles!
Honestly, I keep white chocolate chips in my pantry year-round just for these emergencies. You’ll understand once you try it!
Ingredients for White Chocolate Bark Recipes
Okay friends, gather up these simple ingredients – I promise you probably have most of them already! The beauty of white chocolate bark recipes is how few core components you actually need. Just wait till you see how these basic items transform into something magical!
For the Bark Base:
- 16 oz white chocolate (chips or chopped bars – but splurge on the good stuff, trust me!)
Optional Toppings (Pick Your Favorites!)
Here’s where the fun begins! These are my go-tos, but truly – sky’s the limit:
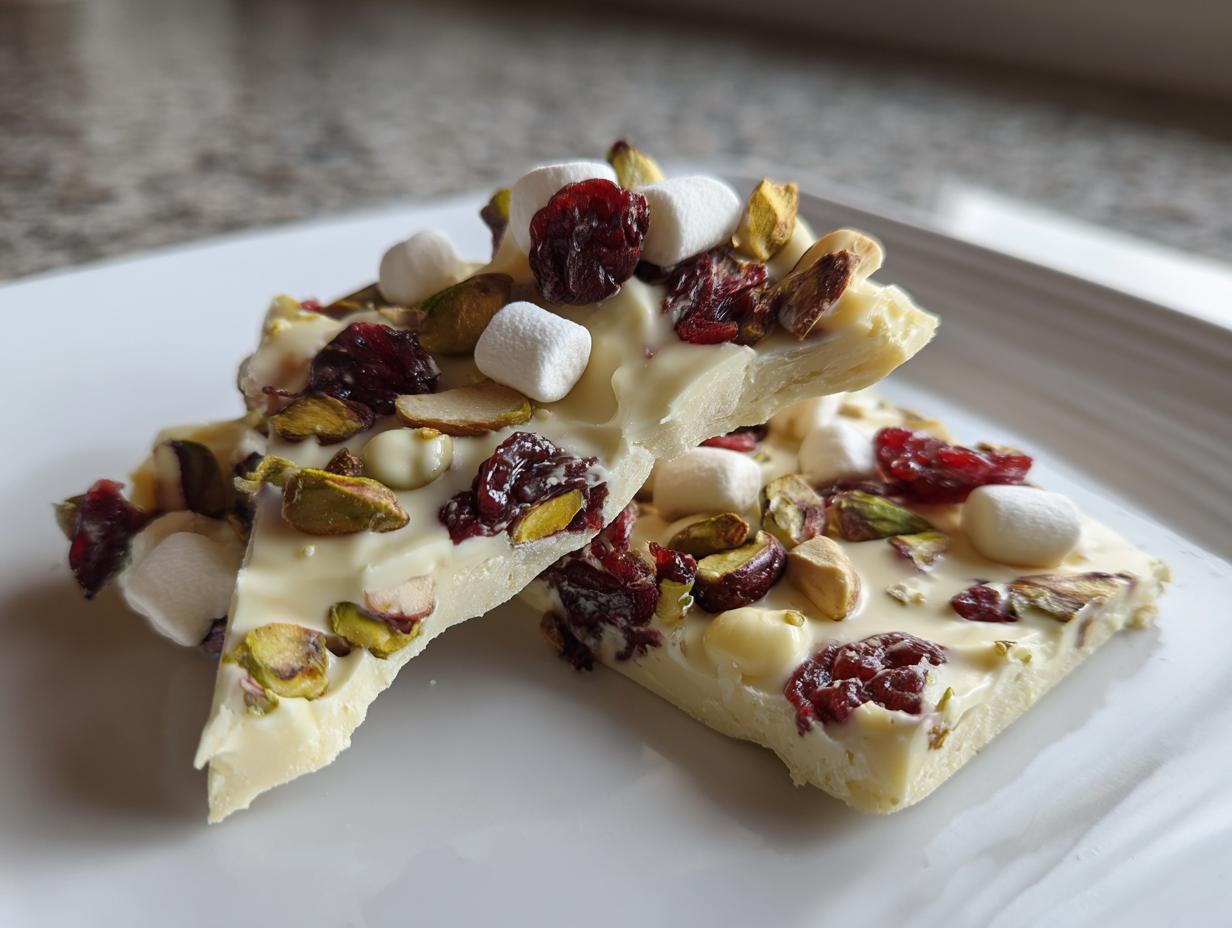
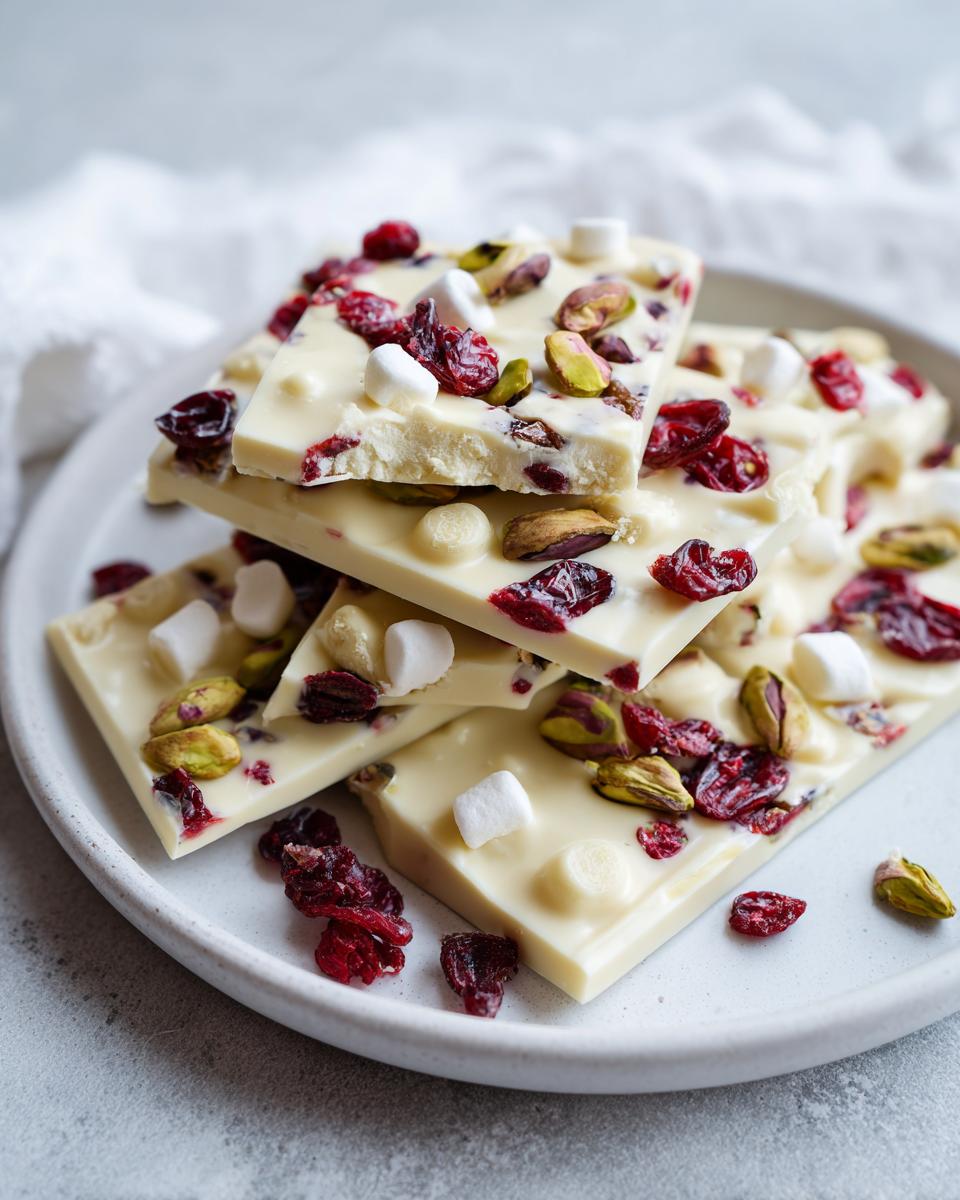
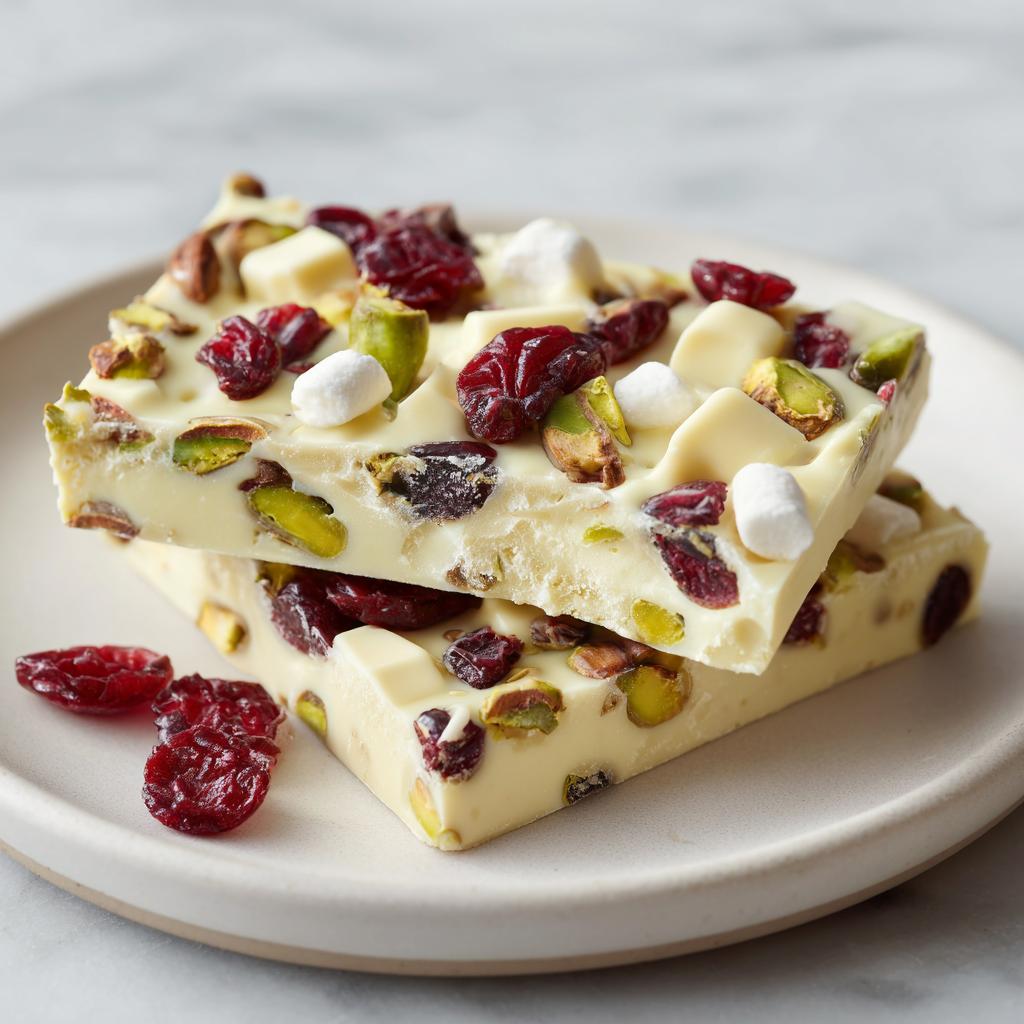
- 1/2 cup dried cranberries (the tartness cuts through the sweetness perfectly)
- 1/2 cup chopped pistachios (that pop of green makes it so pretty!)
- 1/4 cup mini marshmallows (my niece insists on these every time)
That’s it! Simple, right? But here’s my little confession – I always keep extra chocolate on hand because someone (usually me) ends up « taste testing » straight from the bowl. No judgment if you do the same!
How to Make White Chocolate Bark Recipes
Let me walk you through making this gorgeous white chocolate bark step by step – it’s so simple you’ll wonder why you haven’t made it a hundred times already! I’ve learned a few tricks over the years that make all the difference between good bark and « oh-my-gosh-I-need-another-piece » bark.
Setting Up Your Canvas
First things first: grab that baking sheet and line it with parchment paper. Here’s my secret – give the paper a quick spritz of cooking spray first. It helps the chocolate spread smoothly without sticking to the paper. Learned that after my first batch stuck like glue!
The Meltdown (The Good Kind!)
Now for the chocolate! Here’s where people mess up – microwaving too long. Use a microwave-safe bowl and do 30-second bursts, stirring between each. You’ll think it’s not melting at first, but trust me – keep stirring and those last few stubborn chips will dissolve. Overheating makes the chocolate seize, and nobody wants grainy bark!
Pour and Spread
Pour that luscious melted chocolate onto your prepared baking sheet. I like to tilt the pan to spread it naturally, then use an offset spatula (or the back of a spoon in a pinch) to even it out to about 1/4 inch thick. Don’t stress about perfection – rustic is charming!
Topping Time!
Here’s where you get creative! Sprinkle your toppings over the chocolate while it’s still warm. Press them in gently – too hard and you’ll smear the chocolate, too light and they’ll fall off when broken. Leave some bare spots for that gorgeous marbled look when you break it later.
The Waiting Game
Pop it in the fridge for 30 minutes – no cheating! I set a timer because I’m terrible at waiting. The bark should be completely firm to the touch before breaking. My husband always « tests » a corner piece first – just to be sure it’s ready, of course.
Break Like a Pro
Time for the fun part! Lift the hardened chocolate with the parchment paper and place it on your counter. Give it a gentle whack with a rolling pin for uniform pieces, or go rustic with random breaks. I sometimes use a knife for more precise shapes if I’m making gift boxes.
See? Told you it was easy! Now try not to eat it all before sharing…good luck with that part!
Tips for Perfect White Chocolate Bark Recipes
Okay, confession time – my first few batches of white chocolate bark weren’t exactly Instagram-worthy. But after countless (delicious) experiments, I’ve learned all the tricks for bark that snaps just right and looks gorgeous every time. Here’s what I wish someone had told me when I started!
Quality matters! Skip the cheap white chocolate chips – they contain less cocoa butter and can melt funny. Grab a good baking bar instead. I love Ghirardelli or Guittard for that smooth, creamy texture. You’ll taste the difference!
Slow and steady wins the melting race. Microwave in short bursts, stirring well each time. If the bowl feels too hot to touch, you’ve gone too far. Burnt chocolate is tragic – ask me how I know!
Press toppings gently – think « tuck in » rather than « smash down. » Just enough to make them stick without disappearing into the chocolate. My trick? Use the back of a measuring spoon for precision.
Oh! And here’s my favorite hack – let the chocolate sit for 1 minute after melting before pouring. This helps it thicken slightly so toppings stay put instead of sinking to the bottom. Life-changing little trick right there!
Variations for White Chocolate Bark Recipes
Ohhh, this is where the fun really begins with white chocolate bark recipes! The basic recipe is foolproof, but the topping possibilities? Endless! I literally keep a notebook of flavor combos I want to try. Here are my absolute favorite twists that always get rave reviews (and disappear way too fast off the platter):
- Nutty buddies: Toasted almonds with a sprinkle of sea salt – that salty-sweet crunch is addictive!
- Berry blast: Freeze-dried strawberries or raspberries – they give the prettiest pop of color and tang
- Cookie monster: Crushed Oreos or peppermint cookies for holiday parties – kids go wild for these
- Spiced delight: A dusting of cinnamon, nutmeg and tiny candied ginger bits – my winter go-to
- Tropical escape: Shredded coconut and dried mango – tastes like vacation in every bite
See? Now you’re probably brainstorming your own combos already. That’s the magic – once you’ve got the basic bark down, your imagination (and pantry) are the only limits!
Storage and Serving Suggestions
Here’s the beautiful thing about this white chocolate bark – it’s as easy to store as it is to make! Just tuck it into an airtight container with parchment between layers (if stacking), and it’ll stay fresh at room temperature for a solid week. Not that it lasts that long in my house! For gifts, I love wrapping pieces in cellophane bags with pretty ribbons – looks fancy but takes two minutes flat.
FAQ About White Chocolate Bark Recipes
I get asked about these white chocolate bark recipes so often – and hey, I was full of questions too when I first started making them! Here are the answers to everything you might be wondering (plus a few things you didn’t know you needed to ask):
Can I swap the white chocolate for dark or milk chocolate?
Absolutely! The method works with any chocolate, though I find white chocolate shows off the toppings best. Dark chocolate tends to firm up faster, so work quick with your add-ins! Just remember – whatever you use, quality matters. Cheap chocolate equals blah bark. Not worth it!
How long does homemade white chocolate bark last?
Stored properly in an airtight container? A good week at room temperature. If it lasts that long! The one downside? Humidity can make the chocolate « bloom » (get those white streaks) after a few days. Still tastes fine, just not as pretty.
Wait…can I freeze this stuff?
You sure can! Layer between parchment in a freezer bag for up to 3 months. Thaw at room temp – no microwave! Some toppings like marshmallows get a tad chewy after freezing, so test your combo first.
Why won’t my toppings stick to the chocolate?
Ah, the classic bark dilemma! Either your chocolate cooled too much before adding toppings (fix: work faster or rewarm slightly), or you didn’t press them in gently. A light tap with a spoon helps them adhere without sinking.
Can kids help with this recipe?
Are you kidding? It’s the BEST starter project! My niece sprinkles toppings like she’s conducting an orchestra. Just handle the hot chocolate yourself and let them go wild with the decorations. Warning: you may need extra chocolate for all the « sample tasting! »
Nutritional Information
Just a quick heads up about those numbers – my white chocolate bark’s nutritional info changes based on your exact toppings and chocolate brand (those fancy organic ones? Yeah, they tweak the stats). Consider this your ballpark estimate per piece, not gospel truth. The cranberry-pistachio version I love comes in around 180 calories, but swap in Oreo crumbles and suddenly we’re having a different conversation! Moral of the story? Enjoy responsibly…or not so responsibly. I won’t tell!
White Chocolate Bark
Ingrédients
Equipment
Method
- Line a baking sheet with parchment paper.
- Melt the white chocolate in a microwave-safe bowl in 30-second intervals, stirring between each, until smooth.
- Pour the melted chocolate onto the prepared baking sheet and spread evenly.
- Sprinkle your desired toppings over the chocolate.
- Chill in the refrigerator for 30 minutes or until set.
- Break into pieces and serve.