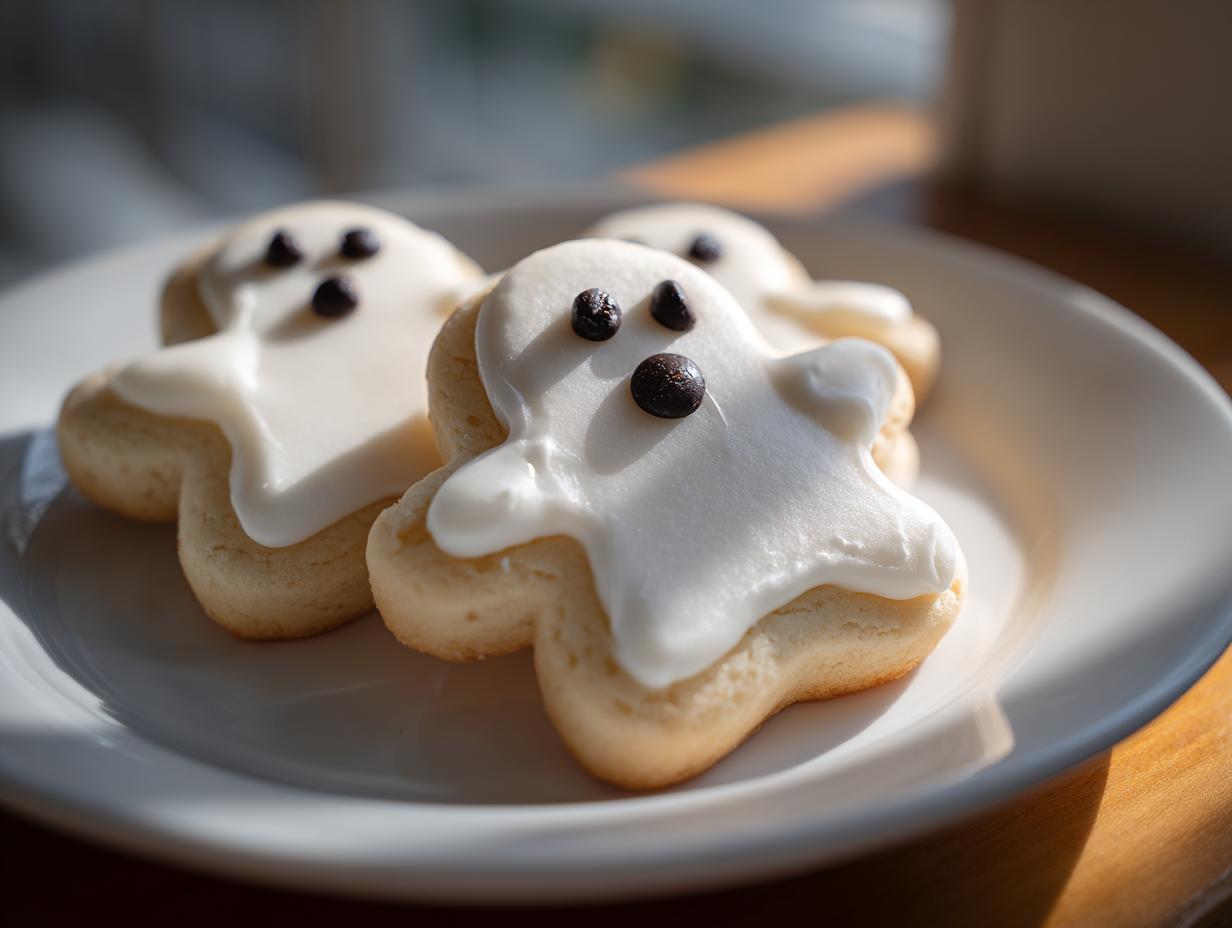
Ghost sugar cookies were always my absolute favorite Halloween treat growing up. Every October, my mom would pull out her dented ghost cookie cutter and we’d cover the kitchen in flour while making batch after batch of these spooky little guys. Now I carry on the tradition with my own kids—there’s nothing like seeing their faces light up when we decorate the cookies with messy icing and chocolate chip eyes. These ghost sugar cookies are perfect for classroom parties, trick-or-treat surprises, or just a fun afternoon baking project when the Halloween excitement starts to build.
The best part? They’re so simple even kitchen novices can make them look adorable. I’ll never forget the year my then-5-year-old proudly declared our lopsided ghosts were « just extra haunted » when we brought them to the school Halloween party. Whether you’re baking with little ghosts and goblins or just want to add some spooky sweetness to your dessert table, these cookies always disappear faster than, well…a ghost!
Why You’ll Love These Ghost Sugar Cookies
Oh my gosh, these ghost sugar cookies are the absolute best for so many reasons! Let me count the ways:
- Super easy to make – Even if you’re not a baking pro, this simple dough comes together in minutes. No fancy techniques required!
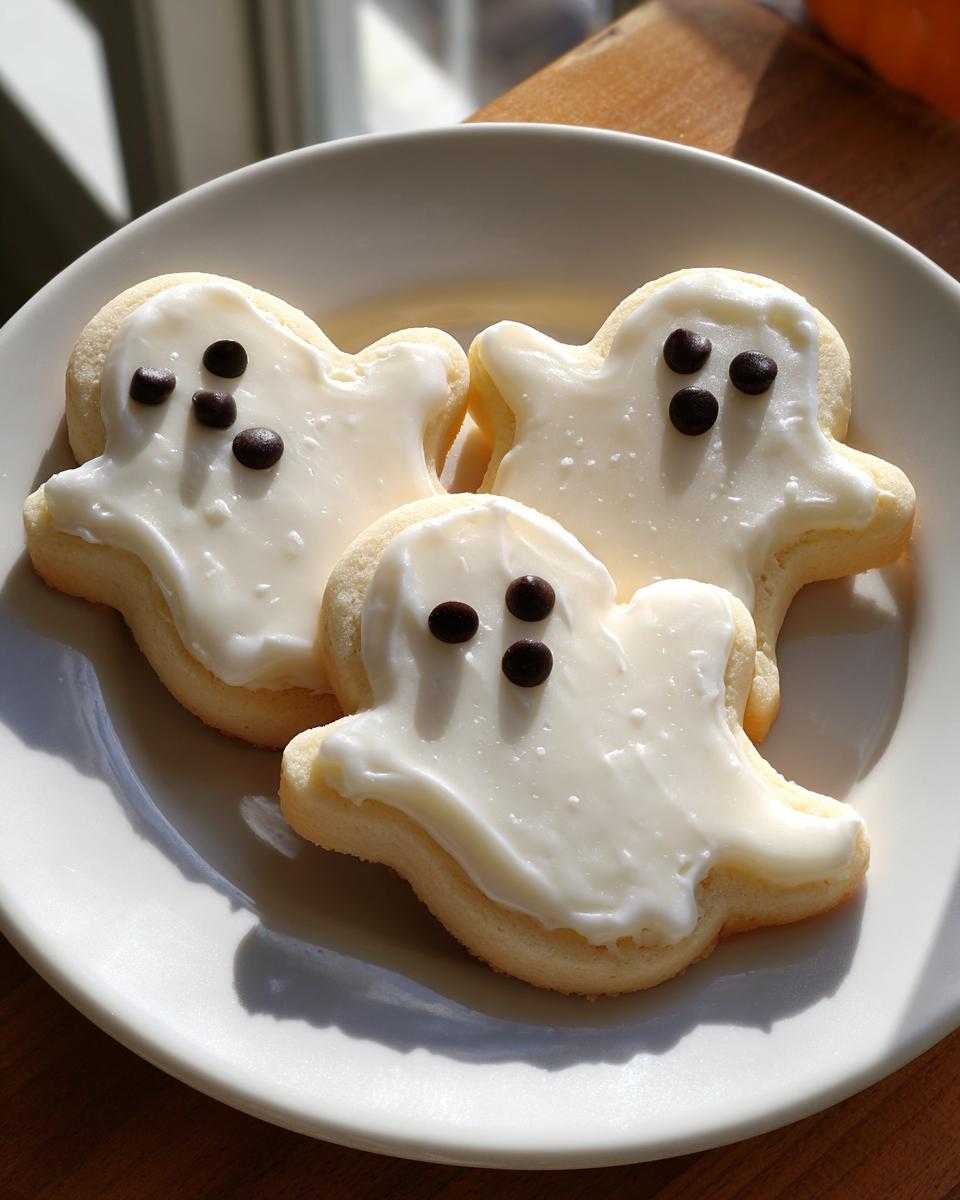
- Perfect Halloween fun – Nothing gets you in the spooky spirit like a kitchen full of ghost-shaped cookies. They’re like little edible decorations!
- Kid-approved activity – My little monsters love helping with the cookie cutter and decorating. It’s messy, hilarious, and makes the best memories.
- Totally customizable – Make your ghosts happy, scary, or silly with different icing and chocolate chip faces. I’ve even done glow-in-the-dark eyes with edible glitter!
Trust me, once you make these once, they’ll become your new Halloween tradition too. The hardest part is keeping them around long enough to share!
Ingredients for Ghost Sugar Cookies
Okay, let’s talk ingredients – and I promise you won’t need anything weird or hard to find for these adorable ghost cookies. I’ve made these with pantry staples so many times I could probably recite the list in my sleep!
For the Cookies
- 2.5 cups all-purpose flour – This gives the cookies just the right structure without being too dense
- 1 cup unsalted butter, softened – Seriously, let that butter sit out until it’s perfectly spreadable – it makes all the difference!
- 1 cup granulated sugar – Just regular white sugar creates that classic sugar cookie sweetness
- 1 large egg – My trick? Crack it in a separate bowl first in case of shells
- 1 tsp vanilla extract – The good stuff, not imitation! It makes the flavor pop
- ½ tsp salt – Just enough to balance the sweetness without tasting salty
For Decoration
- 1 cup powdered sugar – Sift it first to avoid lumps in your icing
- 2 tbsp milk – Whole milk makes the creamiest icing, but any kind works
- ½ tsp vanilla extract – More vanilla because we love that flavor
- Mini chocolate chips – For the eyes! I like semi-sweet because they’re not too sweet
See? Nothing fancy – just good, simple ingredients that magically transform into the cutest Halloween treats. Now let’s get spooky!
Equipment Needed for Ghost Sugar Cookies
Alright, let’s talk tools! You don’t need any fancy equipment to make these spooky little ghosts – just a few basics that you probably already have in your kitchen. Here’s my must-have list:
- Mixing bowl – Any medium-sized bowl will do, but I’m partial to my trusty glass one so I can see when everything’s perfectly mixed
- Rolling pin – If you don’t have one, a clean wine bottle works in a pinch – my college improvisation that I still use sometimes!
- Ghost-shaped cookie cutter – The real MVP! No ghost cutter? Draw a simple ghost shape on cardboard, cut it out, and use it as a stencil with a knife
- Baking sheet – Standard cookie sheet, preferably lined with parchment so your ghosts don’t stick
That’s seriously all you need! I’ve made these cookies in tiny apartment kitchens with minimal tools, during power outages (true story!), and they always turn out cute. The magic is in the shapes and decorations anyway – the equipment is just there to help the Halloween fun happen!
How to Make Ghost Sugar Cookies
Alright, let’s get these spooky little ghosts baking! I’ve made this recipe more times than I can count, so I’ll walk you through every step – including all my little tricks to make sure your ghosts turn out perfectly boo-tiful every time.
First things first – preheat that oven to 350°F (175°C). Go ahead and line your baking sheet with parchment paper now so you’re not scrambling later when your hands are full of dough. Trust me, I’ve learned that lesson the messy way!
Now let’s cream the butter and sugar together until they’re light and fluffy. I usually beat mine for about 2-3 minutes – you’ll really notice the color change when it’s ready. Don’t rush this step! That creamy texture gives your ghosts their perfect softness.
Crack in your egg and vanilla next, mixing just until combined. Here’s my tip: scrape down the sides halfway through mixing – there’s always sneaky bits hiding down there!
Time for the dry ingredients. Add your flour and salt slowly – I do it in about 3 additions so everything incorporates evenly without overmixing. The dough should come together nicely without sticking to your hands too much. If it’s sticky? No worries! Just chill it for 15 minutes.
Now comes the fun part! Roll out your dough to about 1/4-inch thickness on a lightly floured surface. Cut out those adorable ghosts and carefully transfer them to your baking sheet. Give them some space – ghosts don’t like crowding!
Bake for 8-10 minutes until just lightly golden around the edges. They’ll continue setting as they cool, so don’t overbake them! Let them cool completely on a wire rack before decorating – patience, my ghostly friends!
Decorating Your Ghost Sugar Cookies
Okay, now the real Halloween magic happens! Whisk together your powdered sugar, milk, and vanilla for the icing. Want it thicker? Add a touch more sugar. Need it thinner? Tiny bit more milk. Easy peasy!
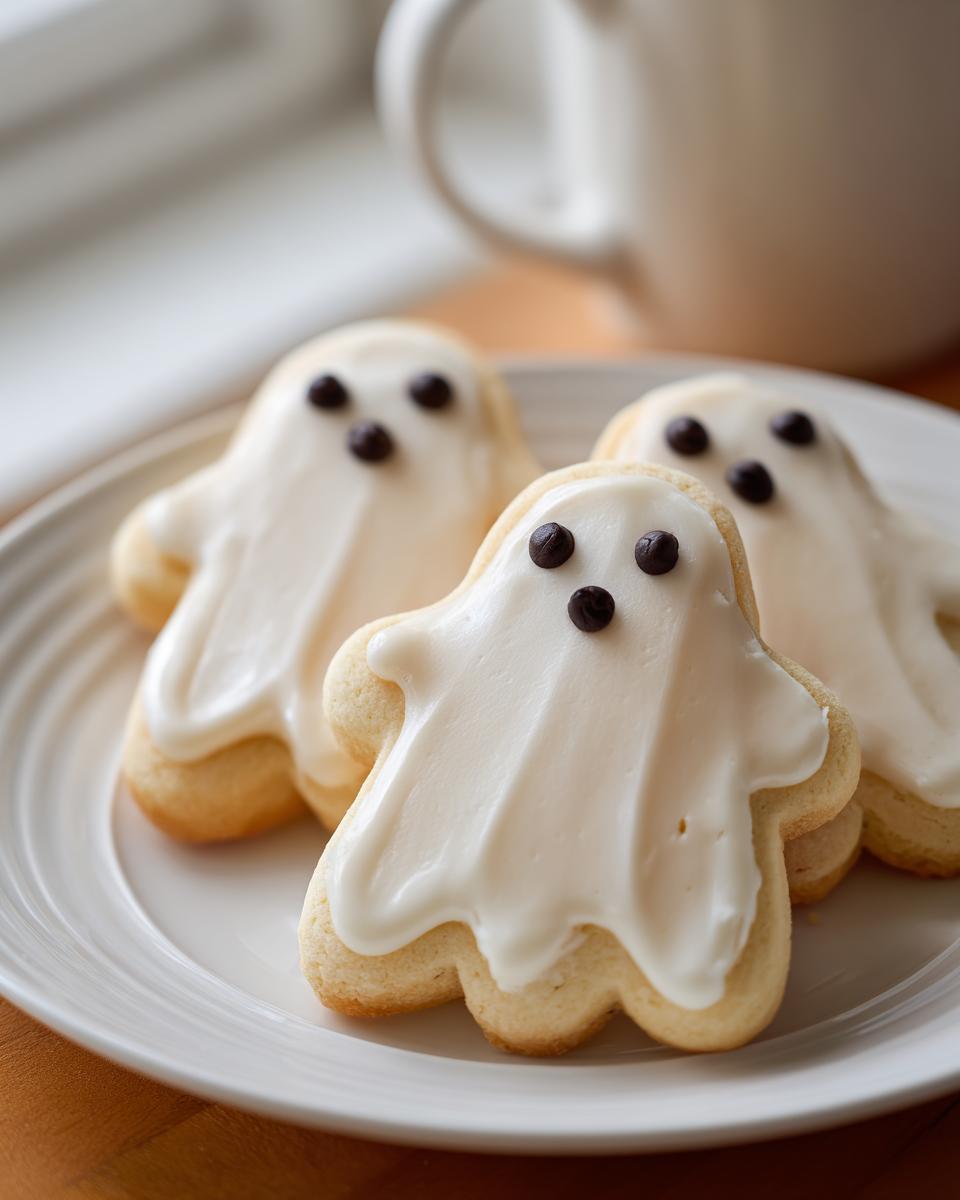
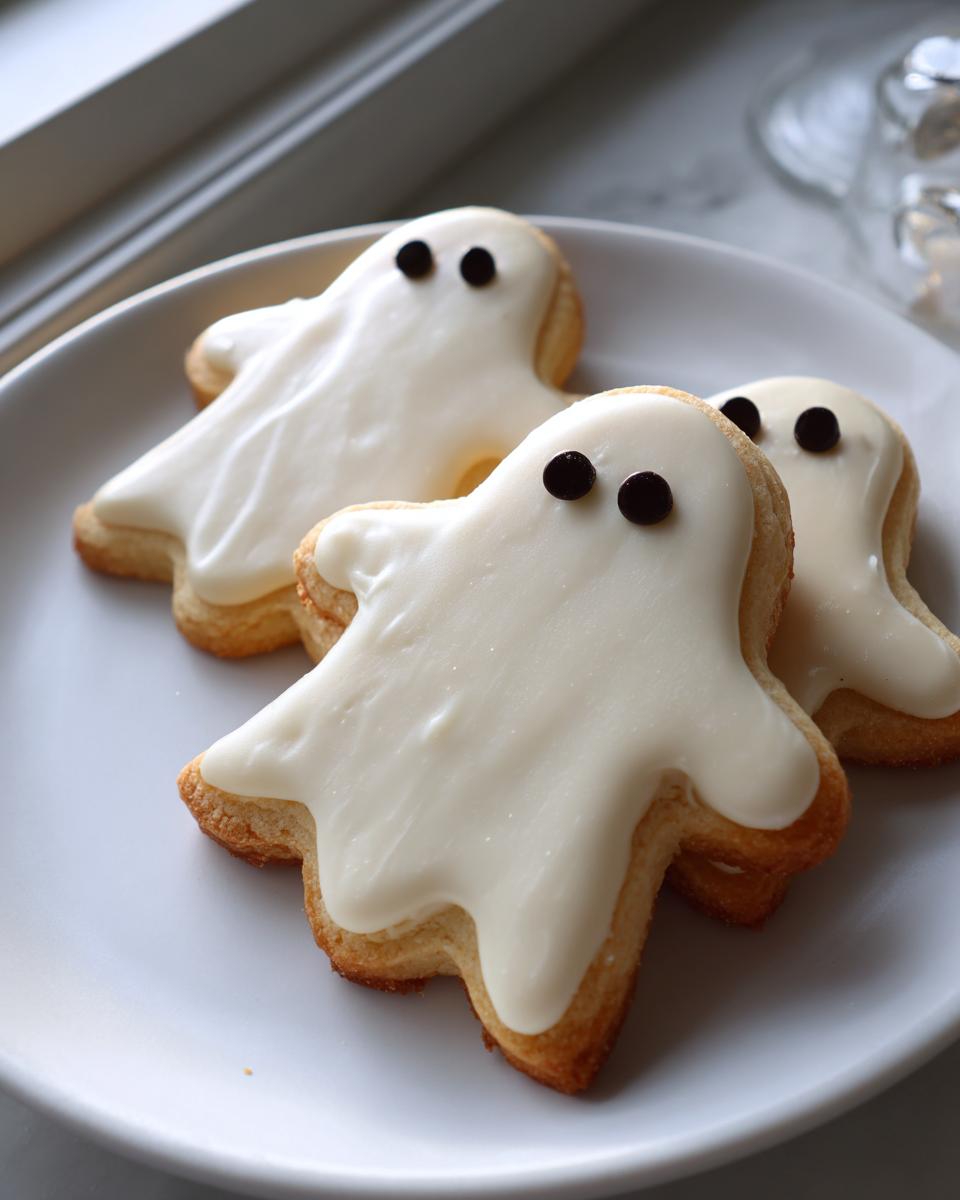
I drizzle my icing messily over the ghosts – perfection is boring when it comes to Halloween cookies! Then add those chocolate chip eyes while the icing is still wet. Want creative ghosts? Use sliced almonds for mouths or edible markers for funny faces. I’ve even done bat-shaped sprinkles « haunting » some ghosts!
Let your decorated ghosts set for about 30 minutes before stacking or packaging. And voila! You’ve got yourself some spook-tacular treats that’ll vanish faster than a ghost in daylight!
Tips for Perfect Ghost Sugar Cookies
After years of making these ghost sugar cookies (and plenty of hilarious kitchen disasters), I’ve learned a few tricks to make sure your spooky treats turn out perfectly every time. First – if your dough feels sticky when you’re rolling it out, don’t panic! Just pop it in the fridge for 15-20 minutes. I can’t tell you how many times this simple step has saved me from ghost-shaped blobs instead of cookies.
Parchment paper is your best friend here – not only does it prevent sticking, but it makes cleanup a breeze. And speaking from experience, let those cookies cool completely before you start decorating! I once got too excited and tried icing warm cookies – let’s just say my ghosts ended up looking more like melted marshmallows than spooky spirits.
One last pro tip: If you’re baking with kids, set up a decorating station with different colored icings and toppings. My little ones love making « ghost families » with different expressions. The messier, the better – after all, ghosts are supposed to be a little chaotic!
Storing and Serving Ghost Sugar Cookies
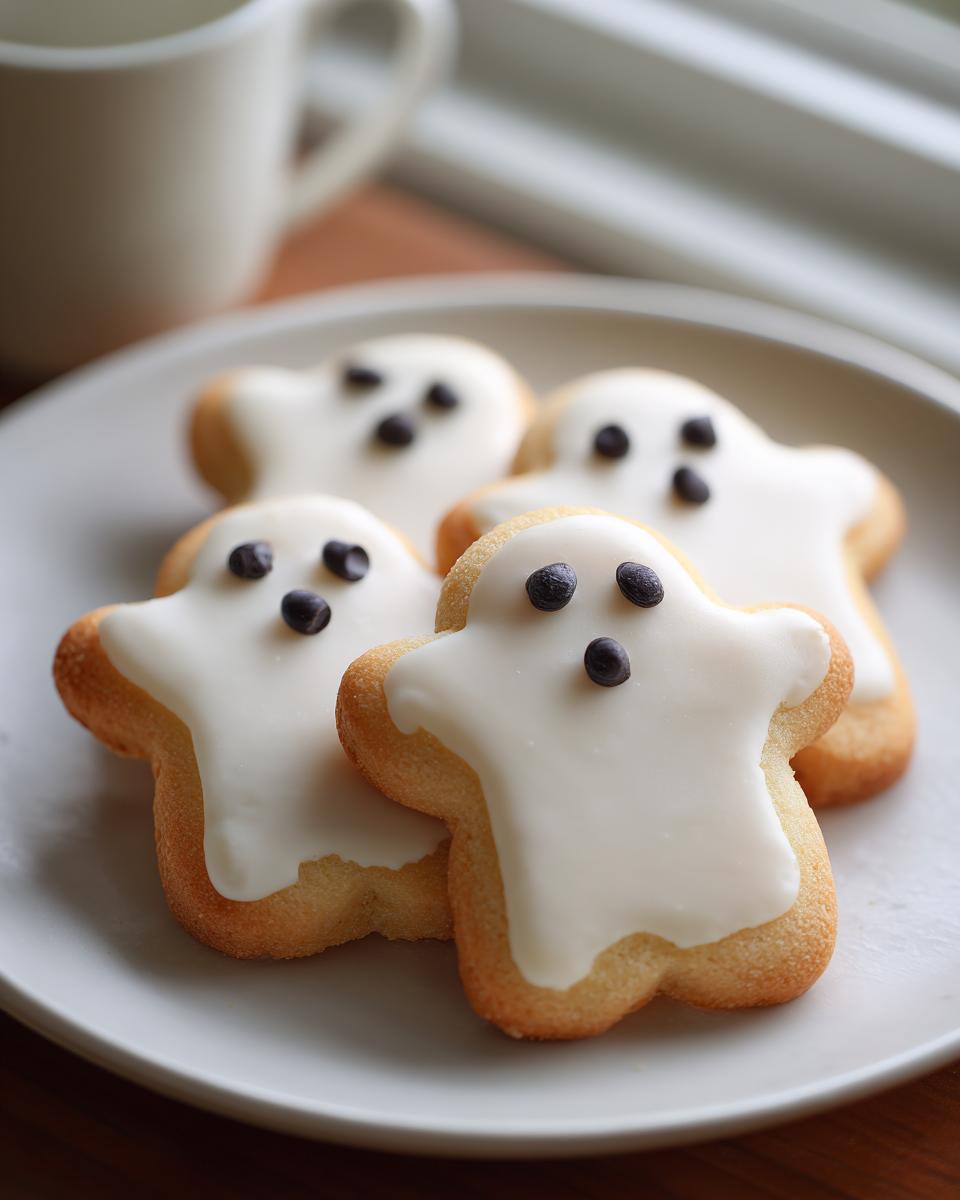
Now that you’ve got these adorable ghost cookies, let’s talk about keeping them fresh and showing them off! I always store mine in an airtight container at room temperature – they’ll stay perfectly spooky for about 3 days. If you need to stack them, I like putting parchment paper between layers so the icing doesn’t smudge.
These cookies are perfect for Halloween parties (just watch how fast they disappear!) or as cute little treats for neighbors and teachers. I’ve even packaged them in clear bags with orange and black ribbons as party favors. One year I made little « ghost cookie kits » with undecorated cookies and mini icing bags for my kids’ friends to decorate at home – total hit!
Ghost Sugar Cookies FAQs
Oh honey, I love that you’re asking questions – it means you’re about to make some spooky magic in your kitchen! Let me answer the ones I get all the time from friends and family (and yes, I’ve learned most of these the hard way myself!).
Can I use a different cookie cutter?
Absolutely! While ghosts are obviously the cutest, I’ve made bats, pumpkins, and even witch hats with this same dough. Just keep an eye on baking times – thinner shapes might need a minute less, chunkier ones might need a minute more. One time I used a dinosaur cutter and told the kids they were « ghosts from the prehistoric era » – total hit!
How do I make the icing thicker?
Been there, had the runny icing disaster! If your ghostly drizzle is too thin, just add more powdered sugar a tablespoon at a time until it’s the perfect « spooky fog » consistency. If it gets too thick? Tiny splashes of milk to thin it out. Pro tip: test your icing on one cookie first before committing to the whole batch!
Can I freeze the dough?
You bet! I always make a double batch and freeze half for last-minute Halloween emergencies (or…ahem…personal cookie cravings). Just wrap the dough tightly in plastic wrap, then again in foil. It’ll keep for 2-3 months. When you’re ready, thaw overnight in the fridge and let it sit at room temp for 15 minutes before rolling. The ghosts won’t haunt you for forgetting them in the freezer!
Can kids help decorate these?
Oh please, let them go wild! My kids’ « help » ranges from surgically precise chocolate chip placement to what I call the « ghost apocalypse » technique (basically icing everywhere). For little ones, put the icing in squeeze bottles and let them do the faces. The messier, the better – that’s how we get those « haunted » looking ghosts that everyone loves!
Nutritional Information
Just a quick ghostly whisper about nutrition – these values are estimates since ingredients can vary by brand and how generous you are with that icing! Each cookie has about 150 calories, which honestly just means you can eat…oh, let’s say « a few » without guilt. After all, Halloween calories don’t count if they’re shaped like ghosts – at least that’s what I tell myself every October!

Ghost Sugar Cookies
Ingrédients
Equipment
Method
- Preheat the oven to 350°F (175°C). Line a baking sheet with parchment paper.
- In a mixing bowl, cream together the butter and sugar until light and fluffy.
- Add the egg and vanilla extract, mixing until combined.
- Gradually mix in the flour and salt until a dough forms.
- Roll out the dough to 1/4-inch thickness and cut into ghost shapes using the cookie cutter.
- Place cookies on the prepared baking sheet and bake for 8-10 minutes, or until edges are lightly golden.
- Let cookies cool completely on a wire rack.
- For the icing, whisk together powdered sugar, milk, and vanilla extract until smooth.
- Drizzle or spread icing over cooled cookies and add mini chocolate chips for eyes.
- Let icing set before serving.