You know what I love most about Halloween? It’s the one time of year when you can turn everyday food into something magical! My Halloween veggie tray ideas started as a desperate attempt to get my kids to eat something healthy at parties, but now they’re the hit of every gathering. There’s something so satisfying about watching broccoli florets transform into a spooky ghost or cherry tomatoes become glowing pumpkin eyes. Trust me, even the pickiest eaters will reach for these colorful creations. The best part? You probably have most of these veggies in your fridge right now. Let me show you how to make snack time both fun and nutritious!
Why You’ll Love These Halloween Veggie Tray Ideas
Oh my gosh, where do I even start? These Halloween veggie tray ideas are my absolute favorite way to make healthy eating fun. Here’s why you’ll be obsessed too:
- Healthy doesn’t mean boring: The bright colors and spooky shapes make veggies irresistible – even my vegetable-hating nephew couldn’t resist the « ghost » cauliflower last year!
- Party-perfect presentation: It’s the showstopper of any Halloween spread. I love seeing guests’ faces light up when they spot the creepy-cute designs.
- Super simple assembly: No fancy skills needed – just chop, arrange, and watch the magic happen in under 20 minutes.
- Kid-approved creativity: Little hands love helping make the spooky faces and shapes. Bonus: they’re more likely to eat what they helped create!
Seriously, once you try these Halloween veggie tray ideas, you’ll never go back to boring crudités again.
Ingredients for Your Halloween Veggie Tray
Okay, let’s raid the fridge for our spooky masterpiece! I’ve learned through trial and error that the right mix of veggies makes all the difference between « meh » and « wow! » Here’s exactly what you’ll need to create your Halloween veggie tray magic. Trust me, these simple ingredients transform into something spectacular with just a little creativity.
Base Vegetables
These are your blank canvas – the foundation that’ll hold all your creepy creations together:
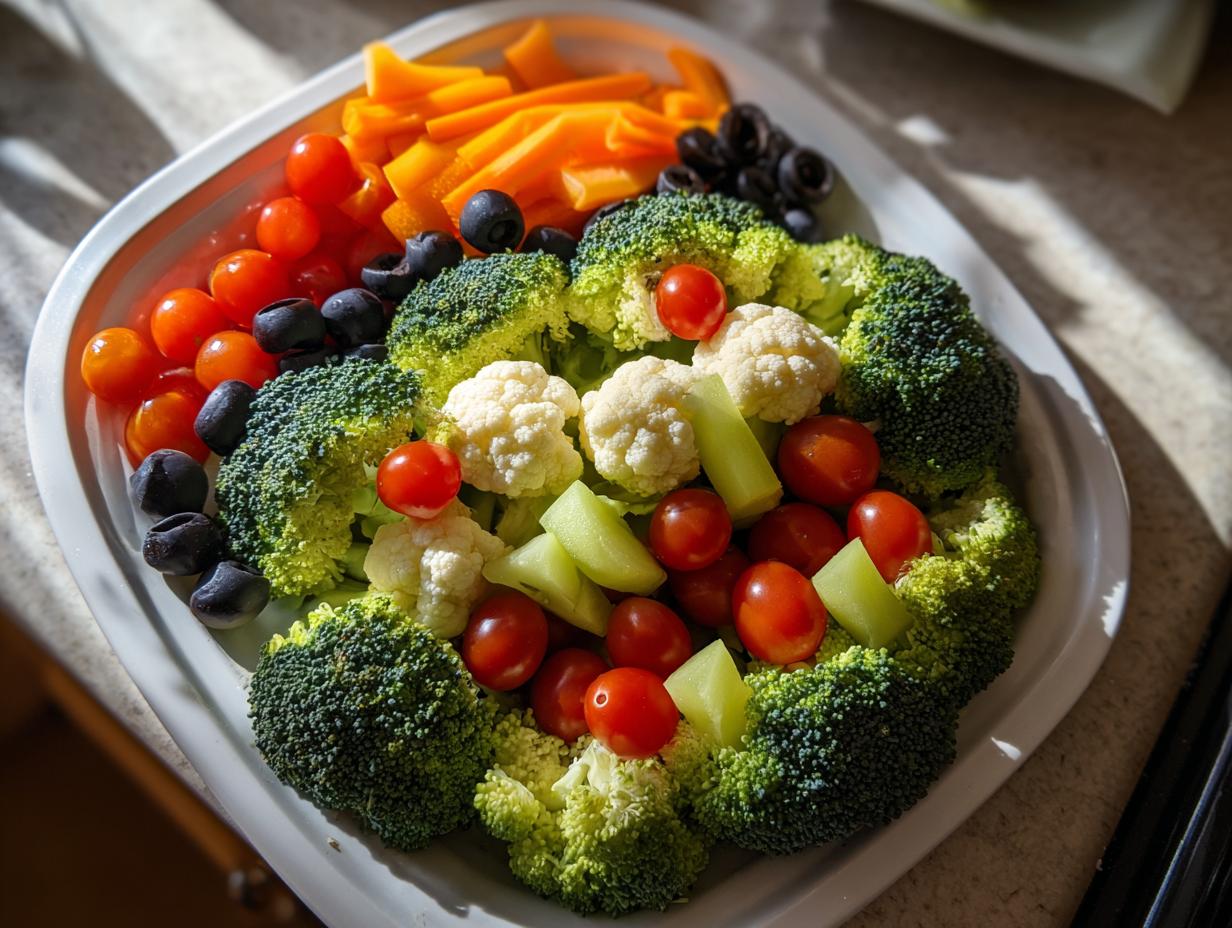
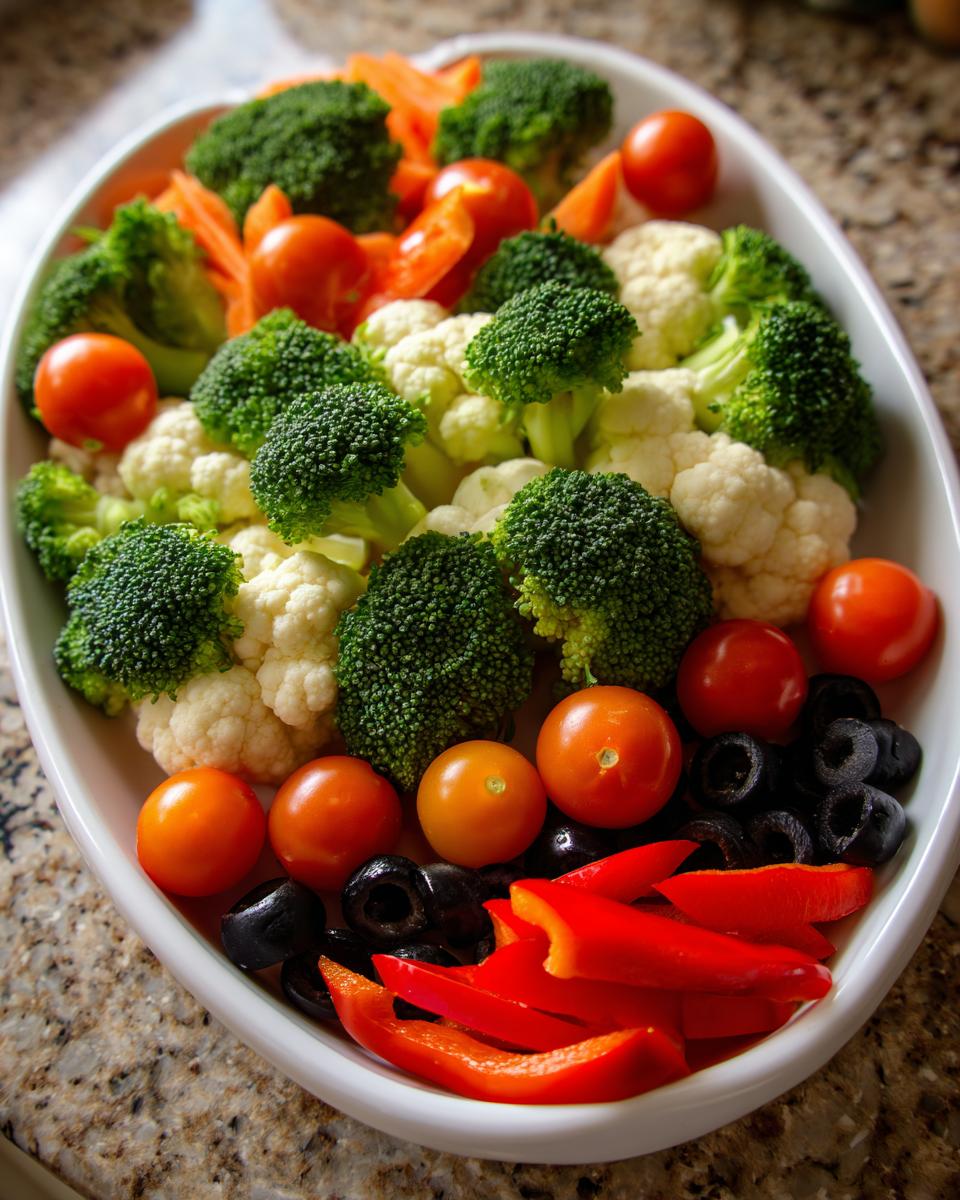
- 1 head cauliflower (cut into bite-sized florets – these make perfect ghost bodies or zombie brains!)
- 1 bunch broccoli (also cut into florets – great for witch’s hair or monster fur)
- 1 cup cherry tomatoes (leave whole for eyeballs or cut in half for bloody wounds)
- 1 cup baby carrots (perfect as-is for fingers or cut into slices for pumpkin smiles)
Decorative Vegetables
Now for the fun part – the details that’ll bring your Halloween veggie tray to life:
- 1 red bell pepper (cut into thin strips – these become dripping « blood » or wicked smiles)
- 1 small can black olives (slice some for spooky eyes, leave others whole for spider bodies)
- 4 oz cream cheese or hummus (use as « glue » for decorations or serve as a dip – I’m partial to the orange-colored hummus for extra Halloween flair!)
See? Nothing fancy, just fresh veggies and a whole lot of imagination. Now let’s turn these into something spectacular!
How to Make a Halloween Veggie Tray
Alright, let’s get our hands dirty (well, not literally – we want those veggies clean!). Making this Halloween veggie tray is easier than you think, and I promise the results will have everyone at your party ooh-ing and aah-ing. Here’s my foolproof method for turning ordinary vegetables into spooky edible art.

Step 1: Arrange the Base
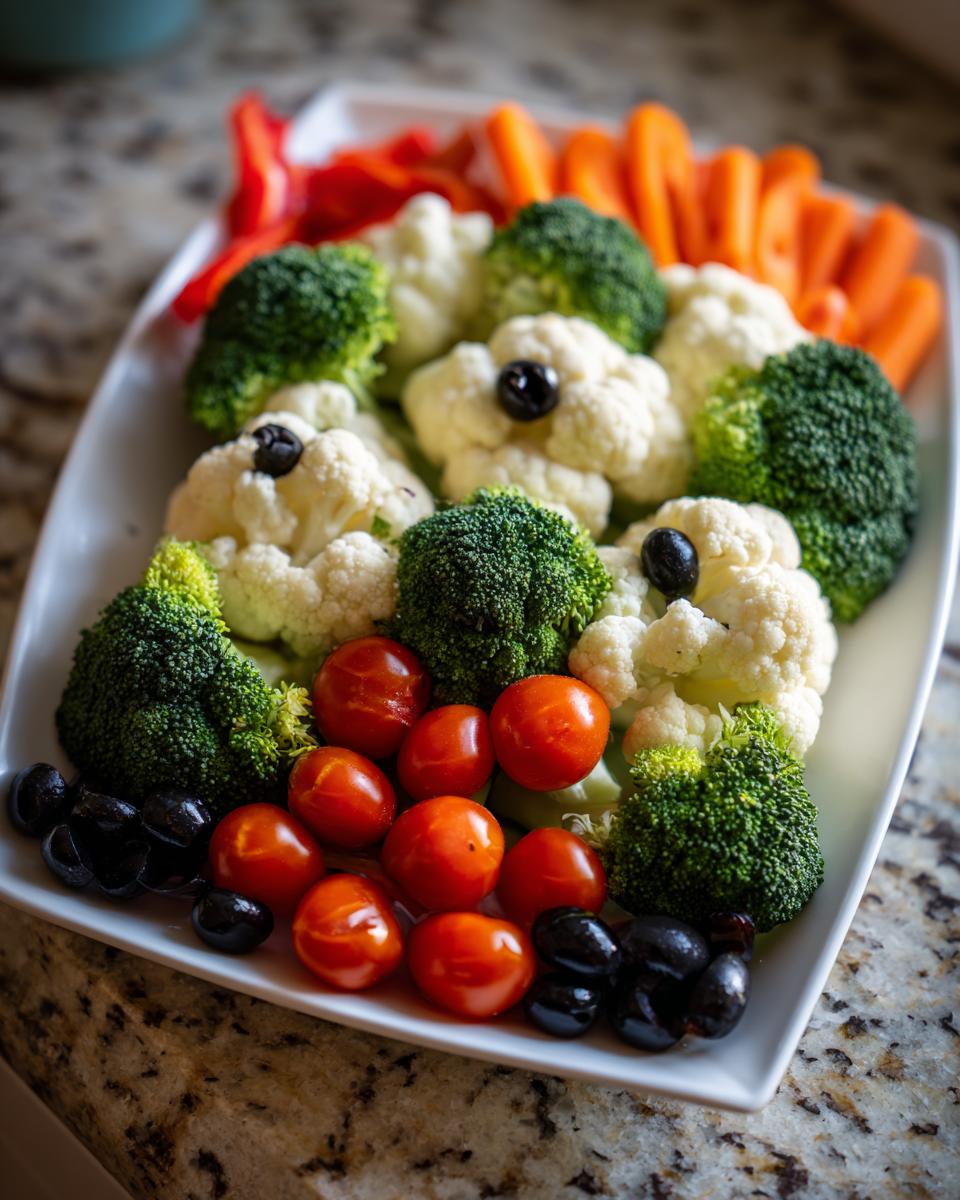
First, grab your largest serving tray – I use a 16-inch round one that gives me plenty of room to create. Now, let’s build our monster! For a ghost, pile cauliflower florets into a tall, wispy shape. Want a pumpkin instead? Form broccoli florets into a circle. Don’t stress about perfection – uneven edges make it look creepier (and more homemade, in the best way).
Step 2: Add Color Accents
Time to bring in our colorful friends! Scatter cherry tomatoes around the base for a bloody effect, or tuck baby carrots between florets to look like fingers reaching out. I like to leave some empty space at this stage – we’ll fill those spots with our scary details next.
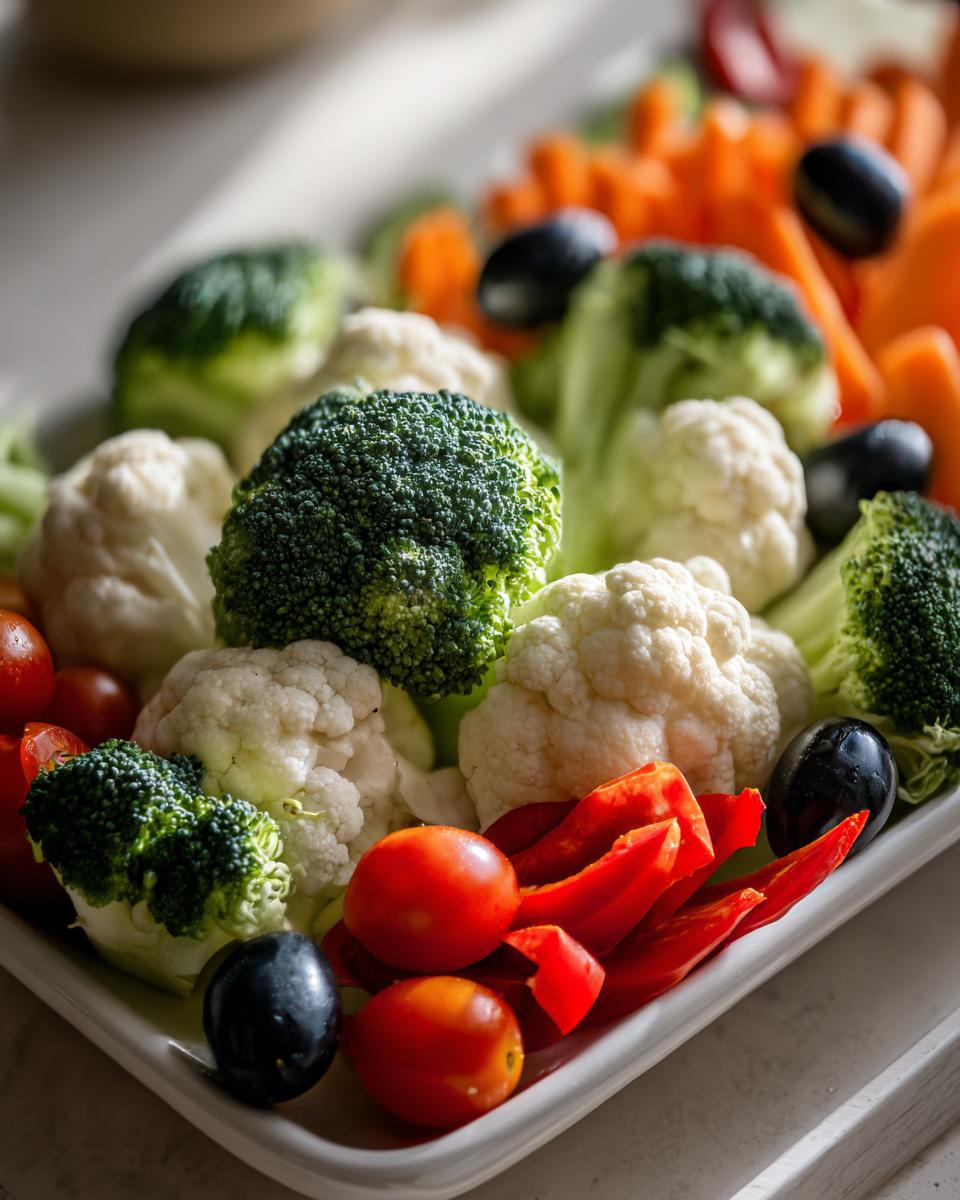
Step 3: Create Halloween Details
This is where the magic happens! Use black olive slices for eyes – slightly crooked makes them extra spooky. Red pepper strips become wicked smiles or bloody drips. For spiders, place whole olives as bodies with pepper strip legs. Got small cookie cutters? Try making bat shapes from bell peppers! A tiny dab of cream cheese works as « glue » for tricky decorations.
And just like that, you’ve transformed ordinary veggies into the star of your Halloween spread. Wait till you see the kids’ faces when they spot this creepy creation!
Tips for the Best Halloween Veggie Tray Ideas
After making more Halloween veggie trays than I can count (and learning from plenty of « oops » moments), here are my can’t-live-without tips for creating the spookiest, freshest spread:
- Prep ahead like a pro: Chop all your veggies the night before and store them in separate containers with damp paper towels – this keeps them crisp and ready for last-minute assembly when guests arrive.
- Keep it fresh: Lay a barely-damp kitchen towel over your finished tray before refrigerating. It prevents wilting without making veggies soggy – my secret weapon for parties!
- Make it a family affair: Kids are genius at creating creepy faces! Let them arrange olive eyes and pepper smiles – they’ll come up with designs I’d never think of.
- Dip smart: Serve hummus or cream cheese in small bowls around the tray rather than on it. This keeps your artwork intact while letting everyone customize their bites.
Follow these simple tricks, and your Halloween veggie tray will be the talk of the party – guaranteed!
Halloween Veggie Tray Variations
Once you’ve mastered the basics, the real fun begins with these Halloween veggie tray ideas! My kids and I love experimenting with new creepy creations. Try turning cauliflower florets into « zombie brains » by arranging them in a wavy brain shape with red pepper strips for veins. Thin cucumber slices make perfect « mummy wraps » when layered over baby carrots. Or go for a « spider web » by swirling cream cheese over cherry tomatoes with olive spiders crawling across. The possibilities are endless – just let your spooky imagination run wild!
Serving and Storage Tips
Here’s my foolproof way to keep your Halloween veggie tray looking fresh and spooky right up until the last trick-or-treater leaves! I always chill my assembled tray for about 30 minutes before serving – the cold makes the veggies extra crisp and helps all those creepy decorations stay put. If you’ve got leftovers (which rarely happens at my parties!), just pop them in an airtight container. The base veggies will stay fresh for 2-3 days, though you might need to touch up the decorations. Pro tip: store any dip separately to keep your masterpiece from getting soggy!
FAQs About Halloween Veggie Trays
I get so many questions about these Halloween veggie trays at parties – here are the ones I hear most often with my tried-and-true answers!
Can I prep the veggie tray ahead of time?
Absolutely! I always chop my veggies the night before and store them in separate containers with damp paper towels. The secret? Wait to assemble until about an hour before your party – this keeps everything crisp and prevents the « blood » (aka red pepper strips) from bleeding color everywhere.
What are the best dip options?
My go-to is orange hummus for extra Halloween spirit, but cream cheese dyed green with food coloring makes awesome « monster slime. » For a healthier option, try blending roasted red peppers into Greek yogurt – it’s creepy red and packed with protein!
How do I transport my veggie tray safely?
After one disastrous car ride (RIP olive spider legs!), I learned to place wax paper over the tray before gently covering with plastic wrap. Bring decorations like extra olives and peppers in baggies to touch up any casualties upon arrival. A baking sheet with edges works great as a makeshift carrier too!
Nutritional Information
Just a quick heads up – these numbers can vary depending on your veggie sizes and dip choices! A typical serving of this Halloween veggie tray provides about 50-70 calories, 3g fiber, and a boost of vitamin C. But really, with all these colorful veggies, you’re winning at nutrition while having fun!
Halloween Veggie Tray
Ingrédients
Equipment
Method
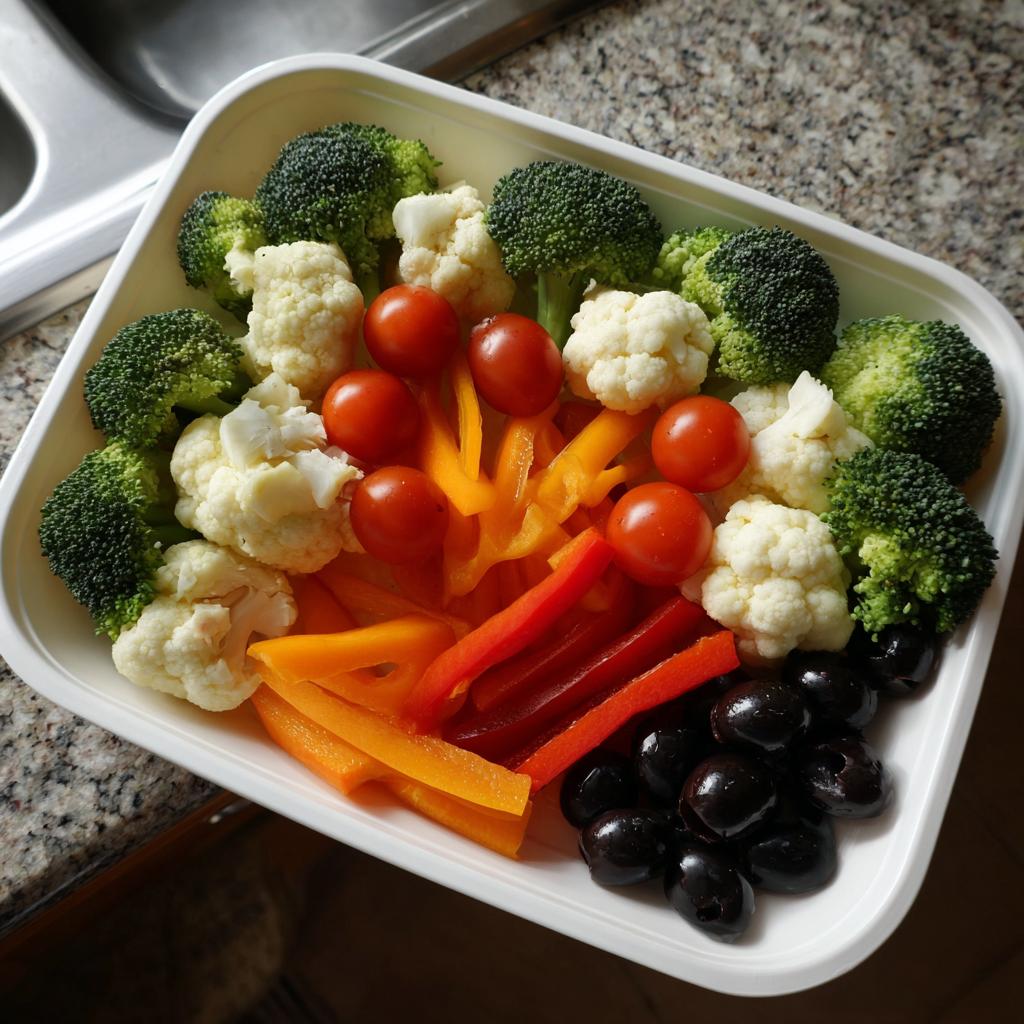
- Arrange cauliflower and broccoli florets on a large tray to form a spooky shape, like a ghost or pumpkin.
- Use cherry tomatoes and baby carrots to fill in gaps or add color accents.
- Create details like eyes or spider legs with black olives and red bell pepper strips.
- Serve with cream cheese or hummus as a dip.