There’s something magical about making homemade chocolate candy that takes me right back to my grandma’s kitchen. I can still smell the rich cocoa melting on her stovetop and feel the excitement of pressing sprinkles into warm chocolate before it set. The best part? It’s ridiculously easy! With just chocolate chips and a bit of coconut oil, you can whip up delicious homemade chocolate candy that puts store-bought treats to shame. Whether you’re craving something sweet or need a quick gift, this recipe is my go-to. Trust me, once you taste that first creamy bite of your own handmade chocolate, you’ll never look at candy bars the same way again.
Why You’ll Love This Homemade Chocolate Candy
Oh my gosh, where do I even start? This homemade chocolate candy recipe is my little kitchen secret for when I need something sweet FAST. Here’s why you’re going to adore it:
- It’s crazy simple – just two main ingredients and you’re done in 15 minutes flat
- Endless customization – toss in nuts, swirl in peanut butter, or go wild with sprinkles
- That homemade magic – nothing beats the rich taste of chocolate you melted yourself
- Perfect for gifts – package them cute and watch people swoon
- Kid-friendly fun – my nieces love decorating their own chocolate shapes
Seriously, once you try this, you’ll never buy those waxy store chocolates again. The texture is so smooth it’ll make you sigh!
Ingredients for Homemade Chocolate Candy
Okay, let’s talk ingredients – and I promise you probably have most of this in your pantry right now! Here’s what you’ll need for the easiest homemade chocolate candy ever:
- 1 cup chocolate chips – dark or milk, whatever makes your heart sing (I’m partial to dark chocolate with sea salt!)
- 1 tbsp coconut oil – this little magic trick makes the chocolate extra smooth and shiny
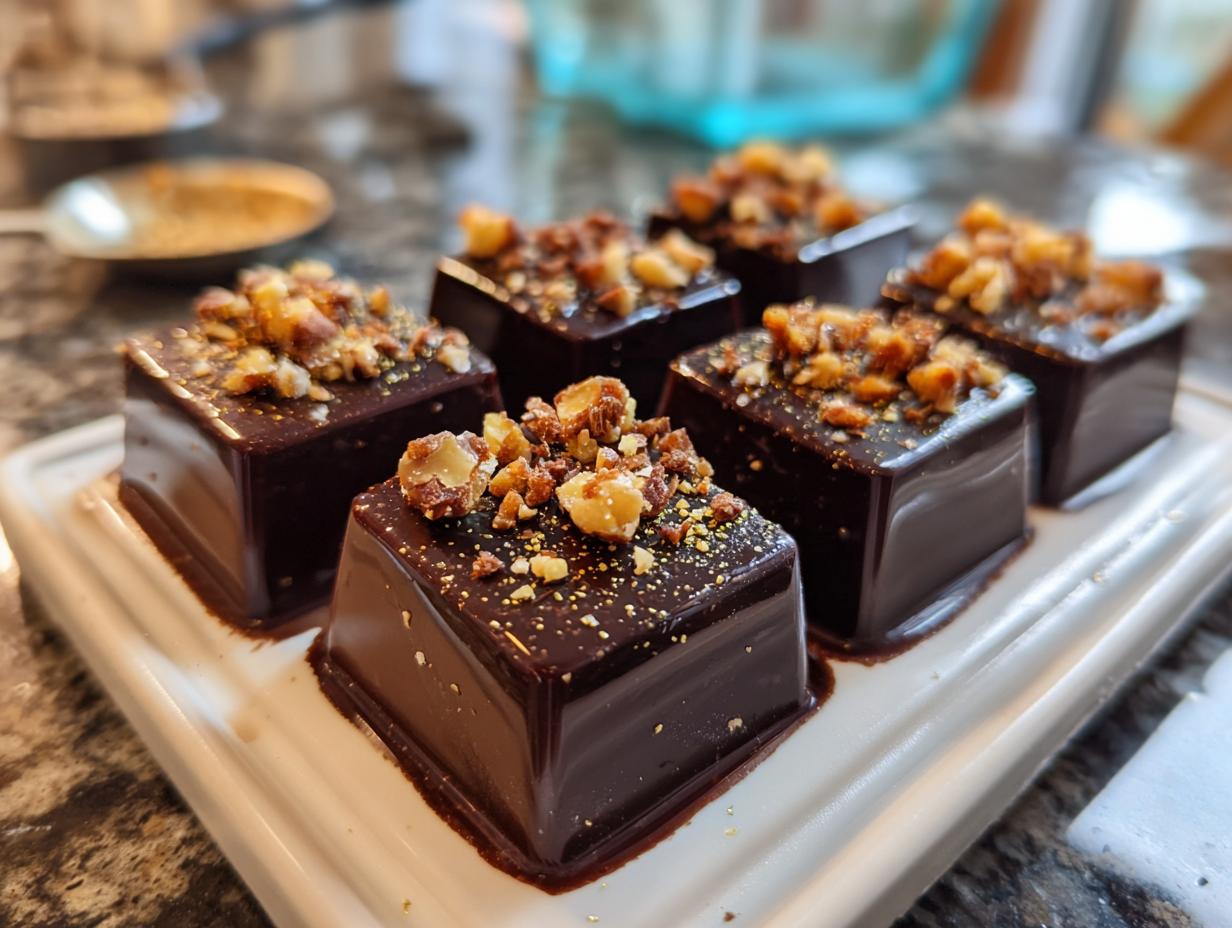
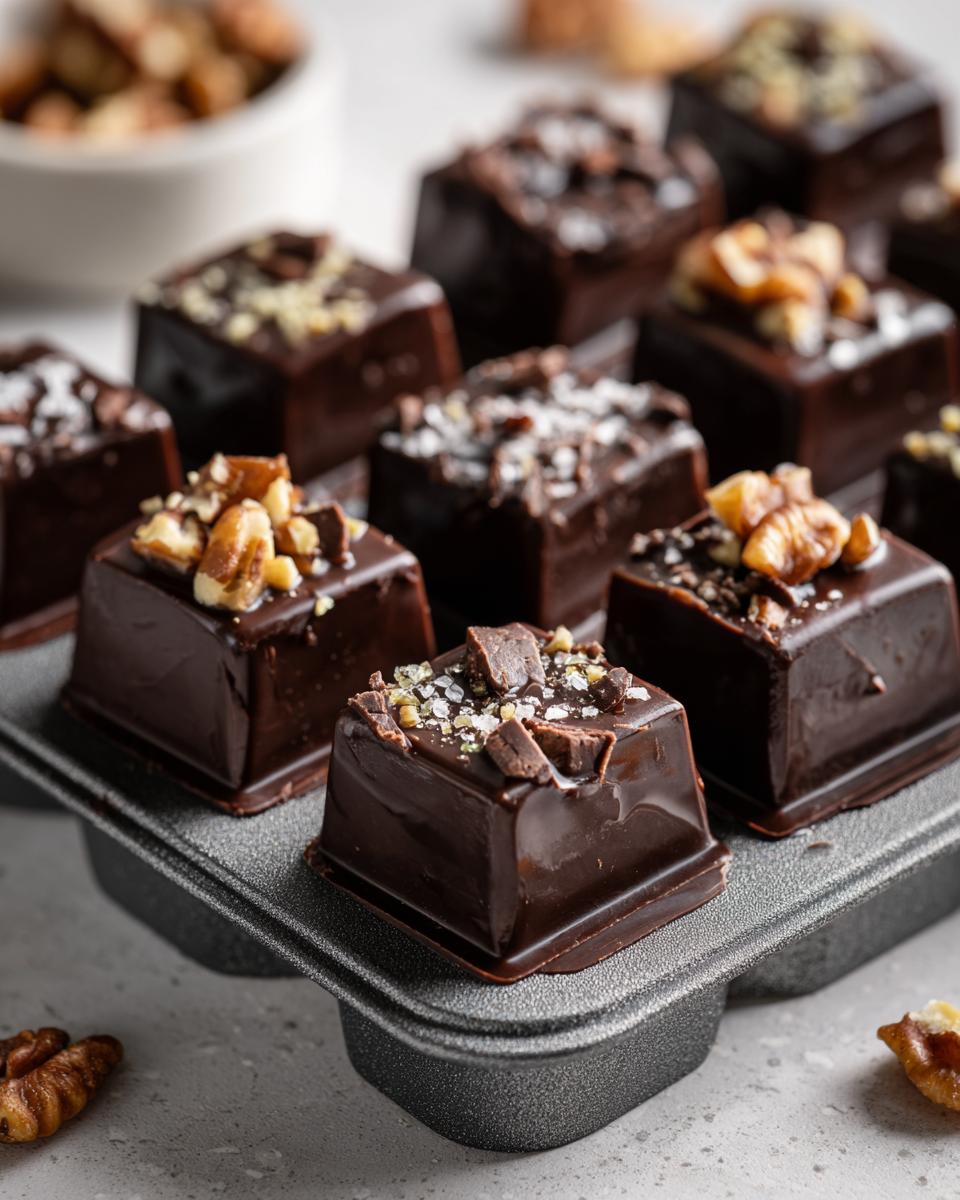
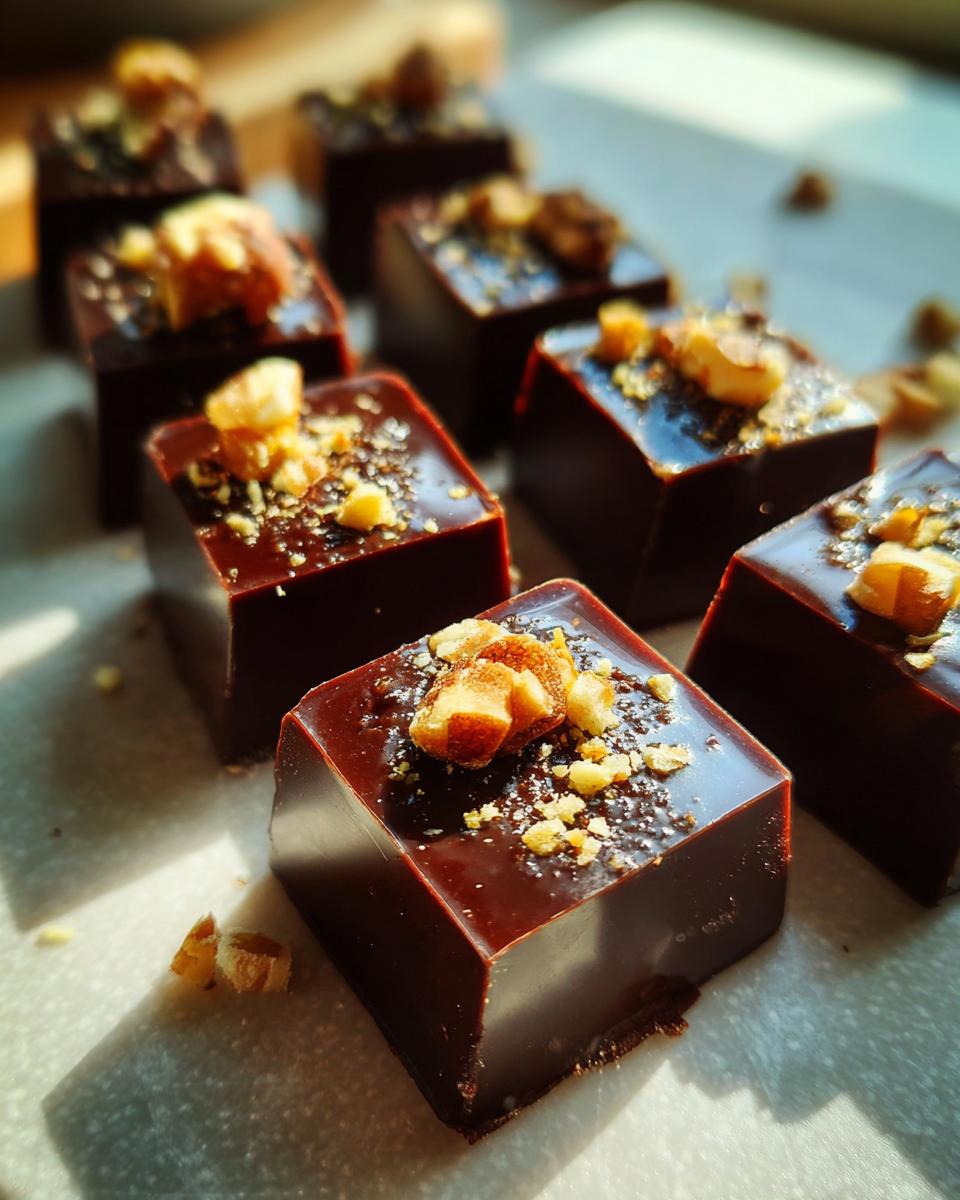
- Toppings (if you’re feeling fancy) – crushed nuts, sprinkles, dried fruit, or even a pinch of flaky salt
That’s it! Well, unless you count love as an ingredient – which I totally do when I’m making these for friends. The coconut oil is my secret weapon though – it gives that professional candy-shop snap when you bite into it!
Equipment Needed for Homemade Chocolate Candy
Don’t stress about fancy equipment – you likely have everything already! Here’s what I always grab:
- A good saucepan – medium-sized works best for even melting
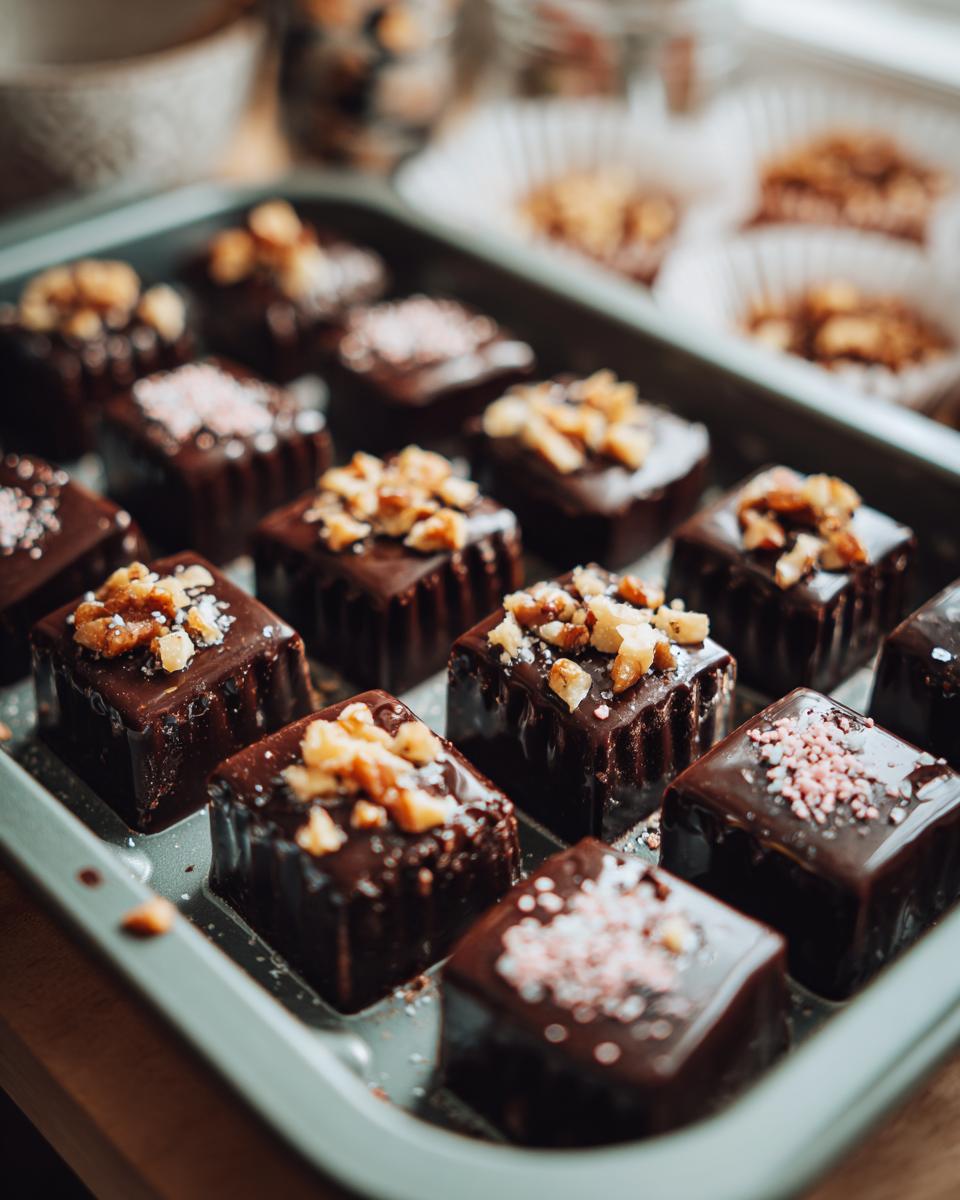
- Silicone molds – I’ve collected fun shapes over the years (hearts are my favorite!)
No molds? No problem! Just pour the melted chocolate onto parchment paper in little puddles – they’ll taste just as amazing. I’ve even used ice cube trays in a pinch when I was desperate for chocolate. The important thing is that saucepan – trust me, trying to melt chocolate in the microwave always ends in tears!
How to Make Homemade Chocolate Candy
Alright, let’s get down to the fun part – making that dreamy homemade chocolate candy! I’ve made this recipe more times than I can count, and I’ve learned all the little tricks to get it perfect every time. Don’t worry, it’s practically foolproof – just follow these simple steps and you’ll be biting into creamy chocolate heaven before you know it!
Step 1: Melt the Chocolate
First things first – grab that saucepan and set it over low heat. I mean LOW. Chocolate burns faster than my patience when I’m hungry! Toss in your chocolate chips and coconut oil, and start stirring like your life depends on it. Keep moving that spoon in slow circles until everything melts into this gorgeous, glossy pool of chocolatey goodness. Should take about 3-5 minutes – just until no lumps remain. If it starts looking grainy, you’ve gone too hot – but no worries, just take it off the heat and keep stirring!
Step 2: Pour into Molds
Now the fun part! Carefully pour that liquid gold into your silicone molds. I like to use a small measuring cup with a spout for less mess – learned that after my first chocolate-covered counter disaster! No molds? No sweat! Just spoon little circles onto parchment paper. They’ll look like fancy chocolate coins – rustic charm at its finest!
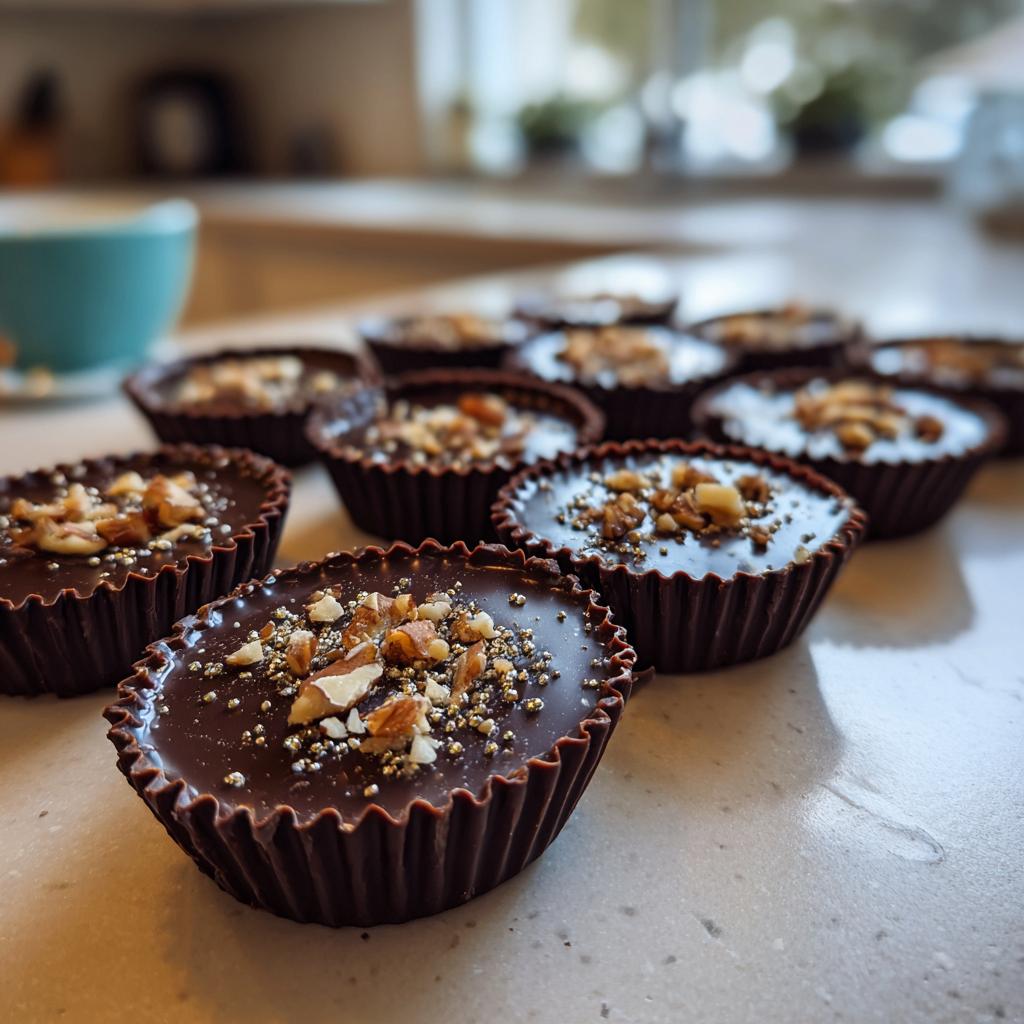
Step 3: Add Toppings
This is where you get creative! While the chocolate’s still warm, sprinkle on your toppings. My favorites? Crushed peppermint for holiday vibes, flaky sea salt for that sweet-salty magic, or rainbow sprinkles when I’m feeling festive. Press them in gently so they stick. Pro tip: Add toppings quickly before the chocolate starts setting – I’ve lost many sprinkles to slow fingers!

Step 4: Refrigerate Until Firm
Pop those beauties in the fridge and try to be patient! They’ll need about an hour to set up properly. I know it’s tempting, but don’t poke them every five minutes – trust me, I’ve left fingerprint dents before! When they’re ready, they’ll feel firm to a gentle touch and come out of the molds with a satisfying « pop. » Then comes the best part – taste testing your homemade chocolate masterpiece!
Tips for Perfect Homemade Chocolate Candy
After making countless batches of homemade chocolate candy (and yes, eating most of them!), I’ve picked up some foolproof tricks that’ll take your candy game to the next level. First off, splurge on good-quality chocolate chips – that bargain bin stuff just won’t melt as smooth. Keep your heat LOW when melting – chocolate burns faster than toast! And here’s my favorite secret: let your toppings sit at room temperature before adding them so they don’t make the chocolate seize up. Oh, and always lick the spoon – it’s the chef’s reward!
Variations for Homemade Chocolate Candy
Okay, let’s get creative! The beauty of homemade chocolate candy is how easily you can mix things up. My kitchen experiments have led to some delicious discoveries – here are my favorite twists on the classic recipe:
- White chocolate dreams – swap dark chips for white chocolate and add freeze-dried raspberries for a pretty pink swirl
- Peanut butter magic – drop little dollops of peanut butter into the melted chocolate and swirl with a toothpick
- Salty-sweet perfection – sprinkle flaky sea salt on top right after pouring for that irresistible contrast
- Minty freshness – add a drop of peppermint extract to the melted chocolate (just a drop – it’s powerful!)
- Coconut bliss – mix in toasted coconut flakes for tropical vibes
The possibilities are endless – last week I crushed up some pretzels for a sweet-salty-crunchy situation that disappeared instantly! What will you try first?
Storing Homemade Chocolate Candy
Okay, let’s talk storage – because I know you’re going to make way more than you can eat in one sitting (though I’ve certainly tried!). These homemade chocolate candies keep beautifully in an airtight container in the fridge for up to 2 weeks – if they last that long! Just make sure to separate layers with parchment paper so they don’t stick together. For longer storage, you can freeze them for up to 3 months – though I’ve never managed to keep them frozen more than a week before « testing » them all! Pro tip: Let frozen chocolates come to room temperature for about 10 minutes before eating – that way you get that perfect snap without breaking a tooth!
Nutritional Information for Homemade Chocolate Candy
Okay, let’s be real – we’re not eating homemade chocolate candy for its health benefits! But because I know some of you are curious (or maybe just want to justify eating three pieces instead of two), here’s the scoop on what’s in each delicious bite:
Each piece comes in at about 80 calories, with 5g of fat (that good cocoa butter kind!), 8g of carbs, and 1g of protein. Now, these numbers can change depending on your chocolate choice – dark chocolate will have more antioxidants, while milk chocolate will be a bit sweeter. And if you go wild with toppings like I do, those nuts or sprinkles will add their own little nutritional twists!
Remember, these are estimates – your exact numbers might vary based on the specific chocolate and toppings you use. But honestly? When that rich chocolate flavor hits your tongue, I promise you won’t be thinking about numbers – just pure, blissful enjoyment!
FAQs About Homemade Chocolate Candy
Can I use cocoa powder instead of chocolate chips?
Oh honey, I wish it were that simple! Cocoa powder alone won’t give you that melt-in-your-mouth magic because it lacks the cocoa butter that makes chocolate so dreamy. You’d need to add fat and sweetener – at that point, you’re basically making chocolate from scratch! Stick with chocolate chips for foolproof results. They’re formulated to melt perfectly every time.
How long does it take for the chocolate to set?
Patience is key! The chocolate needs about an hour in the fridge to firm up properly. I know it’s tempting to check every five minutes (I’ve been there!), but resist the urge! They’ll tell you they’re ready when they easily pop out of the molds and have that satisfying snap when you break them.
Can I skip the coconut oil?
You can… but I wouldn’t recommend it! That tablespoon of coconut oil is my secret weapon – it makes the chocolate extra glossy and gives that professional candy-shop snap. Without it, your chocolate might be a bit too firm or prone to cracking. If you absolutely must skip it, try adding a tiny bit of vegetable oil instead.
Why did my chocolate turn grainy?
Ah, the dreaded chocolate seize! This happens when moisture sneaks in or the heat’s too high. Always melt your chocolate gently over low heat, and make sure your tools are completely dry. If it does seize, don’t panic! Remove from heat immediately and stir in a teaspoon of coconut oil – it can sometimes bring it back to life.
Can I use the microwave instead of a saucepan?
You can, but I don’t trust myself with microwaved chocolate – I always end up with burnt spots! If you go this route, microwave in 15-second bursts, stirring well between each. And whatever you do, don’t walk away! Chocolate burns faster than my patience when I’m craving something sweet!
Homemade Chocolate Candy
Ingrédients
Equipment
Method
- Melt chocolate chips and coconut oil in a saucepan over low heat, stirring until smooth.
- Pour the melted chocolate into silicone molds.
- Add optional toppings if desired.
- Refrigerate for at least 1 hour until firm.