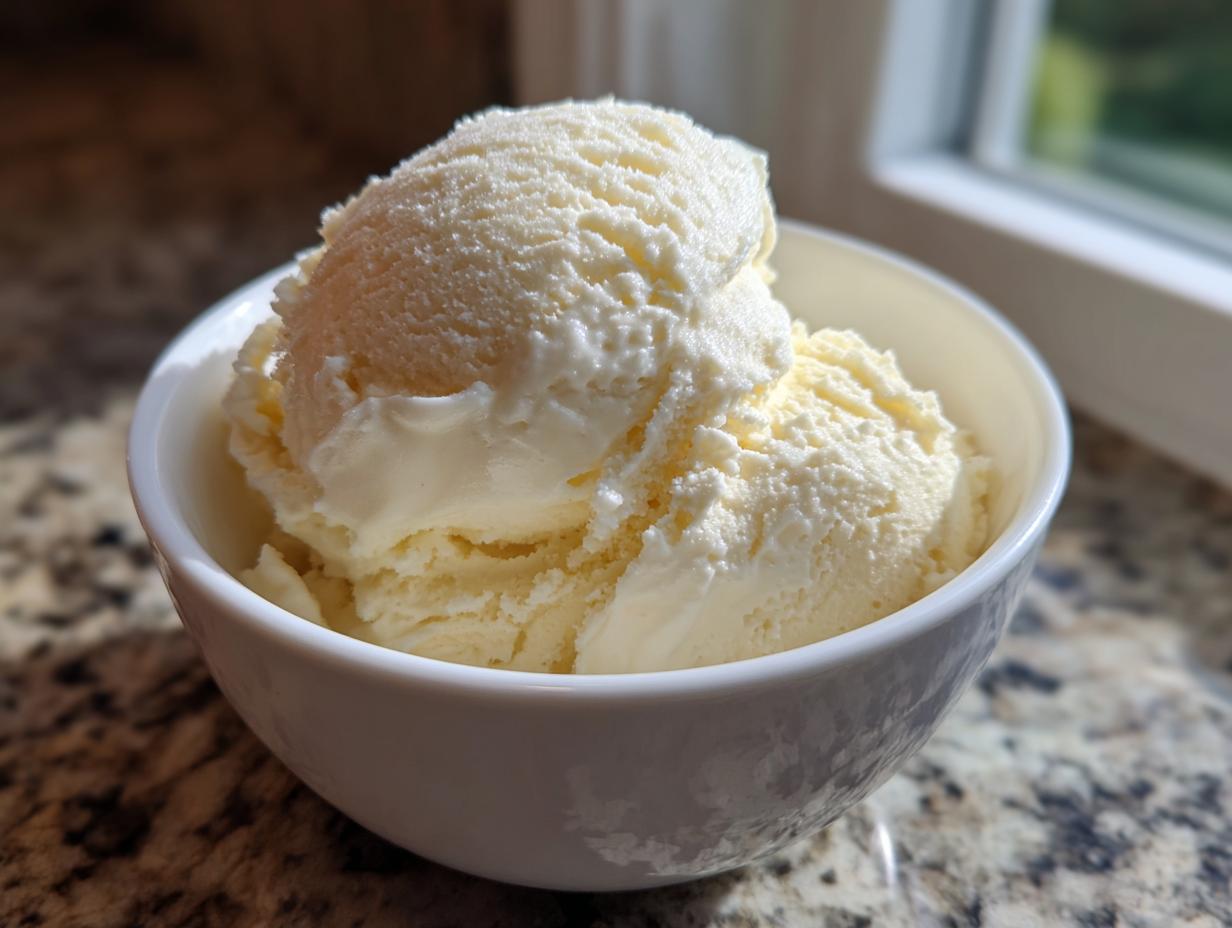
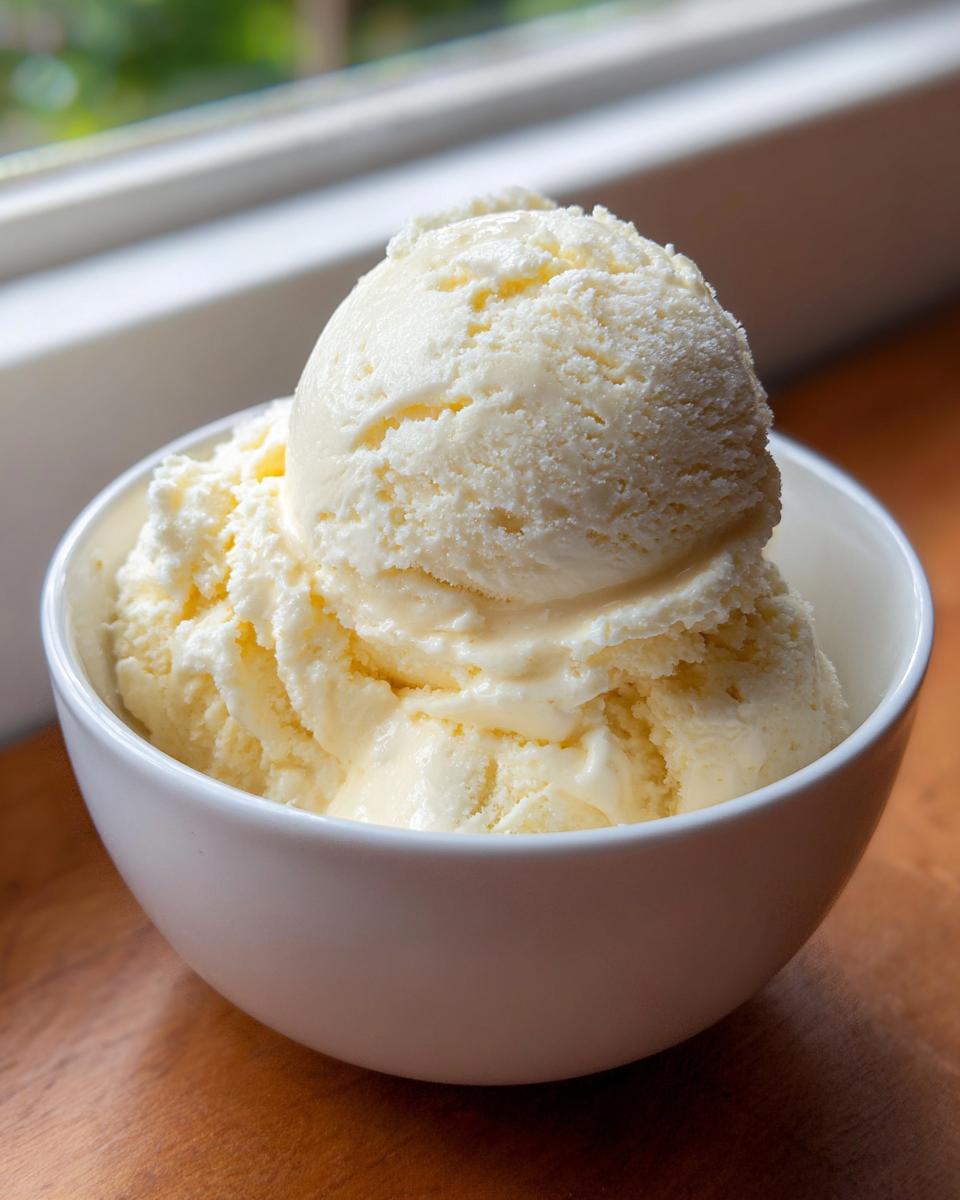
Oh, there’s just something magical about a scoop of perfectly creamy, cold ice cream, right? And let me tell you, making your own homemade ice cream is way easier – and dare I say, even more rewarding – than you might think! I remember the first time I tried making it myself; I was a little intimidated, honestly. But wow, the taste was such a revelation! It was so much fresher and richer than anything store-bought. This recipe is my go-to because it’s foolproof, incredibly simple, and delivers that classic, delicious homemade ice cream taste that just brings back all the best memories. Seriously, if you haven’t made ice cream from scratch before, this is the perfect place to start – prepare to be seriously impressed!
Why You’ll Love This Homemade Ice Cream
Seriously, why spend a fortune on fancy ice cream when you can whip up something even better right in your own kitchen? This recipe is a total game-changer. Here’s why you absolutely need to try it:
- It’s SO Easy! Like, ridiculously easy. No complicated custards or fussy steps here. Just mix, churn, and freeze. You’ll be amazed at how simple it is!
- Unbeatable Flavor Trust me, the taste is out of this world. Using simple, quality ingredients like fresh cream and good vanilla makes all the difference. It’s pure, delicious goodness.
- Instant Gratification (Almost!) While it needs a little freezing time, the active prep is literally minutes. Perfect for when that ice cream craving hits!
- Pure Kitchen Triumph There’s something super satisfying about pulling a container of your own perfectly churned, creamy ice cream out of the freezer. You made this!
Essential Ingredients for Perfect Homemade Ice Cream
Getting that perfect creamy texture and classic flavor for your homemade ice cream really just comes down to a few simple, quality ingredients. Don’t overthink it! You don’t need anything fancy, just the good stuff. I always make sure to have these staples on hand, and trust me, they make all the difference in the final scoop.
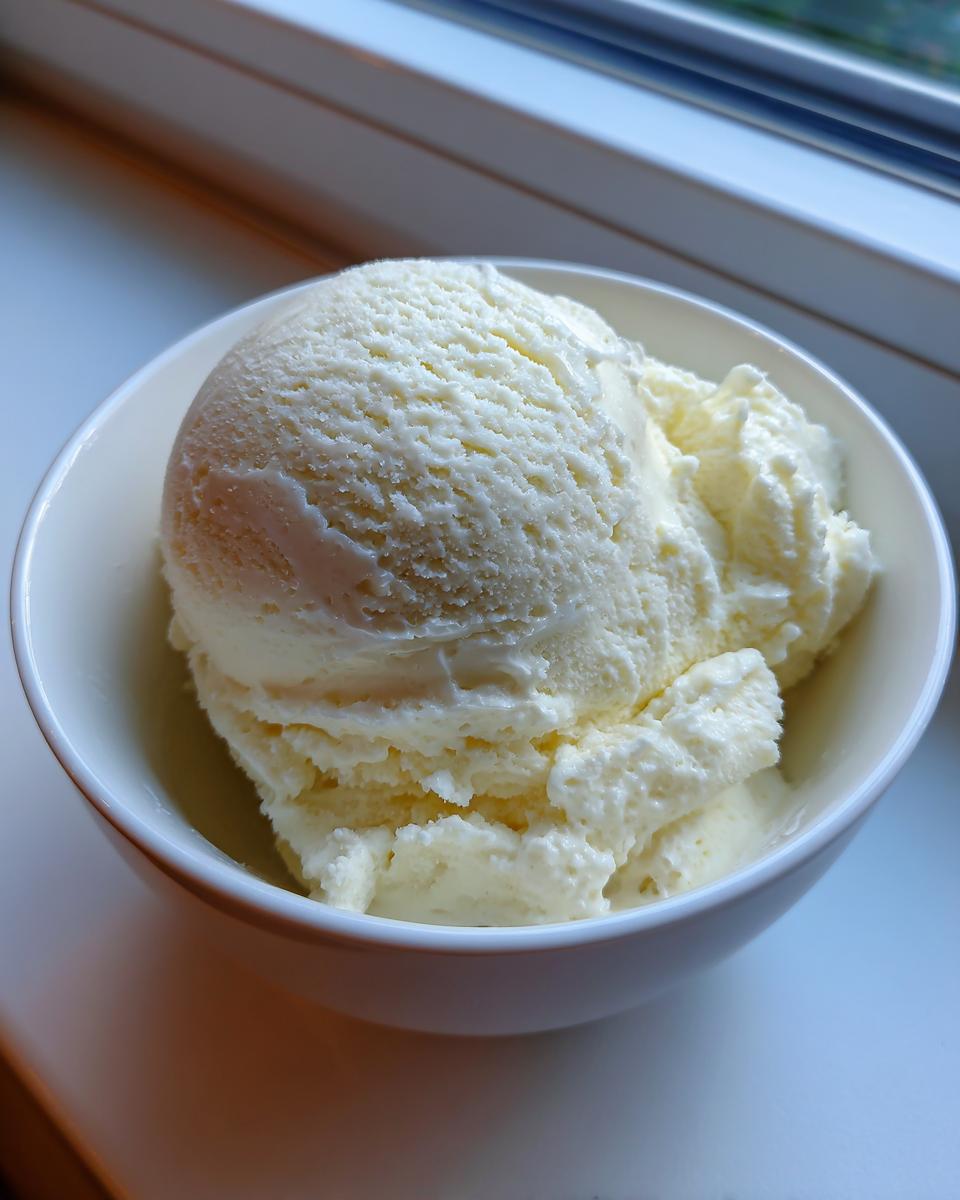
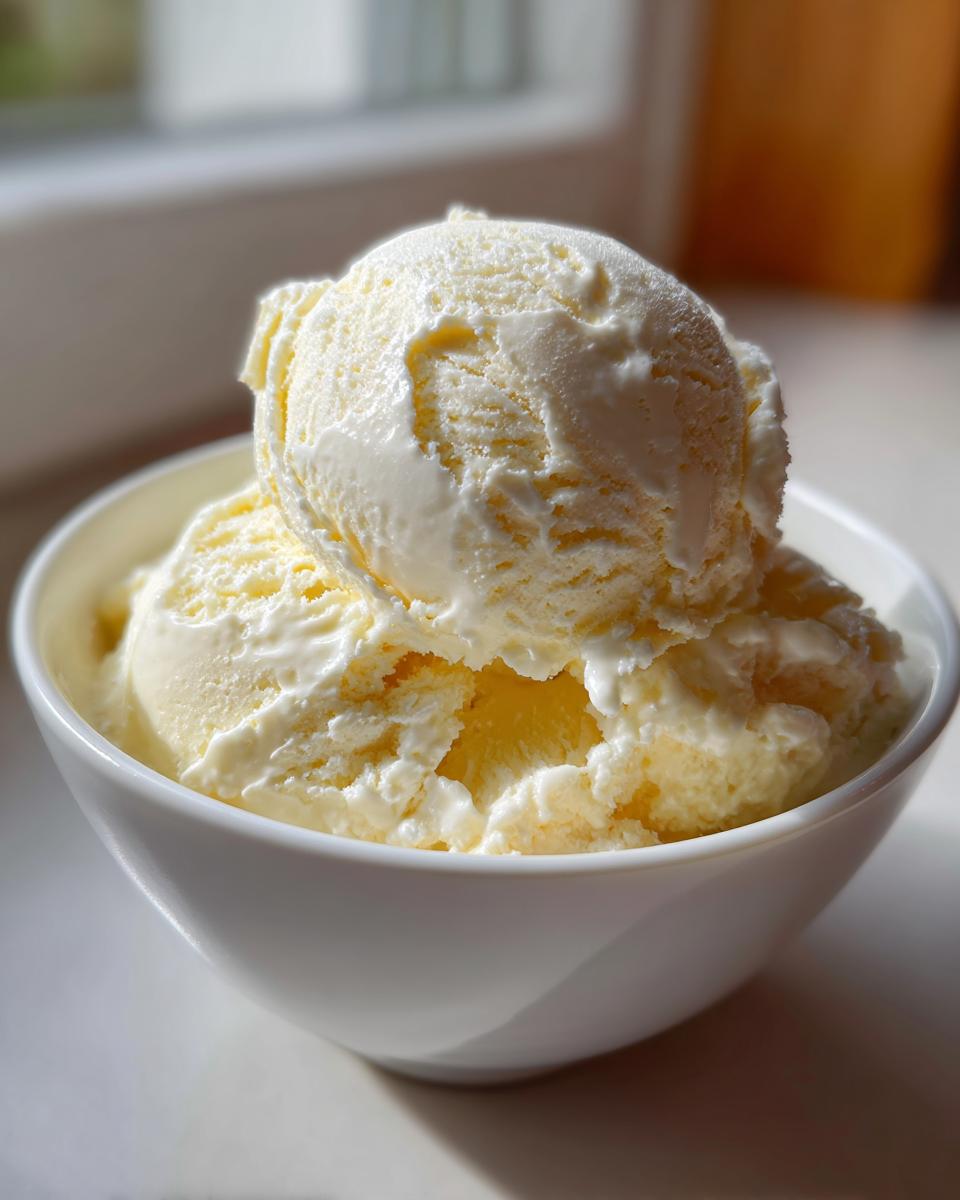
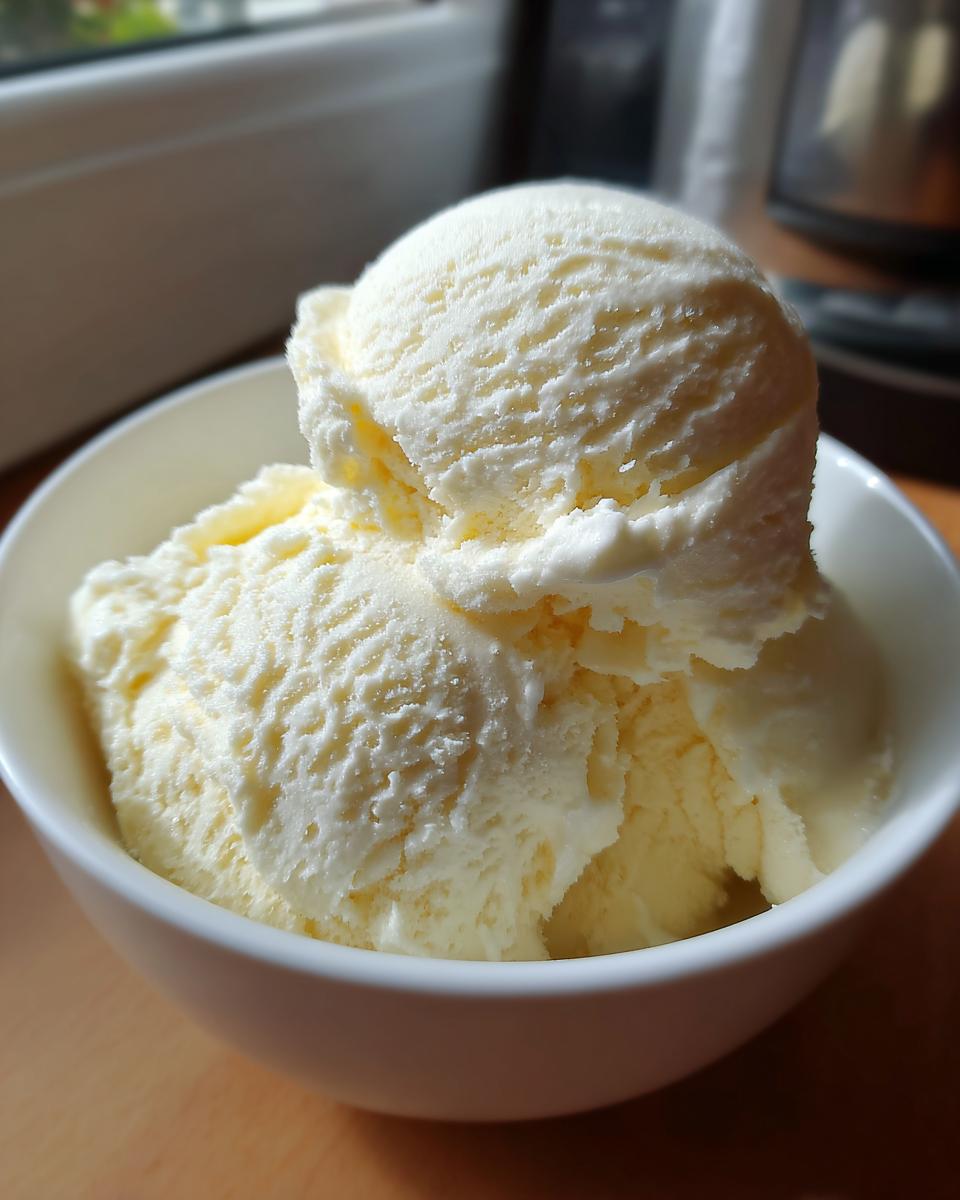
For the Ice Cream Base: Classic Homemade Ice Cream
This is the magic blend that starts it all. For the absolute best results, make sure your dairy is nice and cold – it really helps the churning process! Here’s what you’ll need:
- 2 cups heavy cream: This is key for that rich, creamy texture. Make sure it’s nice and cold right out of the fridge!
- 1 cup whole milk: Whole milk gives you that lovely, smooth consistency. Skim or low-fat just won’t give you the same creamy hug.
- 3/4 cup granulated sugar: We need just the right amount of sweetness to balance everything out.
- 1 teaspoon vanilla extract: This is where the classic flavor comes from. Use a good quality one if you can; it really shines through!
Equipment Needed for Your Homemade Ice Cream
Alright, let’s talk tools! You don’t need a whole professional kitchen setup, but a few trusty items really make making homemade ice cream a breeze. Having these ready means you’re just minutes away from deliciousness. The most important thing? Your ice cream maker, of course! But the others are pretty essential too.
Step-by-Step Guide to Making Homemade Ice Cream
Okay, so now that you’ve got your simple ingredients and trusty tools ready, let’s make some magic happen! Honestly, this part is so straightforward, you’ll feel like a total pro. Just follow along these easy steps, and you’ll be scooping your very own homemade ice cream in no time!
Preparing the Homemade Ice Cream Base
First things first, grab a nice big bowl. You want to get all our delicious ingredients together. Pour in that cold heavy cream and whole milk, then sprinkle in the sugar and vanilla. Now, just whisk it all up really well. You want to keep whisking until that sugar completely disappears and the mixture looks nice and smooth. No grainy bits allowed!
Churning Your Homemade Ice Cream
This is where the ice cream maker really does its thing! Pour that glorious base mixture into your ice cream maker’s bowl. Honestly, the rest is up to the machine. Just follow its specific instructions – they can vary a little between brands. Usually, it takes about 20-30 minutes. If you’re adding fun mix-ins like chocolate chips or some chopped-up strawberries, wait until the last 5 minutes of churning to toss them in. This stops them from getting totally pulverised!
Freezing Homemade Ice Cream to Firmness
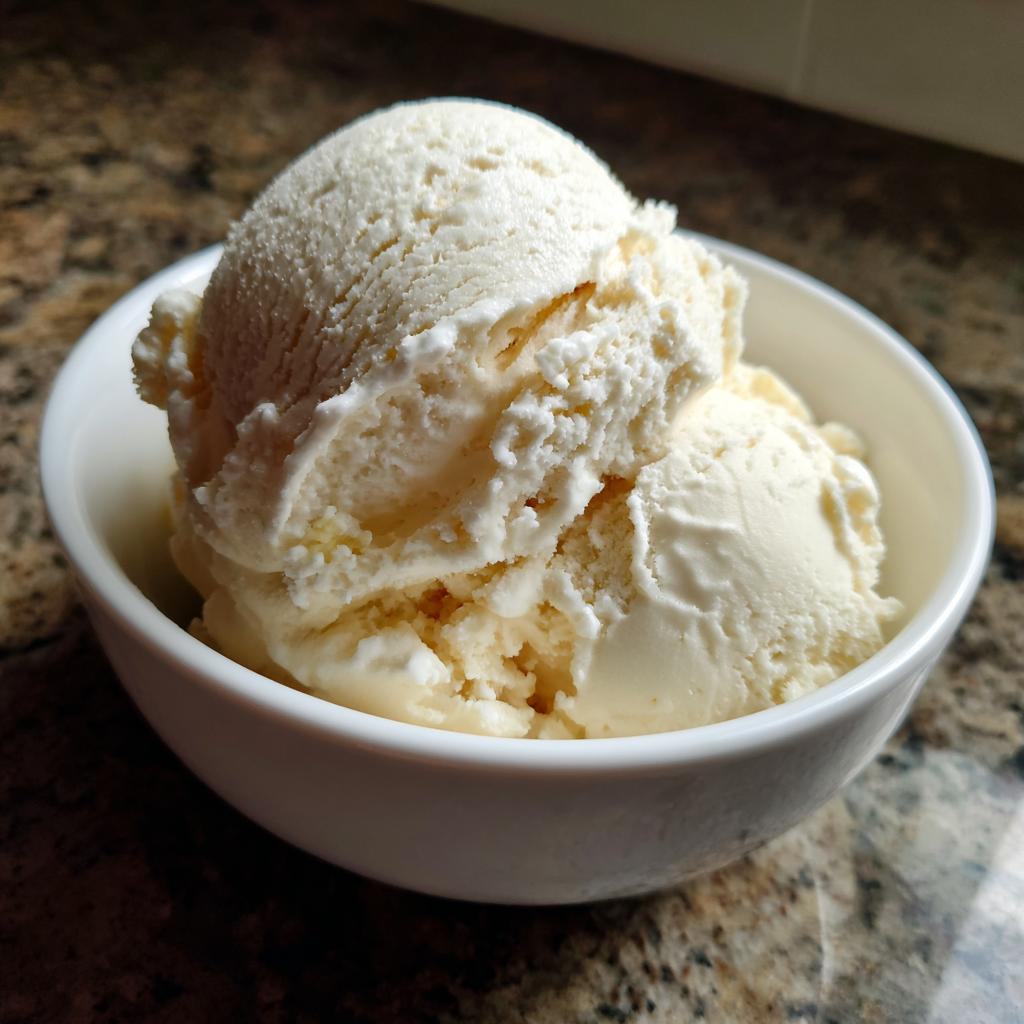
Once the churning is done, the ice cream will look kind of soft, almost like soft-serve. That’s exactly what you want! Now, gently spoon or pour this amazing stuff into an airtight container. A good freezer-safe container with a tight lid is best to prevent any freezer burn. Pop it into the freezer for at least 2-4 hours. This gives it time to firm up perfectly so you can get those beautiful, satisfying scoops. Patience here is key!
Tips for the Best Homemade Ice Cream
Making homemade ice cream is pretty sweet, but like any good thing, a few little tricks can take it from good to absolutely amazing. I’ve learned a couple of things over the years, mostly through trial and error (and really, really cold fingers!), that just make the whole process smoother and the end result even more incredible. Follow these, and your ice cream will be the stuff of legends!
Chill Everything! Seriously, this is probably my biggest tip. Make sure your heavy cream, milk, and even your ice cream maker’s bowl (if it’s the kind you freeze!) are super cold. Cold ingredients churn faster and more efficiently, which means smaller ice crystals and therefore smoother, creamier ice cream. It’s baking science, but way tastier.
Don’t Over-Churn: While it might be tempting to let the machine run forever, stop when it reaches that soft-serve consistency. Over-churning can actually whip too much air into it, making it airy and less dense, or worse, melt from the friction! You want it thick, but still spoonable.
Proper Storage is Key: Once it’s churned and you’ve transferred it to your airtight container, press a piece of parchment paper or plastic wrap directly onto the surface before putting the lid on. This little trick helps prevent those annoying ice crystals from forming on top, so every bite is just as creamy as the first.
Taste and Adjust: Before churning, give your base mixture a little taste. Does it need a touch more sweetness? A little more vanilla? You can totally tweak it at this stage. Remember, things taste a little less sweet when they’re frozen, so slightly sweeter is often better. Just be careful not to add too much liquid if you’re adjusting!
Variations for Your Homemade Ice Cream
Okay, so the vanilla is delicious on its own, but honestly, the real fun of making homemade ice cream is playing around with flavors! Once you’ve got this super simple base down, the possibilities are practically endless. I love experimenting, and it’s such a great way to surprise your friends or just treat yourself to something really special.
Want to switch up that vanilla? Try swapping it for a different extract – a little almond extract can be lovely, or maybe a touch of peppermint or coffee extract! And mix-ins? Oh boy, that’s where things get really exciting. Chocolate chips are a classic for a reason, of course, but don’t stop there! Think chopped fresh berries, swirls of caramel or fudge sauce, crunchy bits of cookie dough (make sure it’s edible!), or even some toasted nuts. Just remember to add them in towards the end of the churning cycle so they don’t get totally pulverized!
Storage and Reheating Homemade Ice Cream
So, you made absolutely amazing homemade ice cream… and maybe, just maybe, you didn’t finish the whole batch in one sitting (is that even possible?). Good news! Storing it is super simple. The best way to keep it perfect is to keep it airtight. I always grab a sturdy, freezer-safe container – glass or a good freezer plastic one works wonders. Press a piece of parchment paper or plastic wrap right onto the surface of the ice cream before you seal the lid. This little trick stops those dreaded ice crystals from forming on top, which totally ruins the creamy texture. It should stay wonderfully creamy for about two weeks, though honestly, it rarely lasts that long in my house!
Frequently Asked Questions About Homemade Ice Cream
Got questions about whipping up your own homemade ice cream? You’re not alone! It’s such a rewarding process, but it’s natural to wonder about a few things. Here are some common queries I get:
Can I make homemade ice cream without a machine?
Oh, absolutely! It takes a little more effort, but it’s totally doable. You’ll want to use a good base recipe, pour it into a freezer-safe container, and then every 30 minutes or so, take it out and give it a really good stir with a fork or whisk. This breaks up those ice crystals as they form. Repeat this for a few hours until it’s firm and creamy. It works, though the texture might be a *tad* less smooth than using a machine.
What is the best milk to use for homemade ice cream?
For that truly classic, rich, and creamy homemade ice cream, you really can’t beat whole milk. It has the perfect fat content to give you that luxurious texture. Using lower-fat milk or skim milk can result in ice cream that’s a bit icier or less smooth, because fat is what really helps with that creamy mouthfeel!
Why is my homemade ice cream so icy?
Icy homemade ice cream is usually down to a couple of things. Firstly, not having enough fat in the base can be a culprit – that’s why whole milk and heavy cream are important! Secondly, it can happen if the ice cream isn’t churned enough, or if it melts and refreezes. Making sure your base is super cold before churning and using an airtight container for storage with that parchment paper trick (remember that tip?) really helps keep it smooth and dreamy!
How do you make homemade ice cream richer?
Want to go really decadent with your homemade ice cream? The easiest way is to increase the amount of heavy cream, or add a couple of egg yolks to your base. Making a custard base (where you cook the eggs and milk mixture) adds a wonderful richness and super-smooth texture that’s just divine. Just make sure to cook it gently!
Share Your Homemade Ice Cream Creations!
Okay, I’ve shared all my secrets for making this dreamy homemade ice cream, and now I really want to hear from YOU! Did you try it? How did it turn out? I absolutely love seeing your creations. Drop a comment below with your thoughts, give it a star rating if you loved it, or tag me on social media so I can see your delicious scoops!
Homemade Ice Cream
Ingrédients
Equipment
Method
- In a large bowl, whisk together the heavy cream, whole milk, granulated sugar, and vanilla extract until the sugar is dissolved.
- Pour the mixture into your ice cream maker and churn according to the manufacturer’s instructions.
- Once churned, transfer the ice cream to an airtight container and freeze for at least 2-4 hours, or until firm.