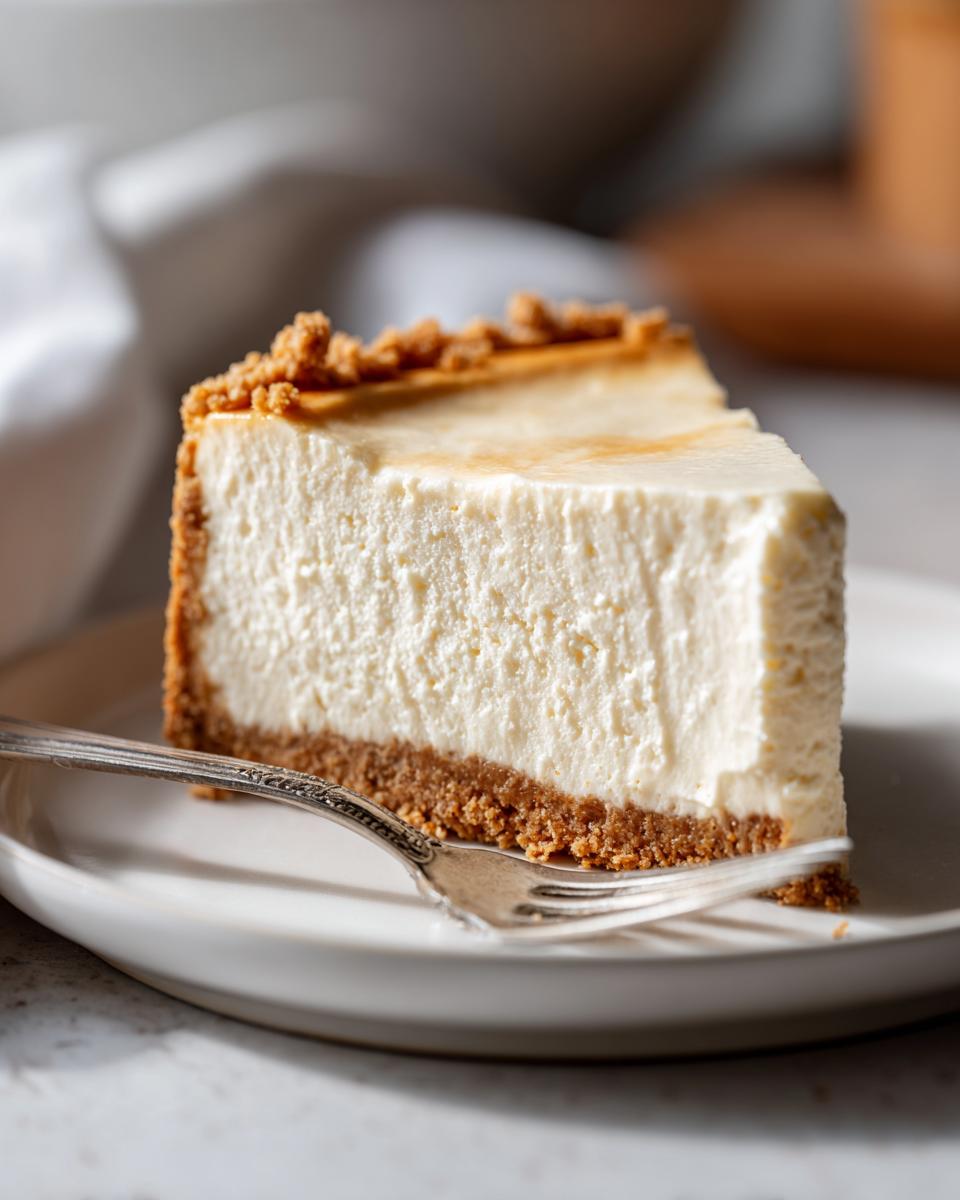
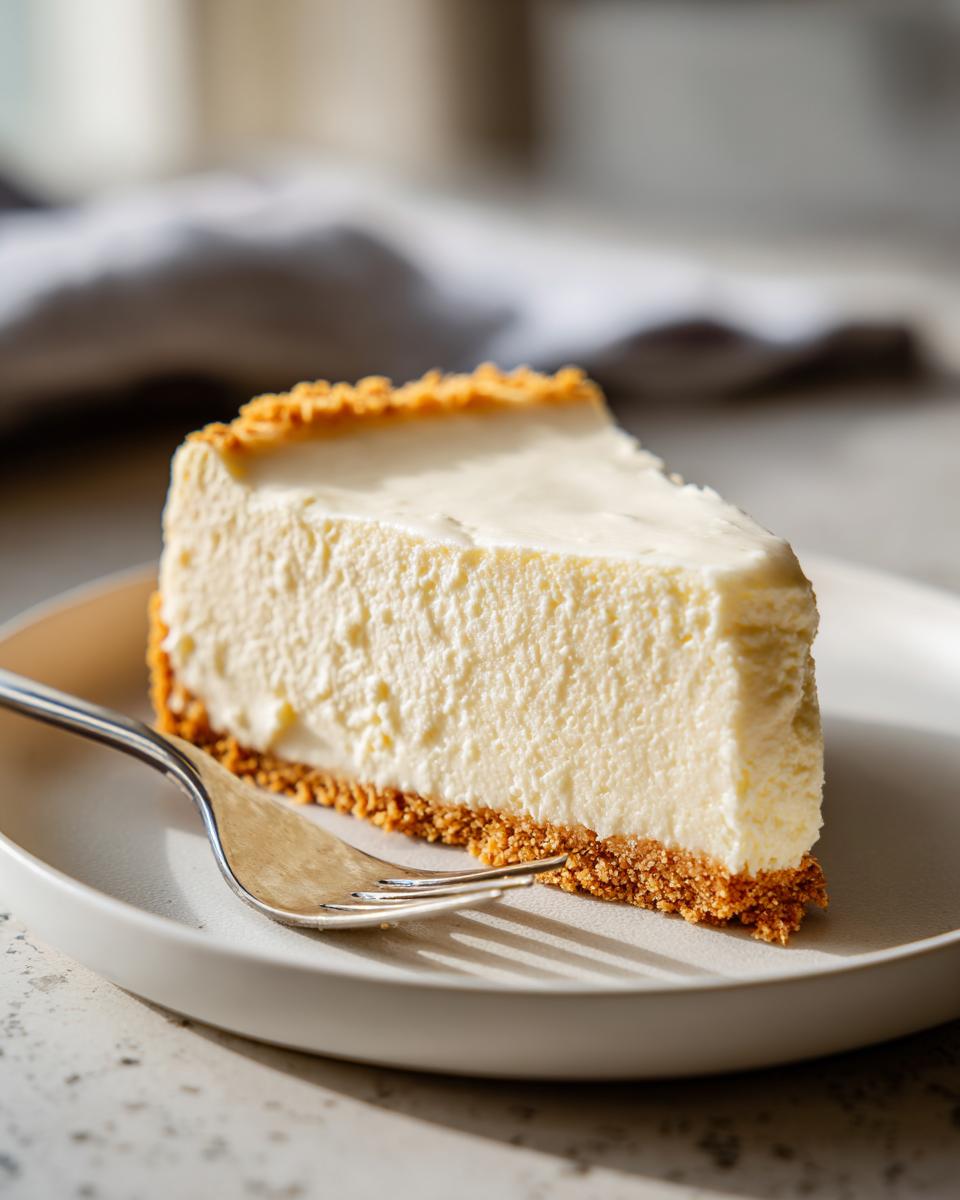
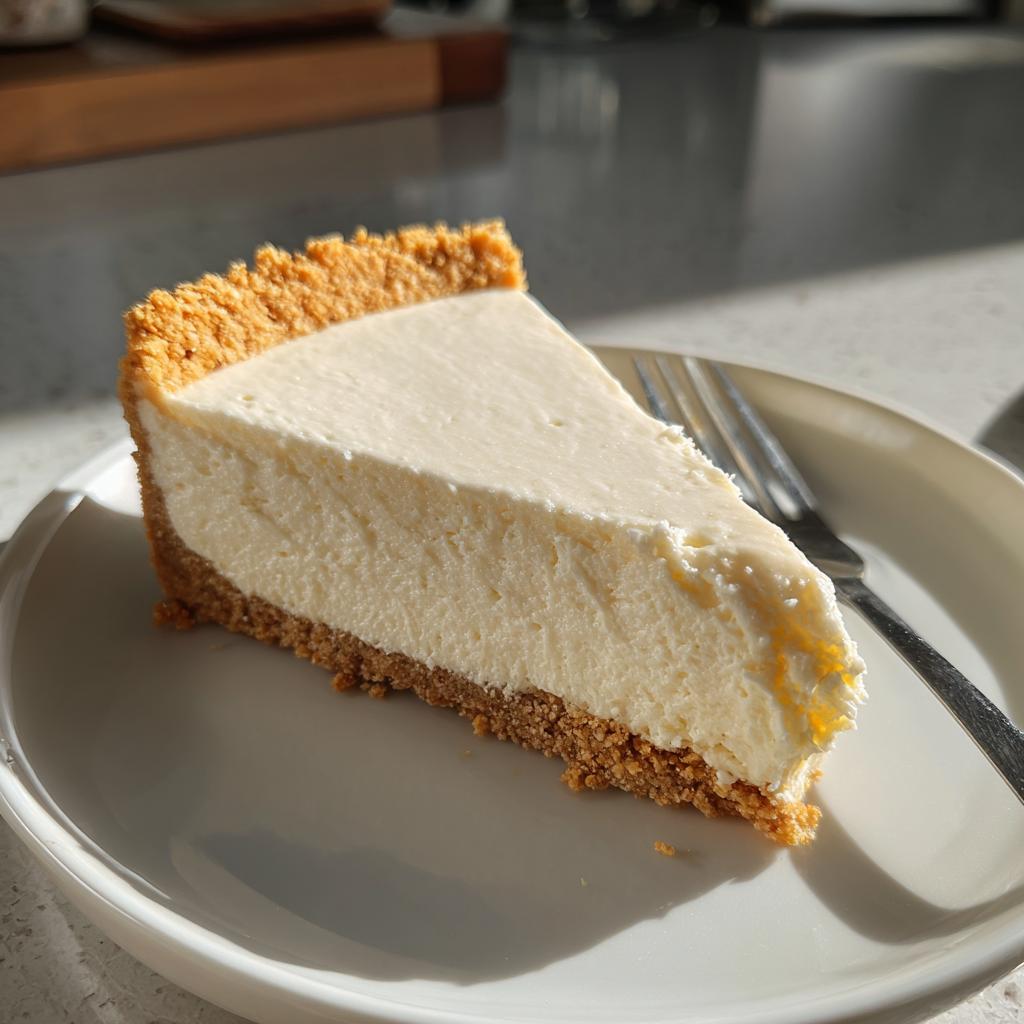
You know those moments when you’re scrambling to get everything ready for guests, and dessert becomes an afterthought? That’s exactly why I fell in love with make ahead dessert recipes – especially this creamy cheesecake. I’ll never forget the first time I served it at a dinner party. While everyone else was frantically baking last-minute, I simply pulled my perfectly chilled cheesecake from the fridge, added some fresh berries, and looked like the most put-together host ever. The secret? Making it two days before! These make ahead dessert recipes transform stressful entertaining into relaxed hosting. Now I always have this cheesecake waiting in my fridge – it’s saved me more times than I can count when unexpected guests drop by or when I just need something sweet without the fuss.
Why You’ll Love These Make Ahead Dessert Recipes
Oh honey, let me tell you why this cheesecake is about to become your new best friend! First off, it’s ridiculously easy – no fancy techniques, just simple mixing and baking. The flavor? Pure magic. That creamy filling gets even better after chilling overnight, developing this rich depth that’ll have everyone begging for the recipe.
But here’s the real kicker – it saves your sanity! Imagine having dessert ready and waiting when guests arrive instead of sweating over a hot oven. I can’t count how many times this recipe has saved me from last-minute panic. Plus, it keeps beautifully in the fridge for days, so you can bake it whenever you have time and enjoy it whenever you need a sweet treat.
Ingredients for Make Ahead Dessert Recipes
Let me walk you through exactly what you’ll need for this lifesaver of a dessert. I’ve made this cheesecake so many times I could recite the ingredients in my sleep! Everything here is simple and accessible – no fancy grocery runs required. Just basic, quality ingredients that transform into something magical when combined. Trust me, sticking to these exact measurements makes all the difference in getting that perfect creamy texture every single time.
For the Crust
This buttery foundation is what holds everything together – literally! I always use:
- 1.5 cups graham cracker crumbs (about 12 full crackers if you’re crushing them yourself)
- 6 tablespoons butter, melted (real butter, never margarine – it makes all the difference!)
- 2 tablespoons sugar (just enough to sweeten that crust without overpowering the filling)
For the Filling
Now for the star of the show – that velvety smooth filling that’ll have everyone coming back for seconds:
- 16 ounces cream cheese, softened (take it out 30 minutes early – room temp cream cheese is key!)
- 1 cup sugar (granulated works beautifully here)
- 1 teaspoon vanilla extract (the real stuff, not imitation – it makes the flavor pop)
- 2 large eggs (I always crack them separately in a bowl first to avoid shells in my batter)
See? Told you it was simple! These basic ingredients come together to create the most luxurious make ahead dessert you’ll ever serve. Now let’s get mixing!
How to Make Make Ahead Dessert Recipes
Alright, let’s dive into making this dreamy cheesecake! I’ve made this recipe dozens of times, and I’ve learned all the little tricks that guarantee perfect results every time. The process is simple, but there are a few key steps you’ll want to pay special attention to – especially when it comes to mixing and baking times. Don’t worry, I’ll walk you through each one!
Preparing the Crust
First things first – that buttery graham cracker crust! Here’s how I do it: Mix your crumbs, melted butter, and sugar in a bowl until it looks like wet sand. You’ll know it’s right when you can squeeze a handful and it holds its shape briefly before crumbling. Now, press it firmly into your pan – I use the bottom of a measuring cup to get an even layer. The trick is to press hard enough that it sticks together, but not so hard that it becomes dense. Aim for about 1/4 inch thickness up the sides if you’re using a springform pan.
Making the Filling
Now for the creamy magic! Start by beating your softened cream cheese until it’s completely smooth – no lumps allowed! This might take a couple minutes. Then add the sugar and vanilla, mixing until everything’s well combined. Here’s my golden rule: add the eggs one at a time, mixing just until each one disappears into the batter. Overbeating after adding eggs can lead to cracks, so resist the urge to keep mixing! The batter should be silky smooth with no streaks when you’re done.
Pour that gorgeous filling over your crust, then give the pan a gentle tap on the counter to release any air bubbles. Bake at 350°F for about 30 minutes – the edges should be set but the center will still have a slight jiggle. Trust me, it’ll firm up perfectly as it cools! Let it chill in the fridge for at least 4 hours (though overnight is even better) before serving. That patience will be rewarded with the creamiest texture imaginable!
Tips for Perfect Make Ahead Dessert Recipes
Okay, let me share all my hard-earned cheesecake wisdom with you! First up – avoiding cracks. Here’s my foolproof trick: after baking, turn off the oven and crack the door slightly, letting the cheesecake cool gradually inside. This gentle temperature change prevents those pesky cracks every time!
Proper cooling is just as important as baking. I always let my cheesecake cool completely at room temperature before even thinking about refrigerating it. Rushing this step can lead to condensation forming on top – not pretty! Once it’s room temp, I loosely cover it with foil (no plastic wrap touching that beautiful surface) and let it chill overnight.
Storage is easy-peasy! Keep it covered in the fridge for up to 5 days – though in my house it never lasts that long. If you need to freeze it, skip the toppings and wrap it tightly in plastic wrap followed by foil. Thaw overnight in the fridge when you’re ready to serve. Trust me, following these simple tips will give you bakery-worthy results every single time!
Storage and Serving Suggestions for Make Ahead Dessert Recipes
Oh, the beauty of this cheesecake is how it just gets better with time in the fridge! Here’s how I store mine: once completely cooled, I loosely cover the pan with aluminum foil – no plastic wrap touching that gorgeous surface (trust me, it leaves marks). It keeps beautifully in the refrigerator for up to 5 days, but let’s be real – it never lasts that long in Indianapolis!
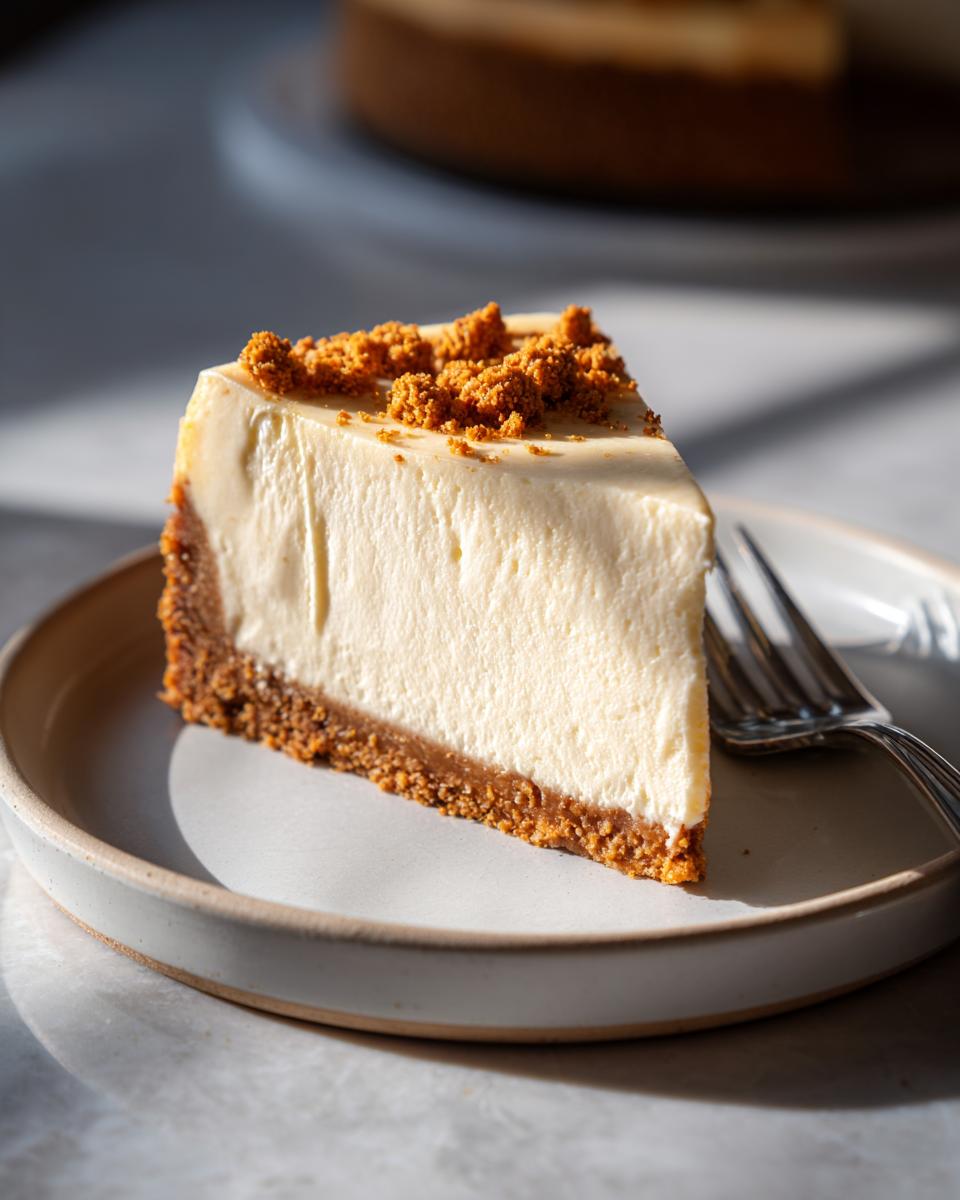
Now for the fun part – serving! My favorite way is with fresh berries piled high on top – the tartness cuts through the richness perfectly. Sometimes I’ll drizzle a little salted caramel sauce or warm chocolate ganache for special occasions. For summer parties, I’ll chop up whatever fruit is in season – peaches and nectarines are divine. And don’t even get me started about adding a dollop of homemade whipped cream – total game changer!
Nutritional Information
Let’s talk numbers – but don’t worry, this cheesecake is totally worth every delicious bite! Here’s the breakdown per serving (and remember, I always cut mine into 8 generous slices because life’s too short for skimpy dessert portions):
Each creamy slice packs about 320 calories, with 22g of that heavenly fat (13g saturated – but hey, that’s where all the flavor lives!). You’re looking at 28g carbs and 5g protein per serving, plus small amounts of calcium and iron.
Now, here’s my little disclaimer – these numbers can vary slightly depending on the exact brands you use. I’ve found that full-fat cream cheese versus reduced-fat can change things by about 20 calories per slice. Same goes for your graham crackers – some brands are sweeter than others. But honestly? When you’re indulging in something this delicious, I say enjoy every bite without stressing over the small stuff!
Frequently Asked Questions
Can I freeze this cheesecake?
Absolutely! This make ahead dessert recipe freezes like a dream. I always wrap it tightly in plastic wrap and then foil to prevent freezer burn. Just remember – no toppings before freezing! Thaw it overnight in the fridge when you’re ready to serve. The texture might be slightly denser after freezing, but it still tastes incredible. I’ve kept mine frozen for up to 2 months with great results.
How far in advance can I make this dessert?
Here’s the beauty of make ahead dessert recipes – this cheesecake gets better with time! I often bake mine 2-3 days before serving. The flavors meld together beautifully as it chills. Just keep it covered in the fridge, and it’ll be perfect when you need it. The longest I’ve kept one was 5 days, and it was still delicious – though it never lasts that long in my house!
Can I use a different crust?
Of course! While I love the classic graham cracker crust, you can get creative. Crushed vanilla wafers or Oreos make fantastic alternatives – just use the same measurements. For a nutty twist, try mixing some finely chopped pecans or almonds into your crust. The key is keeping that 1.5 cups of crumbs to 6 tablespoons butter ratio so it holds together properly.
Why does my cheesecake crack in the middle?
Oh honey, we’ve all been there! Most cracks happen from overmixing (incorporating too much air) or drastic temperature changes. My foolproof method? Mix just until ingredients are combined, then cool it gradually in the oven with the door slightly open. But don’t stress – even cracked cheesecakes taste amazing, and a little fruit topping covers any imperfections beautifully!
Can I make mini cheesecakes with this recipe?
You bet! This batter works great for individual portions. Just press the crust into lined muffin tins, fill about 3/4 full, and bake for 15-20 minutes. They’re perfect for parties and bake sales! Mini cheesecakes are a fun twist on this classic make ahead dessert recipe.
Make Ahead Dessert Recipes
Ingrédients
Method
- Preheat oven to 350°F (175°C).
- Mix graham cracker crumbs, melted butter, and sugar. Press into a pan.
- Beat cream cheese, sugar, and vanilla until smooth. Add eggs one at a time.
- Pour filling over crust. Bake for 30 minutes.
- Cool completely before refrigerating for at least 4 hours.