Let me tell you what I learned the hard way – Thanksgiving is glorious chaos, but you don’t have to be whisking pudding while basting the turkey at 3pm like I did that infamous year. Make-ahead Thanksgiving desserts became my kitchen miracle. The first time I prepped my cheesecake two days early, I swear angels sang when all I had to do was dust it with powdered sugar before serving. Now I won’t do Thanksgiving any other way – why stress when your pies can chill (literally) while you focus on the main event? Trust me, once you taste that stress-free first bite, you’ll be planning next year’s desserts in July too.
Why You’ll Love These Make-Ahead Thanksgiving Desserts
Oh honey, let me count the ways these desserts will save your holiday sanity! First up, that glorious ticking time bomb called Thanksgiving Day suddenly feels a whole lot slower when your dessert is already chilling in the fridge. No more frantic oven juggling while your turkey browns.
But wait—there’s more magic:
- Flavor party: Most desserts actually taste better after resting overnight. That cheesecake filling? It transforms from good to « Grandma would be proud » status as the flavors cozy up together.
- Stress-free hosting: Imagine greeting guests with actual eye contact instead of yelling « Don’t open the oven! » from across the house.
- Last-minute grace: Forgotten cousin Eddie’s bringing his new girlfriend? Just slice portions thinner—no one will notice when they’re swooning over your perfectly set pumpkin pie.
The real kicker? You get to actually enjoy your own Thanksgiving instead of being chained to the kitchen. And trust me, that first bite tastes extra sweet when you’re not exhausted!
Ingredients for Make-Ahead Thanksgiving Desserts
Alright, let’s gather our treasure trove of goodies! I’ve learned that the secret to stress-free Thanksgiving desserts starts with quality ingredients prepped just right. Here’s what you’ll need:
For the Crust:
- 1.5 cups graham cracker crumbs (trust me, crushing them fresh beats the pre-packaged stuff)
- 1/2 cup melted butter (I use unsalted – it gives us more control over the flavor)
- 1/4 cup sugar (plain white sugar works perfectly here)
For the Filling:
- 16 oz cream cheese (this MUST be softened – take it out 2 hours before baking or microwave in 15-sec bursts)
- 3/4 cup sugar (go ahead, scrape every last grain from your measuring cup!)
- 1 tsp vanilla extract (the real stuff – this is Thanksgiving, after all)
- 3 eggs (large, room temperature – cold eggs make lumpy filling)
See? Nothing complicated! Just good ol’ pantry staples that come together beautifully when given proper TLC. Now let’s turn these ingredients into magic!
Equipment Needed for Make-Ahead Thanksgiving Desserts
Listen, I’ve learned the hard way that having the right tools makes all the difference when you’re prepping desserts ahead of time. No fancy gadgets needed here – just these trusty basics that probably already live in your kitchen:
- A good mixing bowl – I prefer glass because I can see when everything’s perfectly combined
- 9-inch baking dish – springform pans are my secret weapon for clean slices
- Whisk or electric mixer – elbow grease works fine, but my stand mixer gets more Thanksgiving hugs
- Rubber spatula – gotta scrape every last bit of that delicious filling!
That’s it! See? I told you we weren’t breaking out the fancy equipment. Now let’s get to the fun part – making magic happen with these simple tools!
How to Make Make-Ahead Thanksgiving Desserts
Alright, let’s roll up our sleeves and make some Thanksgiving magic! I’ll walk you through every step so you end up with desserts that’ll have everyone asking for seconds. The key here is patience—trust me, letting things rest is what makes these desserts shine!
Preparing the Crust
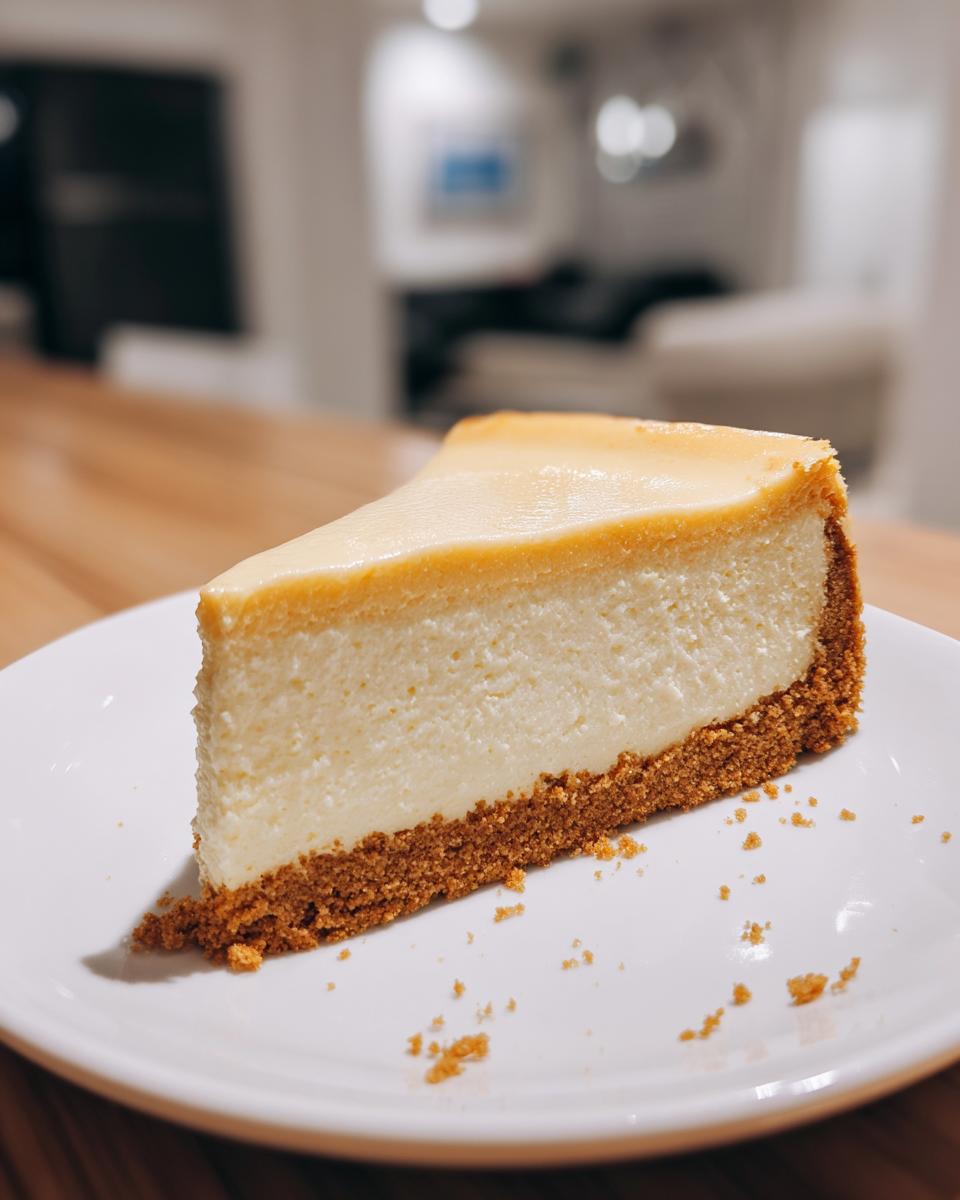
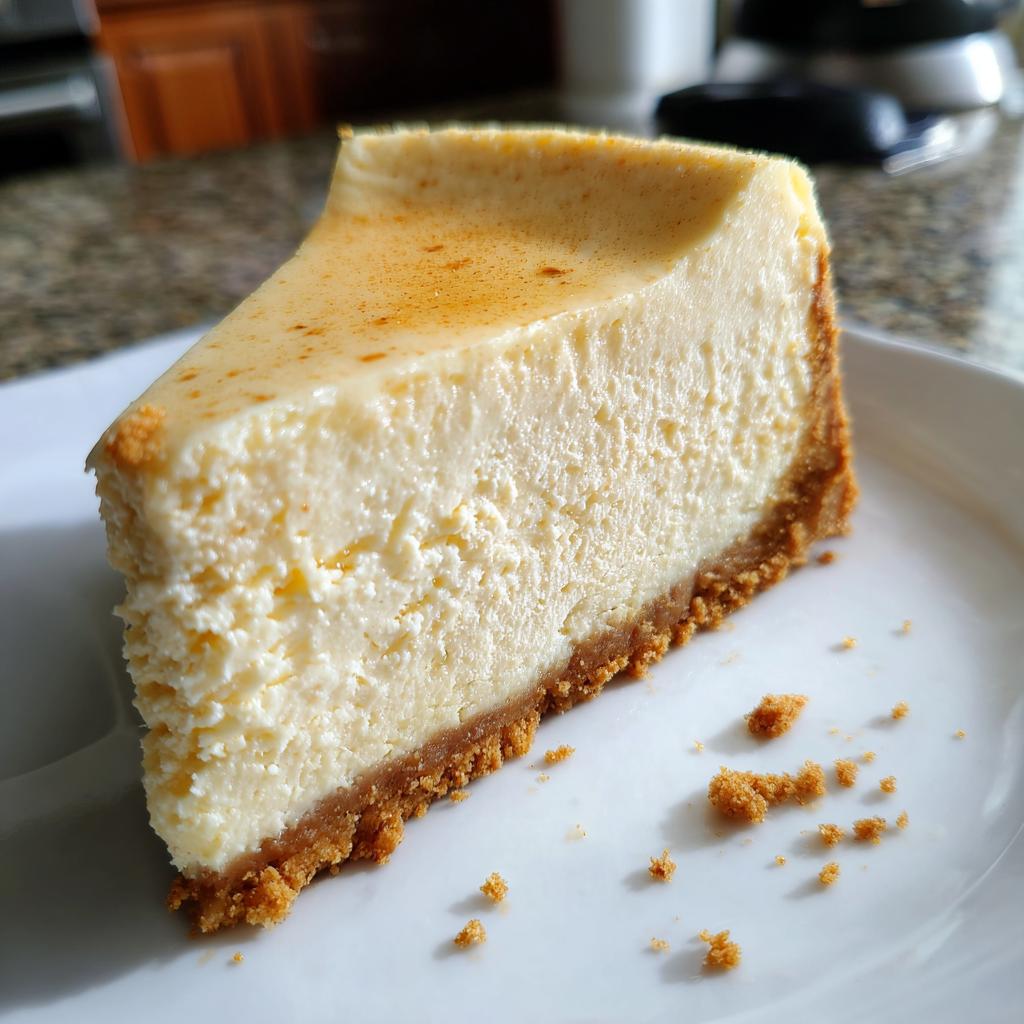
First things first, we’re building our flavor foundation. Grab that bowl of graham cracker crumbs you’ve got ready. Pour in the melted butter and sugar, then mix it like you mean it! You’ll know it’s perfect when it looks like wet sand at the beach—holds together when you pinch it, but still crumbles easily.
Now, dump that delicious mixture into your baking dish and press it down firmly with your fingers or the bottom of a glass. Make sure it’s even across the bottom—this is what’ll keep your filling from making a break for it later. A little tip? Push some crumbs about halfway up the sides too. It gives every bite that perfect crust-to-filling ratio!
Making the Filling
Time for the star of the show! Beat that softened cream cheese until it’s smooth as silk—no lumps allowed here unless you want lumps in your dessert. Add the sugar and vanilla, then keep mixing until it’s all friends.
Now here’s where I’ve learned to be patient: add those eggs one at a time, letting each one disappear completely before adding the next. And for goodness’ sake, don’t overmix after the last egg goes in! We want creamy, not tough. The filling should pour like thick cream when you’re done.
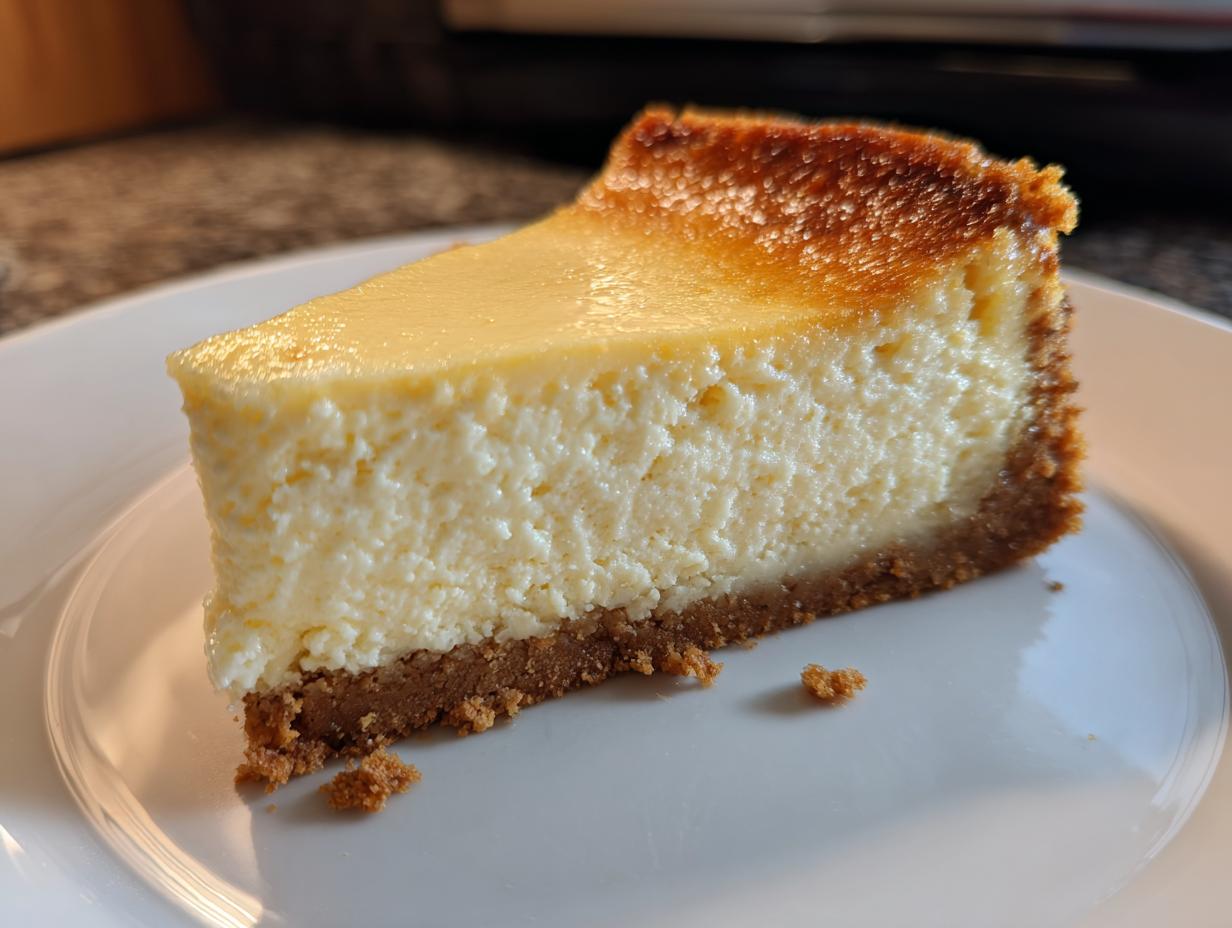
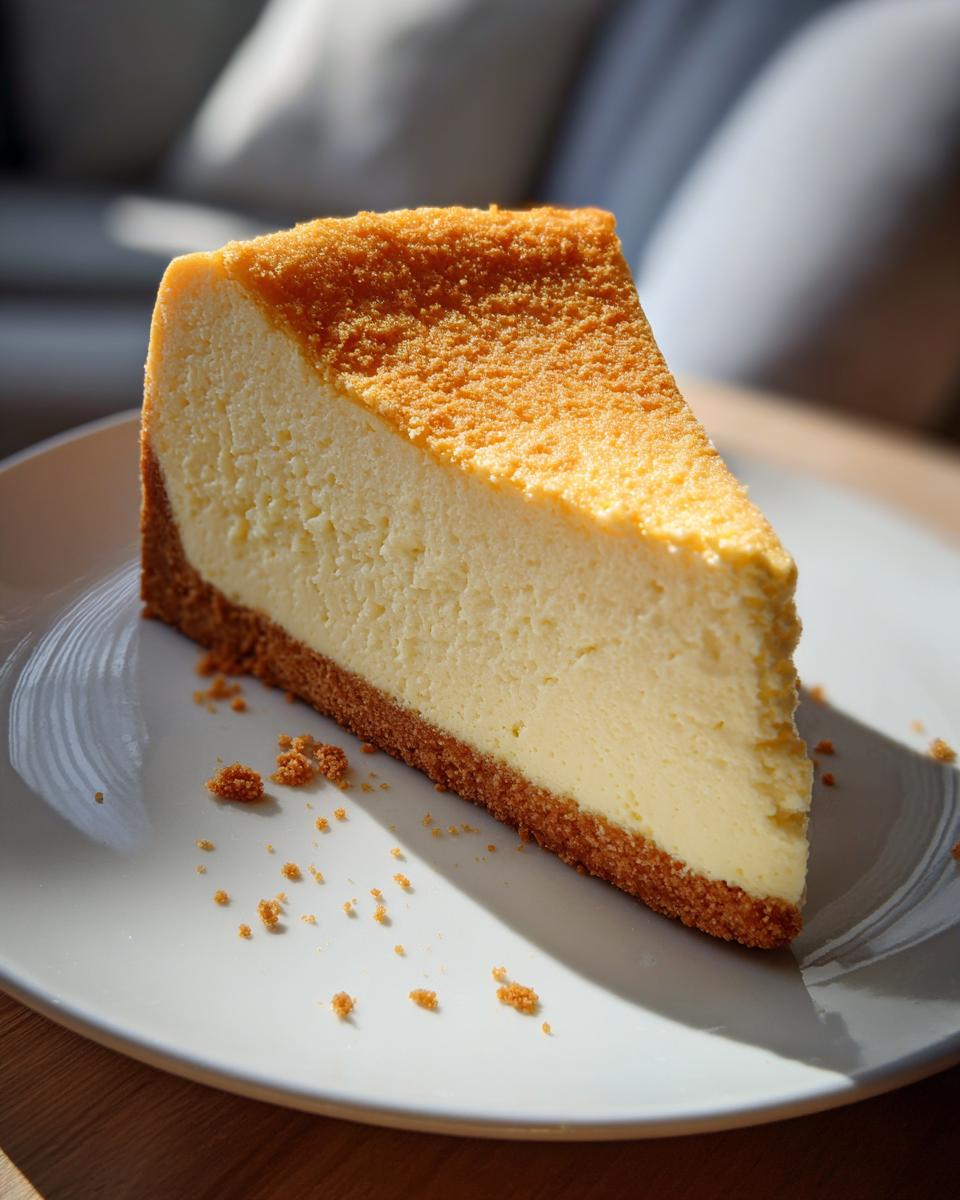
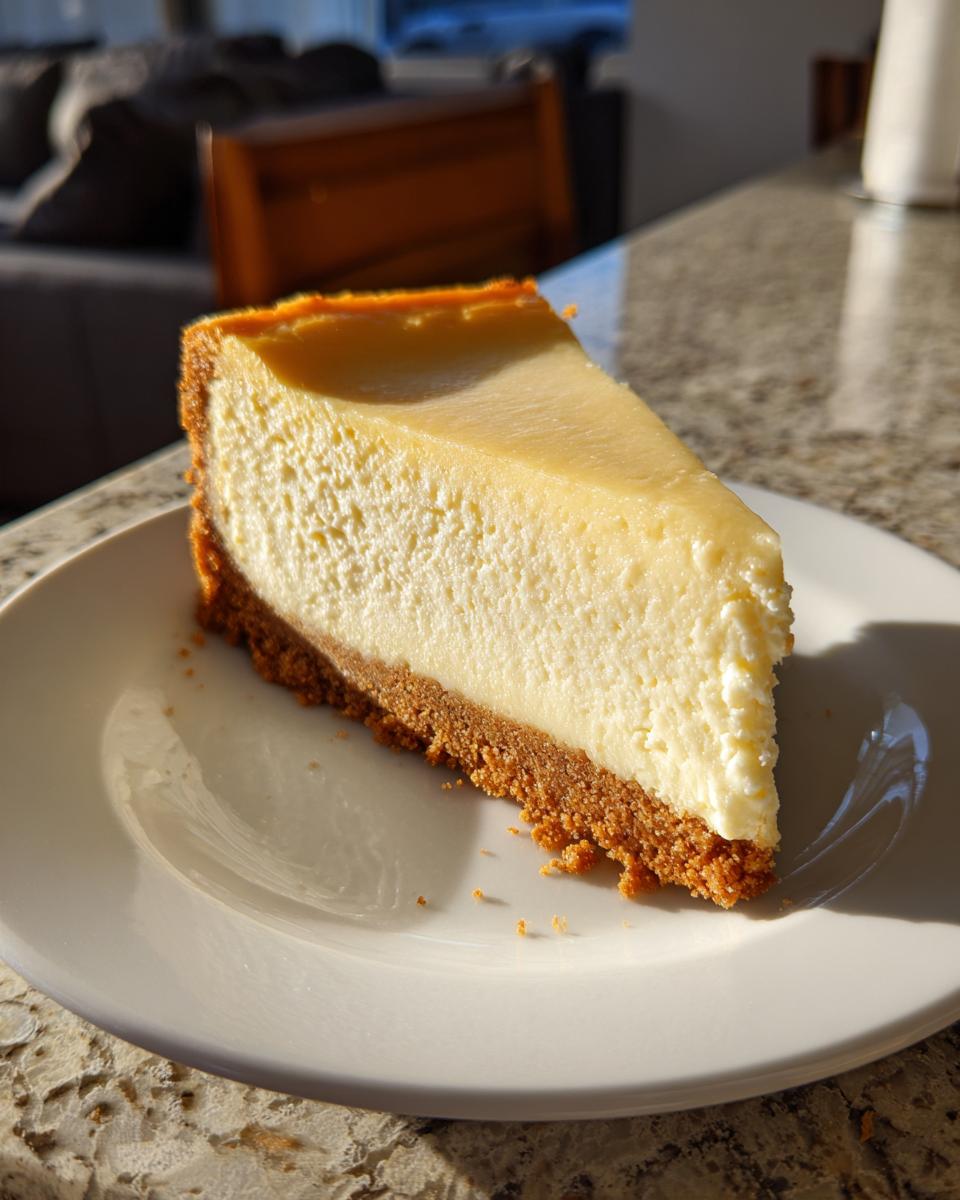
Pour it over your waiting crust, smooth the top with a spatula, and slide it into the oven. The transformation happens at 325°F for about 45 minutes—you’ll know it’s ready when the edges are set but the center still jiggles slightly when nudged.
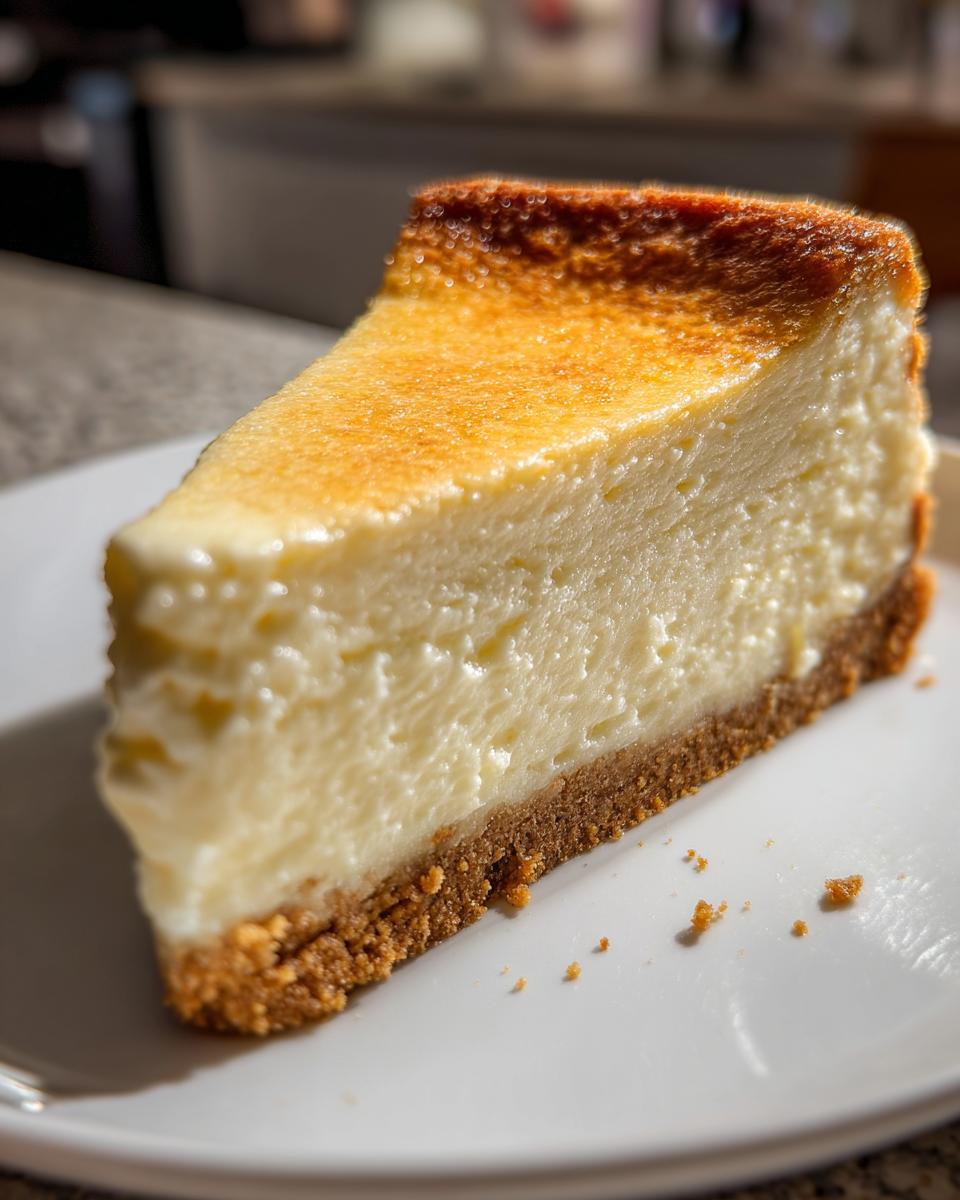
Here’s the hardest part: let it cool completely at room temperature before tucking it into the fridge overnight. I know, I know—it smells amazing, but resist! That waiting time lets all the flavors become best friends. Come Thanksgiving morning, all you’ll need to do is slice and serve your masterpiece!
Tips for Perfect Make-Ahead Thanksgiving Desserts
Alright, buttercup, let me share the hard-won wisdom I’ve scraped off my many cookie sheets over the years. My first make-ahead Thanksgiving cheesecake looked like the Leaning Tower of Pisa because I rushed the cooling—learn from my mistakes!
Softened cream cheese is non-negotiable. I don’t care if you forgot to take it out—microwave it in 15-second bursts like I do, turning the block between each zap. Cold cream cheese will leave you lumpier than a bag of potatoes.
When mixing, pretend you’re gently folding a delicate egg white cloud—not kneading bread dough. Overmixing introduces too much air, and that leads to cracks that’ll make your heart sink faster than a lead balloon.
Now listen close because this part’s crucial: let your dessert cool completely at room temperature before refrigerating. I once lost half a perfect pumpkin pie to a sweating fridge door because I got impatient. The wait lets everything settle properly—kind of like letting your in-laws’ questionable political opinions just… settle at the dinner table.
One last secret? A thin layer of sour cream on top before the final chill adds both insurance against cracks and a little tangy magic. Thanksgiving morning, you’ll open that fridge like it’s the gates of dessert heaven!
Storage and Serving Suggestions
Here’s the beautiful thing about these make-ahead desserts—they actually get better with a little fridge time! Once your masterpiece has cooled completely, cover it tightly with plastic wrap (press it right against the surface to prevent drying) and tuck it in the refrigerator for up to 3 days. Pro tip: slide a baking sheet underneath if you’re worried about spills in your crowded holiday fridge!
When serving time comes, let your creativity shine! A dusting of powdered sugar makes any dessert look fancy with zero effort. Fresh whipped cream and a sprinkle of cinnamon? Yes please! For a festive touch, I love topping slices with candied pecans or a drizzle of salted caramel. These desserts pair perfectly with coffee after the big meal or even as a late-night treat when everyone’s gathered around reminiscing about Thanksgivings past.
Nutritional Information
Okay, let’s get real for a minute – we all know Thanksgiving isn’t exactly diet season, but a little nutritional awareness never hurt anyone! Here’s what you’re looking at per delicious slice (based on cutting our dessert into 8 generous portions):
Per Serving:
- 350 calories
- 24g fat (14g saturated)
- 30g carbs
- 5g protein
Now, full disclosure – these numbers can dance around depending on your exact ingredients. Different cream cheese brands, butter types, or whether you go wild with toppings will tweak things. And let’s be honest – no one’s counting calories when Grandma’s passing second helpings! Just enjoy every stress-free, make-ahead bite.
Frequently Asked Questions
Oh honey, I’ve gotten these questions so many times I could answer them in my sleep! Let me tackle the big ones that always come up when I’m sharing my make-ahead Thanksgiving dessert secrets:
Can I freeze these desserts?
Absolutely! Just wrap them tighter than your winter coat – first in plastic wrap, then foil. They’ll keep beautifully for up to 2 months. Thaw overnight in the fridge when you’re ready. The texture might be slightly denser, but still delicious!
Can I use a different crust?
Of course! While graham crackers are my go-to, crushed gingersnaps or vanilla wafers make fabulous alternatives. For a gluten-free option, almond flour mixed with butter works wonders. Just keep the same proportions – 1.5 cups crumbs to 1/2 cup melted butter.
How far in advance can I make these?
The sweet spot is 2-3 days before Thanksgiving. Any longer and you risk flavor loss, any sooner and you miss that magical flavor-melding time. Trust me, I’ve tested every timeline imaginable!
Can I add toppings before storing?
Hold off on whipped cream or fresh fruit until serving day – they don’t keep well. But sauces like caramel or chocolate ganache? Slather them on before refrigerating! They’ll set up beautifully.
There you have it – all my hard-won dessert wisdom in one place! Still got questions? Just holler – I’m always happy to chat Thanksgiving baking!
Share Your Experience
Alright, my fellow dessert adventurers – now it’s your turn! Did your cheesecake come out smooth as silk? Did your family do that happy little dessert dance? Spill the sweet details below! Your tips, tweaks, and Thanksgiving stories might just help another stressed-out host breathe easier next year. And if you loved this make-ahead miracle, give it a rating – nothing makes me happier than seeing those little stars light up!
Make-Ahead Thanksgiving Desserts
Ingrédients
Equipment
Method
- Preheat oven to 325°F (165°C).
- Mix graham cracker crumbs, melted butter, and sugar in a bowl.
- Press the mixture into a baking dish to form the crust.
- Beat cream cheese, sugar, and vanilla until smooth.
- Add eggs one at a time, mixing after each addition.
- Pour filling over crust and bake for 45 minutes.
- Cool completely before refrigerating overnight.