Let me tell you about the Thanksgiving when I learned the hard way that last-minute desserts and holiday sanity don’t mix. Picture this: It’s 4 PM on Thanksgiving Day, my turkey’s resting, the potatoes are mashed, and suddenly I realize I forgot to make dessert. Cue the frantic scrambling, spilled flour, and a kitchen that looked like a pumpkin pie exploded. That’s when I discovered the magic of make-ahead Thanksgiving desserts for beginners. Now I prep my sweets days before, leaving me free to actually enjoy our family feast (and maybe sneak an extra glass of wine). Trust me, once you try these stress-free desserts, you’ll never go back to Thanksgiving Day baking chaos.
Why You’ll Love These Make-Ahead Thanksgiving Desserts
Oh honey, let me count the ways these little lifesavers will make your Thanksgiving better:
- Stress-free prep: Imagine waking up on Thanksgiving morning with your dessert already DONE
- Beginner-proof: If I can make these (and trust me, I’m no pastry chef), you absolutely can too
- Time saving magic: That 30 minutes you’d spend baking on the big day? Now it’s extra snuggle time with your cousin’s new baby
- Crowd-pleasing flavors: My family actually prefers this to pumpkin pie now (shh, don’t tell grandma)
See? Pure holiday happiness waiting for you in the fridge.
Ingredients for Make-Ahead Thanksgiving Desserts
Okay, let’s gather our goodies! The best part about these make-ahead desserts? You probably have most of this stuff in your pantry already. I like to check my supplies the night before so I’m not running to the store in my pajamas (lesson learned the hard way). Everything gets divided into two simple parts – the crust and the filling – because even us beginners can handle that, right?
For the Crust
- 1.5 cups graham cracker crumbs – I just crush whole crackers in a bag with a rolling pin when I’m feeling fancy, or buy pre-crushed when I’m not
- 0.5 cup melted butter – unsalted is best so we control the saltiness
- 0.25 cup sugar – plain white sugar works perfectly here
For the Filling
- 2 cups pumpkin puree – not pumpkin pie mix! Look for 100% pure pumpkin in the can
- 1 can (14 oz) sweetened condensed milk – that magical thick, sweet stuff in the yellow can
- 2 eggs – large ones, straight from the fridge is fine
- 1 tsp pumpkin pie spice – or use 0.5 tsp cinnamon + 0.25 tsp each nutmeg and ginger if that’s what you’ve got
- 0.5 tsp salt – just a pinch to make all the flavors pop
Equipment You’ll Need for Make-Ahead Thanksgiving Desserts
Don’t worry – we’re keeping the equipment nice and simple here! I’ve made this dessert using nothing fancier than what you’d find in any home kitchen. Last year I even used my grandma’s ancient mixing bowl with the chips in the glaze (shh, that’s our secret). Here’s what you’ll need:
- Mixing bowl – Just one medium-sized one will do the job perfectly
- Baking dish – A 9-inch pie plate or square 8×8 pan works great
- Oven – Set it and forget it while the magic happens!
That’s really it – no fancy gadgets required. If you can stir and pour, you’re already fully equipped to make these lifesaving desserts!
How to Prepare Make-Ahead Thanksgiving Desserts
Alright friends, let’s get baking – but the easy way! I promise these steps are so simple you’ll be wondering why you ever stressed over Thanksgiving desserts. The key is taking it one step at a time, just like I do when I’m baking in my tiny apartment kitchen while simultaneously trying to keep my cat off the counter.
Step 1: Prepare the Crust
First things first – let’s make that glorious graham cracker crust! Grab your crumbs, melted butter, and sugar (I always sneak a pinch of the sugar first – quality control!). Dump them all into your mixing bowl and stir until it looks like wet sand. Don’t be shy – really squish it together with your hands if needed! Then press it firmly into your baking dish – I use the bottom of a measuring cup to get it nice and even. Stick this in the fridge while we make the filling – chill time makes everything better!
Step 2: Make the Filling
Now for the star of the show – that luscious pumpkin filling! Crack those eggs into a clean bowl first (learned the hard way not to crack them directly into the main mix – shells happen!). Add ALL the other filling ingredients and whisk until it’s silky smooth. No lumps allowed! I like to whisk clockwise while counting to 50 – call it my kitchen superstition. The mixture should pour easily but coat the whisk nicely. Doesn’t it smell amazing already?
Step 3: Bake and Cool
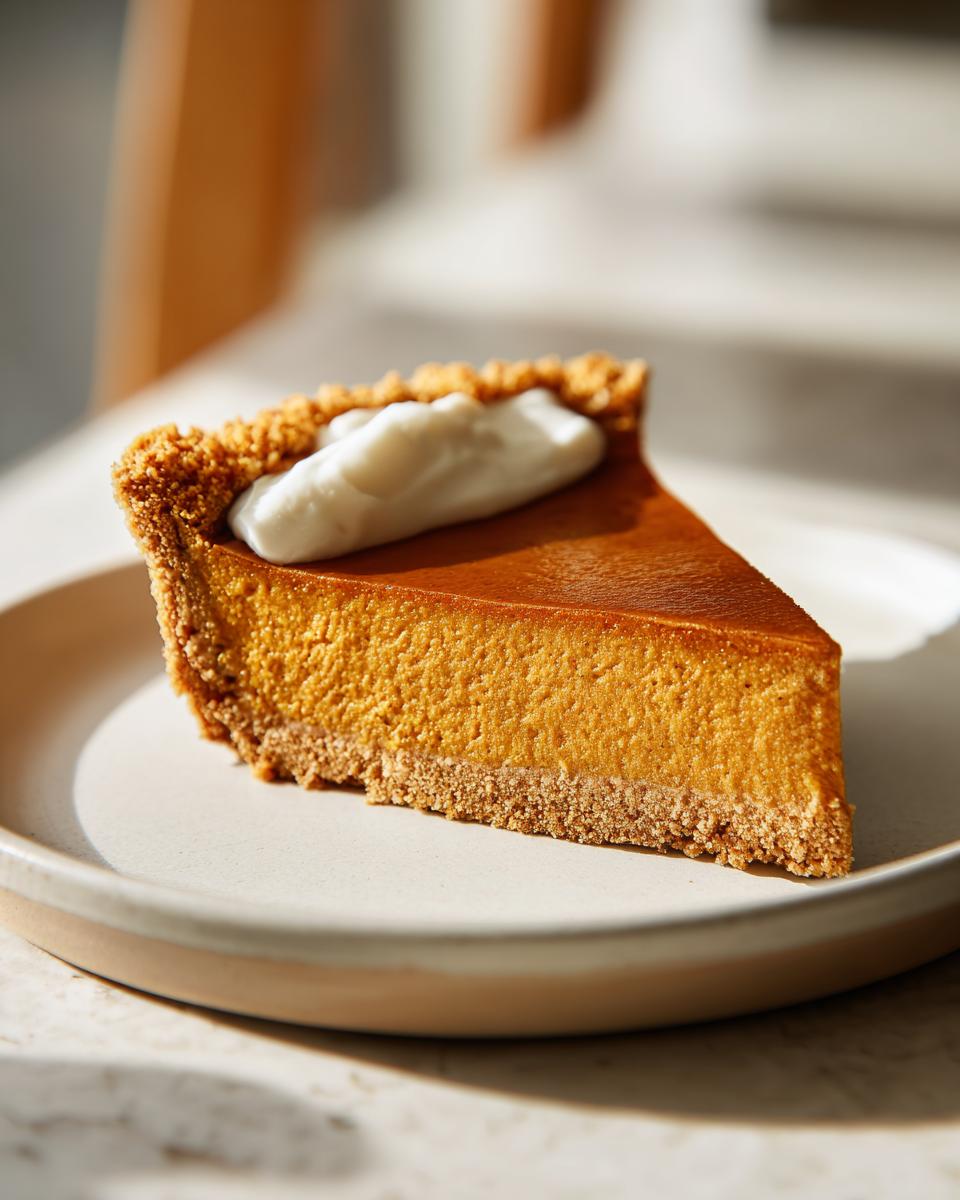
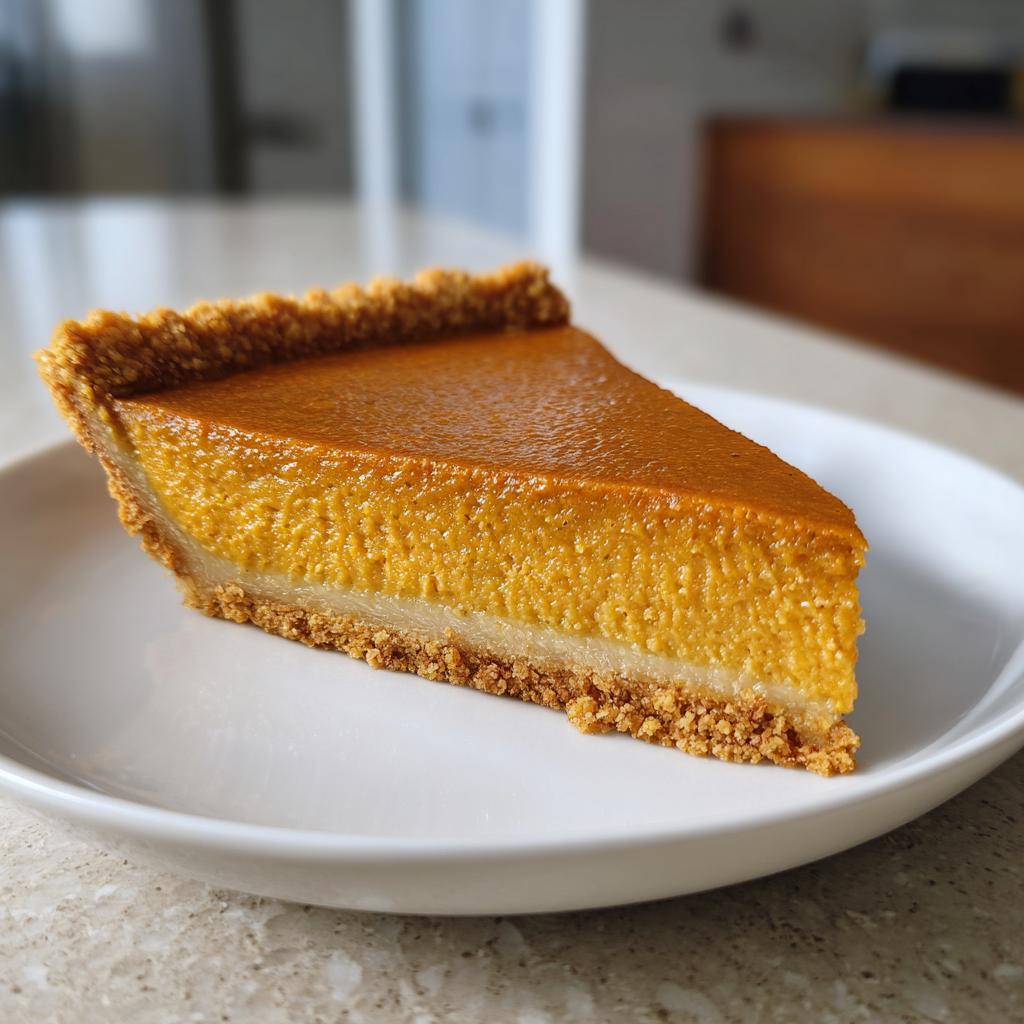
Time to bring it all together! Pull your chilled crust from the fridge and slowly pour in your filling – I like to do this while the dish sits on the oven rack to avoid spill disasters. Bake at 350°F for about 30 minutes – you’ll know it’s done when the edges are set but the center still jiggles slightly when nudged. Let it cool completely on a rack (patience is hard, I know!). Then just cover and refrigerate until showtime – the flavors get even better overnight!
Tips for Perfect Make-Ahead Thanksgiving Desserts
After burning my fair share of Thanksgiving desserts (and maybe one small kitchen fire – oops!), I’ve picked up some foolproof tricks for perfect make-ahead treats every time. Listen up, because these little nuggets of wisdom will save you from making my mistakes:
- Press that crust like you mean it – Really pack it down in the pan so it doesn’t crumble when you slice. The bottom of a measuring cup works great for this!
- Watch the clock – Set a timer for 5 minutes early because overbaked pumpkin turns grainy. When the edges look set but the center still jiggles slightly, it’s done.
- Cool it completely before refrigerating – I know it’s tempting to rush, but putting it in the fridge too soon makes it soggy. Let it sit out until no longer warm to the touch.
- Chill overnight for best flavor – I promise those spices get happier the longer they mingle in the fridge.
- Sweet whipped cream cheat – Can’t pipe fancy dollops? Just spoon some in a ziplock, snip the corner, and squeeze! Looks fancy with zero effort.
There you have it – my hard-earned secrets for dessert success! Now go enjoy your stress-free Thanksgiving.
Storage and Serving Suggestions for Make-Ahead Thanksgiving Desserts
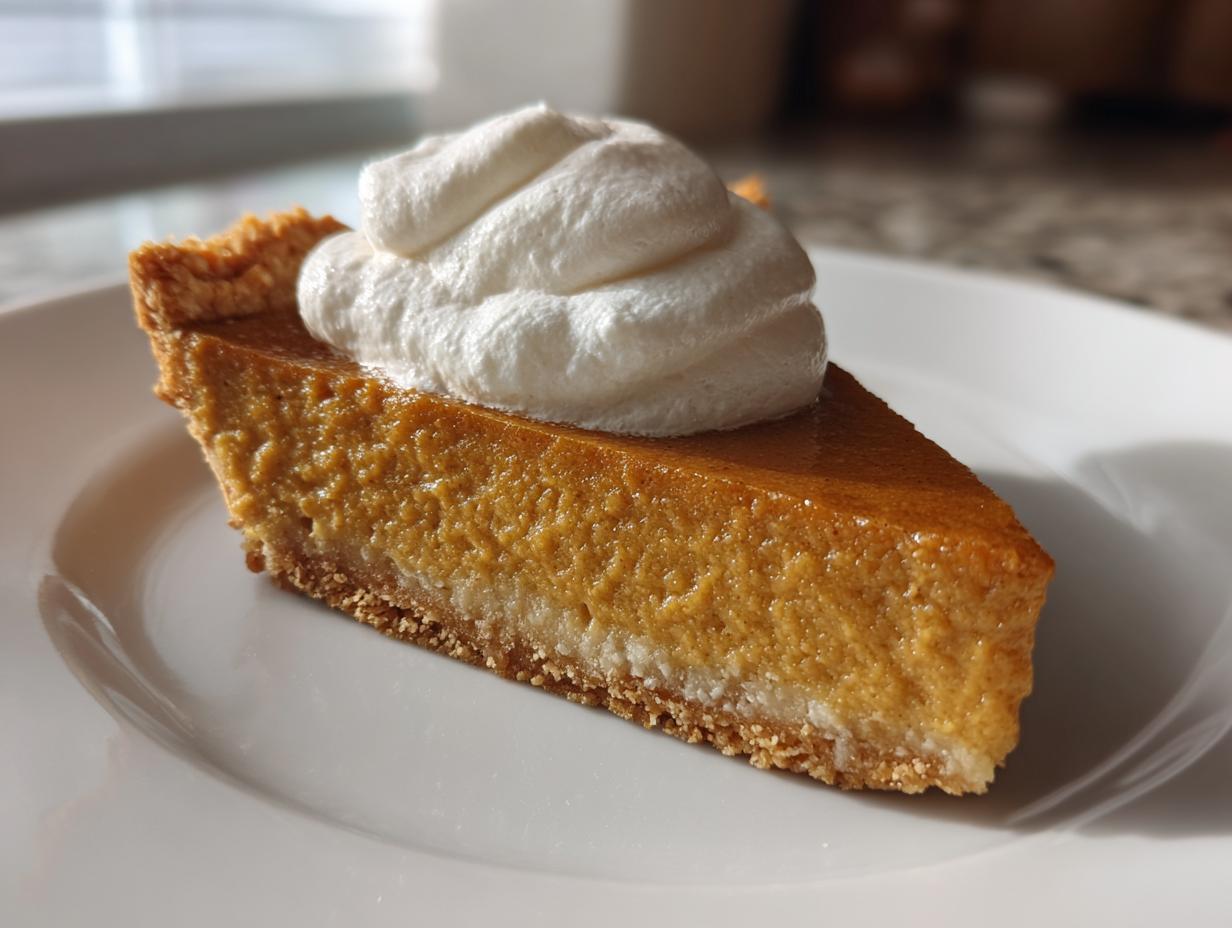
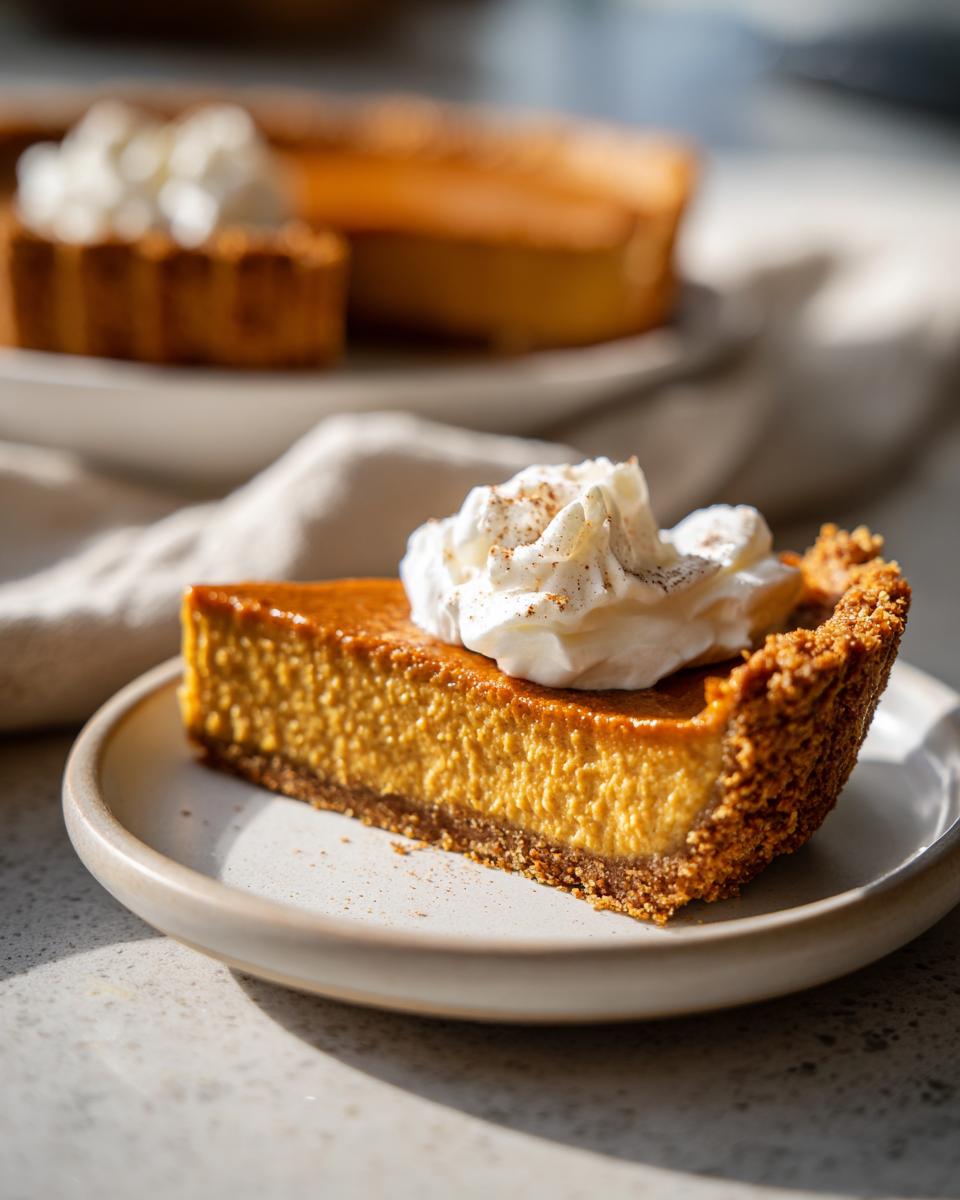
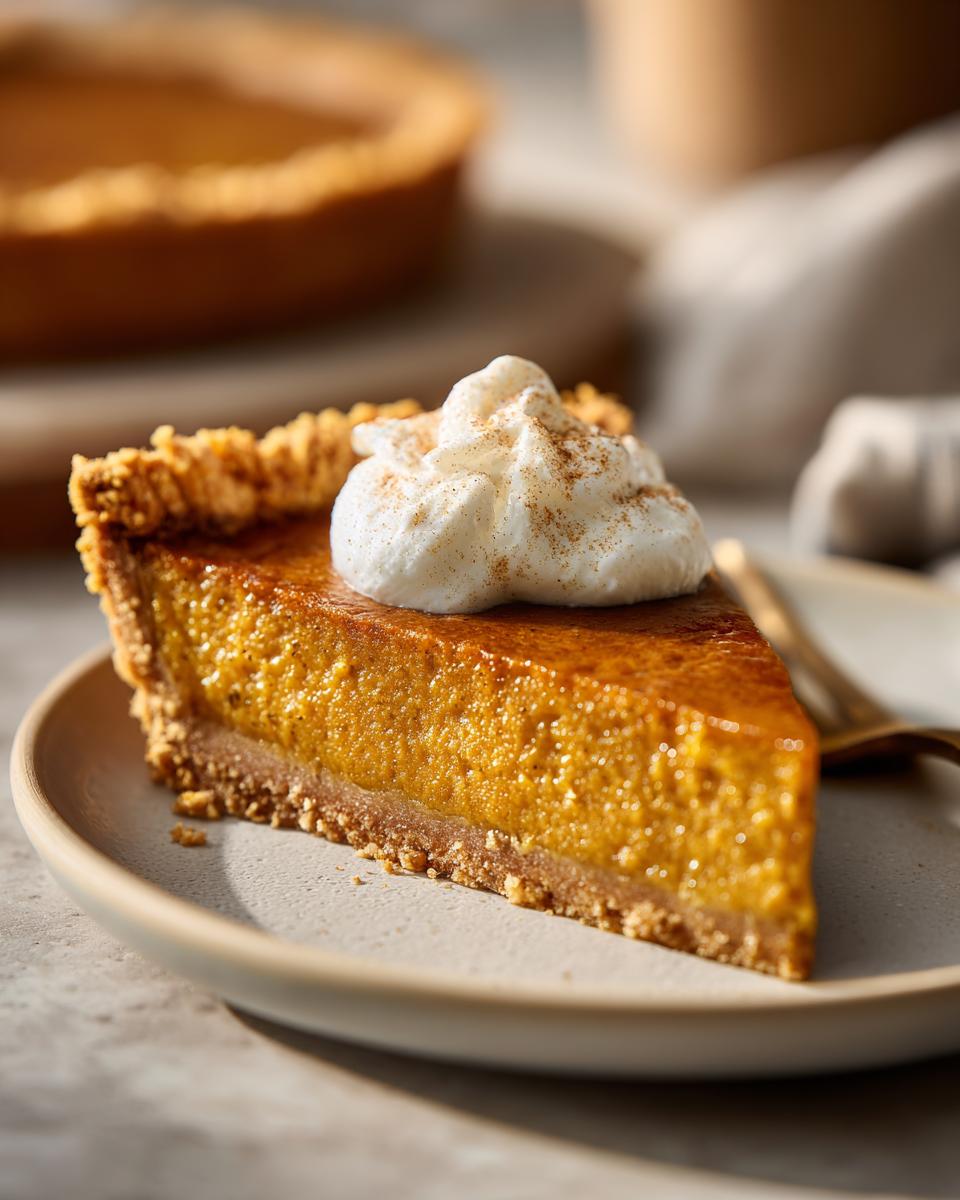
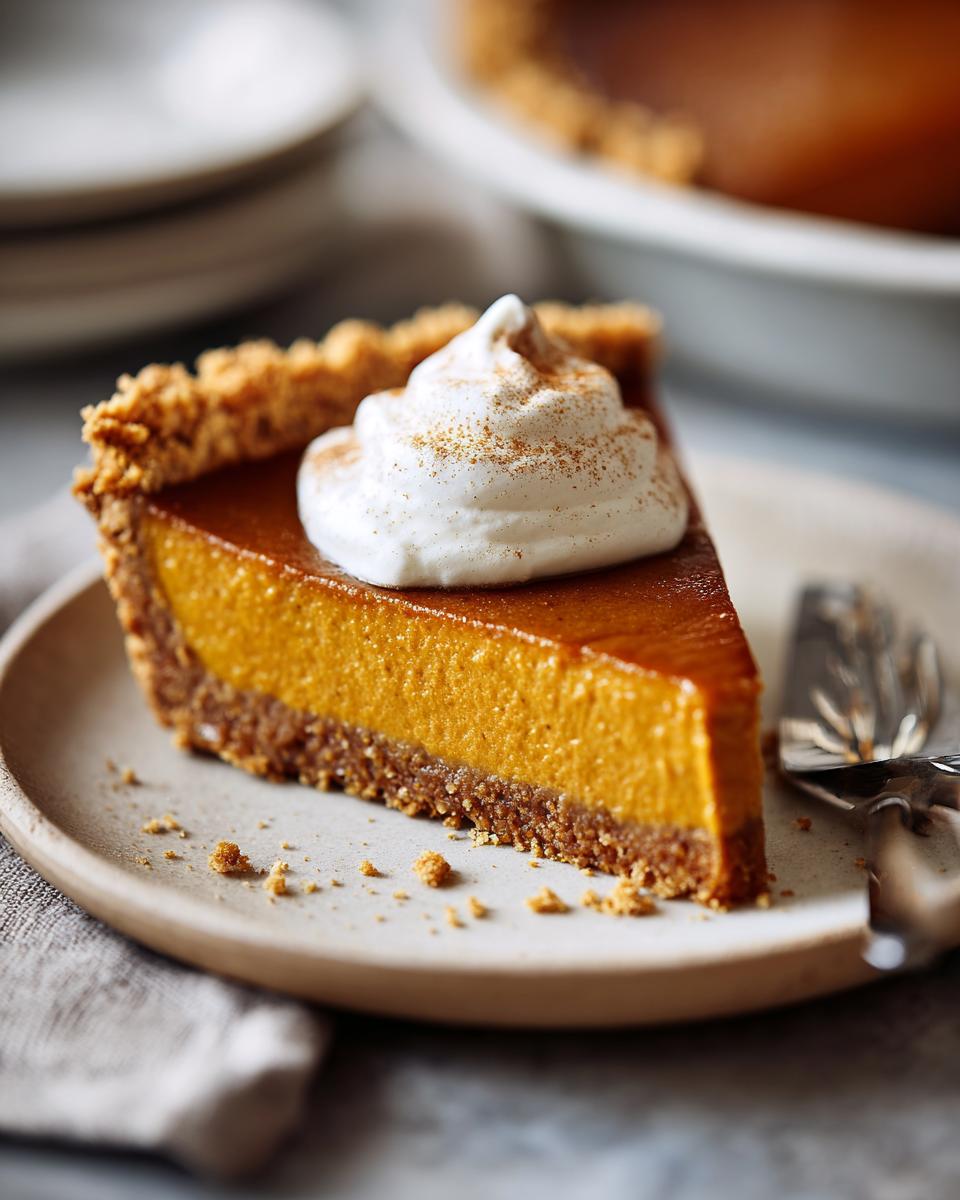
Here’s the beautiful part – this dessert actually gets better as it chills! Once cooled, I just pop some plastic wrap right on top to seal in the moisture. It keeps perfectly in the fridge for 2 full days (though in my house, it never lasts that long!). When you’re ready to serve, dollop some fresh whipped cream on top – the kind that comes in a can is totally fine, no judgment here. Or go wild with a sprinkle of cinnamon or nutmeg if you’re feeling fancy. Serve it cold, and watch your guests go back for seconds!
Nutritional Information
Now, I’m no nutritionist (just a dessert enthusiast!), so take these numbers as rough estimates – your actual mileage may vary depending on ingredient brands and how generous you are with those whipped cream dollops! Our make-ahead Thanksgiving delight typically clocks in at about 320 calories per serving, with 45g carbs, 6g protein, and 14g fat. Not too shabby for a holiday treat! The pumpkin puree sneaks in some vitamin A, and those eggs bring protein to the party. But let’s be real – we’re here for the smiles per bite, not the macros!
Frequently Asked Questions
Oh honey, I’ve gotten SO many questions about this lifesaver dessert over the years – let me share the wisdom I’ve picked up! Here are the biggies that always come up:
Can I freeze this dessert?
You totally can! Just wrap individual slices tightly in plastic wrap, then foil. They’ll keep frozen for about a month. Thaw overnight in the fridge when ready – the texture stays perfect! I keep emergency slices hidden behind the frozen peas (don’t tell my family).
Fresh pumpkin vs canned puree – does it matter?
Bless your heart for asking! While homemade pumpkin puree is lovely, canned works beautifully here and saves SO much time. Just make sure it’s 100% pumpkin (not pumpkin pie mix!). That said, if you’ve got garden-fresh pumpkin ready to go, roast it up and puree away!
Can I make this gluten-free?
Absolutely! Just swap the graham crackers for gluten-free ones – they sell gluten-free graham crumbs now too. The filling’s naturally gluten-free already! My gluten-sensitive aunt approves this message.
How do I know if it’s baked enough?
Look for set edges but a slight jiggle in the center – like firm Jell-O! It’ll firm up as it cools. Pull it at 25 minutes to check – better under than overbaked!
Can I double this recipe?
Oh heavens yes! Doubles perfectly in a 9×13 pan – just add 5-10 minutes to baking time. I make two every Thanksgiving: one to share, one to… ahem… »quality test » ahead.
Make-Ahead Thanksgiving Desserts to Save Your Sanity
Ingrédients
Equipment
Method
- Preheat the oven to 350°F (175°C).
- Mix graham cracker crumbs, melted butter, and sugar in a bowl. Press the mixture into a baking dish to form the crust.
- In another bowl, whisk together pumpkin puree, sweetened condensed milk, eggs, pumpkin pie spice, and salt until smooth.
- Pour the filling over the crust and spread evenly.
- Bake for 30 minutes or until the filling is set. Let it cool before serving or refrigerating.