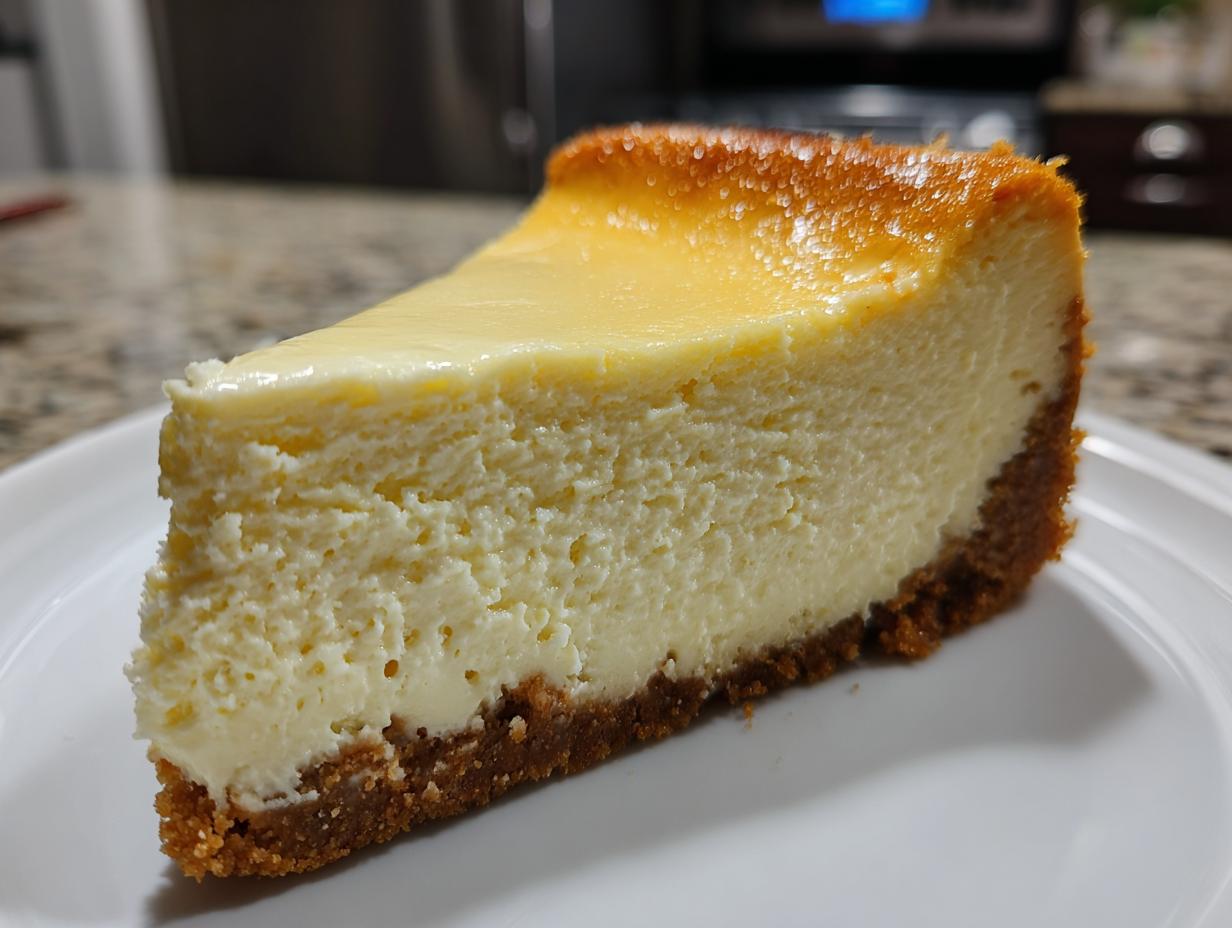
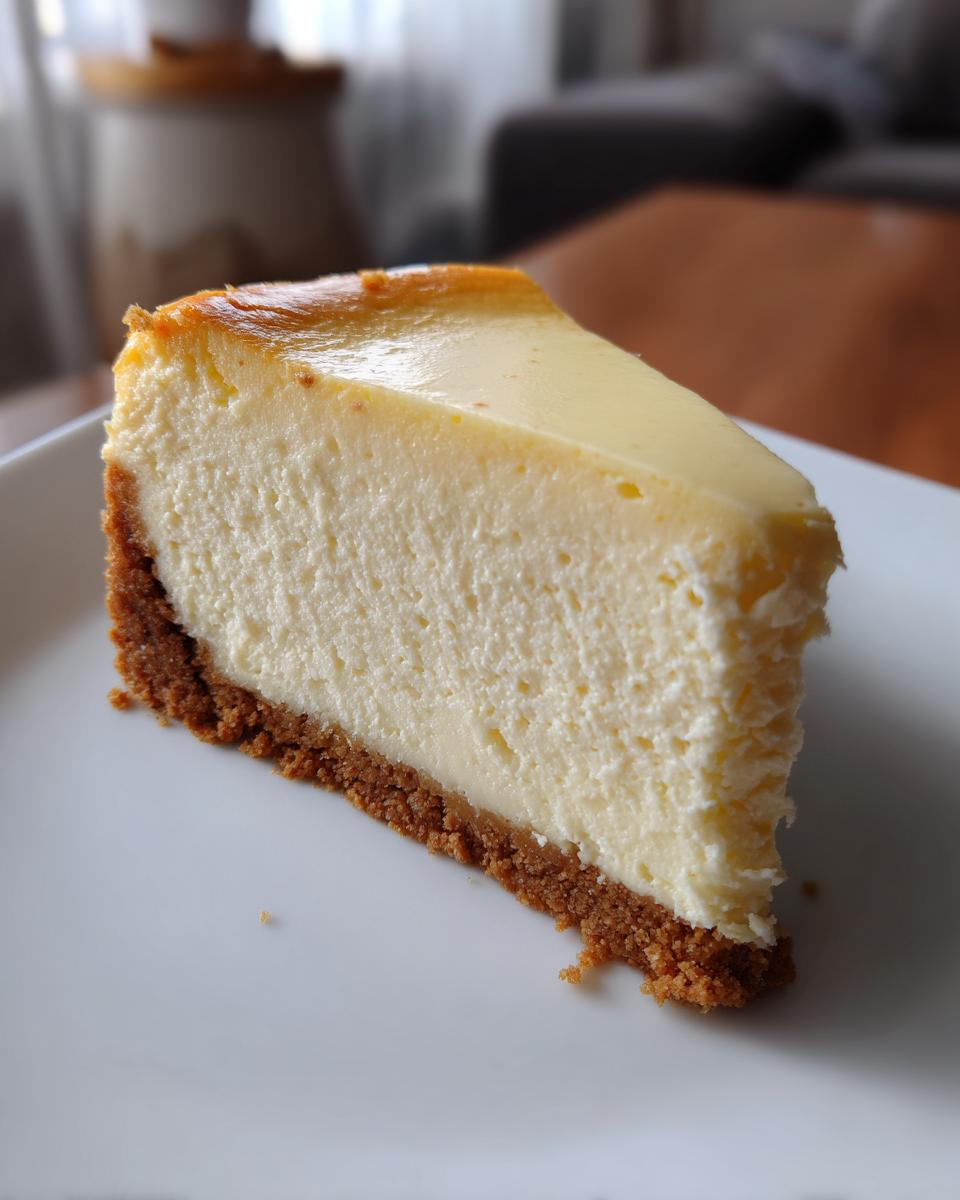
I’ll never forget the first time I made this classic cheesecake for my mom’s birthday. I was so nervous – cheesecakes had always seemed like these intimidating, fancy desserts that only professional bakers could master. But let me tell you, when that creamy, dreamy slice came out perfectly with no cracks (yes, on my first try!), I became an instant convert to homemade cheesecake recipes. There’s something magical about how simple ingredients – cream cheese, eggs, sugar – transform into this velvety smooth masterpiece that makes any occasion feel special.
What I love most about this recipe is how foolproof it is. Unlike some finicky desserts that require perfect timing or fancy techniques, this cheesecake just needs patience and a few simple tricks. The texture? Absolute perfection – not too dense, not too light, with that melt-in-your-mouth quality that makes you close your eyes with every bite. And that graham cracker crust? It’s the ideal crispy contrast to the creamy filling. Trust me, once you try this recipe, you’ll understand why it’s been my go-to for every celebration from birthdays to anniversaries to « just because it’s Tuesday » days.
What makes this cheesecake recipe stand out is how it balances simplicity with incredible results. No water baths, no complicated steps – just straightforward baking that yields a dessert impressive enough for your fanciest dinner party yet easy enough for a weeknight treat. The secret’s in the method: gentle mixing, proper cooling, and letting the ingredients shine. I’ve made dozens of cheesecake recipes over the years, but this classic version remains my absolute favorite.
Why You’ll Love These Cheesecake Recipes
Oh friends, let me count the ways this cheesecake will steal your heart! After years of testing cheesecake recipes, here’s exactly why this one stands out:
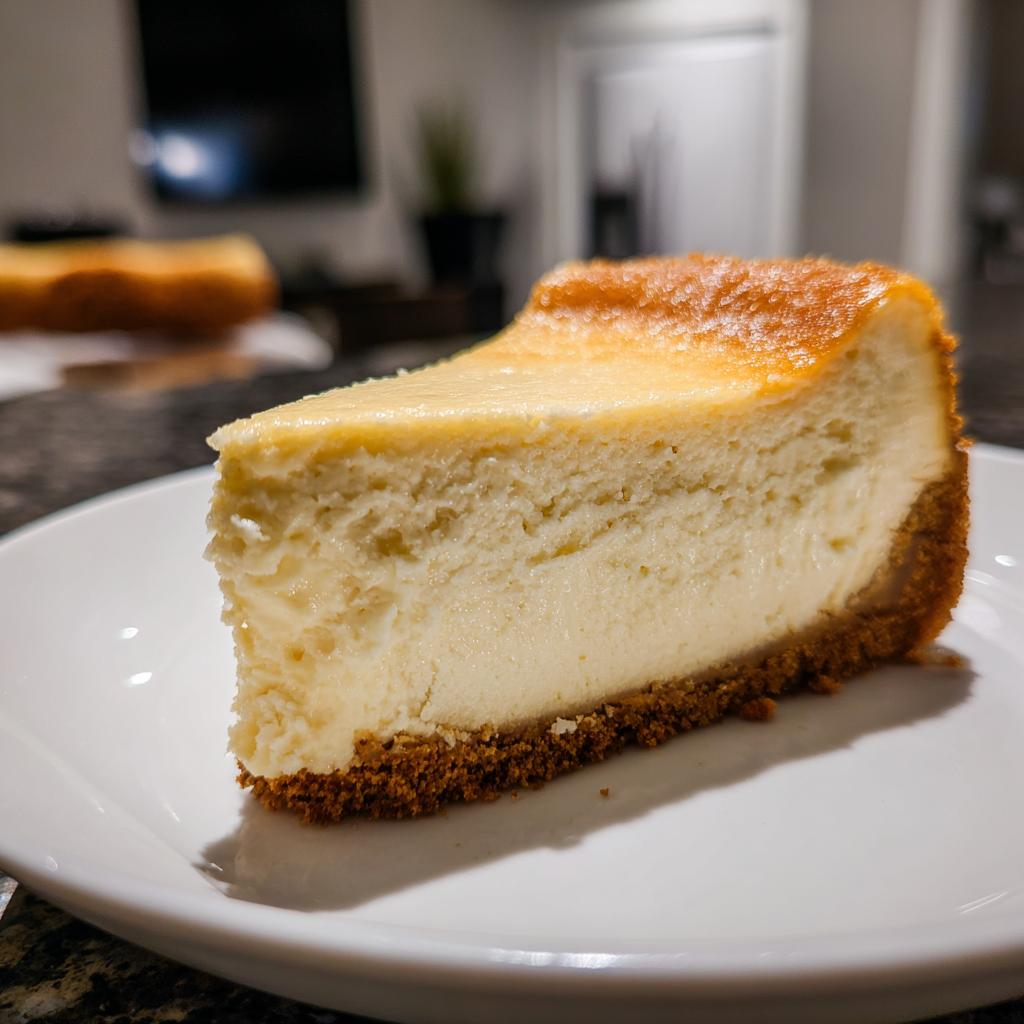
- Creamy dreamy texture: That first silky smooth bite will literally make you sigh with happiness. The perfect balance of richness without being heavy.
- Pantry-friendly ingredients: No fancy components here—just cream cheese, eggs, and basics you probably already have. My kind of recipe!
- Occasion-maker: It turns any Tuesday into a celebration, but also fancy enough for birthdays and holidays. The ultimate crowd-pleaser.
- Dress it up or down: Classic plain is divine, but berries, chocolate, or caramel sauce let you customize for any mood.
- Foolproof magic: No water bath needed! Just follow my simple tips and you’ll get perfect results every time.
Seriously, this cheesecake checks all the boxes. Creamy, easy, and downright impressive—what more could you want in a dessert?
Ingredients for the Best Cheesecake Recipes
Okay, let’s talk ingredients because they make ALL the difference in cheesecake recipes. I’ve learned this the hard way – nothing ruins a perfect cheesecake faster than cold cream cheese straight from the fridge (trust me on this one). Here’s exactly what you’ll need, divided neatly between crust and filling so you can shop and prep like a pro.
For the Crust
- 1.5 cups graham cracker crumbs – About 10 full sheets. I always buy whole crackers and crush them myself for freshest flavor. That pre-crumbed stuff just isn’t the same!
- ¼ cup granulated sugar – Just enough sweetness to balance the tangy filling without overwhelming it.
- 6 tablespoons unsalted butter, melted – The glue that holds it all together. I use the microwave in 15-second bursts – watch it closely so it doesn’t splatter!
For the Filling
- 24 oz (three 8-oz packages) cream cheese, softened – This is CRUCIAL. Leave it out for 2+ hours until it’s as soft as a ripe avocado. Cold cream cheese = lumpy cheesecake = sad baker.
- 1 cup granulated sugar – Some recipes use less, but this amount gives that perfect sweet-tang balance I love.
- 1 teaspoon vanilla extract – The secret flavor booster! Use pure vanilla if you can – artificial just doesn’t shine the same way.
- 3 large eggs, room temperature – Cold eggs can make the batter separate. I pop them in warm water for 5 minutes if I forget to take them out early.
- ½ cup sour cream – My grandma’s trick for extra creaminess. Full-fat only – this is no time for diet substitutes!
See? Nothing fancy, just quality ingredients prepped right. Now let’s get that oven preheating while we chat about equipment…
Equipment Needed for Cheesecake Recipes
Now let’s talk tools! You don’t need a fancy kitchen full of gadgets for perfect cheesecake recipes, but these three essentials make all the difference:
- 9-inch springform pan – My trusty sidekick! The removable sides are magic for getting that gorgeous cheesecake out in one piece. If you’re in a pinch, a regular cake pan lined with parchment works too (just be extra careful when removing).
- Electric mixer – A stand mixer is dreamy, but my handheld electric mixer works just fine for getting that creamy filling smooth. Even a sturdy whisk and some elbow grease can do the job if you’re feeling old-school!
- Mixing bowls – One medium for the crust, one large for the filling. Glass or metal are my go-tos – they don’t hold onto flavors like plastic sometimes does.
That’s really it! See? No fancy equipment needed to make cheesecake magic happen in your kitchen.
Step-by-Step Cheesecake Recipes Instructions
Alright, let’s get baking! I know cheesecake recipes can feel intimidating, but I promise this step-by-step guide will walk you through each stage with all my best tips. The secret is taking it slow and steady – no rushing this beauty. Follow these steps exactly, and you’ll be rewarded with the creamiest, dreamiest cheesecake that’ll make you feel like a pastry pro!
Preparing the Crust
First things first – that buttery graham cracker base! In a medium bowl, mix your crumbs and sugar together like you’re making the world’s best sandcastle. Then drizzle in that melted butter and stir until every crumb is coated – it should hold together when you pinch it. Now here’s my trick: dump it into your greased springform pan and use the bottom of a measuring cup to press it firmly into an even layer. Really pack it down – this prevents crumbling later. Pop it in the oven at 325°F for exactly 10 minutes to set. When it comes out, let it cool while you make the filling – no skipping this step or your crust might get soggy!
Making the Filling
Now for the magic! In your large bowl, beat the softened cream cheese first by itself for a full minute – this breaks up any lumps and makes it extra smooth. Add the sugar and vanilla and beat another 2 minutes until it’s fluffy and pale. Here’s where patience pays off: add eggs one at a time, beating well after each (about 30 seconds per egg). Scrape down the bowl between additions – those sneaky lumps hide in the corners! Finally, gently fold in the sour cream just until combined. Overmixing at this stage = cracks, and we don’t want that! The batter should be smooth as silk with no streaks.
Baking and Cooling
Pour that gorgeous filling over your cooled crust and smooth the top. Bake at 325°F for 50-60 minutes – you want the edges set but the center should still have a slight jiggle (like jello, not liquid). Here’s the most important step: turn off the oven, crack the door open with a wooden spoon, and let it chill in there for 1 hour. This gradual cooling prevents cracks and sinking. After that hour, transfer it to a wire rack to cool completely before refrigerating for at least 4 hours (overnight is even better). I know waiting is hard, but trust me – that cooling time makes all the difference in texture!
Tips for Perfect Cheesecake Recipes
Listen up, friends – after years of cheesecake triumphs (and a few crack-filled disasters), I’ve learned all the secrets to perfect cheesecake recipes. First rule: room temp ingredients aren’t optional. I’m talking about cream cheese soft enough to leave a fingerprint, and eggs that don’t feel cold to the touch. Takes patience, but it’s the difference between silky smooth and lumpy mess!
Now about mixing – here’s where most folks go wrong. After adding eggs, treat that batter like you’re handling a sleeping baby – gentle folding only! Overmixing incorporates too much air, which leads to cracks when baking (and that sinking feeling when it comes out of the oven). And oh – that waiting game? Crucial! Cool it slowly in the turned-off oven, then chill overnight if you can stand it. Your cheesecake will thank you with perfect texture.
My final pro tip? If cracks do appear (it happens to the best of us), just cover them with fresh berries or whipped cream. Problem solved, and now it looks even fancier! The beauty of cheesecake recipes is how forgiving they can be with a little know-how.
Serving Suggestions for Cheesecake Recipes
Now for the best part – dressing up your masterpiece! My classic cheesecake is absolutely heavenly plain, but oh the fun you can have with toppings. Fresh berries are my go-to – strawberries, raspberries, or a mixed berry meddle make it look like it came straight from a fancy bakery. Just toss them with a teaspoon of sugar and let them sit for 10 minutes to create a simple syrup. A drizzle of warm caramel sauce takes it over the top (bonus points if you add a pinch of sea salt). And don’t even get me started on whipped cream – homemade, with just a touch of vanilla, makes every bite extra luxurious.
Now let’s talk pairings! A good cup of coffee brings out all the caramel notes in the crust – I love serving slices with espresso after dinner. For special occasions, try a sweet dessert wine like Moscato or a creamy Bailey’s on the side. Believe it or not, this cheesecake also pairs beautifully with tea – a nice Earl Grey or spiced chai creates the perfect afternoon treat. The options are endless, which is why I keep coming back to this recipe again and again!
Storage and Freezing Tips
Okay, let’s talk about keeping that gorgeous cheesecake tasting fresh! First rule – always store it in the fridge covered with plastic wrap or in an airtight container. It’ll stay perfect for up to 5 days (though let’s be real, it rarely lasts that long in my house!). For freezing, I like to slice it first and wrap each piece individually in plastic wrap, then pop them in a freezer bag. They’ll keep beautifully for up to 3 months. To serve, just transfer a slice to the fridge overnight – slow thawing keeps that creamy texture intact. And here’s my little secret: sometimes I sneak a frozen slice straight to my mouth for the most decadent ice cream-like treat – don’t judge me!
Nutritional Information
Let’s talk numbers – but don’t worry, we’re not counting bites! Each heavenly slice of this classic cheesecake comes in at about 350 calories. You’re looking at 26g of that glorious creamy fat (15g saturated), 5g of protein, and 25g of carbs (20g from sugar – it is dessert after all!).
Now here’s my little disclaimer: these values can dance around a bit depending on your specific ingredients. Different cream cheese brands, the exact size of your eggs, even how thick you slice it – they all play a part. But honestly? When you’re savoring that perfect creamy bite with the crunchy crust, the numbers just sort of… melt away. Worth it!
Frequently Asked Questions
Can I use a different crust?
Absolutely! While graham cracker is classic, I’ve had great success with crushed Oreos (hello chocolate lovers!), vanilla wafers, or even gingersnaps for a spicy twist. Just keep the same 1.5 cups crumbs + 6 tbsp butter ratio. Press it firmly like we talked about – that’s the real secret to any good crust!
How do I prevent cracks?
Oh honey, I feel this one! Three golden rules: 1) Don’t overmix after adding eggs (gentle does it!), 2) Cool slowly in the turned-off oven, and 3) Make sure all ingredients are room temp. If a crack does appear? Call it « rustic » and pile on berries – no one will know!
Can I make this ahead?
You’re speaking my language! Cheesecake actually gets better after 24 hours in the fridge. I often bake it the day before serving – the flavors meld beautifully. Just hold off on toppings until right before serving for that fresh look.
Why does my filling sometimes have lumps?
Nine times out of ten, it’s that darn cold cream cheese! Let it soften until your finger leaves an indent (about 2 hours). If lumps sneak in anyway, don’t panic – just press the batter through a fine mesh strainer. Saved many a cheesecake this way!
Can I freeze leftovers?
Sweet mercy, yes! Wrap slices tight in plastic, then foil, and freeze up to 3 months. Thaw overnight in the fridge or… here’s my secret… eat it semi-frozen like the world’s creamiest ice cream cake. Don’t tell anyone I told you that!
Classic Cheesecake
Ingrédients
Equipment
Method
- Preheat your oven to 325°F (165°C). Grease a 9-inch springform pan.
- Mix graham cracker crumbs, sugar, and melted butter in a bowl. Press the mixture firmly into the bottom of the pan.
- Bake the crust for 10 minutes, then let it cool slightly.
- Beat cream cheese, sugar, and vanilla until smooth. Add eggs one at a time, mixing well after each addition.
- Stir in sour cream until fully combined. Pour the filling over the crust.
- Bake for 50-60 minutes until the edges are set but the center is slightly jiggly.
- Turn off the oven and leave the cheesecake inside with the door slightly open for 1 hour.
- Chill in the refrigerator for at least 4 hours before serving.