
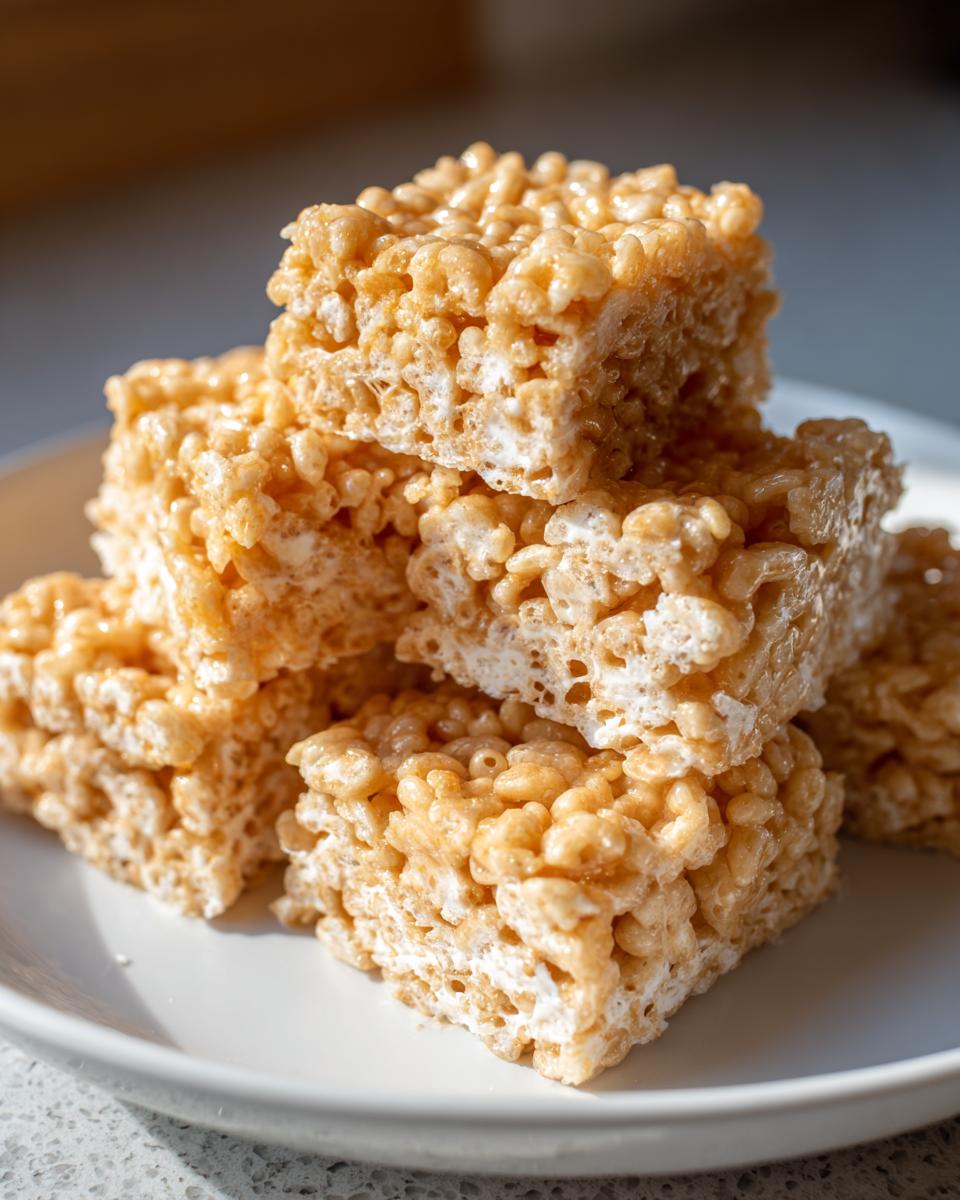
Oh, Rice Krispie treats! Just saying those words takes me right back to my childhood kitchen, standing on a chair to reach the counter while my mom melted marshmallows in that big yellow saucepan. That magical snap-crackle-pop sound when you stir in the cereal? Pure happiness. This Rice Krispie treats recipe is my go-to when I need a quick, no-bake dessert that makes everyone smile – kids and grown-ups alike. It’s crazy how three simple ingredients can create something so nostalgic and delicious. I still make them exactly the way Mom taught me, though these days I don’t need the step stool anymore!
Why You’ll Love This Rice Krispie Treats Recipe
Listen, I’ve made these treats more times than I can count, and here’s why they’re absolutely perfect:
- Quick magic: From pantry to pan in under 20 minutes – no oven required!
- Pantry staples: Just three ingredients you probably have right now.
- Kid-approved: My niece calls them « sugar clouds » and begs to help stir.
- Endless fun: Add sprinkles, chocolate chips, or food coloring for holidays.
- Crowd-pleaser: Perfect for bake sales, parties, or midnight snacks.
The best part? That first bite still tastes exactly like childhood, no matter how old you get.
Ingredients for Rice Krispie Treats
Let me tell you about the three magical ingredients that turn into these heavenly squares of joy. I swear by these exact measurements – they’re tried and true from years of sticky-fingered experimentation!
- 3 tbsp unsalted butter – Not margarine, not spread, but real butter. It makes all the difference in getting that rich, caramel-y flavor.
- 10 oz marshmallows – About one standard bag. Mini ones melt faster, but regular work great too if you’re patient. Puffy clouds of sweetness!
- 6 cups Rice Krispies cereal – The star of the show! That fresh, crispy texture is key – make sure your box hasn’t been open for weeks.
See? That’s it! Three simple ingredients waiting to become your new favorite treat. Oh, and if you’re feeling fancy, keep some extra butter handy for greasing your pan – trust me, you’ll thank me later when those treats pop right out!
Equipment Needed for Rice Krispie Treats
You won’t need fancy gadgets for these treats – just a few basic kitchen tools that you probably already have. Here’s what I always grab from my cabinets:
- Large saucepan – My trusty yellow one that’s seen hundreds of batches
- 9×13-inch baking dish – The perfect size for thick, chewy squares
- Wooden spoon – For stirring without scratching your pan
Bonus helpers: I keep wax paper handy for pressing (no sticky fingers!) and a buttered spatula makes smoothing the top a breeze. That’s it – simple as can be!
How to Make Rice Krispie Treats
Okay, let’s get to the fun part – making these magical treats! I’ve learned through many sticky batches that timing and technique matter more than you’d think. Follow these steps exactly, and you’ll have perfect Rice Krispie treats every single time. Promise!
Step 1: Prepare the Baking Dish
First things first – grab that 9×13-inch baking dish and give it a good buttering. I’m talking swipe-every-corner thorough here! This isn’t just busywork – properly greasing your pan means your treats will pop out cleanly later instead of sticking like glue. A quick spray of cooking spray works too, but I’m partial to the flavor real butter adds.
Step 2: Melt the Butter and Marshmallows
Now for the magic potion! Melt your butter in a large saucepan over low heat – patience is key here. Once it’s melted, dump in all those marshmallows and start stirring slowly with your wooden spoon. Resist the urge to crank up the heat! Medium-low keeps everything smooth without burning. You’ll know it’s ready when it looks like a shiny, stretchy cloud – about 5 minutes of stirring should do it.
Step 3: Combine with Rice Krispies
Here’s where things get exciting! Take the pan off the heat and immediately pour in your Rice Krispies. Work fast now – that marshmallow mixture starts setting quickly. Fold gently but thoroughly until every last crispy bit is coated in that sticky sweetness. The sound alone will make you smile – that signature snap-crackle-pop!
Step 4: Press and Cool
Quickly transfer your mixture to the greased pan. Now grab some wax paper (or buttered hands if you’re brave) and press firmly into all the corners. Don’t smash it flat – just enough to hold it together. Then walk away! Let it cool completely, about 30 minutes, before cutting. I know it’s tempting, but waiting means clean cuts instead of sticky messes. Worth it!
Tips for Perfect Rice Krispie Treats
After making what feels like a million batches of Rice Krispie treats (and eating most of them!), I’ve learned all the little tricks that take them from good to absolutely perfect. Here are my can’t-live-without tips:
- Fresh marshmallows are key – That bag sitting in your pantry for months? Toss it. Stale mallows just don’t melt right.
- Work like you’re in a race – Once those marshmallows melt, you’re on the clock! Have everything measured and ready to go.
- Butter your hands – When pressing into the pan, rub a little butter on your fingers – no more sticky mess!
- Don’t over-squish – Press just enough so they hold together. Too much and your treats get hard instead of delightfully chewy.
- Secret flavor boost – Add a teaspoon of vanilla extract with the melted marshmallows. It makes all the difference!
Remember – these treats forgive almost any mistake. Even my « oops » batches still disappear way too fast!
Variations for Rice Krispie Treats
One of my favorite things about Rice Krispie treats? They’re like a blank canvas for creativity! Once you’ve mastered the classic version, try some of these fun twists I’ve collected over the years. My nieces and nephews love helping me decorate these – sometimes we make different batches just to see whose creation turns out best!
Chocolate lovers dream: Stir in a handful of mini chocolate chips while the mixture is still warm. Or drizzle melted chocolate over the top after they cool – messy fingers guaranteed!
Peanut butter magic: Add 1/4 cup creamy peanut butter when melting the marshmallows. It gives them this incredible richness that’s perfect for after-school snacks.
Birthday party special: Mix in rainbow sprinkles before pressing into the pan. We call these « confetti treats » and they’re always a hit at class parties!
Seasonal fun: Orange food coloring for Halloween, red and green்தChristmas, pastels for Easter…the options never end! One year we even pressed candy corn into the tops for Thanksgiving.
The possibilities are endless! We’ve added crushed candy canes, mini M&Ms, even crushed cookies before. Whatever you’ve got in your pantry can probably make these even more delicious.
Storage and Serving Suggestions
Alright, let’s talk about keeping these treats fresh and fun ways to serve them! First, storage – pop your Rice Krispie treats in an airtight container with wax paper between layers if you’re stacking them (but let’s be real, they usually don’t last long enough to need layers!). They’ll stay perfectly chewy for about 3 days at room temperature.
Now for the fun part – serving ideas! My personal favorite? Warm squares slightly and serve with vanilla ice cream – it’s like a homemade cereal milk sundae. Kid birthday parties? Use cookie cutters to make fun shapes (stars for July 4th, hearts for Valentine’s Day). Or for bake sales, wrap individually in cellophane with colorful ribbons. Honestly, they disappear fast no matter how you serve them!
Nutritional Information
Okay, let’s talk numbers – but don’t let this scare you away from enjoying these treats! Each gooey square (about 2×2 inches) comes out to roughly:
- 150 calories – Perfect for a sweet little pick-me-up
- 29g carbs – That marshmallow magic at work
- 4g fat – Thank that glorious butter
- 1g protein – Hey, it’s dessert, not a steak!
- 15g sugar – Pure happiness in every bite
Now, full disclosure – these numbers can change if you go wild with add-ins (looking at you, chocolate chips!). But honestly? Some treats are worth every delicious calorie.
Frequently Asked Questions
Can I use margarine instead of butter?
Oh honey, I get this question all the time! Technically yes, you can… but should you? Not if you want that rich, buttery flavor my grandma swore by. Margarine works in a pinch, but it changes the texture – your treats might turn out softer or greasier. If you must substitute, go for a high-quality one and use the same amount. But trust me, real butter makes all the difference in that classic taste we love!
How do I prevent sticky treats?
Let me share my battle-tested tricks! First, don’t skimp on greasing that pan – butter every inch! Second, work fast once the marshmallows melt so you’re not over-stirring. Third (my secret weapon), always use fresh marshmallows – stale ones get extra sticky. And here’s a pro tip: When cutting, wipe your knife with a little butter between slices for clean edges. Works like a charm every time!
Can I freeze Rice Krispie treats?
Absolutely! Just wrap them tight in plastic wrap or pop them in an airtight container with parchment between layers. They’ll keep beautifully for up to 2 months. When you’re ready, thaw at room temperature for about an hour. The texture stays perfect – still that wonderful chewy-crispy combo. I always keep a batch in my freezer for last-minute guests or sudden cravings (which happen more often than I’d like to admit!).
Rice Krispie Treats
Ingrédients
Equipment
Method
- Grease a 9×13-inch baking dish with butter or cooking spray.
- Melt butter in a large saucepan over low heat.
- Add marshmallows and stir until completely melted.
- Remove from heat and stir in Rice Krispies until evenly coated.
- Press the mixture into the prepared baking dish using a greased spatula or wax paper.
- Let cool completely before cutting into squares.