
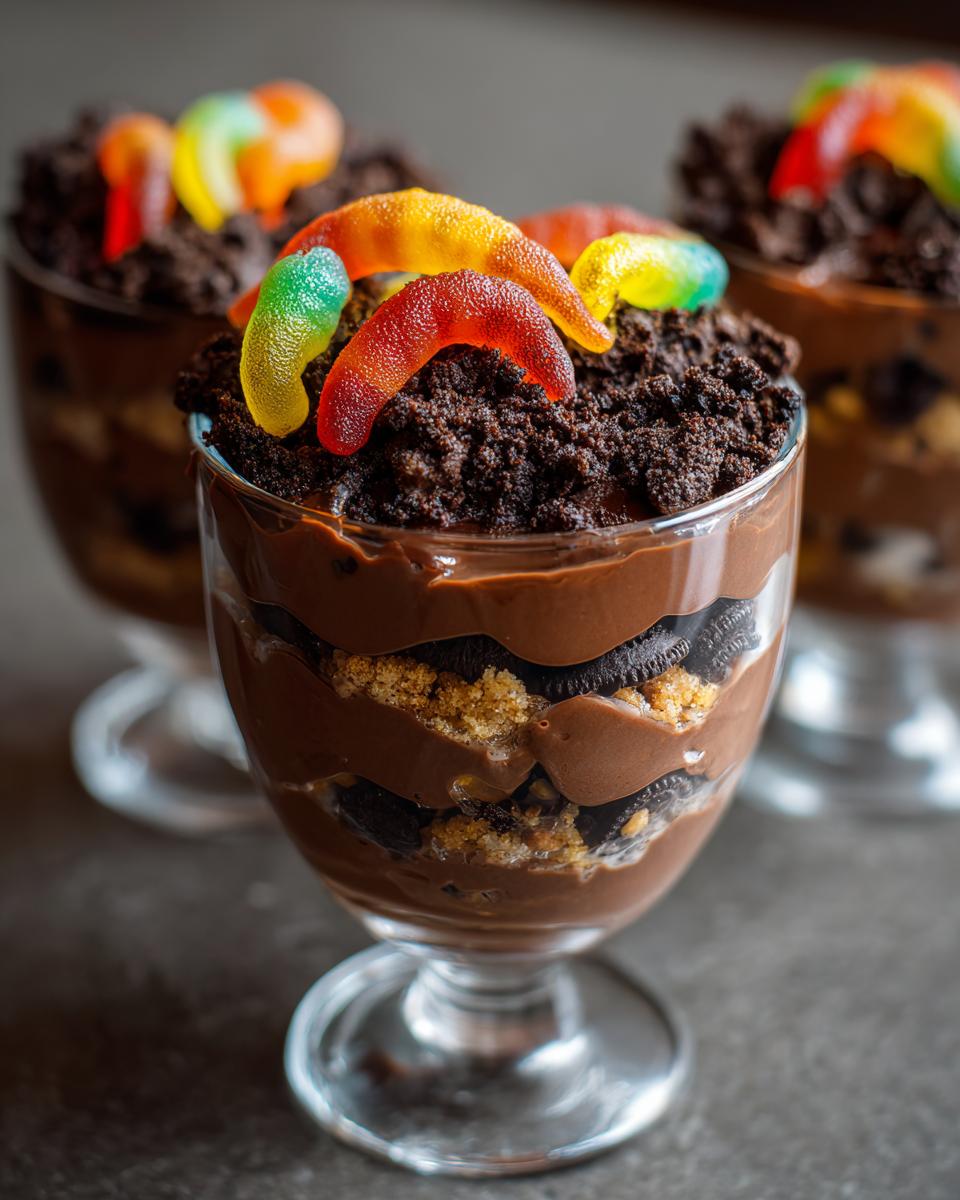
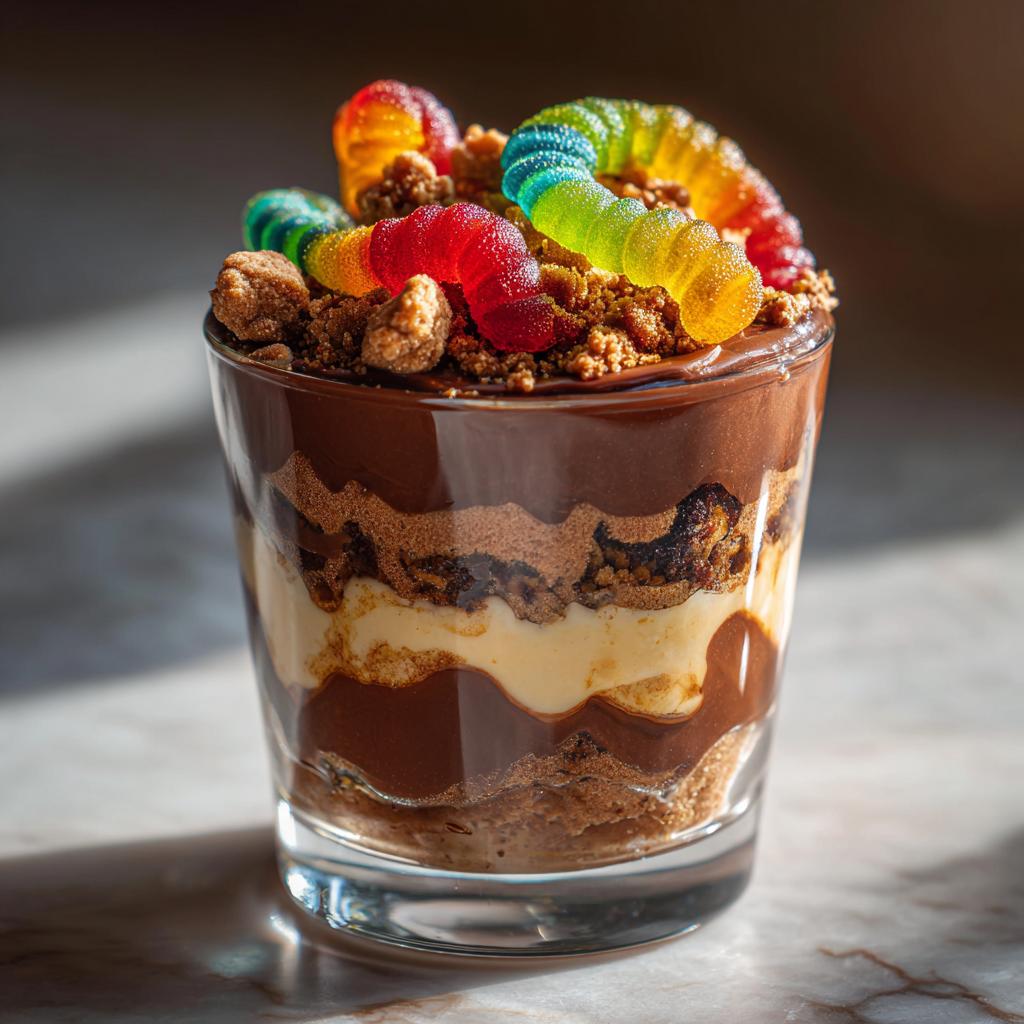
There’s nothing that screams Halloween quite like a batch of Spooky Halloween Dirt Cups with gummy worms peeking out of chocolatey « dirt »! I still remember the first time I made these with my niece – her eyes lit up when she saw those colorful worms crawling out of the cups, and she immediately declared them « the coolest dessert ever. » Honestly, I couldn’t agree more!
What I love most about these dirt cups (besides how ridiculously fun they look) is how impossible they are to mess up. Even if you’re not much of a cook, you’ll feel like a pastry pro when you pull these together. The best part? From start to finish, you’re looking at about 15 minutes of work – perfect for last-minute Halloween parties or when the kids suddenly announce they need treats for their class party tomorrow. I’ve made these every October since that first batch, and they’re always the first dessert to disappear at potlucks. There’s just something magical about digging into chocolate pudding « dirt » to find surprise gummy worms wiggling underneath!
Why You’ll Love These Spooky Halloween Dirt Cups
Let me tell you why these dirt cups have become my go-to Halloween treat year after year:
- Faster than a ghost saying « Boo! » – No baking means you’re just 15 minutes away from spooky dessert magic
- Little hands can help – My niece loves crushing the cookies and « planting » the gummy worms (though we always end up with sticky fingers!)
- Play with your food allowed – Swap chocolate for vanilla pudding, use different colored worms, or add candy eyeballs for extra creep factor
- Party superstar status guaranteed – These always steal the show at Halloween gatherings (the oohs and aahs are my favorite part)
- No special skills needed – If you can stir pudding and crush cookies, you’re already a dirt cup expert
Seriously, these might just be the most fun you’ll have making – and eating – Halloween treats this year!
Ingredients for Spooky Halloween Dirt Cups
Here’s everything you’ll need to whip up these creepy-crawly treats. I like to gather all my ingredients first – trust me, it makes everything so much easier when those little hands want to « help » with the mixing!
- 2 packages (3.9 oz each) instant chocolate pudding mix – This is the magic that makes your « dirt » taste amazing
- 3 cups cold milk – I use whole milk for extra creaminess, but any milk works
- 1 package (14.3 oz) chocolate sandwich cookies – Crushed into fine « dirt » (Oreos are my favorite, but store brands work too)
- 1 package gummy worms – About 6-8 ounces, depending how wormy you want it!
That’s it! Just four simple ingredients for cups full of Halloween fun. My little trick? Buy an extra package of worms – they somehow always disappear before making it into the cups!
Equipment Needed for Spooky Halloween Dirt Cups
Grab these simple tools and you’re halfway to dirt cup magic! You’ll need:
- A big mixing bowl – Where all the chocolatey goodness comes together
- A sturdy spoon – For stirring up that pudding (little helpers love this job!)
- Clear cups – Plastic or glass, so everyone can see those creepy layers
Bonus tools if you’re feeling fancy: a food processor makes quick work of cookie crushing, but a rolling pin and ziplock bag work just as well (and let kids take out some Halloween energy!).
How to Make Spooky Halloween Dirt Cups
Alright, let’s get creepy! Making these dirt cups is so easy, even Frankenstein’s monster could do it (if he wasn’t busy chasing villagers). I’ll walk you through each step – just follow along and soon you’ll have cups full of deliciously gross-looking fun!
Step 1: Prepare the Pudding
First things first – we need that chocolatey « mud »! Empty both pudding packets into your mixing bowl and pour in the cold milk (trust me, cold milk makes all the difference). Now stir like crazy until it’s smooth and starts to thicken up – about 2 minutes should do it. Pop it in the fridge for just 5 minutes to set slightly while you work on the « dirt. » Don’t skip this chilling step – it helps create those perfect layers!
Step 2: Crush the Cookies
Time to make cookie dirt! My niece loves this part (even if we end up with crumbs everywhere). You’ve got options here: toss the cookies in a food processor and pulse until they’re fine crumbs, or go old-school by putting them in a ziplock bag and crushing with a rolling pin. Either way, you want crumbs fine enough to look like real dirt but with some texture left – not powder. Little secret: leave a few slightly larger chunks for an ultra-realistic dirt effect!
Step 3: Layer the Spooky Halloween Dirt Cups
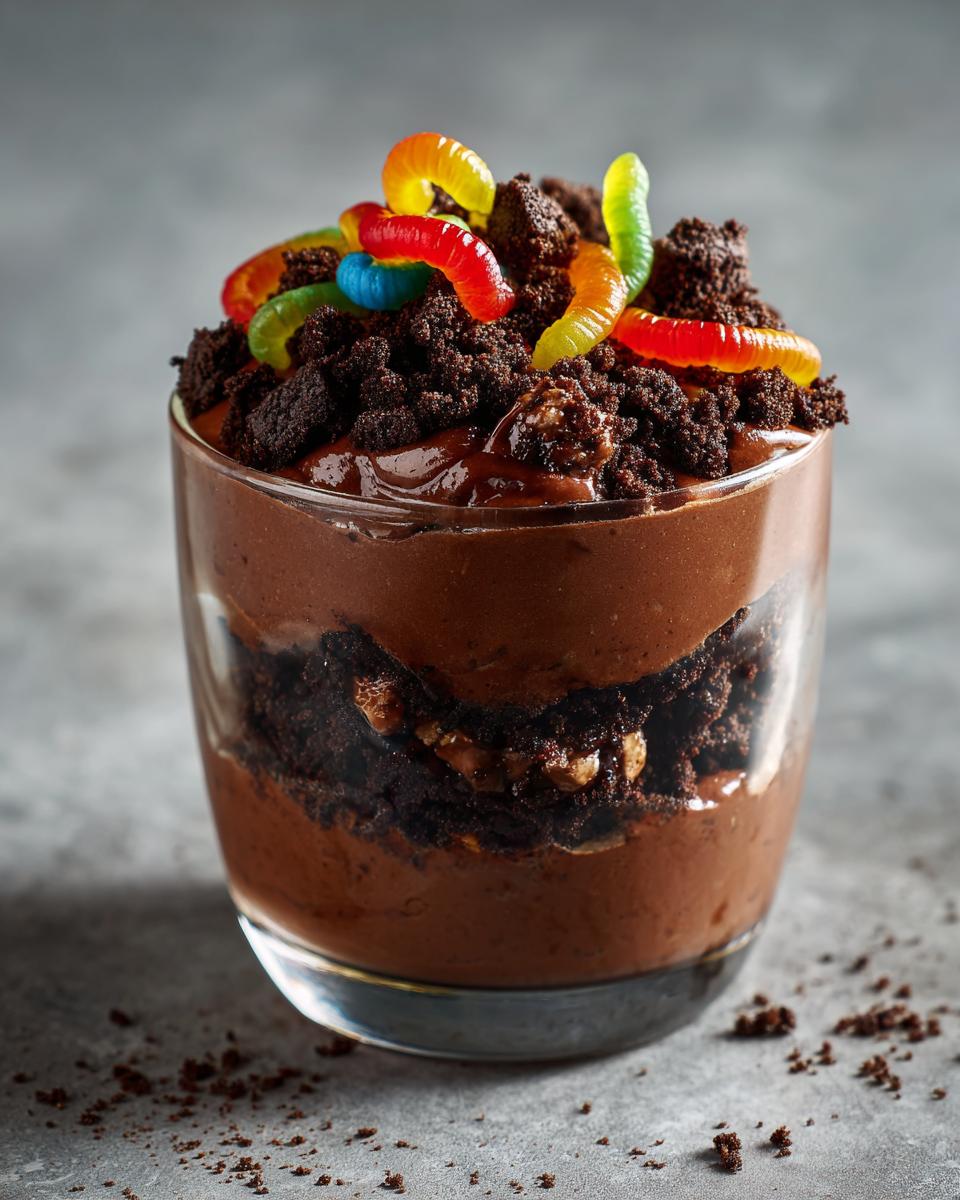
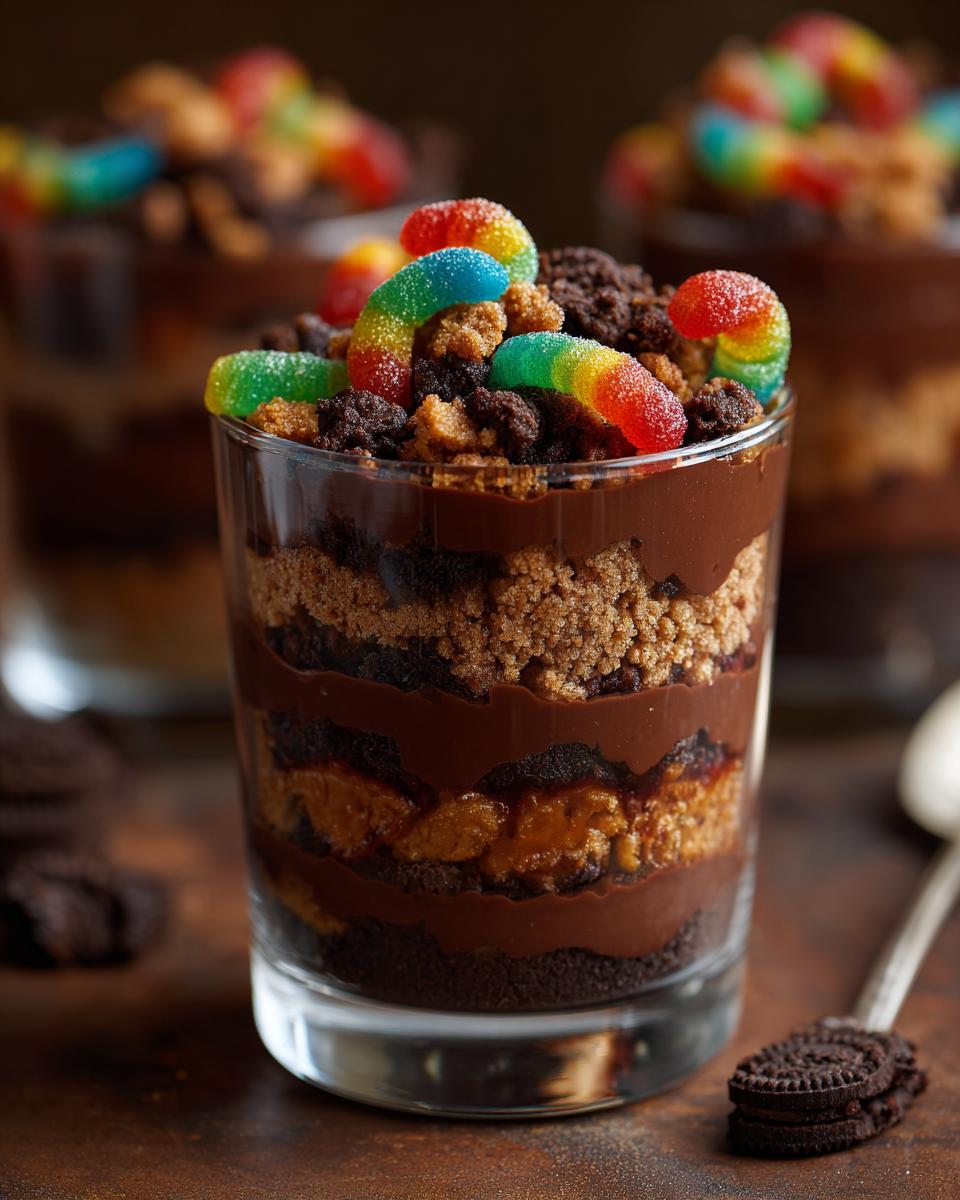
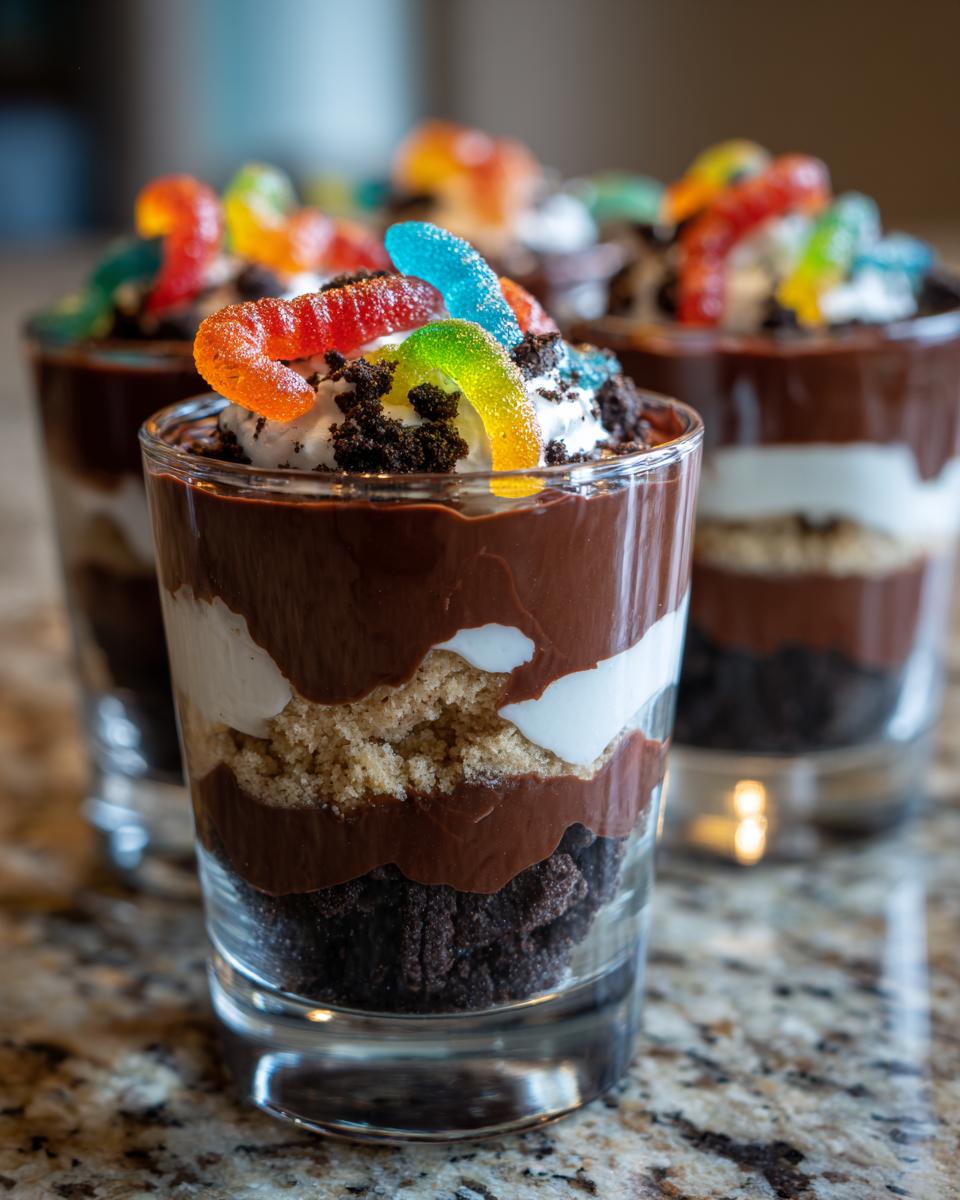
Now the fun begins! Grab your clear cups and start with a scoop of pudding – this is your rich, muddy base. Sprinkle cookie crumbs generously over the top (we’re talking at least a tablespoon per layer). Alternate pudding and crumbs until the cup is nearly full, always ending with crumbs on top – this makes it look freshly dug! Pro tip: wipe the inside of the cup between layers if you want those stripes super defined.
Step 4: Add the Gummy Worms
Here’s where the magic happens! Push worms into your dirt cups so they’re peeking out at different angles – some buried deep, others dramatically escaping over the edges. Twist them as you insert for realistic « movement. » Want extra creepy points? Use colorful sour worms or add candy eyeballs to some worms! Now chill your cups for at least 30 minutes before serving – the anticipation makes them taste even better!
Tips for Perfect Spooky Halloween Dirt Cups
After making these creepy cups more times than I can count, I’ve picked up some tricks to take them from good to « boo-tiful »! My favorite hack? Mix up the worm colors – those neon pink and green ones peeking through the chocolate dirt always get the best screams. And don’t even get me started on candy eyeballs! Stick a few to the worms with a dab of frosting for instant monster vibes.
Want firmer pudding that holds those worm tunnels perfectly? Chill the cups for at least an hour before serving. Gluten-free friends coming? Just swap the cookies for your favorite GF version – nobody will know the difference. Oh, and always buy extra worms unless you want to explain why half your dirt cups are suspiciously wormless (yep, learned that the hard way)!
Variations for Spooky Halloween Dirt Cups
Who says dirt cups have to play by the rules? One of my favorite things about this recipe is how easily you can switch things up! For a creepy-cool twist, try vanilla pudding with golden Oreos – it looks like pale moon dirt with worms crawling through. Last year, I crushed up leftover Halloween candy bars and mixed them into the cookie crumbs – Snickers « rocks » sticking out of chocolate dirt was a total hit!
Got vegan trick-or-treaters? No problem! Just use plant-based pudding mix and vegan gummy worms (I love the squishy texture of Surf Sweets brand). Feeling extra fancy? Swirl in some caramel or peanut butter between layers for a surprise « underground » treat. Honestly, the possibilities are endless – that’s why this recipe stays fresh year after year in my Halloween rotation!
Serving and Storing Spooky Halloween Dirt Cups
These dirt cups are best served chilled straight from the fridge – the cold makes that chocolate « mud » extra refreshing! I always keep them covered with plastic wrap until serving time, unless you want dried-out cookie « dirt » (trust me, you don’t). They’ll stay fresh in the fridge for up to 2 days, though they rarely last that long at my house!
One important note: don’t try freezing these! The pudding turns weirdly grainy and the worms get rock-hard. Learned that lesson the hard way when I tried to make a Halloween week’s worth in advance. These are definitely a make-and-eat-quick kind of treat – not that you’ll need any convincing!
Nutritional Information for Spooky Halloween Dirt Cups
Just a friendly heads up – nutrition facts can vary wildly depending on your pudding brand, cookie type, and how many extra gummy worms sneak in (we won’t judge!). These are treats, not health food, so enjoy them as occasional Halloween fun!
Frequently Asked Questions About Spooky Halloween Dirt Cups
Can I make Spooky Halloween Dirt Cups ahead of time?
Absolutely! These are perfect for prepping a day before your Halloween bash. Just wait to add the gummy worms until about an hour before serving so they stay fresh and don’t get soggy. The pudding and cookie layers actually taste better after chilling overnight!
Can I use homemade pudding instead of instant mix?
You bet! I’ve used my grandmother’s cooked chocolate pudding recipe before, and it works wonderfully. But here’s my secret – you’ll want to chill it completely and whisk well before layering. Instant pudding is just quicker for when little monsters are clawing at the kitchen door!
Are there vegan options for these dirt cups?
Easy as pie (or should I say dirt)! Just swap the pudding for a plant-based mix (Jell-O has a great one), use almond milk, and pick vegan gummy worms. The cookies? Oreos are actually naturally vegan – surprise! You’d never taste the difference.
How long do Halloween dirt cups last in the fridge?
They’ll stay fresh for about 2 days, but the cookies start getting soggy on day 3. If you need to make extras, keep the cookie crumbs separate and layer them just before serving. But let’s be real – these usually get devoured way before storage becomes an issue!
Can I use something besides gummy worms?
Get creative! Candy snakes, sour worms, or even gummy spiders work great. One year I used gummy body parts (eww!) for a haunted graveyard theme. The key is something squishy that peeks out creepily from the « dirt » – let your Halloween spirit guide you!
Spooky Halloween Dirt Cups
Ingrédients
Equipment
Method
- Prepare the chocolate pudding according to the package instructions, using the cold milk. Let it set in the fridge for 5 minutes.
- Crush the chocolate sandwich cookies into fine crumbs using a food processor or by placing them in a bag and crushing with a rolling pin.
- Layer the pudding and crushed cookies in clear cups, starting with pudding and then adding a layer of cookie crumbs.
- Repeat the layers until the cups are nearly full, finishing with a layer of cookie crumbs on top.
- Insert gummy worms into the dirt cups, letting some hang over the edge for a spooky effect.
- Chill the dirt cups in the fridge until ready to serve.